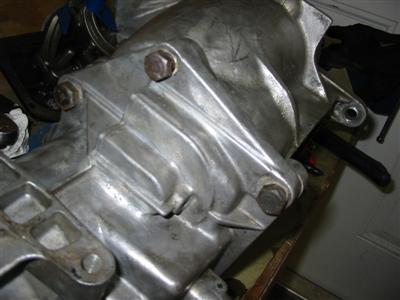
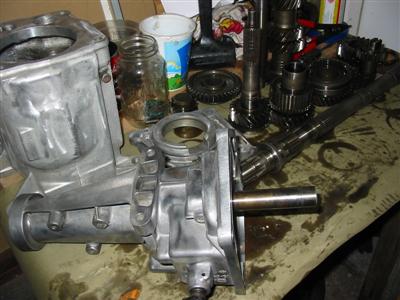
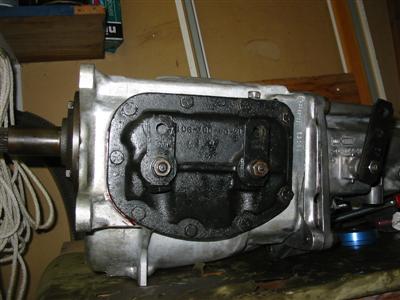
| Here is the transmission removed from the car and on the bench |
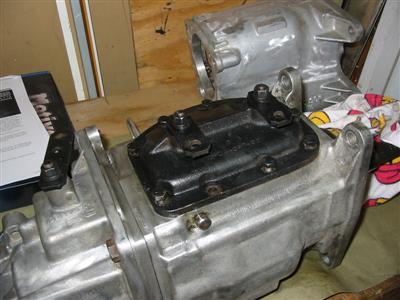
Here is the side cover removed and the forks still in place |
|
|
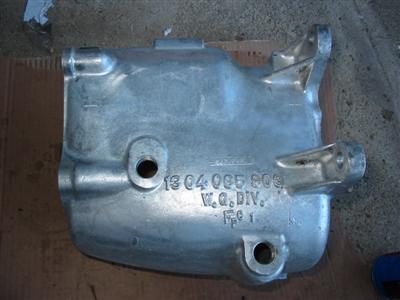
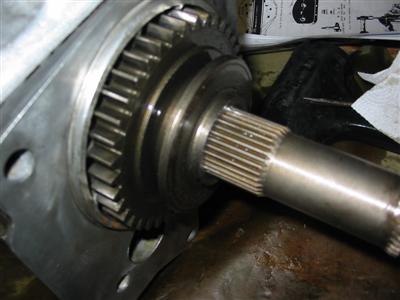
| The following pictures are of the removal of the tailshaft. This is where the reverse gear
is housed. |
|

|
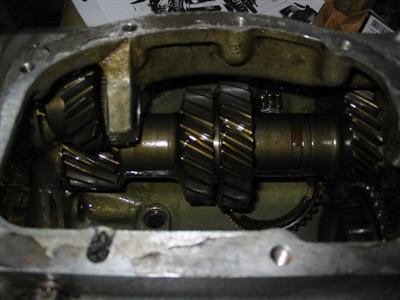
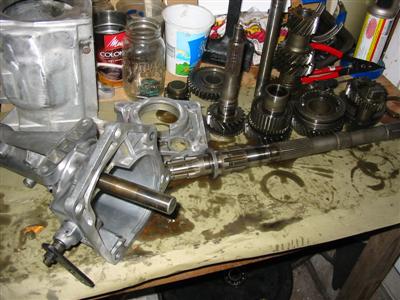
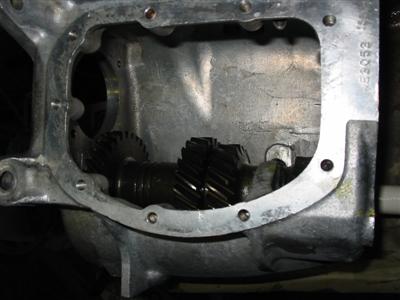
| Here is the case with the mainshaft removed and the counter shaft in the case |
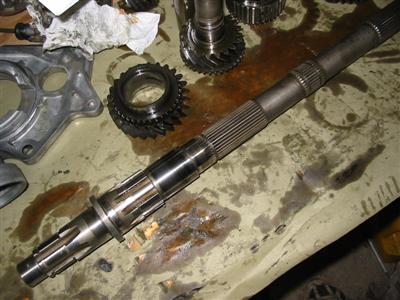
Here is the mainshaft out of the case |
|
|
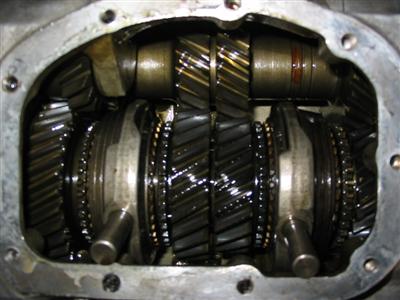
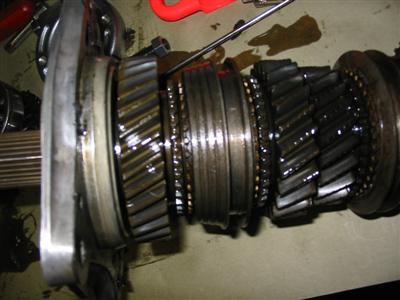
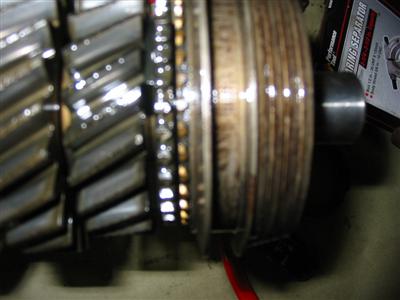
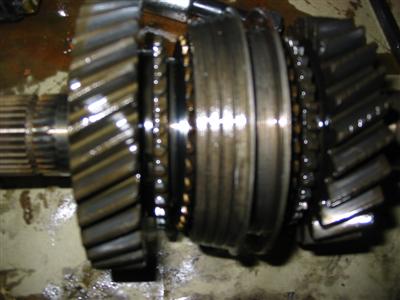
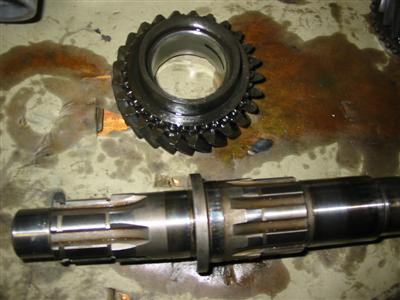
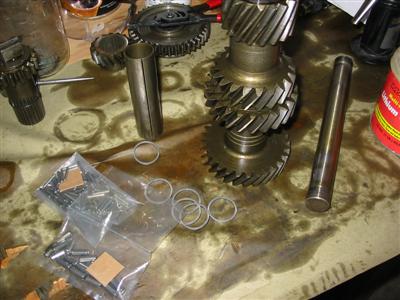
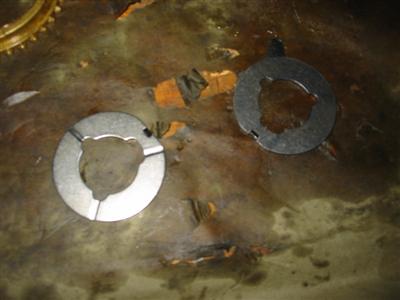
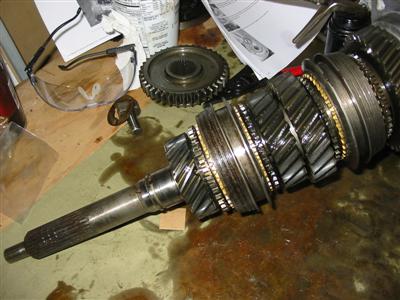
| Here are pictures of the mainshaft assembly. |
|
|

|
|
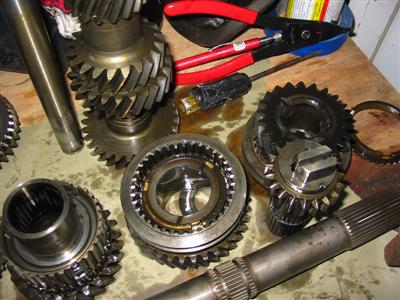
| Here are pictures of all the pieces of the transmission apart and ready to be put
back together including my new case. |
|
|
|
|
|
|
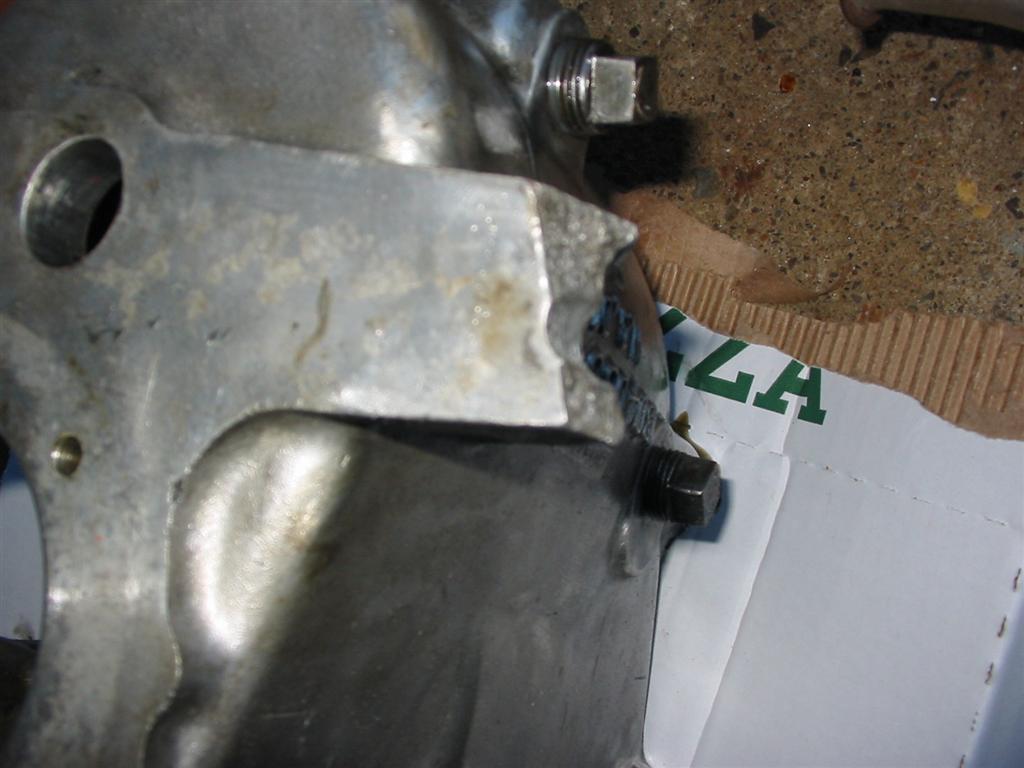
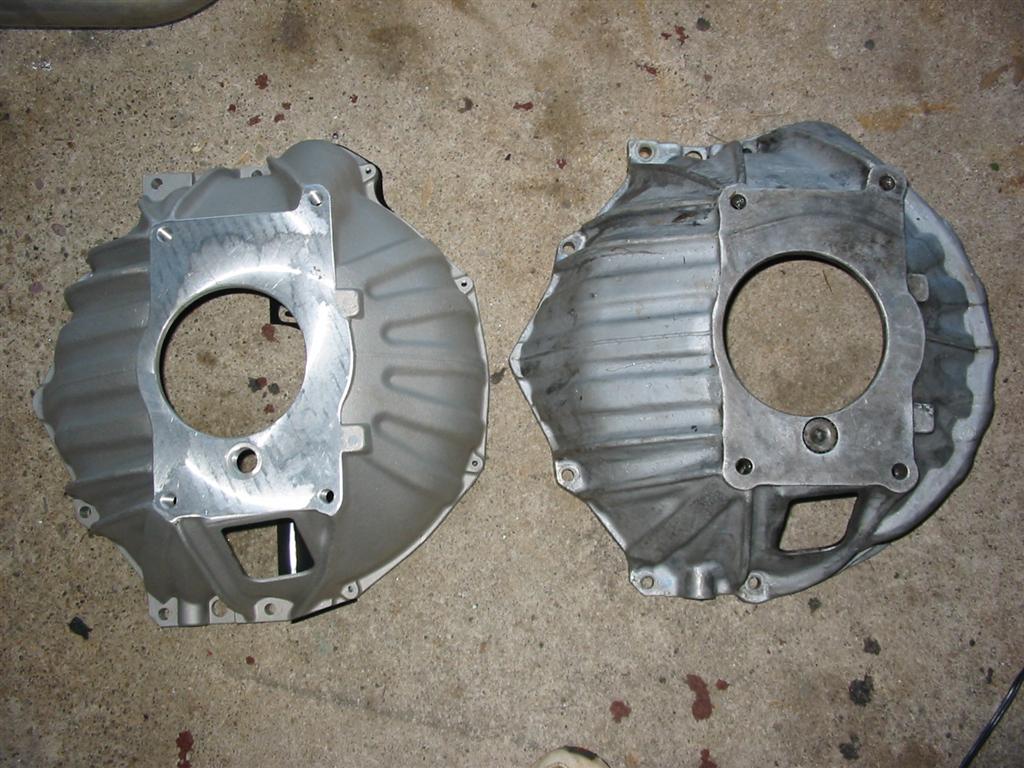
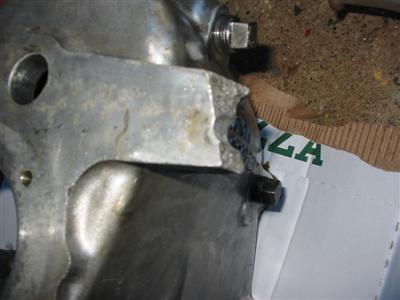
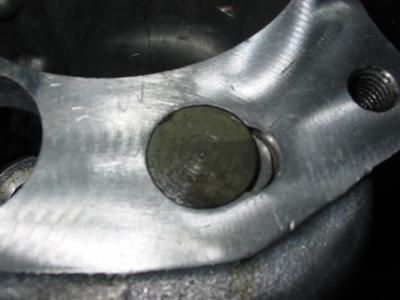
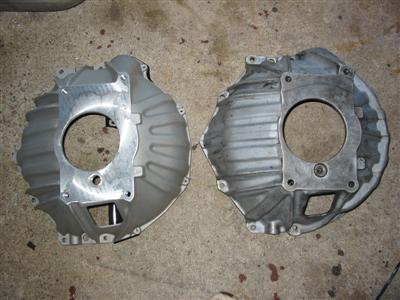
| Here is a side by side comparison of the two cases. You can see the broken ear in the
pictures. I suspect that the ear was broken because the previous owner of the transmission
used it with the truck bellhousing without an adapter. I believe this put stress on the
ears because the bearing retainer was not helping to locate and stabilize the
transmission to the bellhousing |

|
|
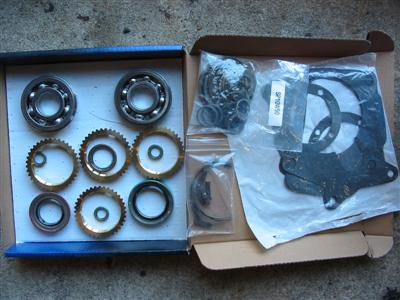
| Here is the kit I purchased on ebay. This kit is made by Motive Gear and includes
bearings, seals, gaskets, synchro rings, snap rings, washers, needle Rollers
and various small parts |
|
|
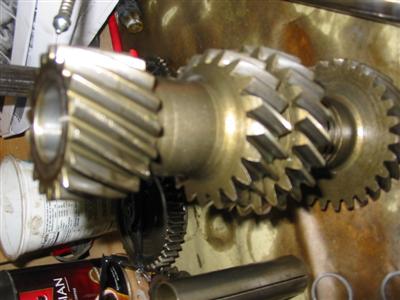
| Here is the mainshaft with 1st and 2nd gear assembly installed. |
|
|
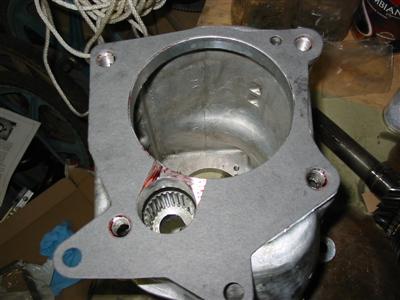
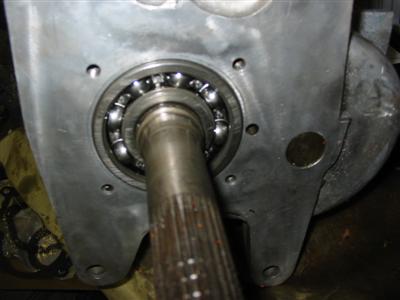
| Here is the midplate and new rear bearing ready to be installed. Once the bearing
was installed into the midplate, the mainshaft is pressing onto the bearing. |

|
|
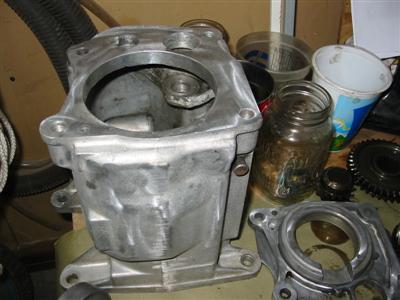
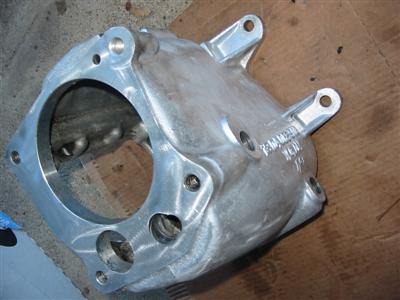
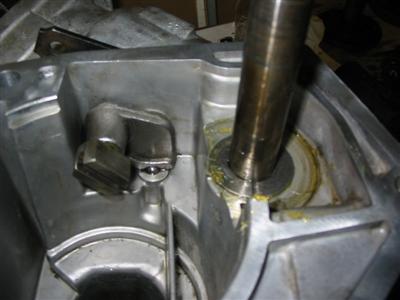
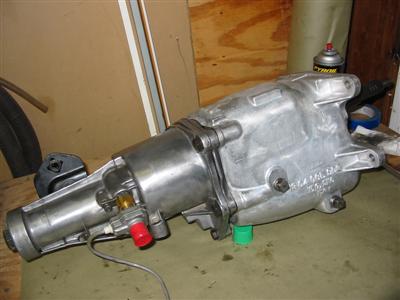
| Here is my new case cleaned up and ready to go. |
|
|
| The next step is to install all the needle bearings and spacers into the counter shaft.
I used grease to keep the needle bearings in place while installing them. |
|
|
|
|
| The counter shaft is installed into the case using the new thrust washers. |
|
|
|
|
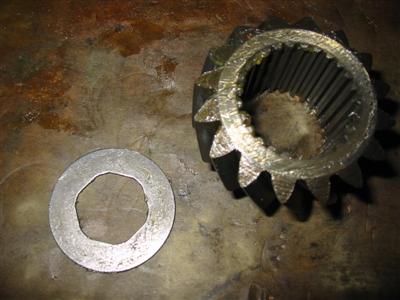
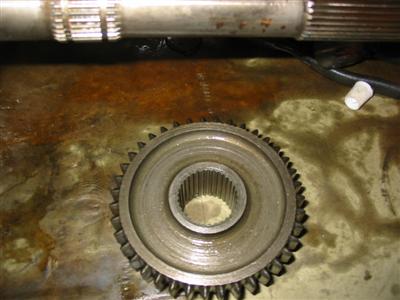
| The next step was to install the countershaft idler gear and thrust washer. |
|
|
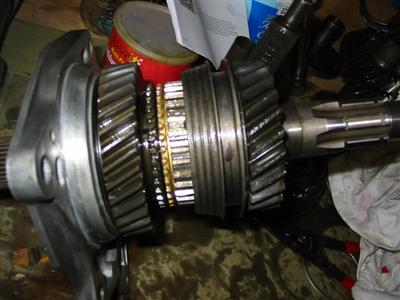
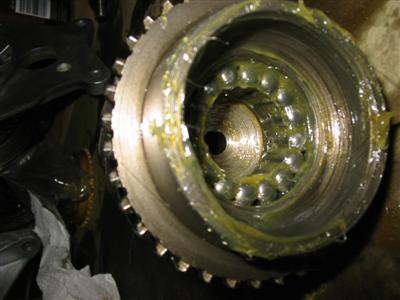
| Next I loaded up the input shaft with needle bearings using grease to hold them in place. |
|
|
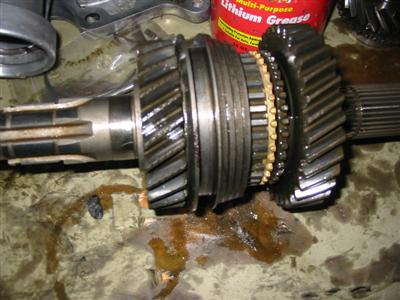
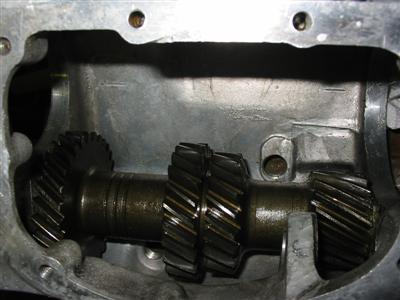
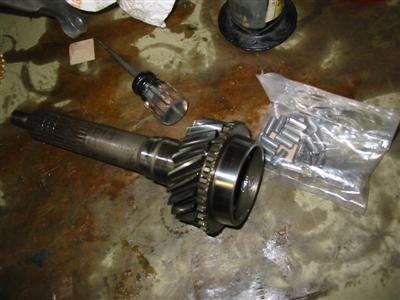
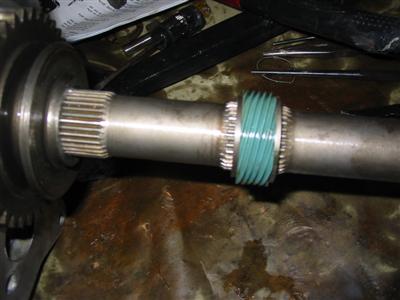
| Here is the whole mainshaft now loaded up with the 3rd and 4th gear assemblies and with
the input shaft test fitted. |
|
|
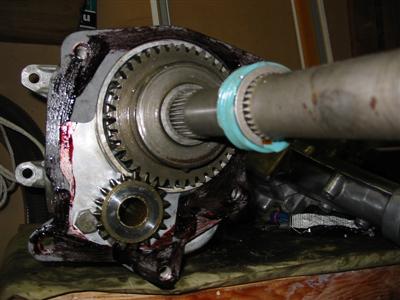
| I put everything back together using the supplied gaskets including installing the front
bearing and retainer. |
|
|
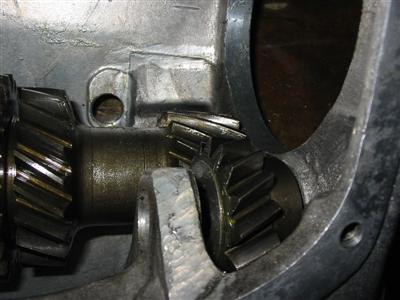
| Next up was to install the reverse gear, reverse idler gear, speedometer gear and reverse
shift fork. This is where I made my mistake and missed installing a retaining clip.
This allowed the mainshaft assembly to move slightly forward and allow the first
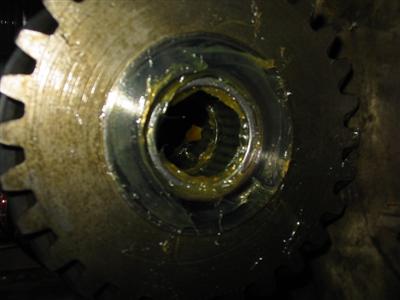
gear to contact the countershaft idler gear and to slightly chip the edge of first
gear. I was lucky and the damage was minor and did not hurt the transmission. The
lesson is to be careful and precise and not rush the rebuild of a transmission. |
|
|
|

|
|
|
| Here is everything put back together before the side cover is installed. |
I then installed the side cover and tested that the transmission shifted into all gears. |

|
|
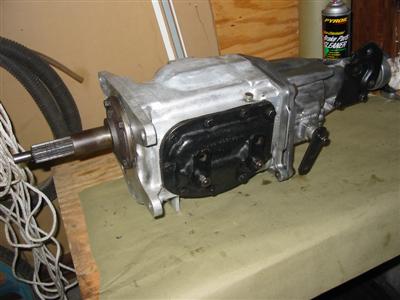
| Here it is with everything put back together and ready to be installed. |
|
|
| Here is a comparison of the truck bellhousing and the reproduction 621 bellhousing.
As you can see the hole for the bearing retainer is bigger on the truck bellhousing
on the right. |
|
|