|

Front Spoiler and Miscellaneous (September 20, 2012)
This page documents the installation of the Front Spoiler and miscellaneous interior and exterior items. The front spoiler is a reproduction piece for the Rally Sport. I had to make the spoiler braces out of steel tube. I have also documented the installation of eBay headlights with removable H4 bulbs with halo rings.Also on this page is the installation of a factory back seat, Ring Brothers door strikers, Fesler Built door lock knobs and a Grant GT steering wheel.
Status photos as of 9/20/2012:
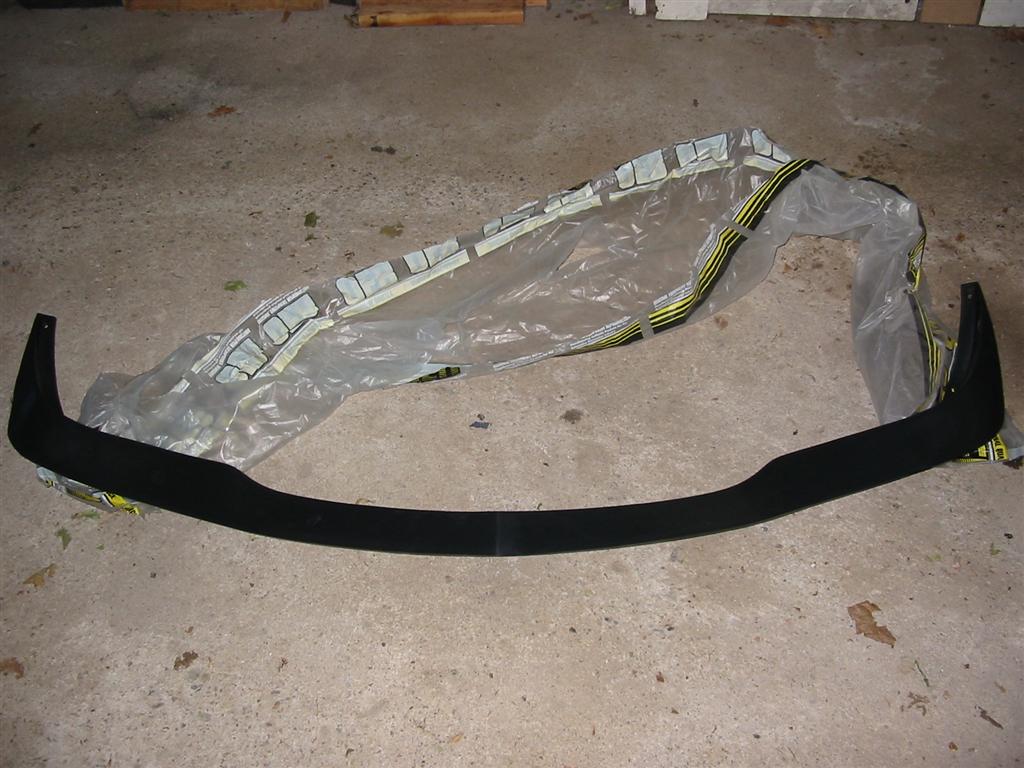
| The front spoiler is made of black molded plastic and mounts to the car under the front valance. | |
|
|
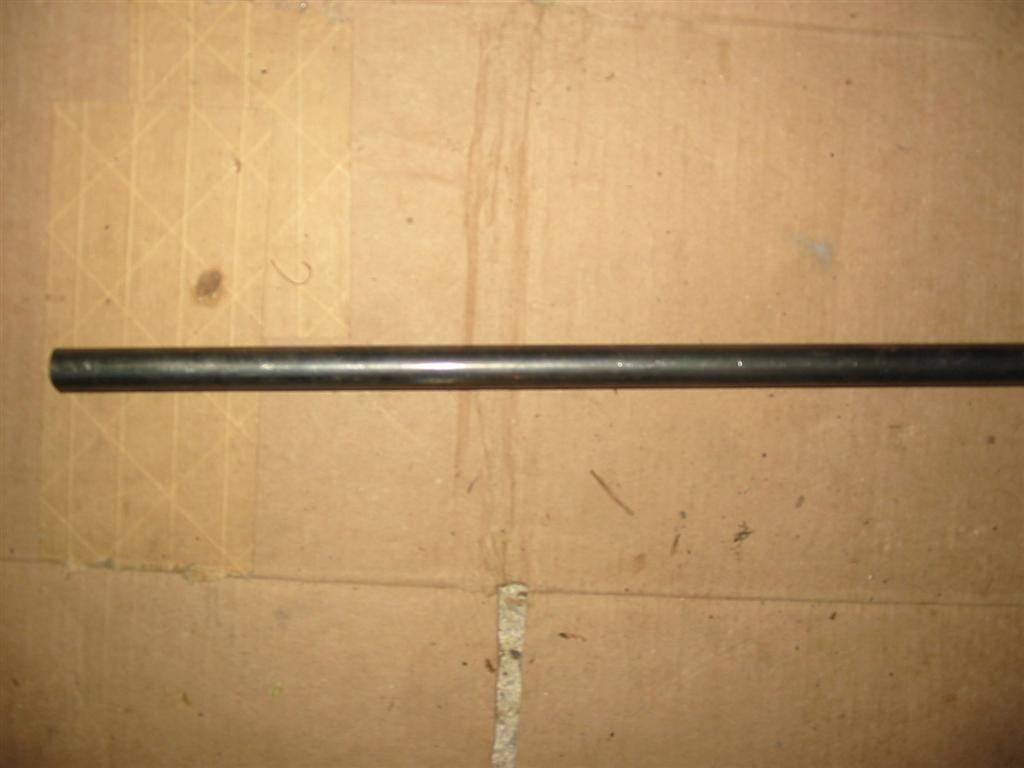
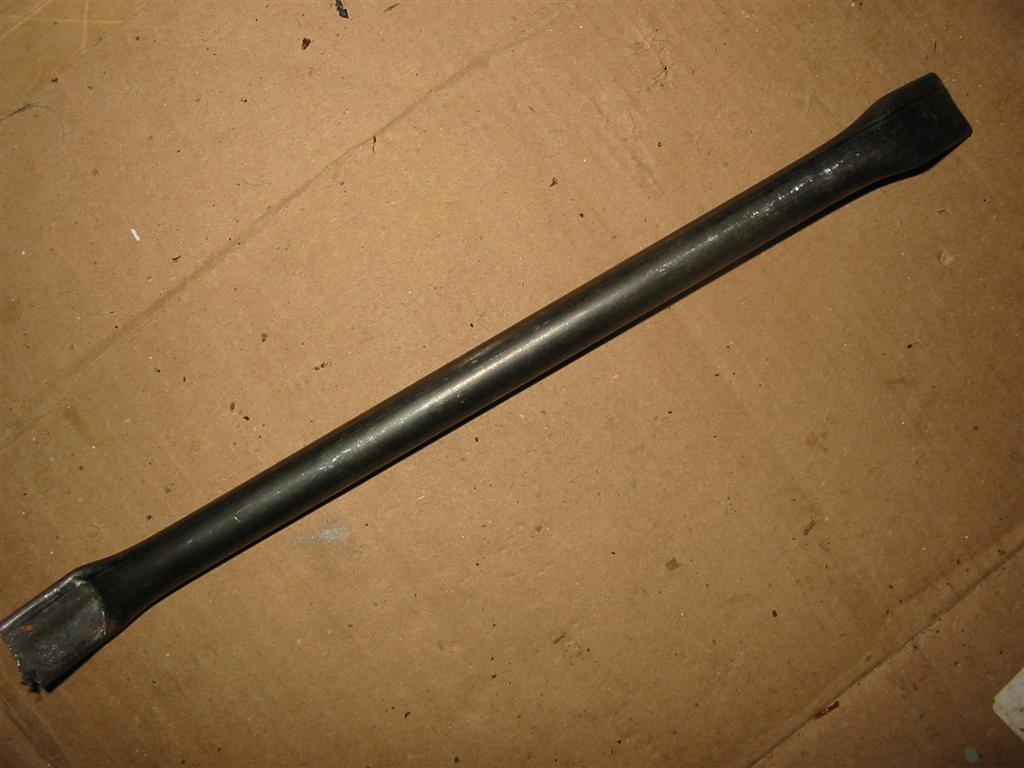
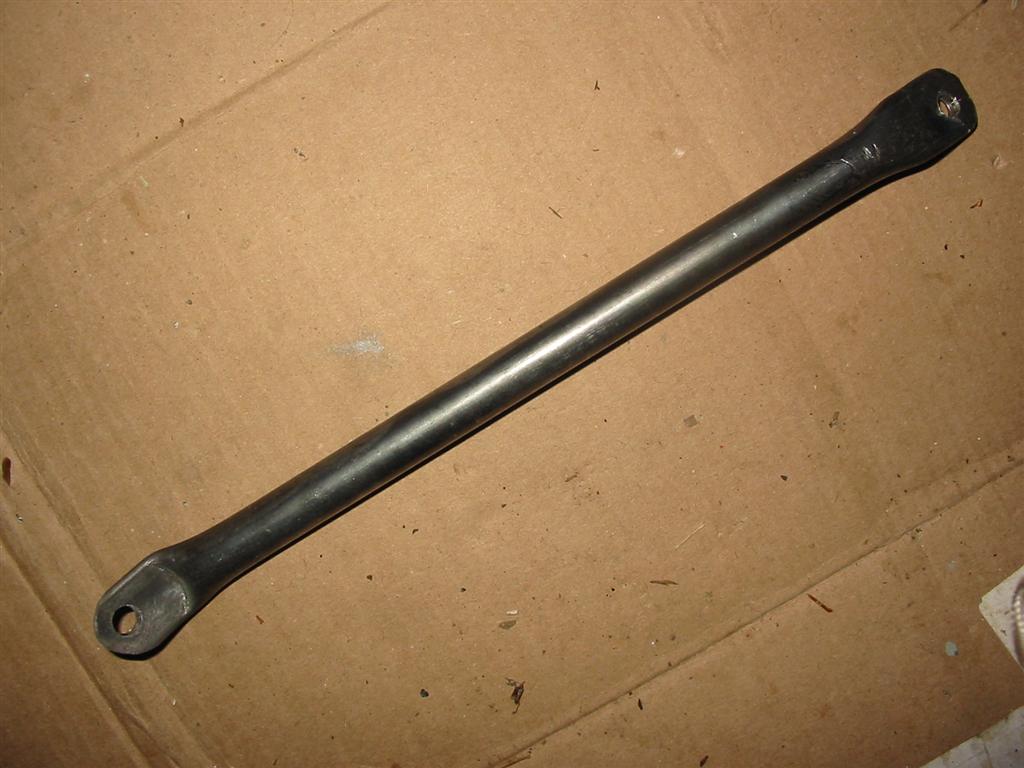
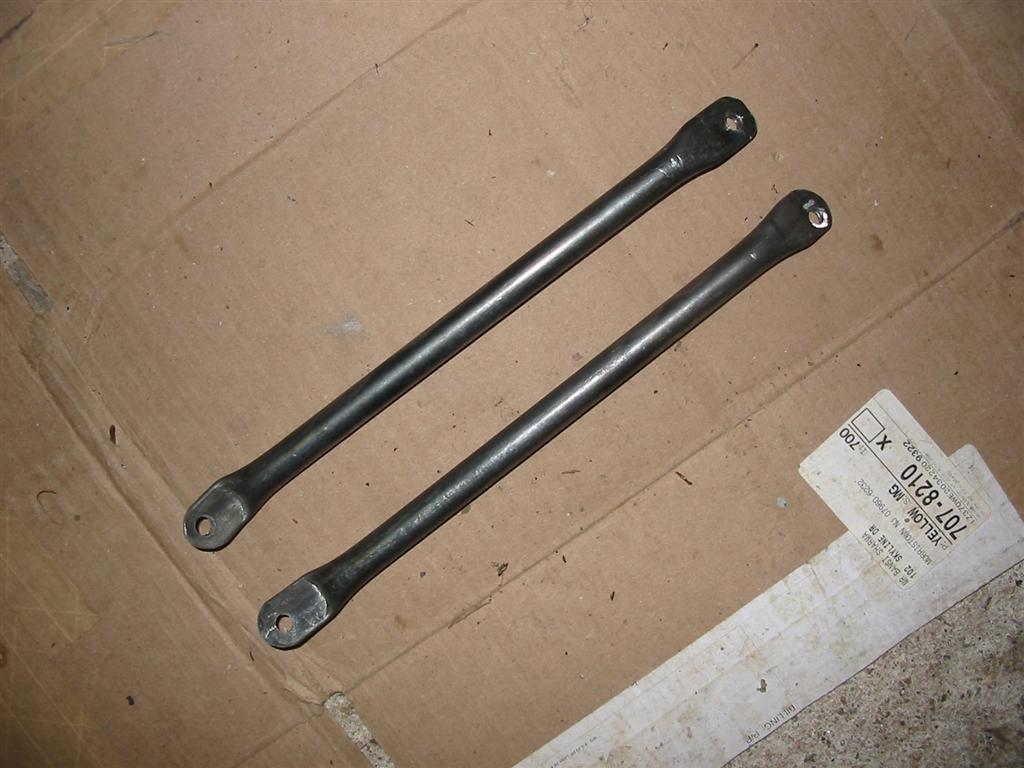
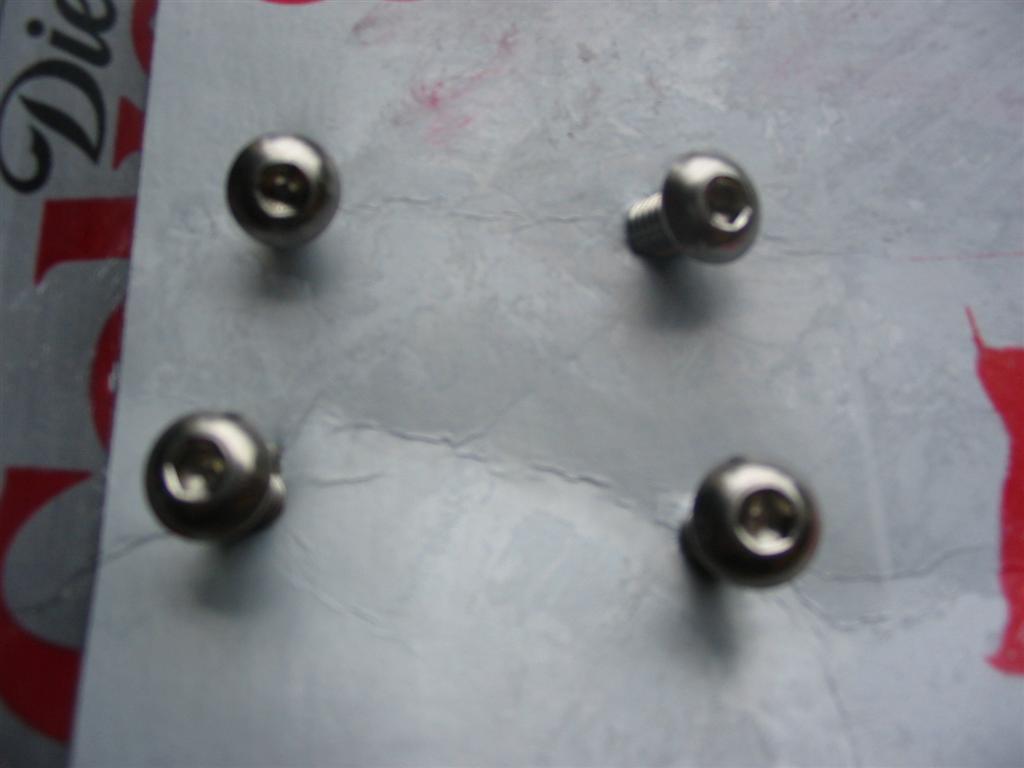
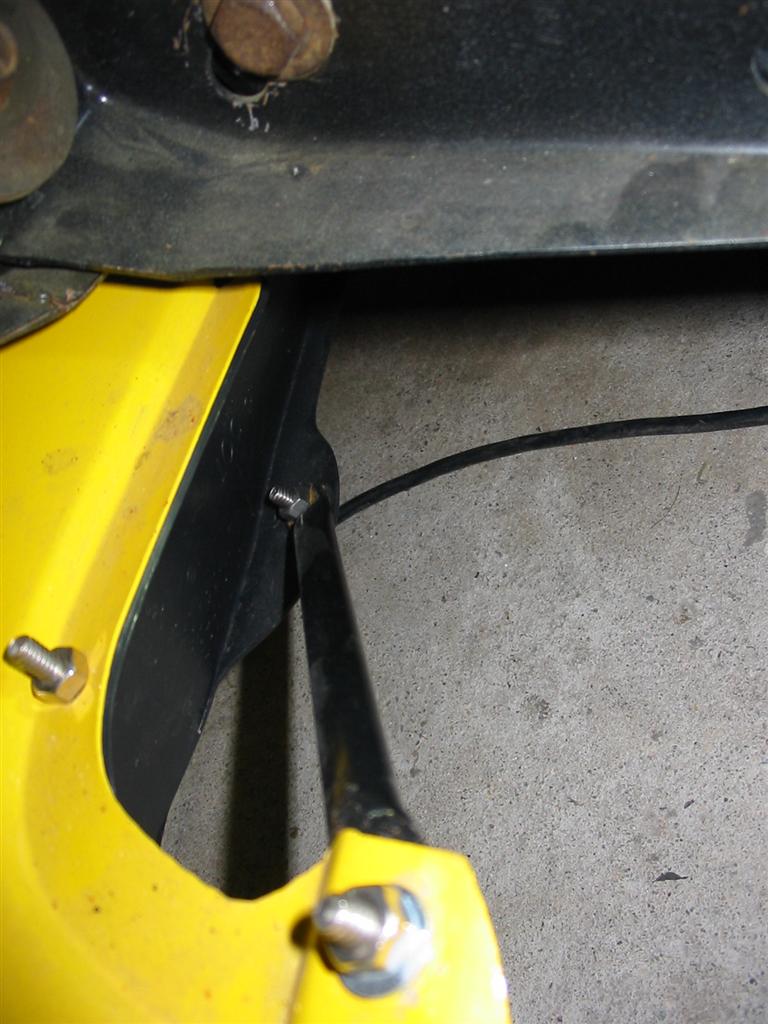
| The mounting kit for the front spoiler is not available for the early second generation Camaros. I decided to make my own spoiler braces out of some steel pipe and used a press to make the flat mounting ends. I used stainless steel button head bolts to mount the braces and spoiler. | |
|
|
|
|
|
|
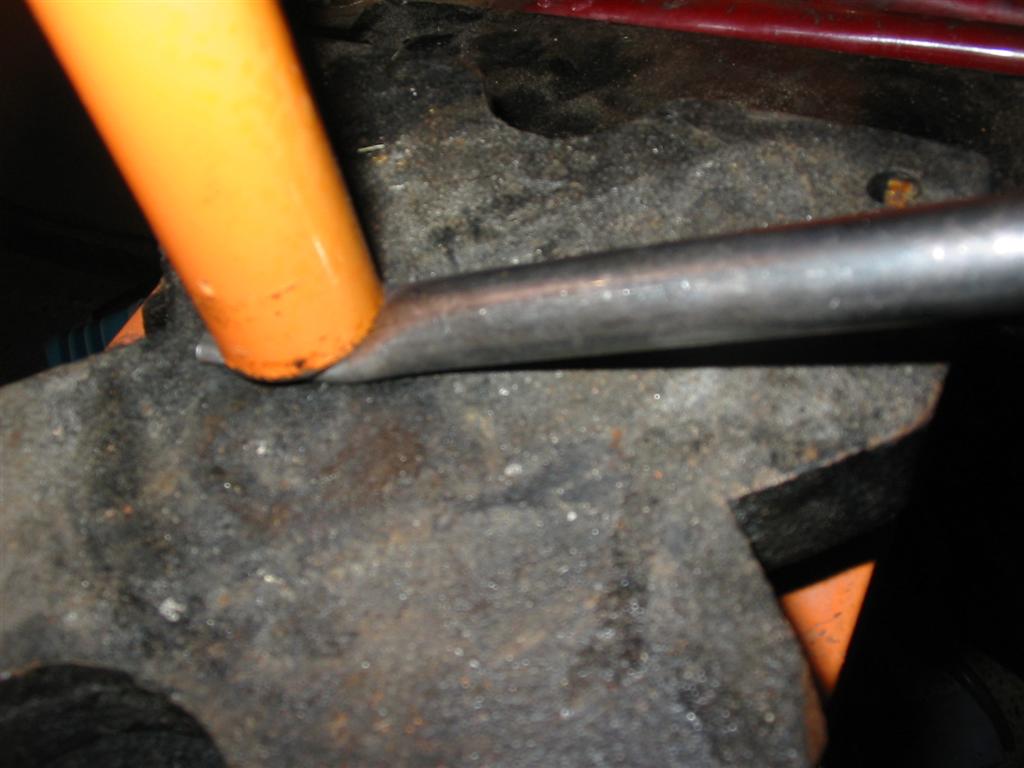
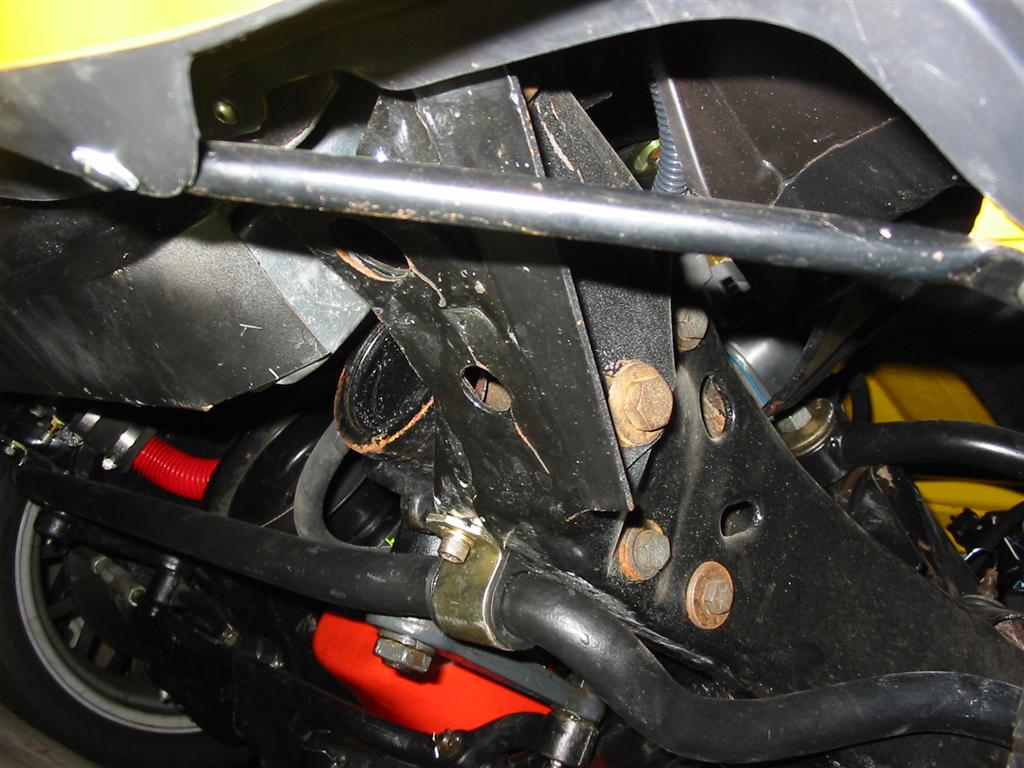
| Here are pictures of the spoiler brace installed on the driver's side. You can also see the how the spoiler attaches to the valance using nuts and bolts. | |
|
|
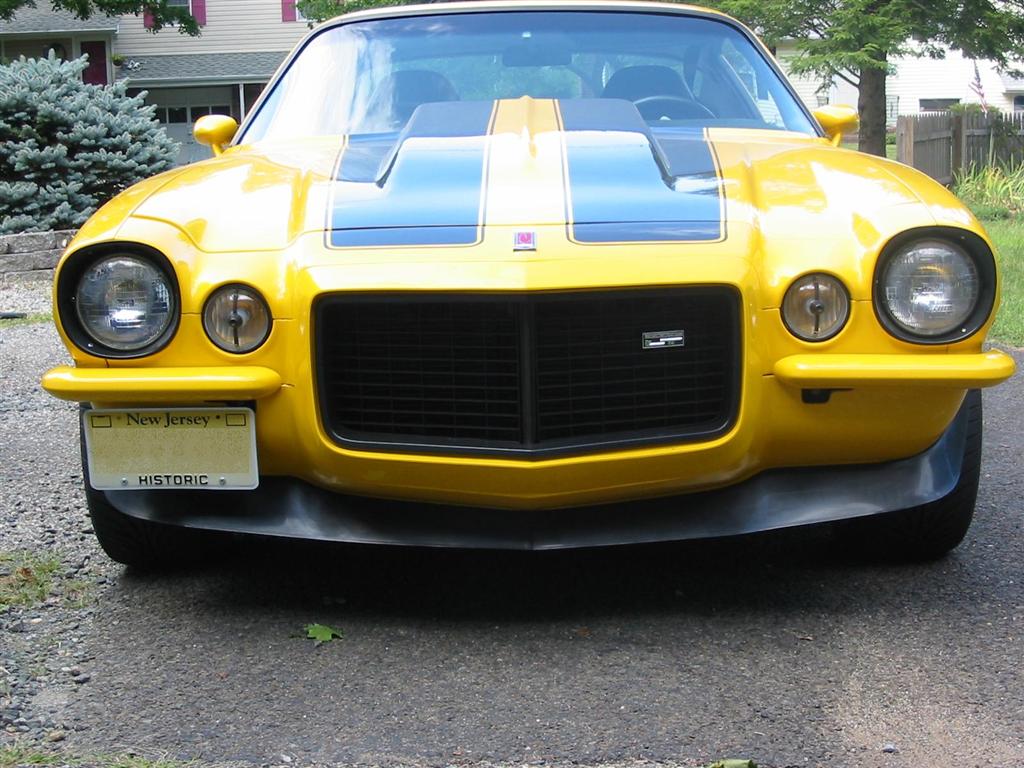
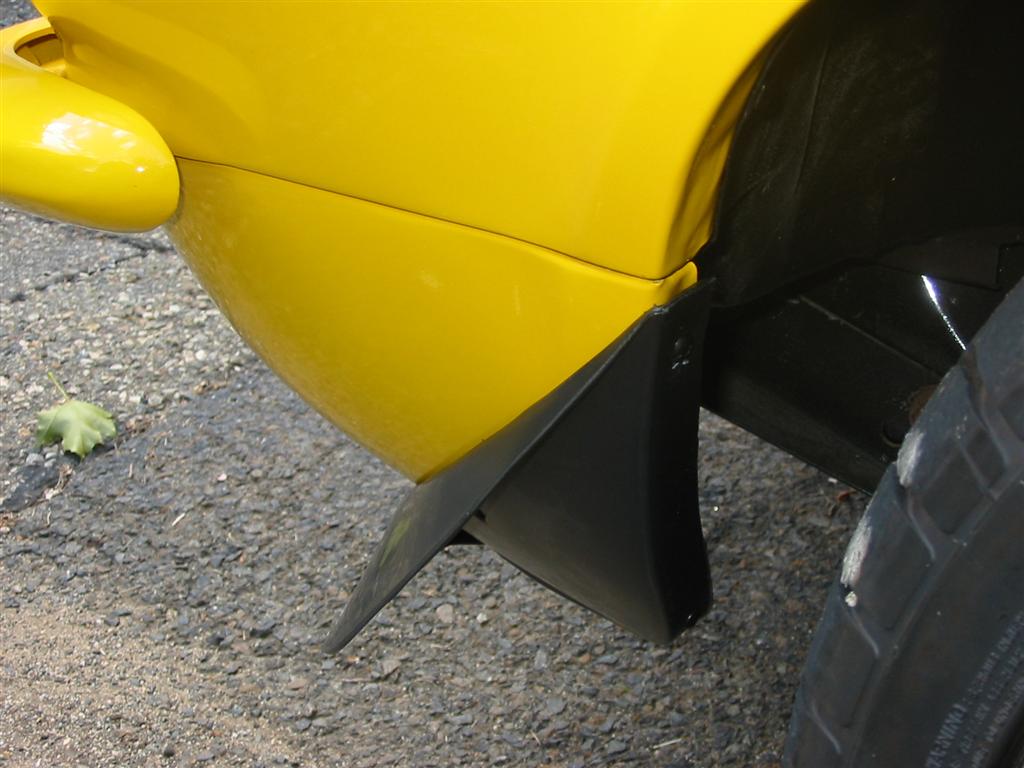
| Here are pictures of the spoiler installed. I opted to not drill into the valance for the side mounting screws of the spoiler. I did screw into the back of the valance in the wheel well. | |
|
|
|
|
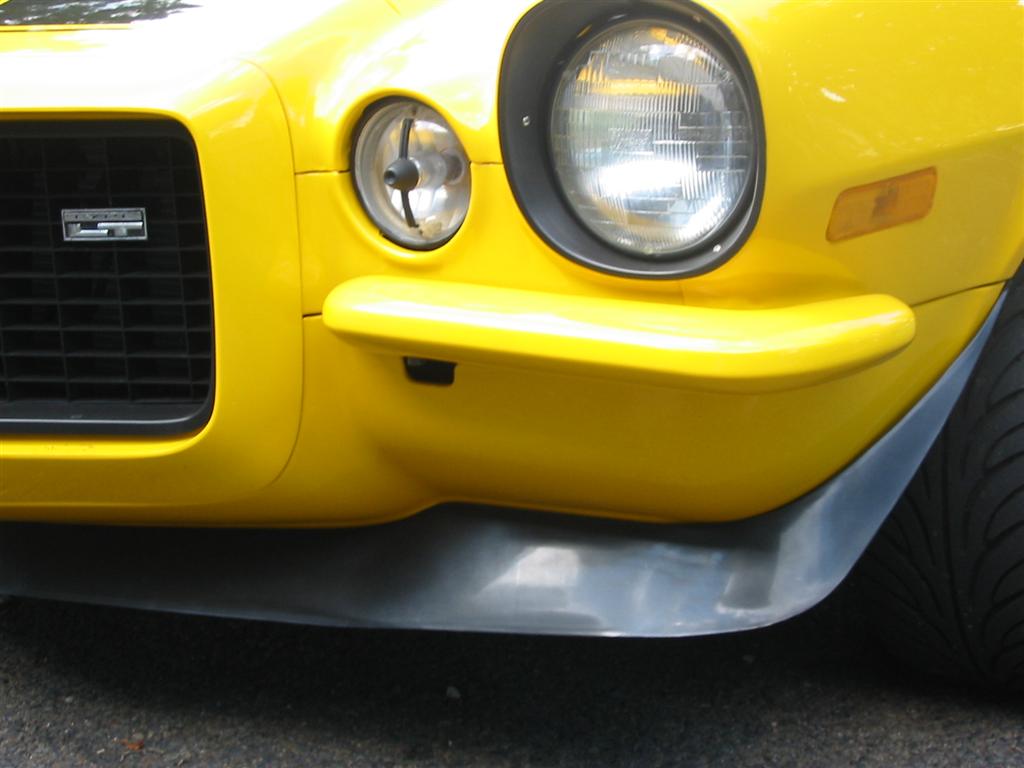
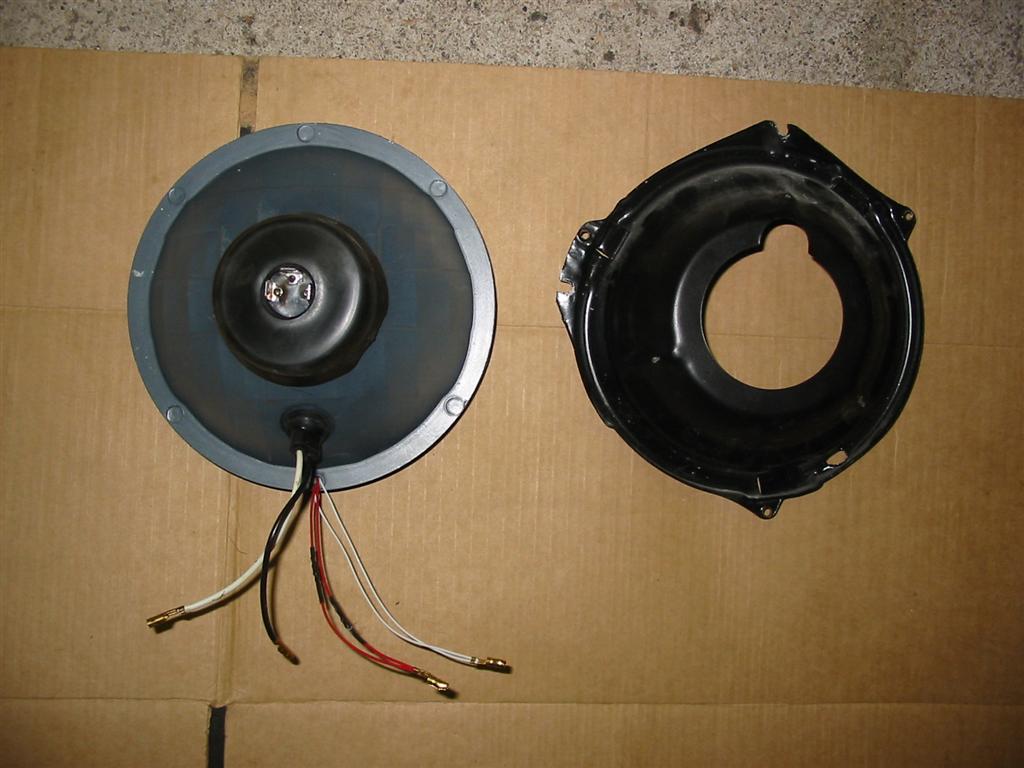
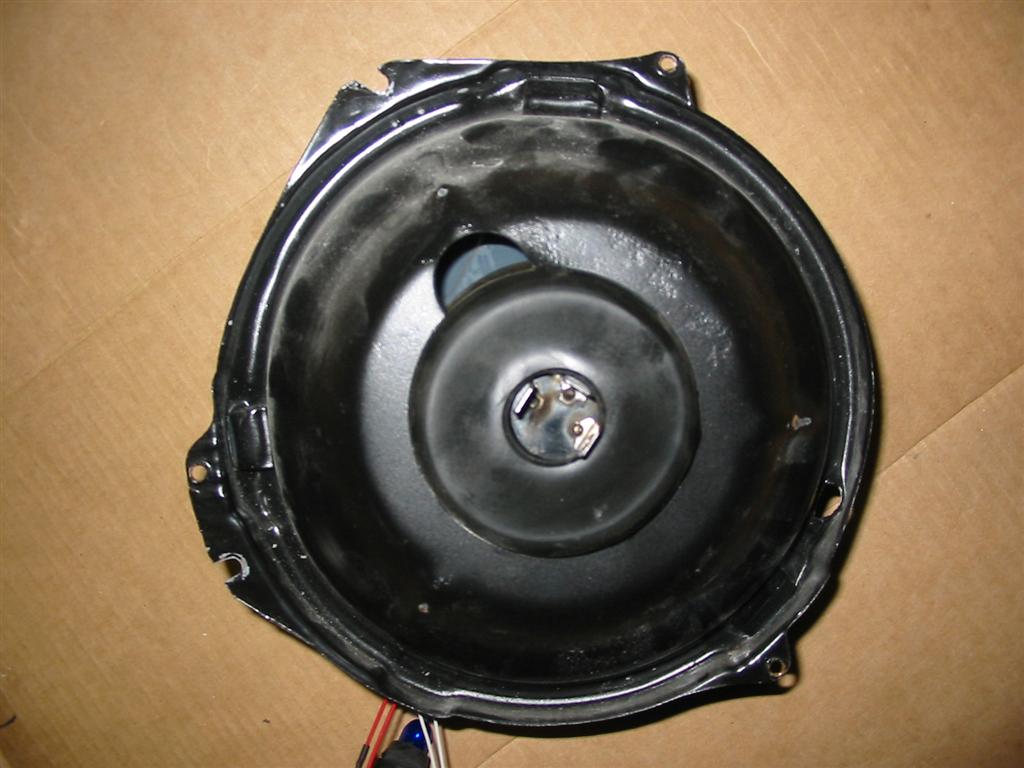
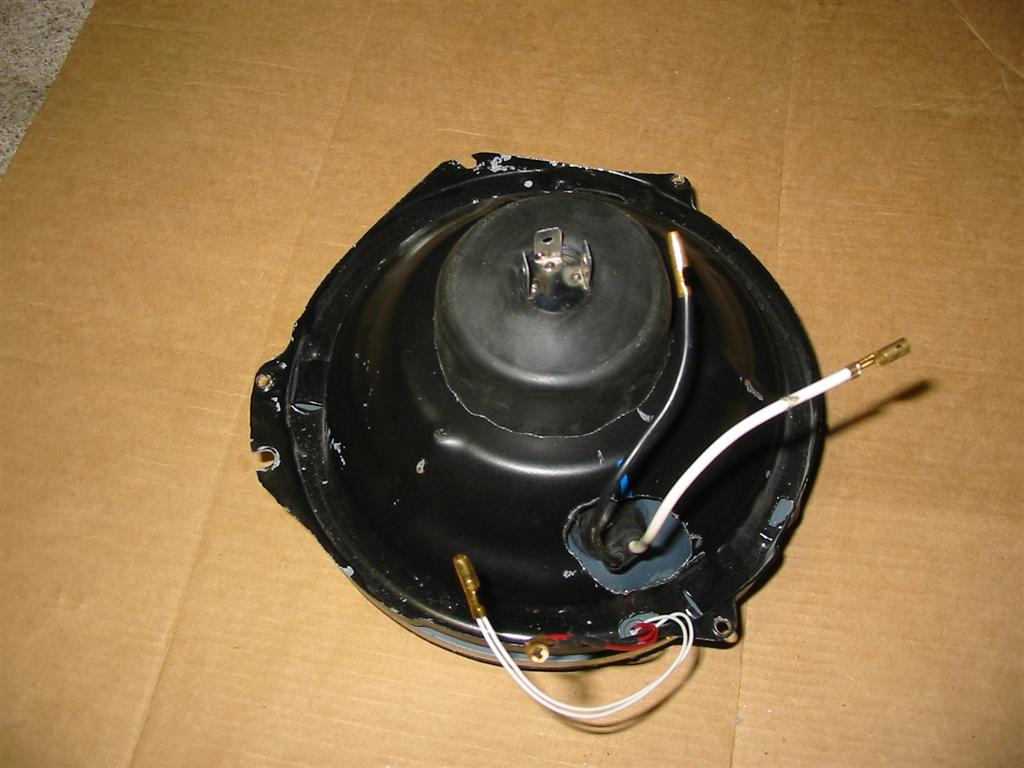
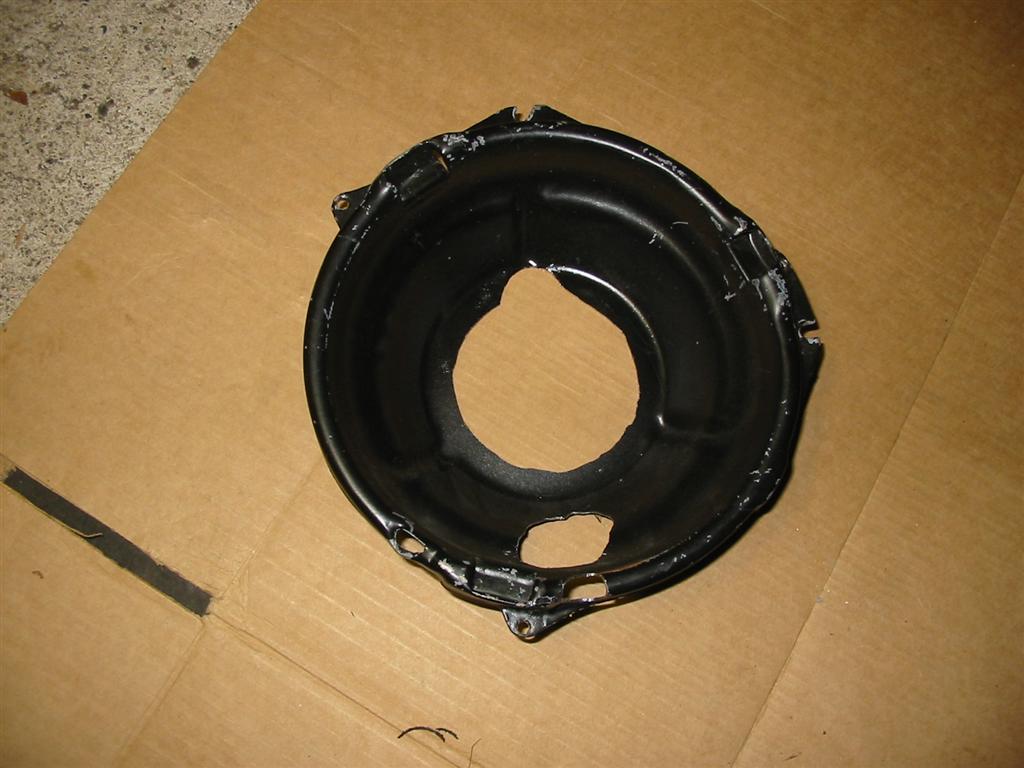
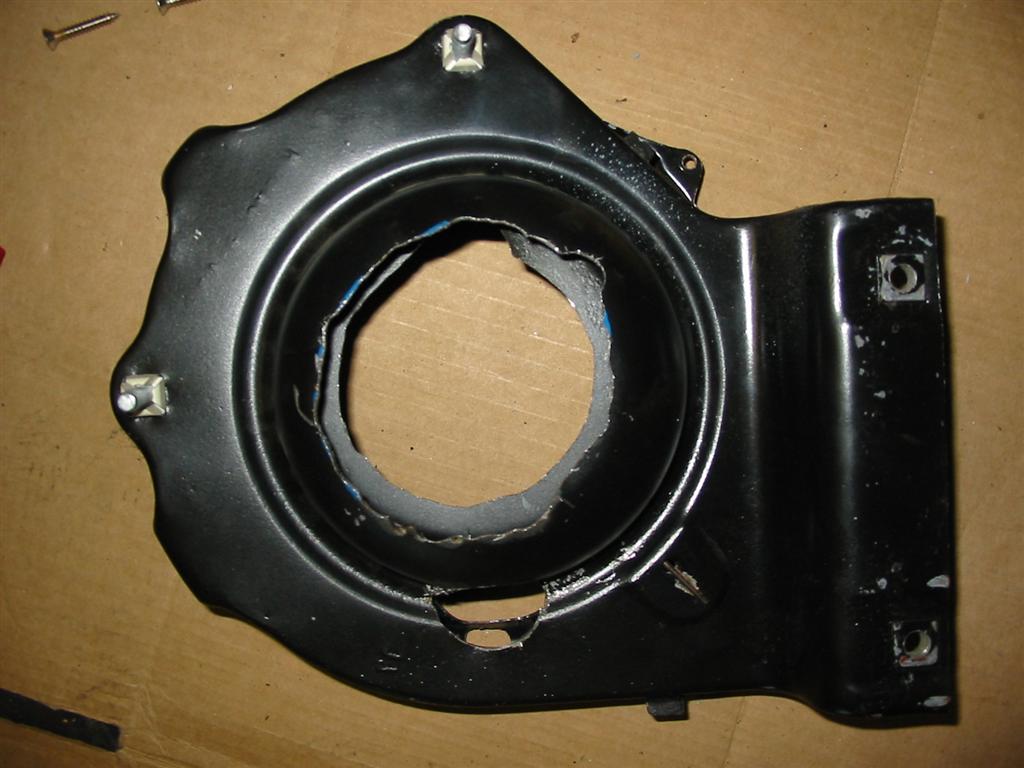
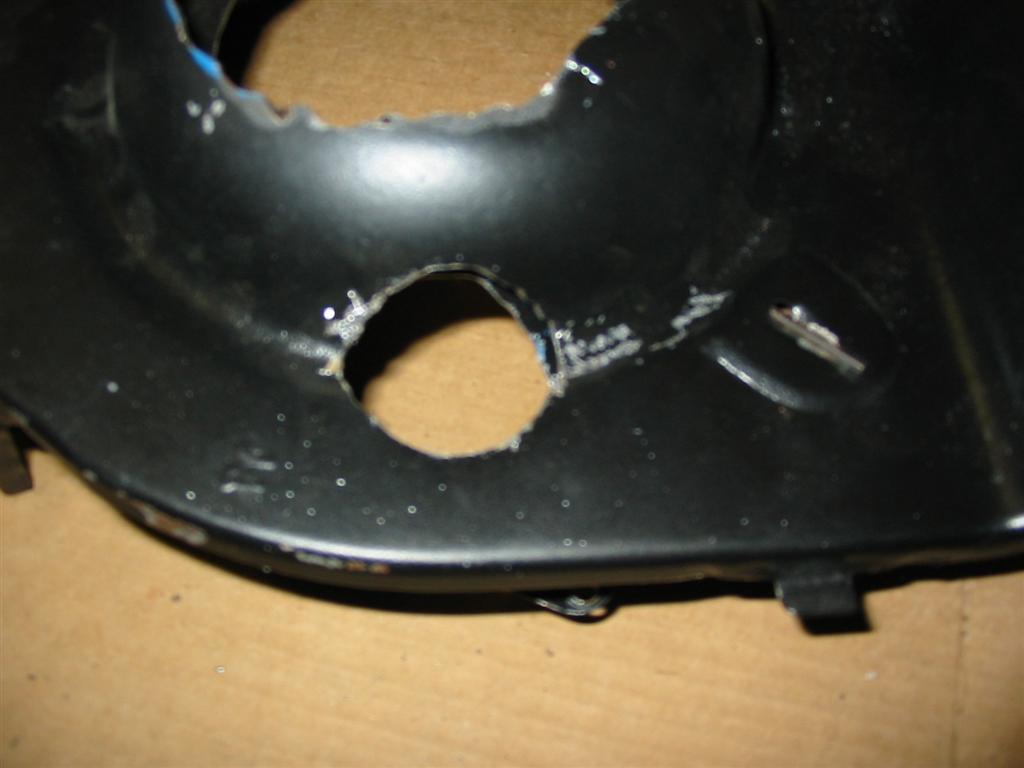
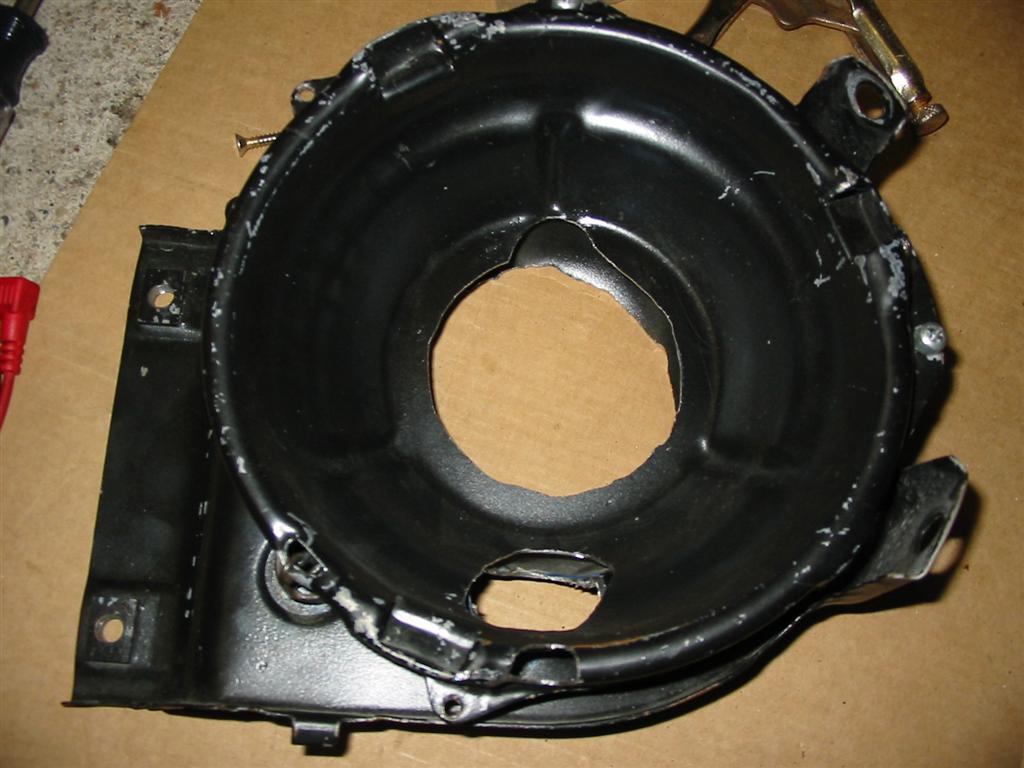
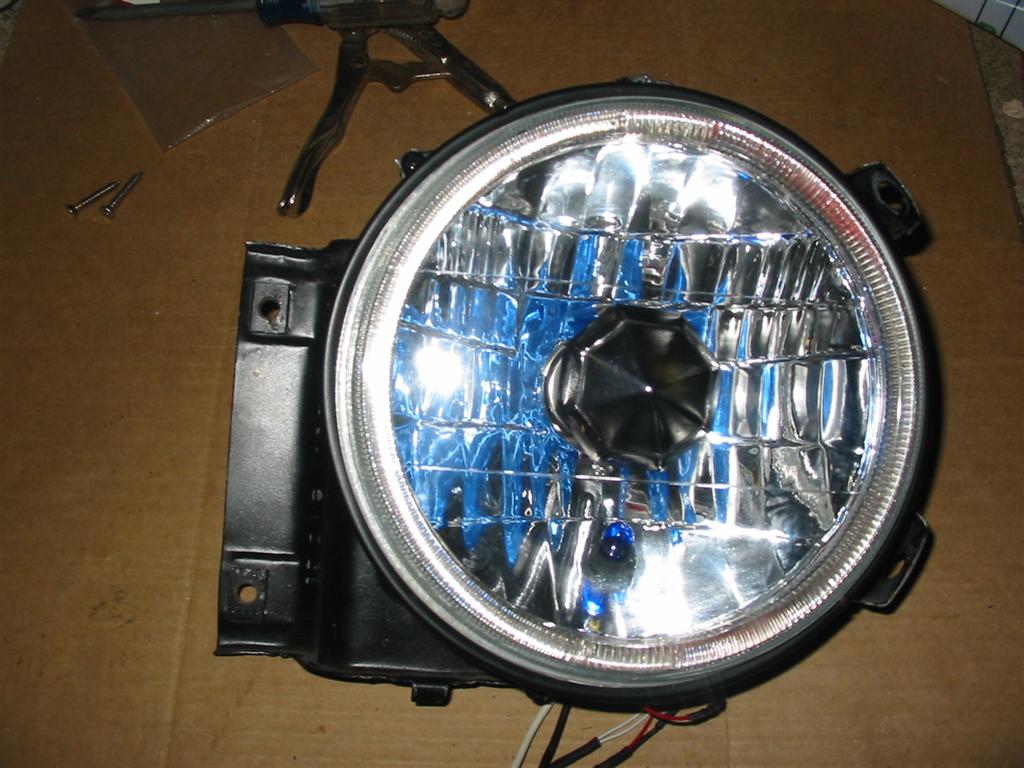
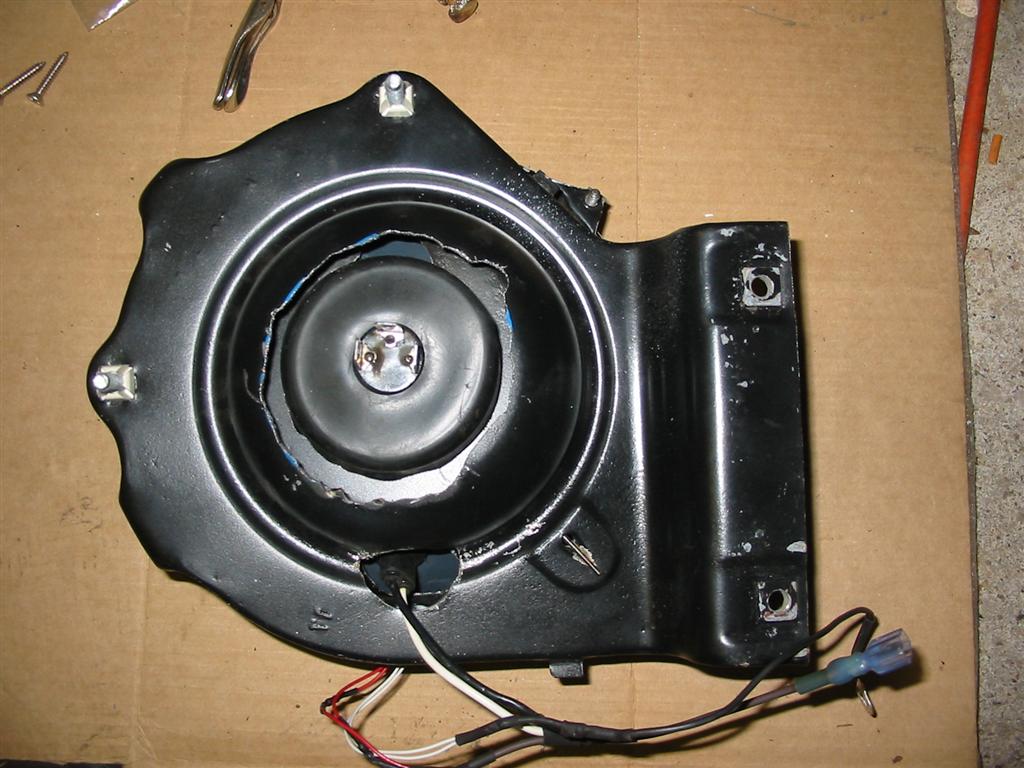
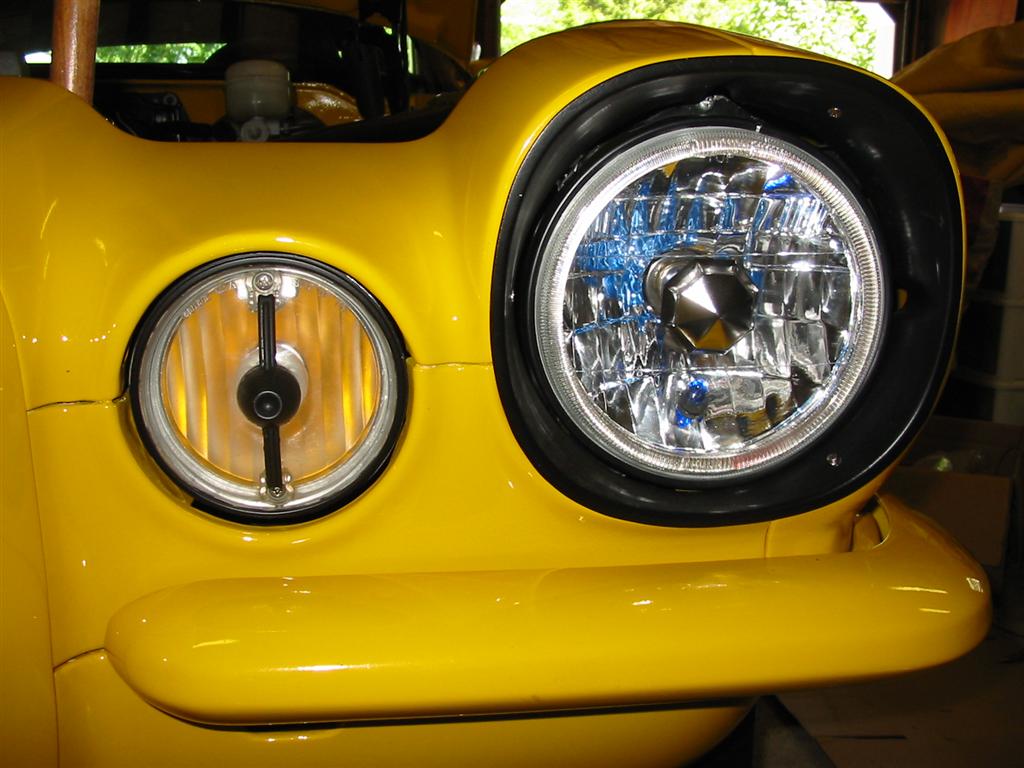
| I picked up a set of the Glass lens headlights with removable H4 bulbs. The headlights have a halo ring that I hooked up to come on with the parking lights. The lights required trimming the headlight bucket and the headlight mount. | |
|
|
|
|
|
|
|
|
|
|
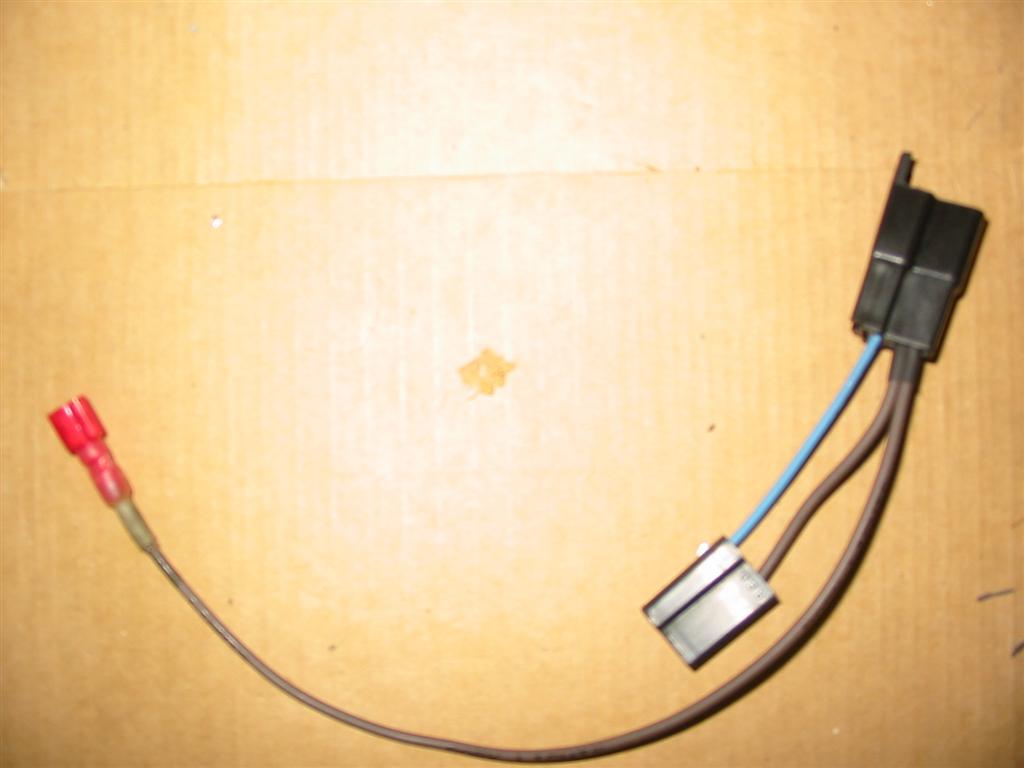
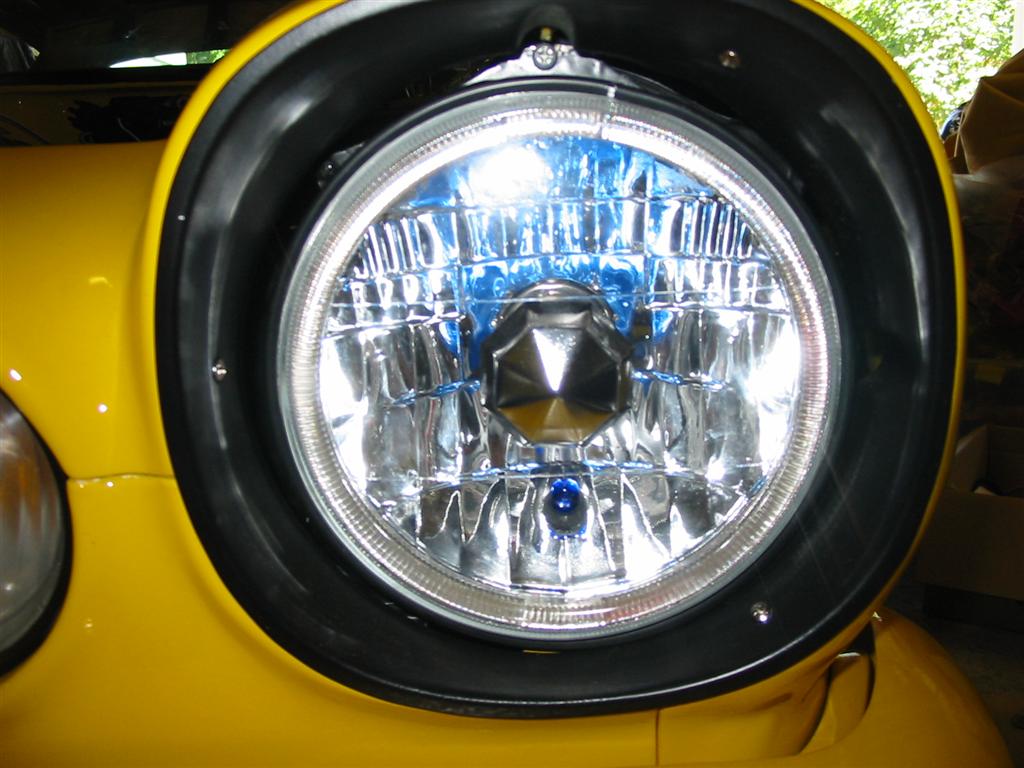
| The light required wire hookups for the halo ring and a small color bulb in the headlight. I didn't want to cut my new parking light harness, so I made a harness that fits between the parking light harness and the parking light. This makes this headlight wiring easy to remove in the future if I ever get rid of these lights. | |
|

|
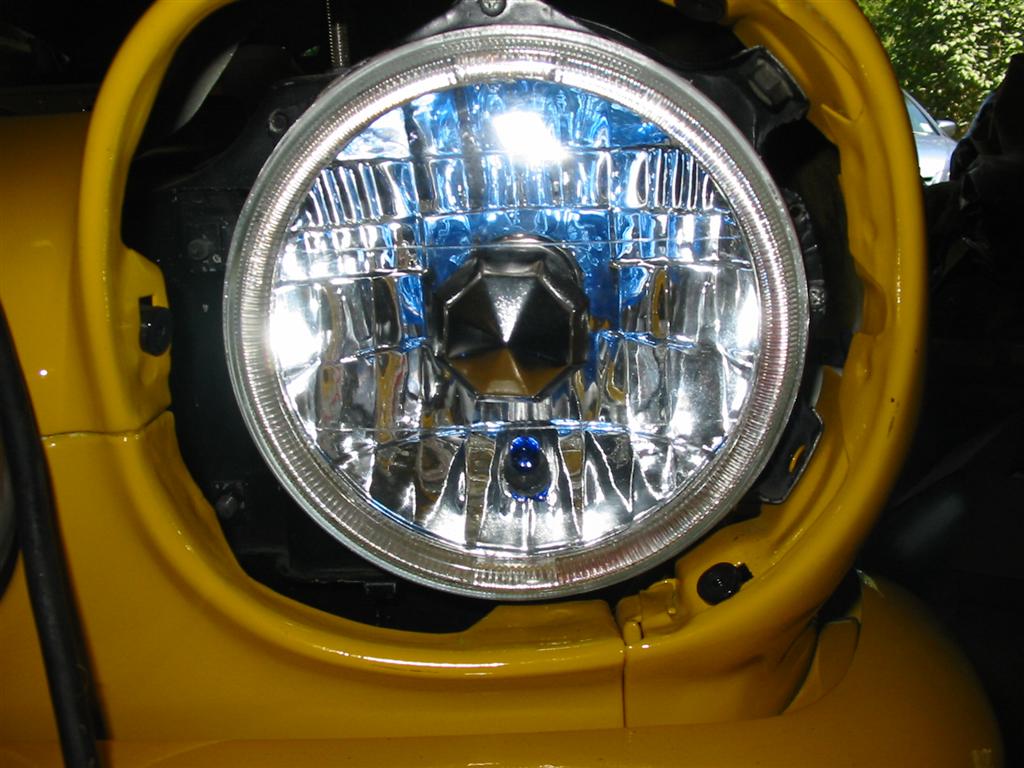
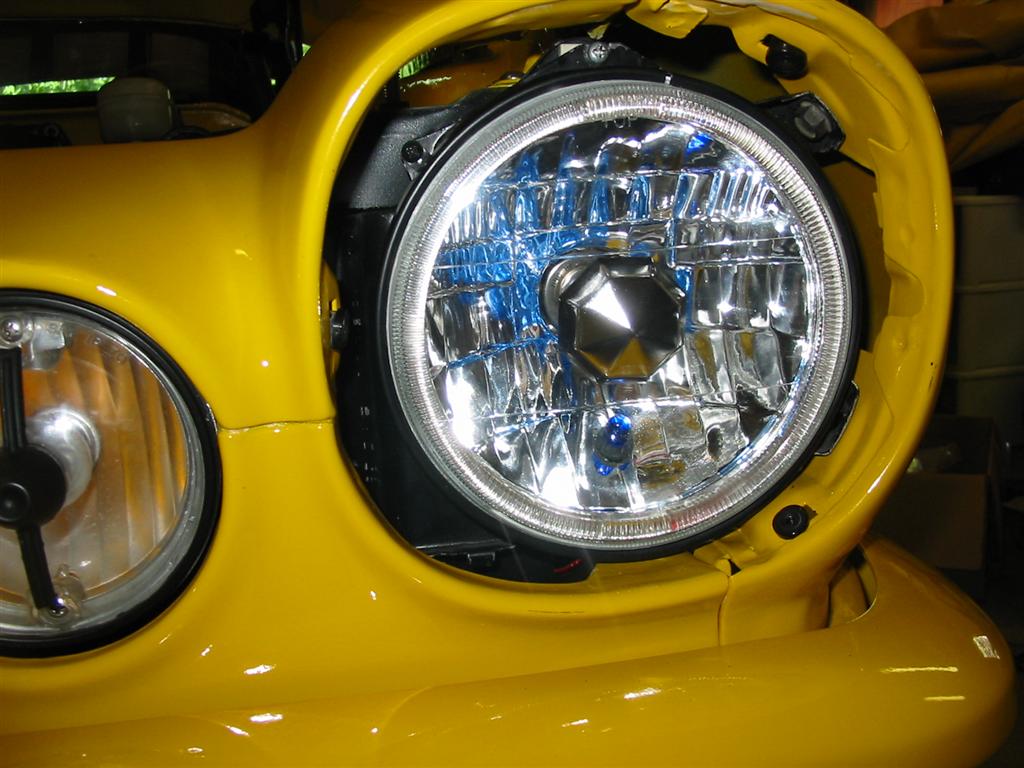
| Here are the lights installed in the car. Overall they are ok. I am not thrilled about the light output from these. I am using relays so I have enough voltage. However; they do not seem much brighter than the old sealed beams. | |
|
|
|
|
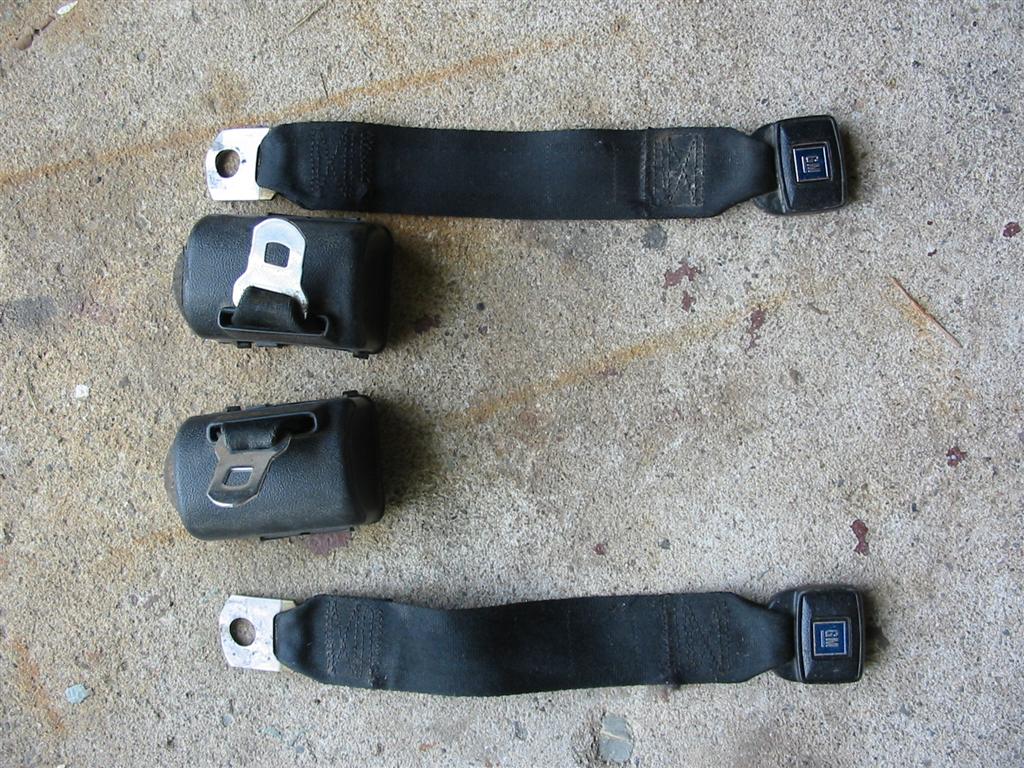
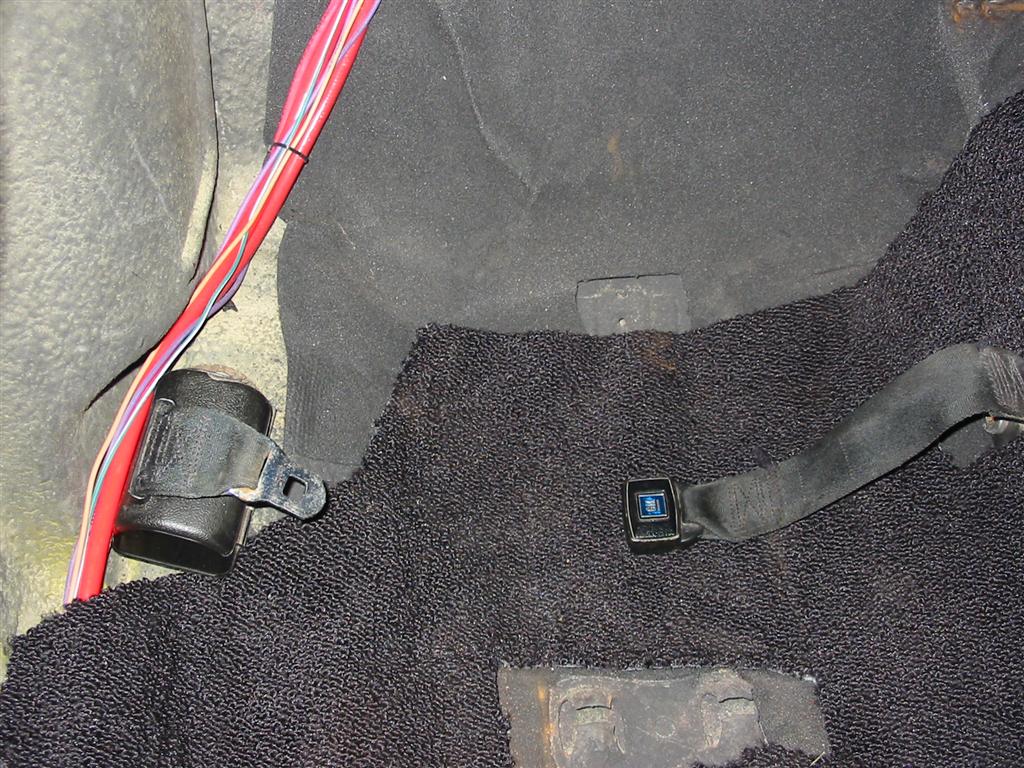
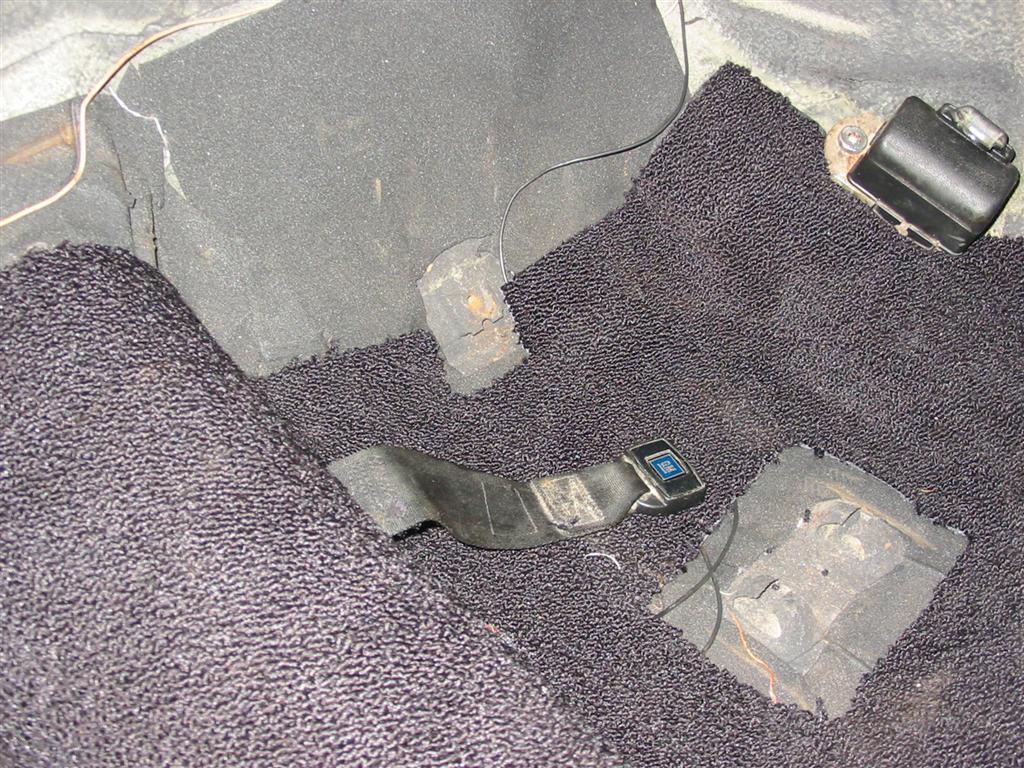
| Before installing the back seat, I had to install the factory seat belts. | |
|
|
|
|
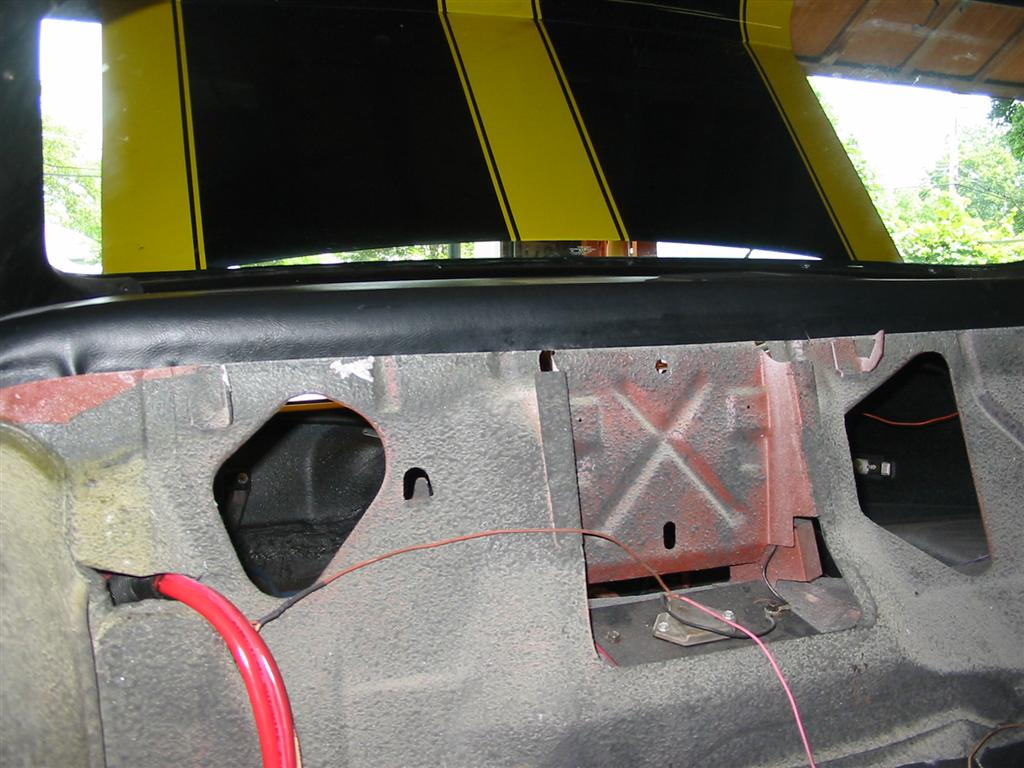
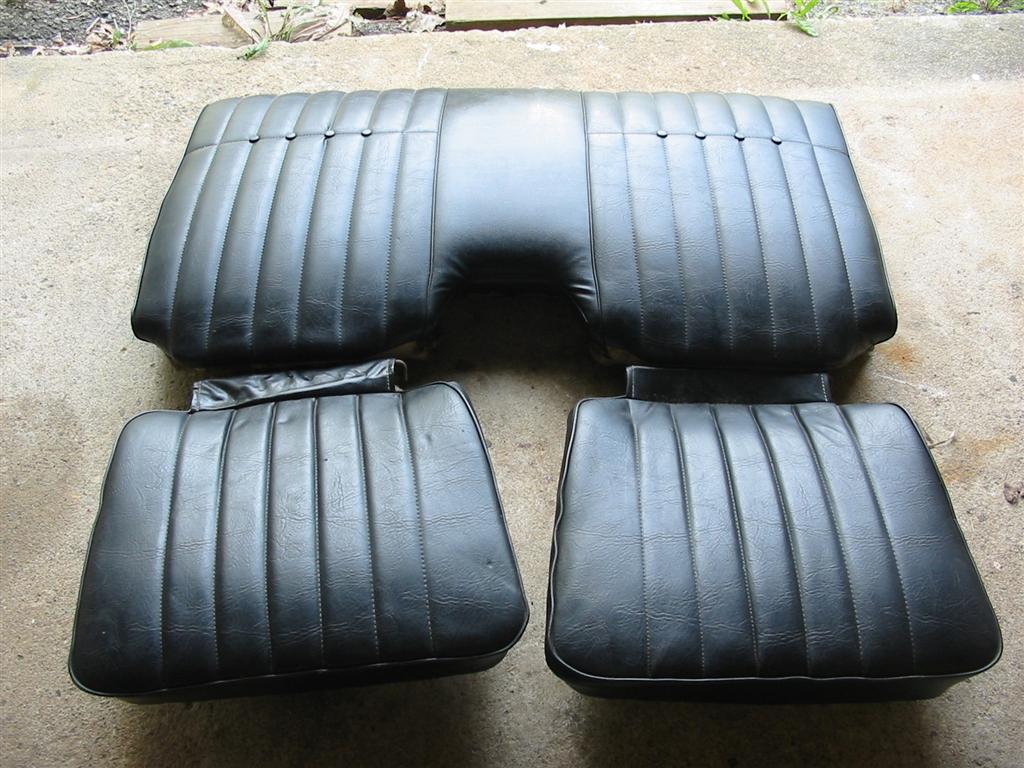
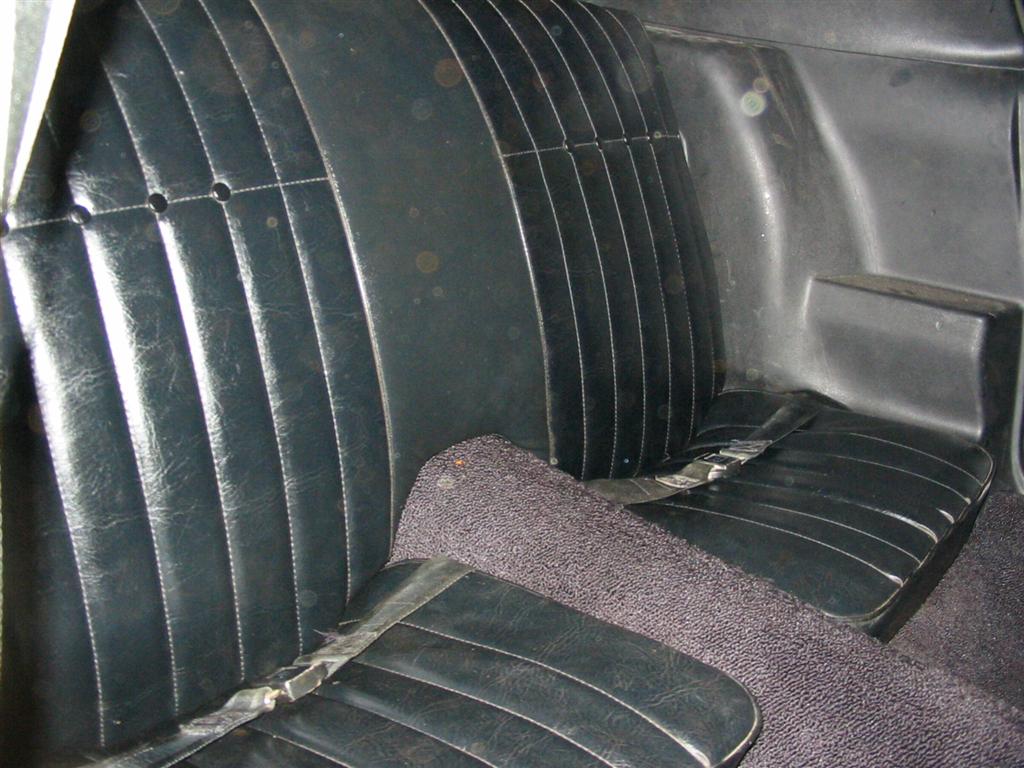
| Before I installed the rear seat back, I glued down the front edge of the rear package tray. | Here are the back seats after a good cleaning. I picked these up off of Craig's list. |
|
|
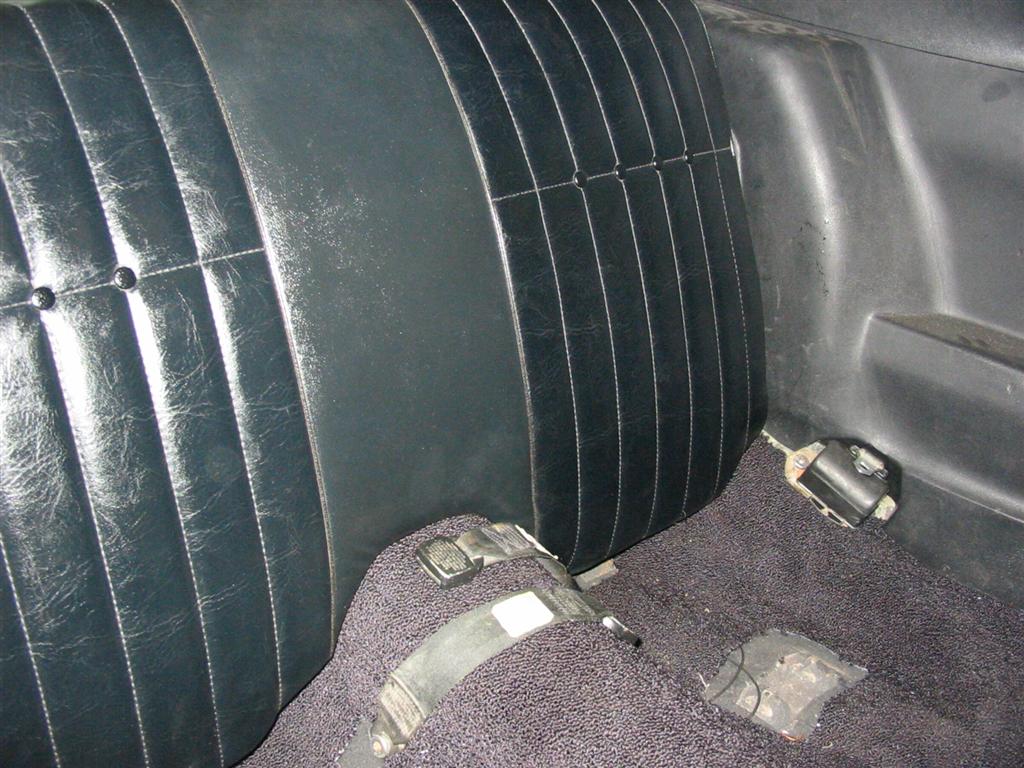
| Here are the seats installed. The back installed first then the bottoms. Everything looks better in person than in the picture. The flash seems to throw the colors off. | |
|
|
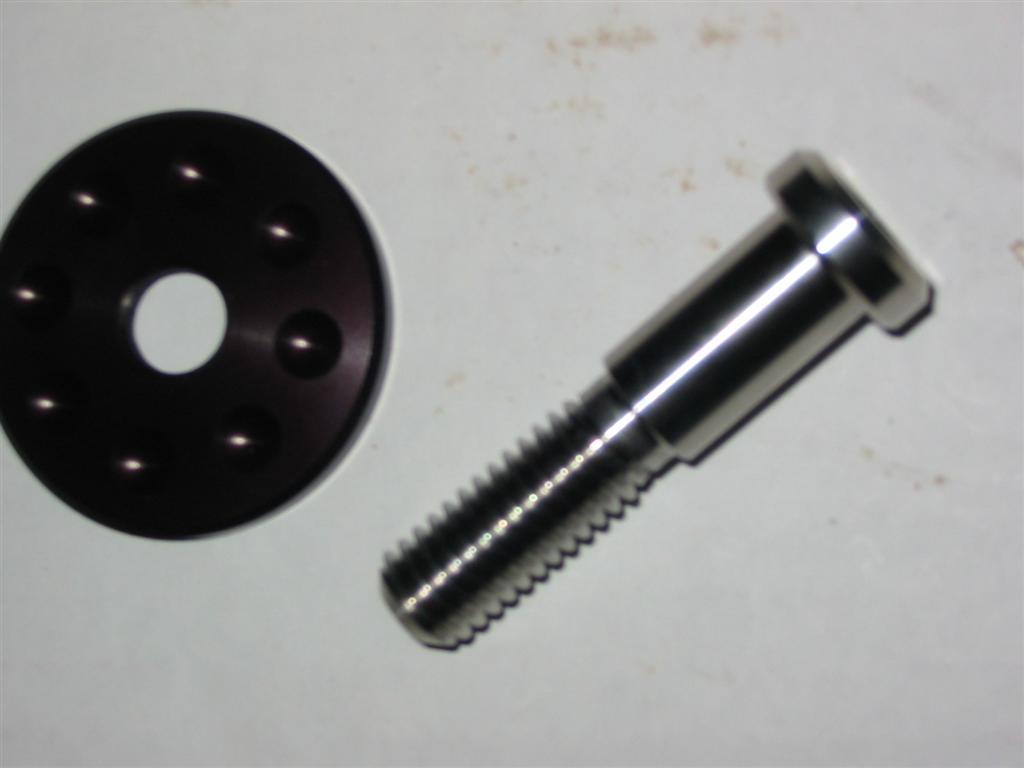
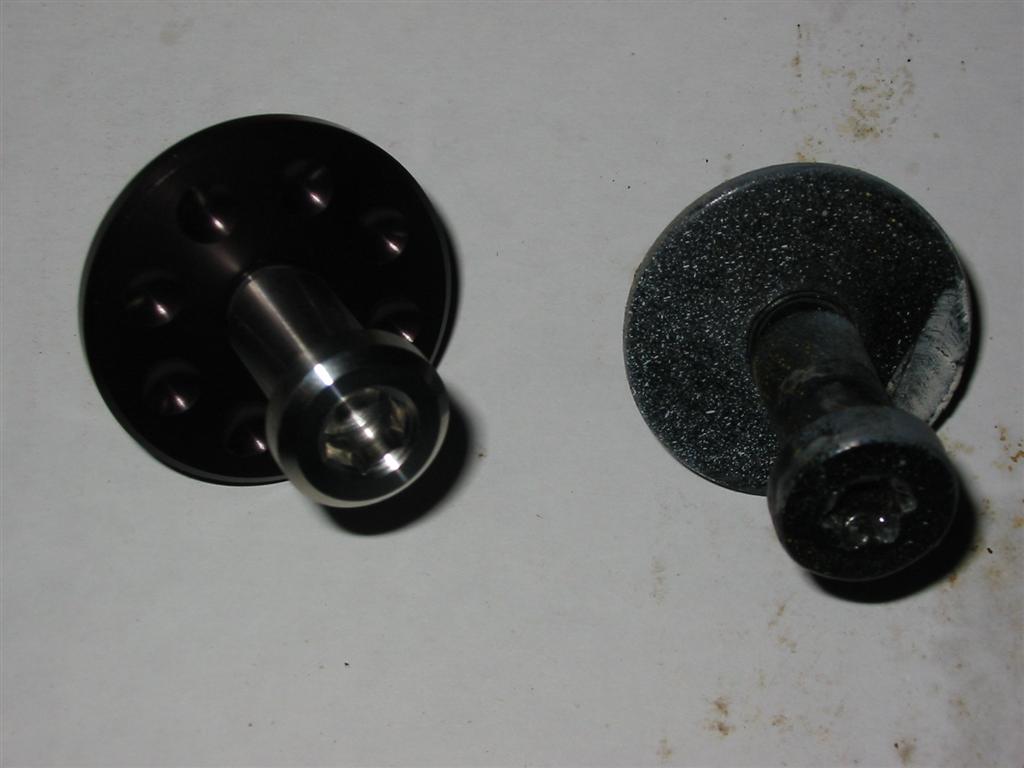
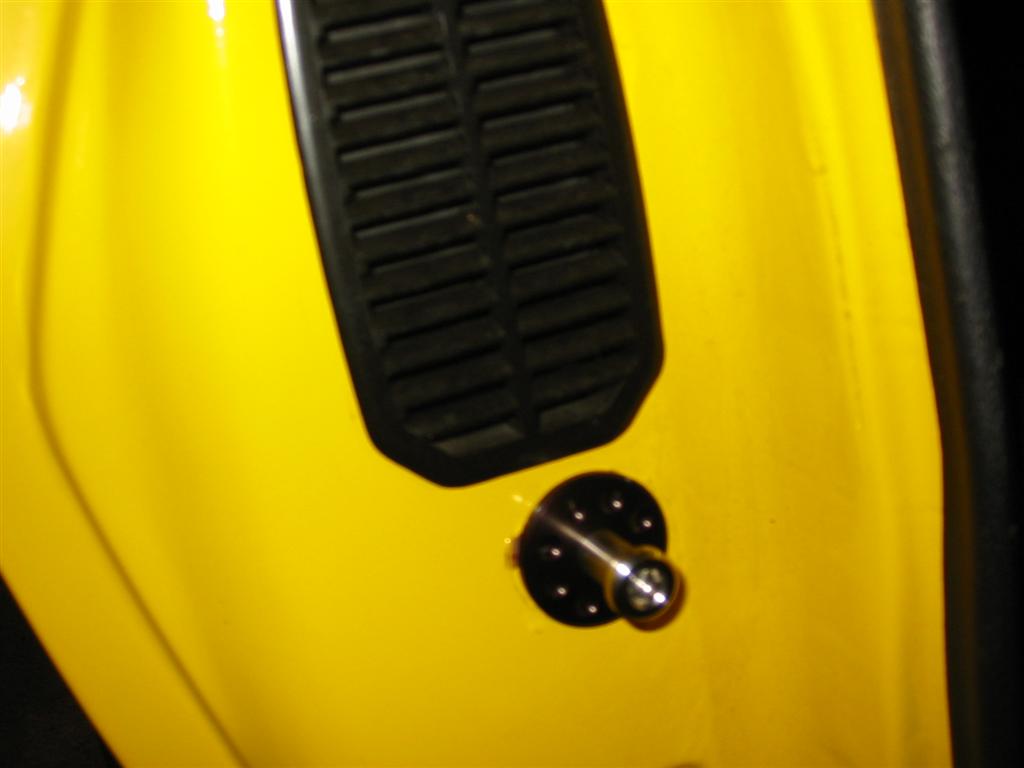
| I also decided to clean up the door jamb area with Ring Brothers billet door strikers. The striker is made from 304 stainless steel and the base is made from 6061-T6 billet aluminum that has a black anodized coating. The old ones look plain ugly next to the new ones. | |
|
|
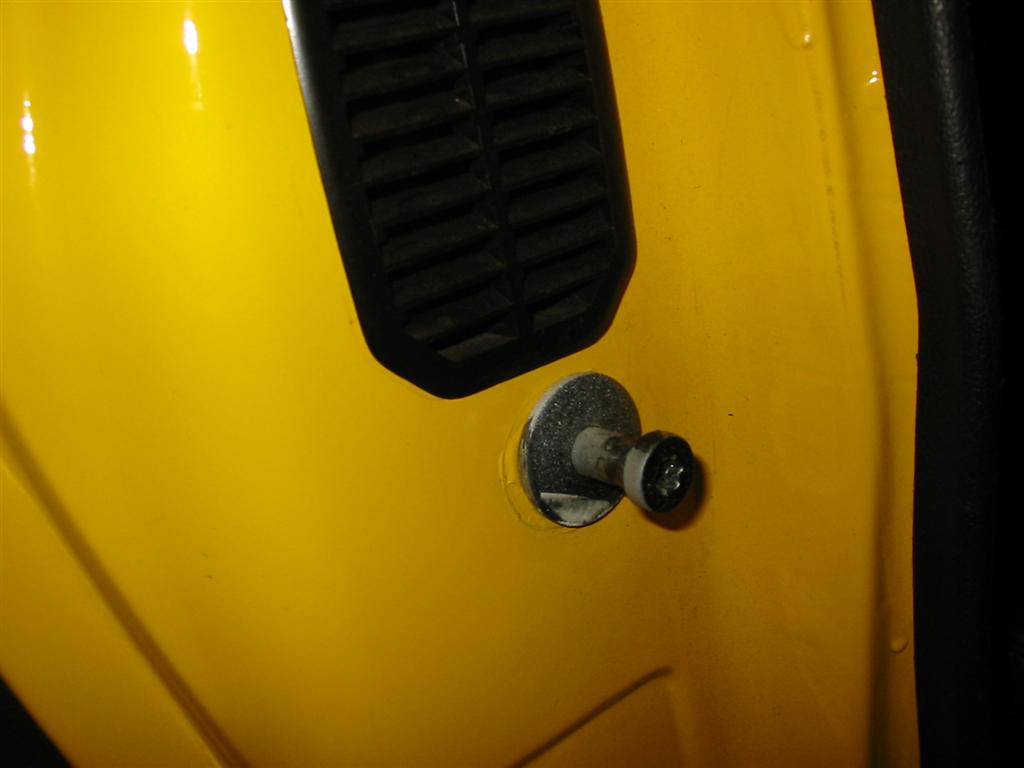
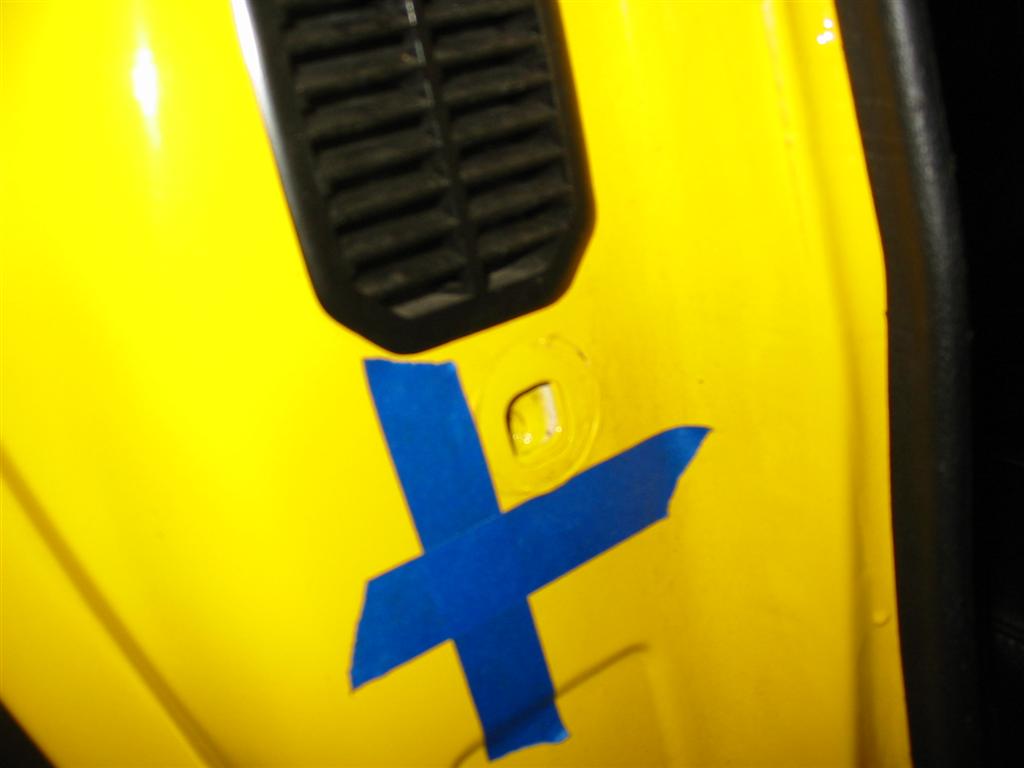
| I used tape to mark the location of the original strikers so I didn't have to adjust the new ones too much. | |
|
|
|
|
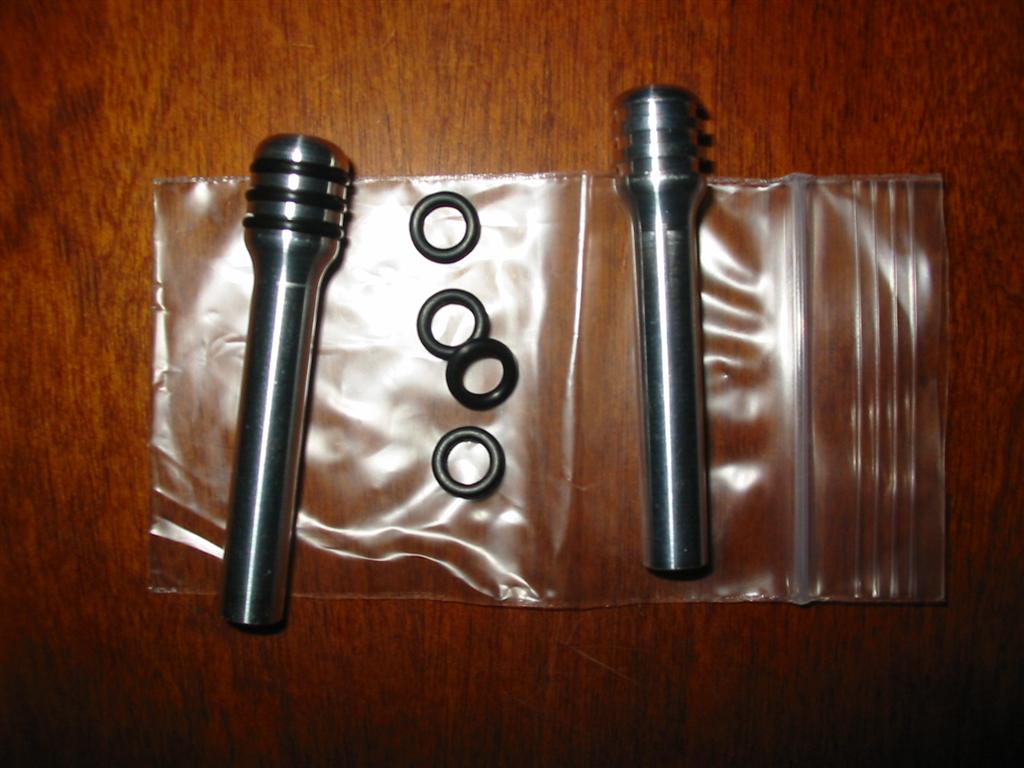
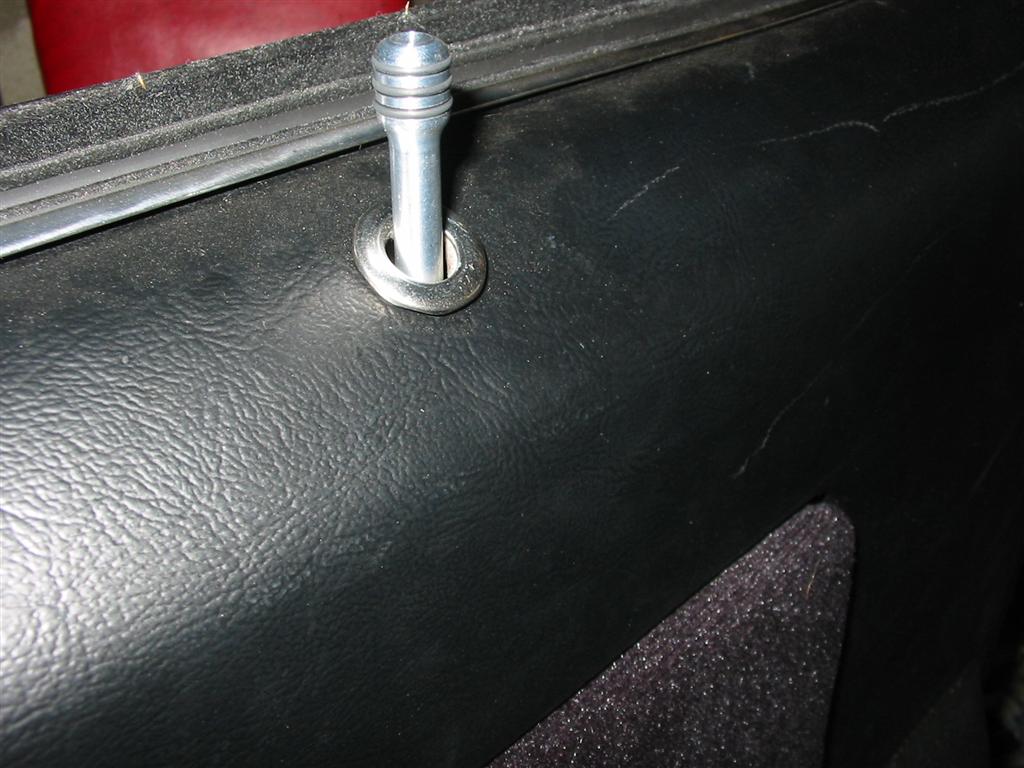
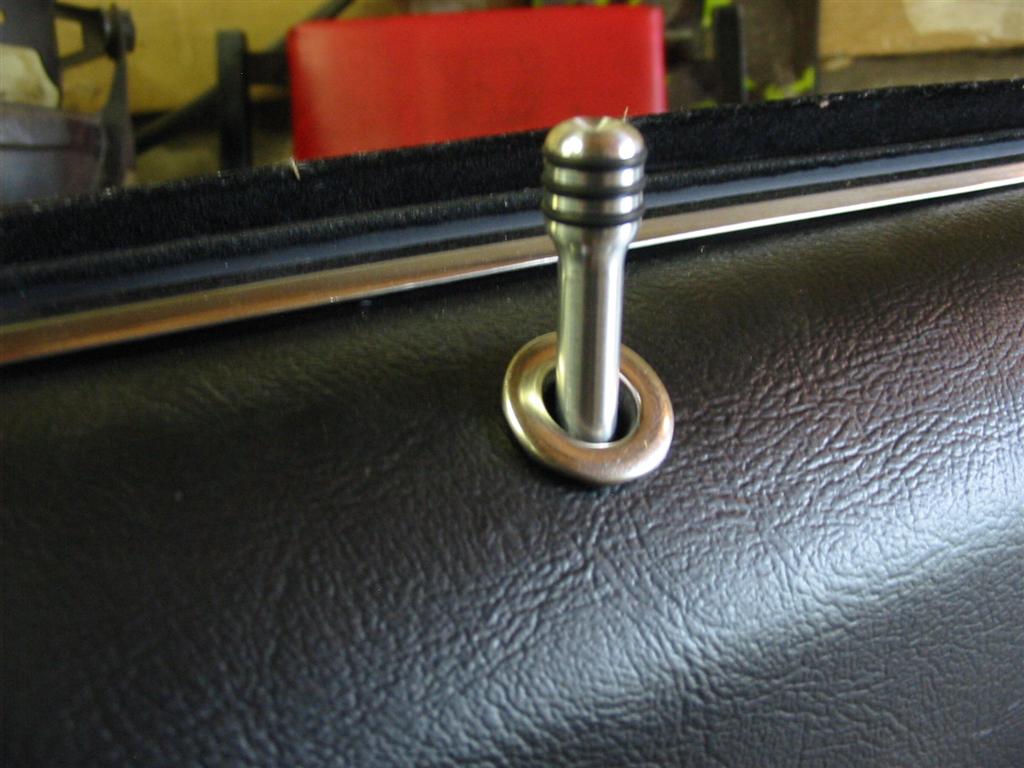
| The Fesler Built Door Lock Knobs replace the plastic factory units. They are made of 6061-T6 aluminum and include rubber o-rings for the grooves. | |
|

|
|
|
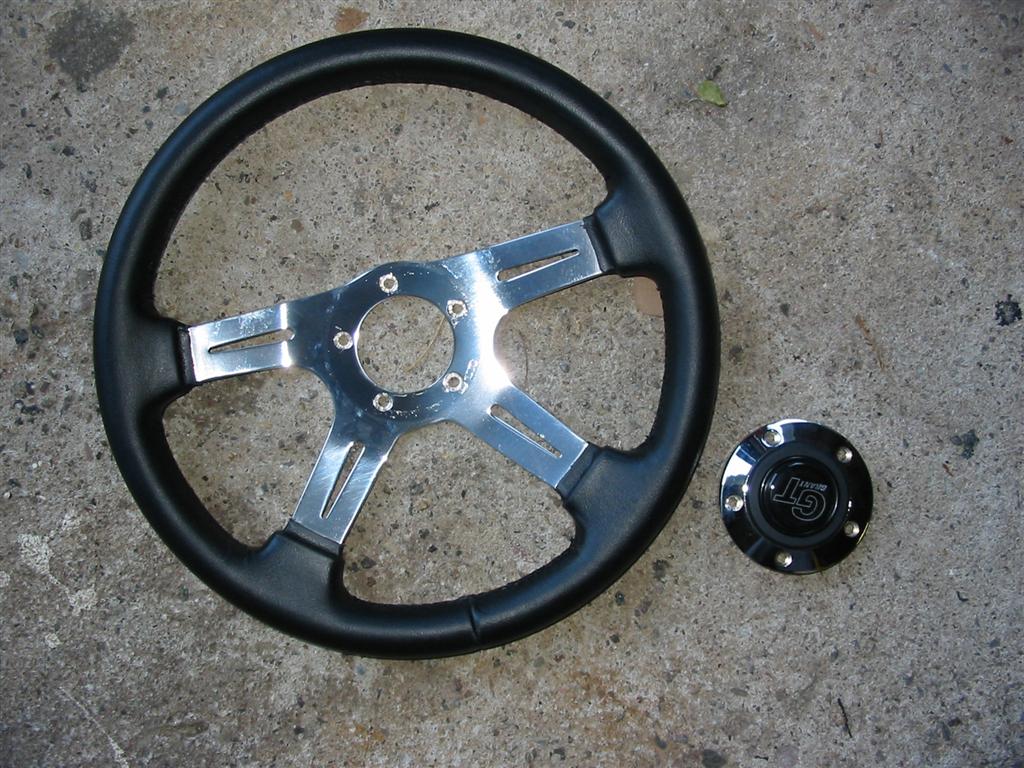
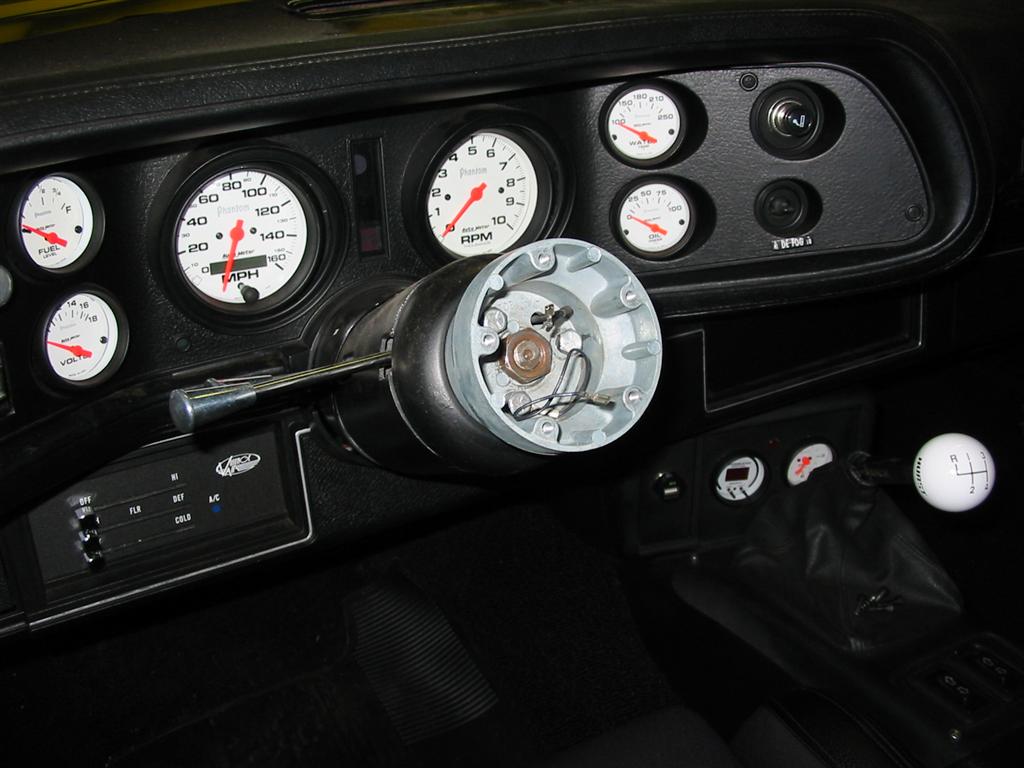
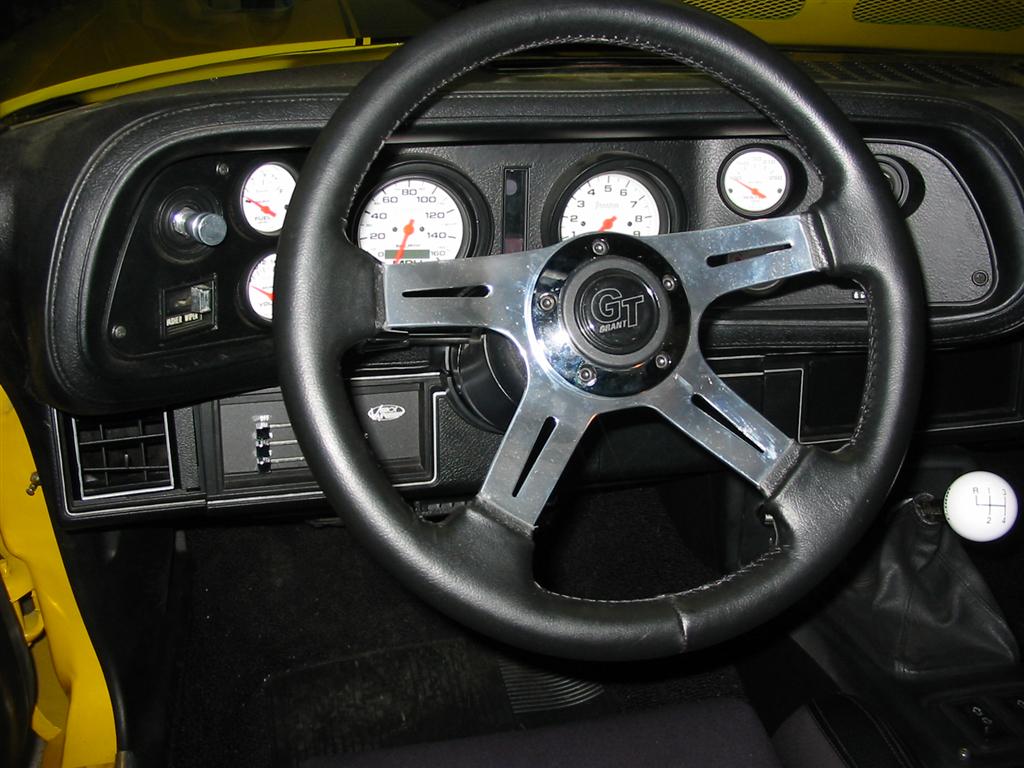
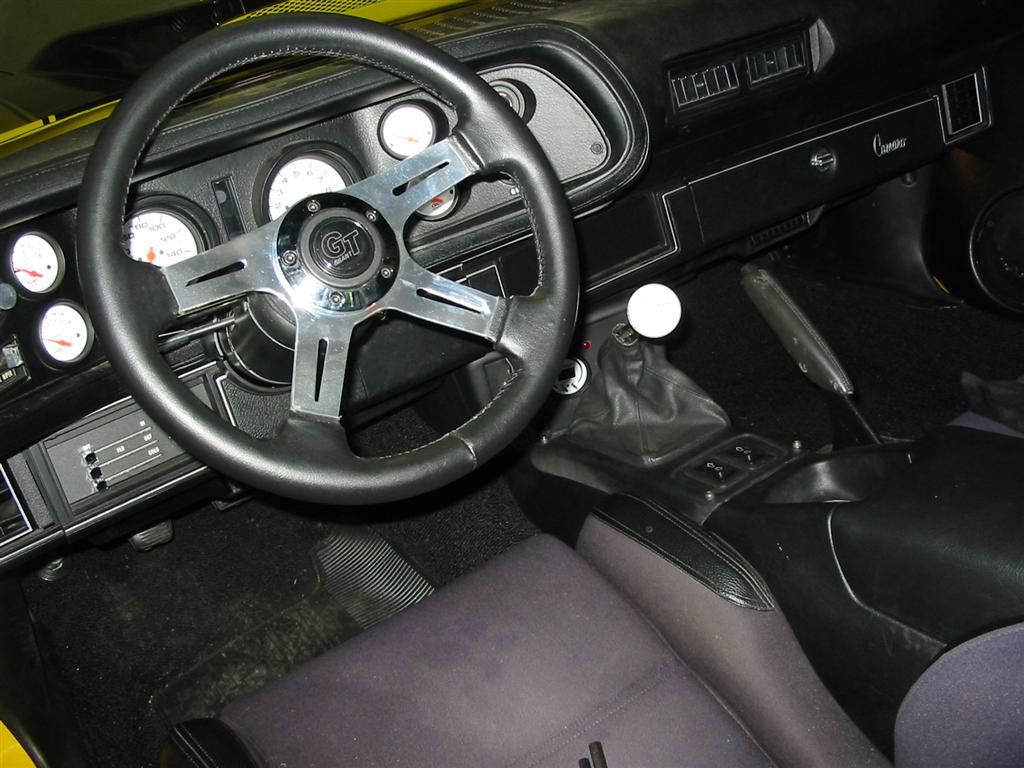
| I decided to upgrade the steering wheel to a Grant Elite GT steering wheel. This steering wheel has a diameter of 14 inches and has polished aluminum spokes. Installation was simple because I was replacing an old worn Grant GT steering wheel. So the adaptor was already on the column. | |

|
|
|
|
|
|