|

Vintage Air Install Part III (September 15, 2012)
This page documents the third and final part of my Vintage Air installation. I finally got the system wired up, installed and charged it with R134a. I have not used it much, but they system easily and quickly cooled my car down on an 80 degree day. Also, the heat worked very well too.Overall, I am very happy with the system. The system would have been very easy to install if I had used the kit as it was out of the box. Modifying the system to work with the smooth firewall and have the hoses run out of the fenderwell was a bit of a challenge. Otherwise everything fit extremely well and I am quite pleased with the system.
Audemars Piguet Replica Status photos as of 9/15/2012:
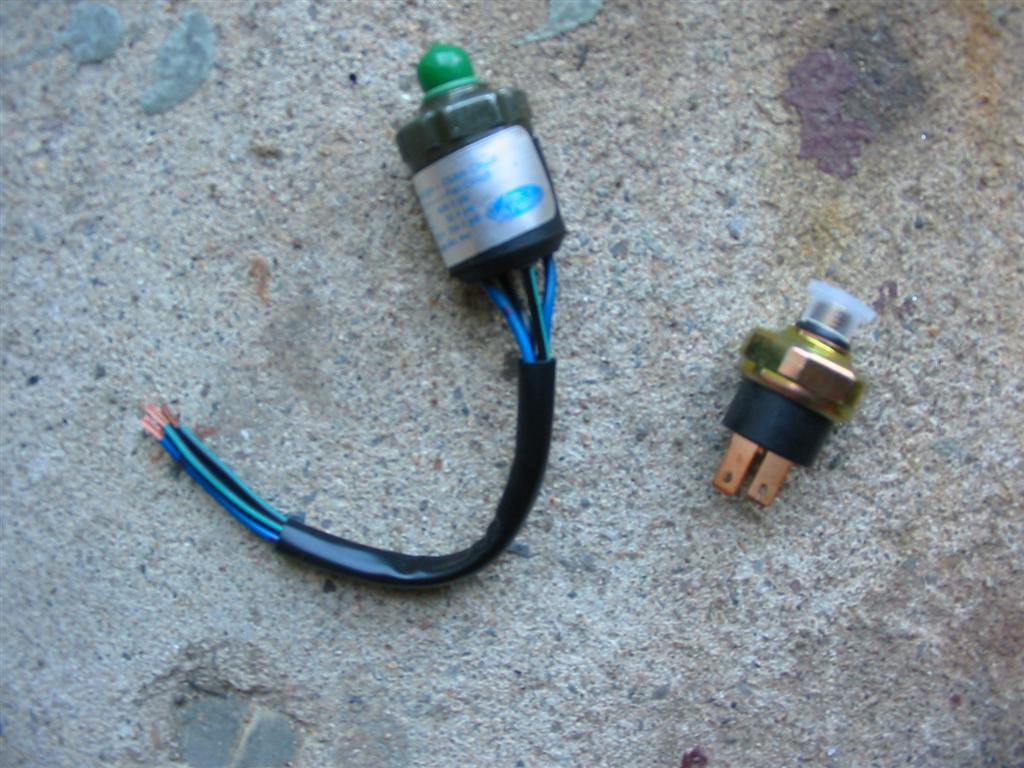
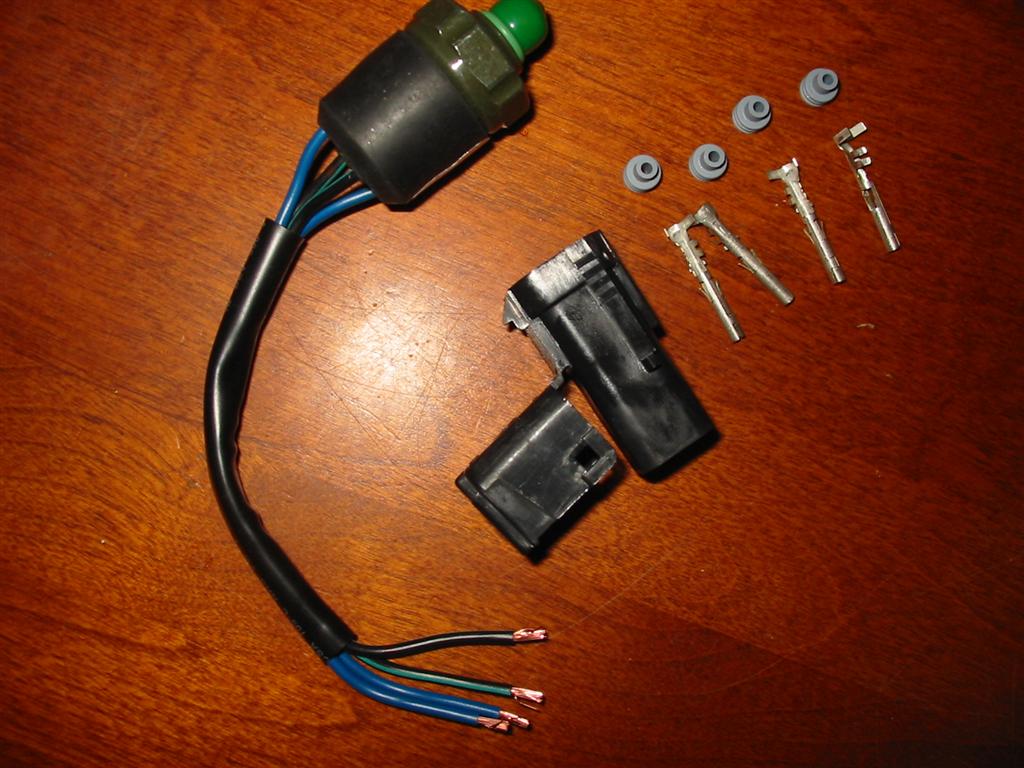
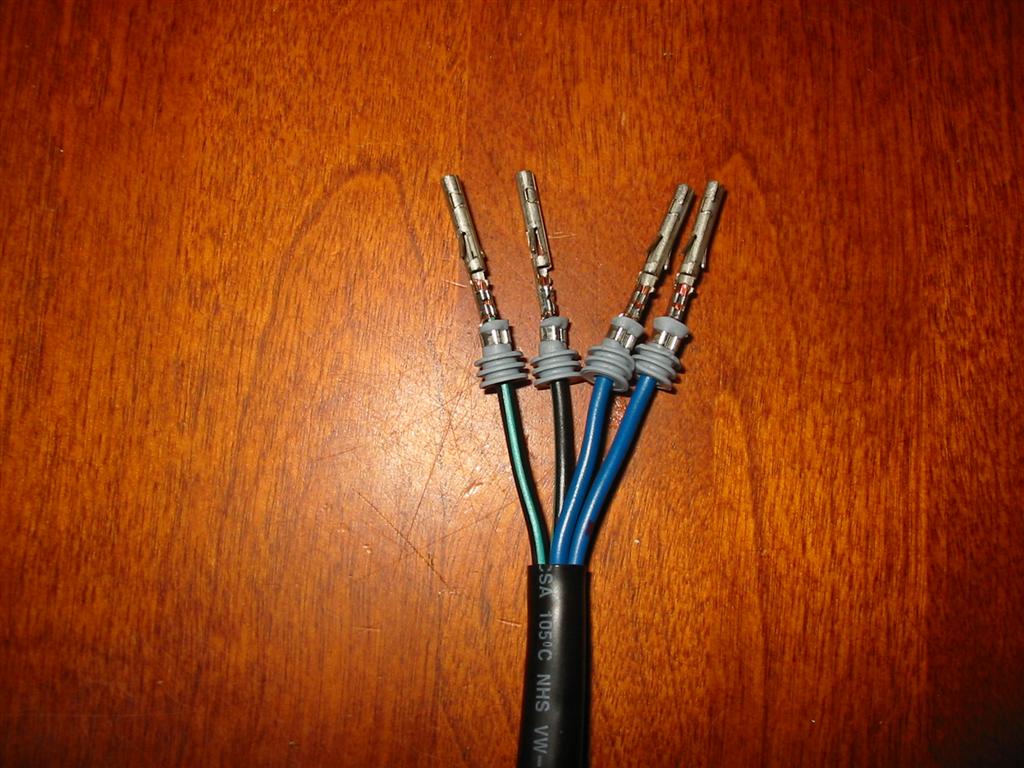
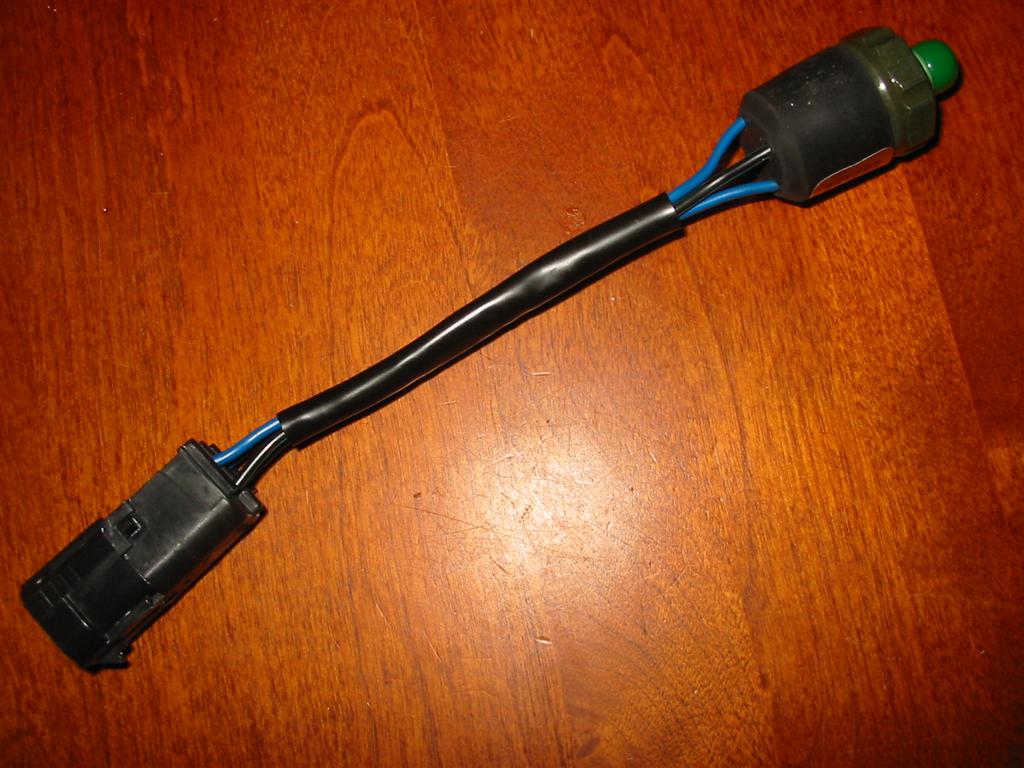
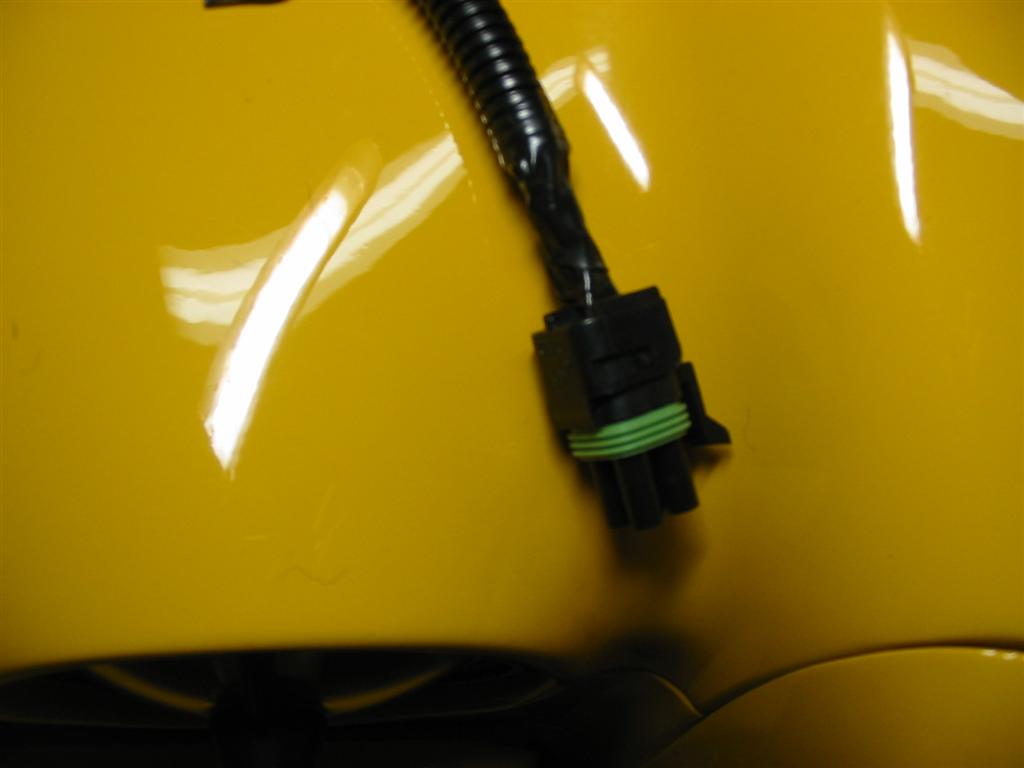
| I did decide to go with a trinary switch for the A/C to control the compressor and the electric coolant fan. The trinary switch differs from the binary switch by having 4 wires. I used a 4 pin weather pack connector for this connection. | |
|

|
|
|
|
|
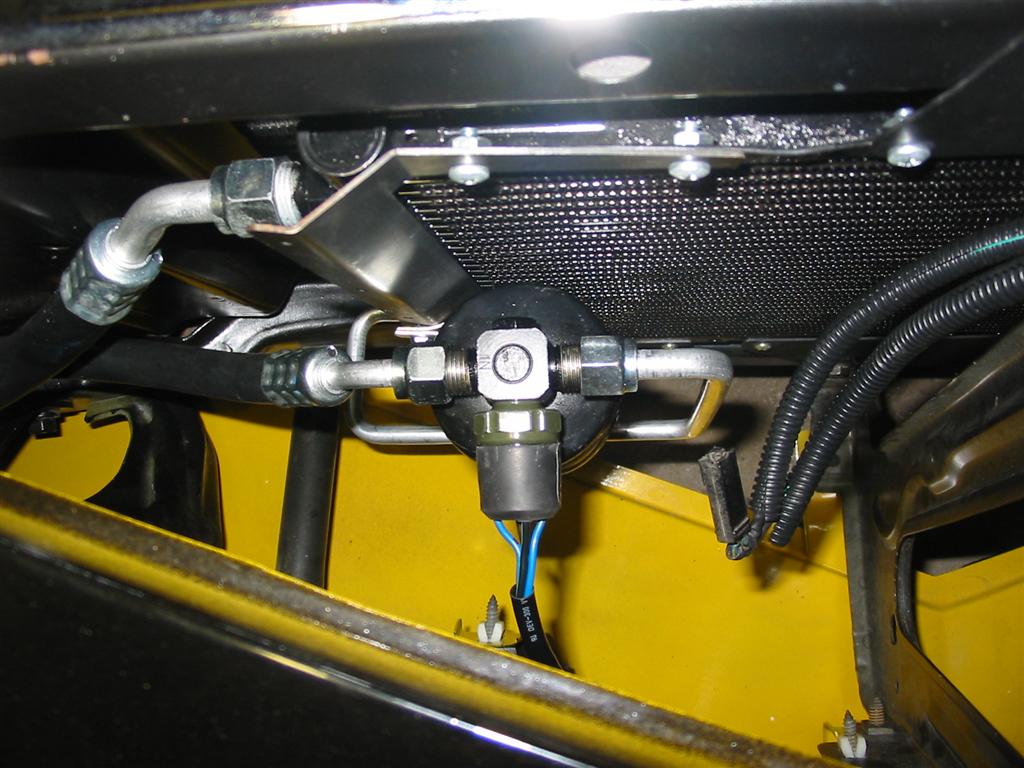
| The trinary switch mounts to the port in the drier that is mounted to the condenser. | |
|
|
|
|
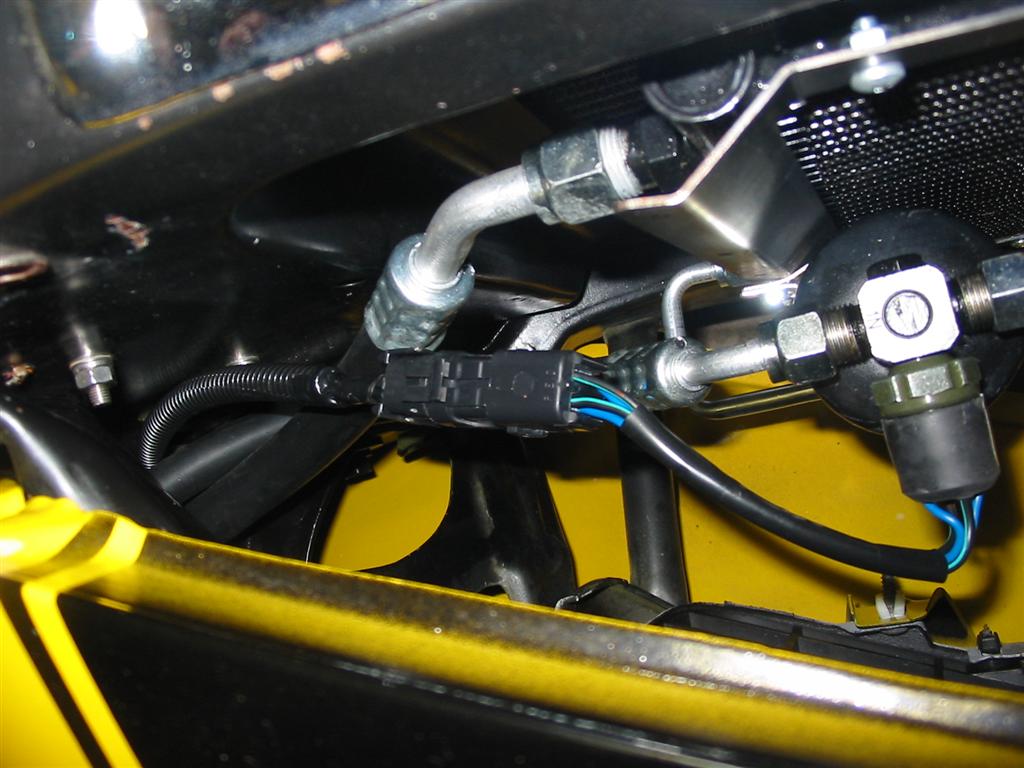
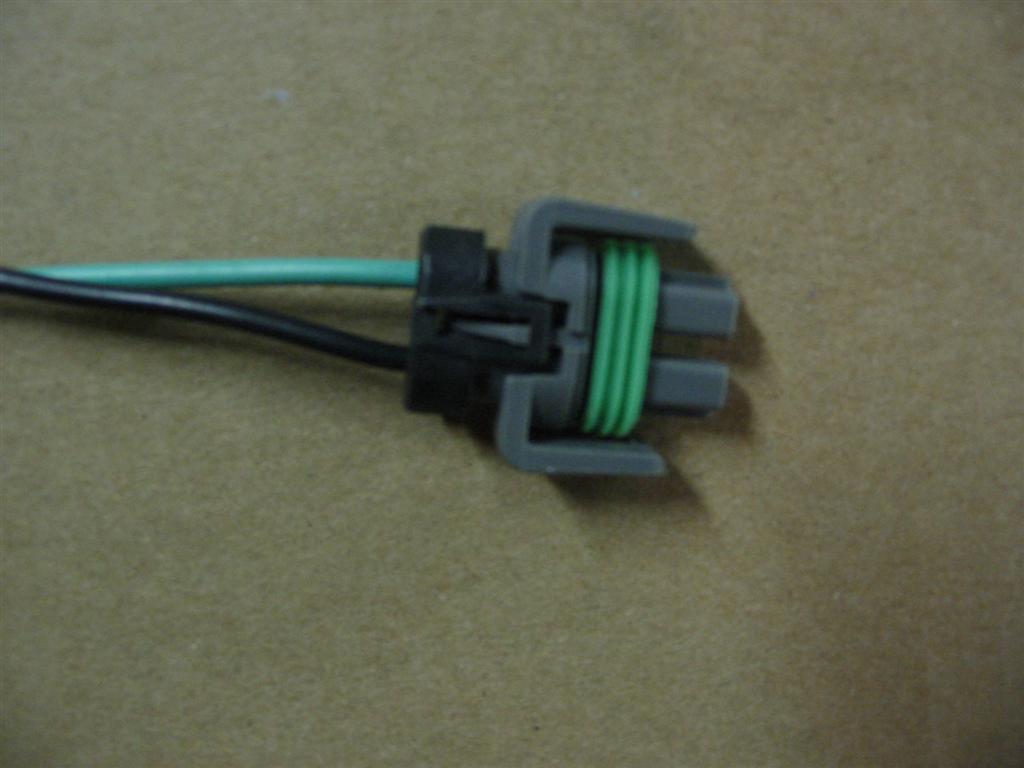
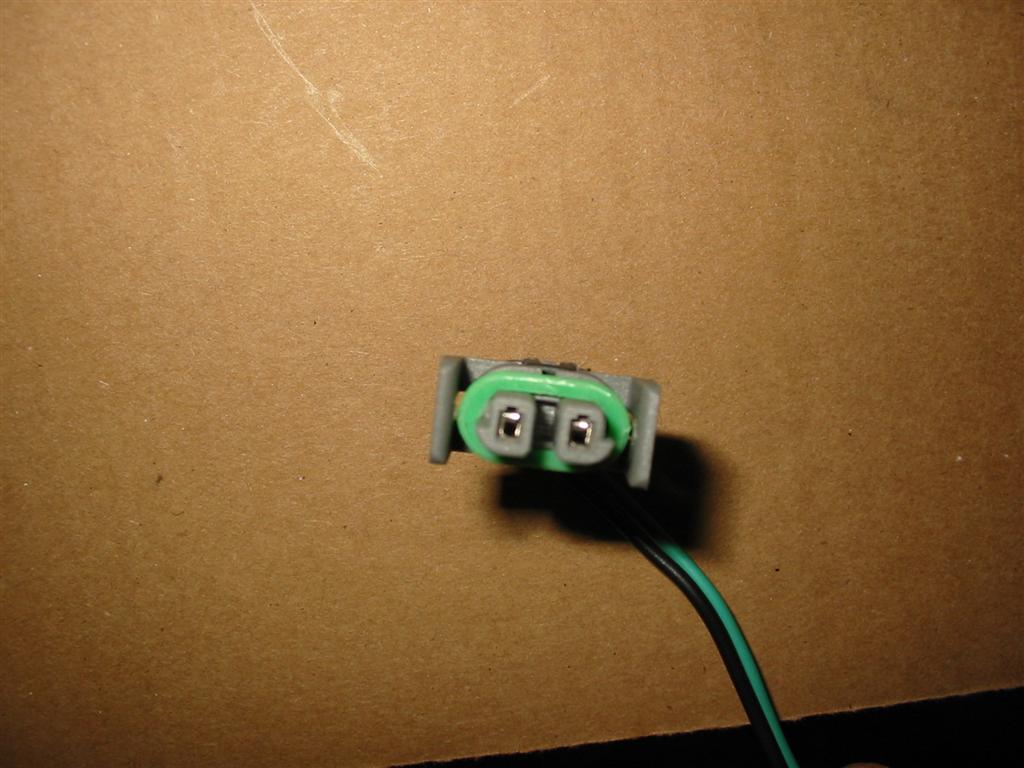
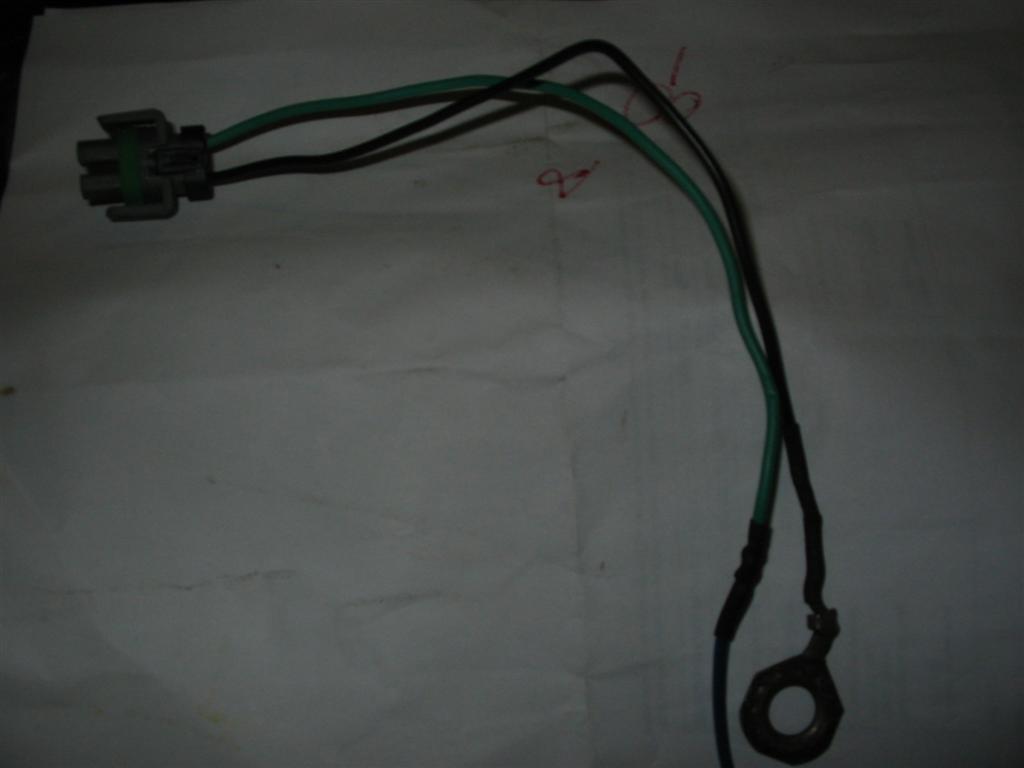
| Here is the plug and harness for the compressor. The one wire gets wired to ground. The other wire goes to the trinary switch and then to the controller in the dash. | |
|
|
|
|
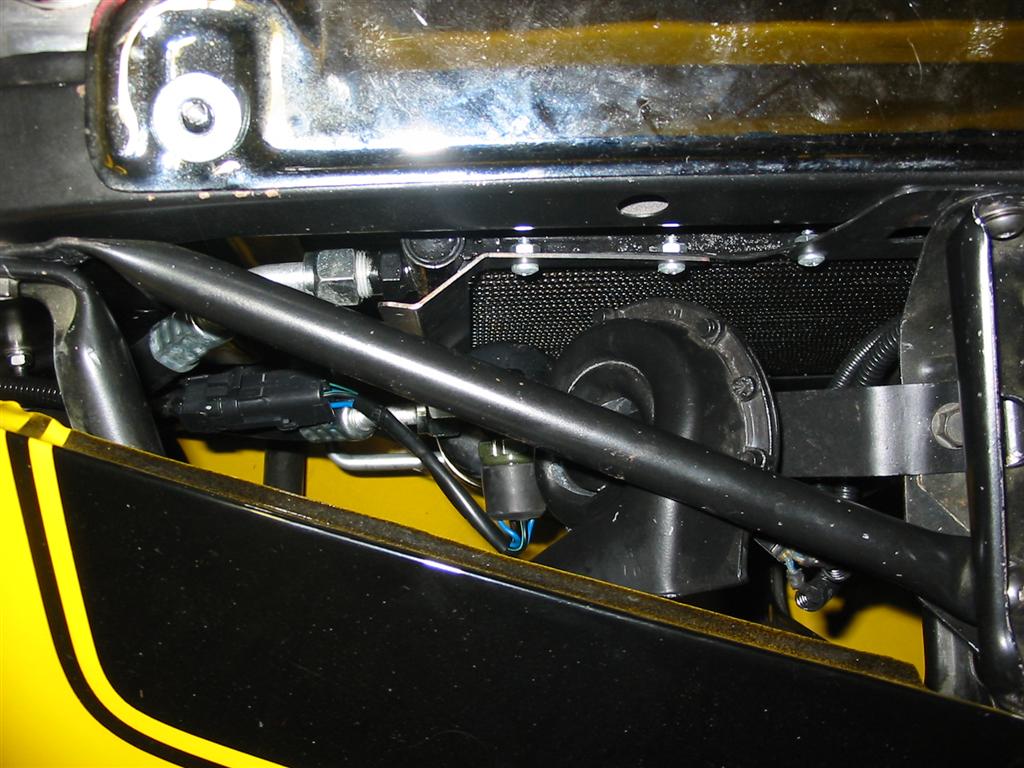
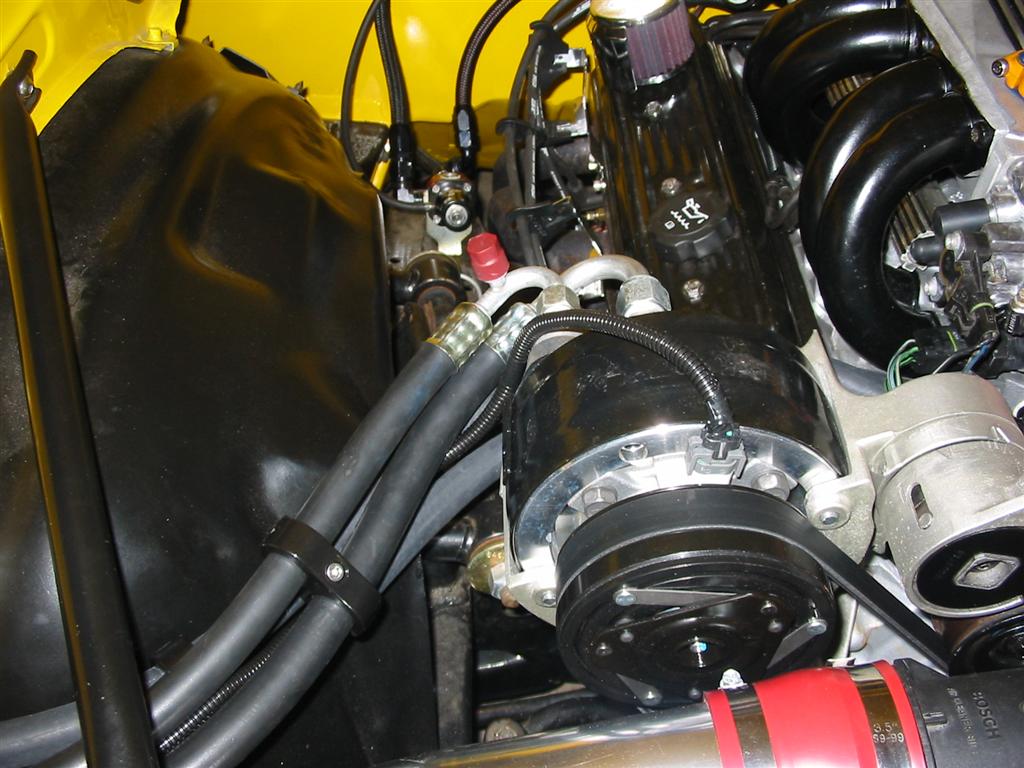
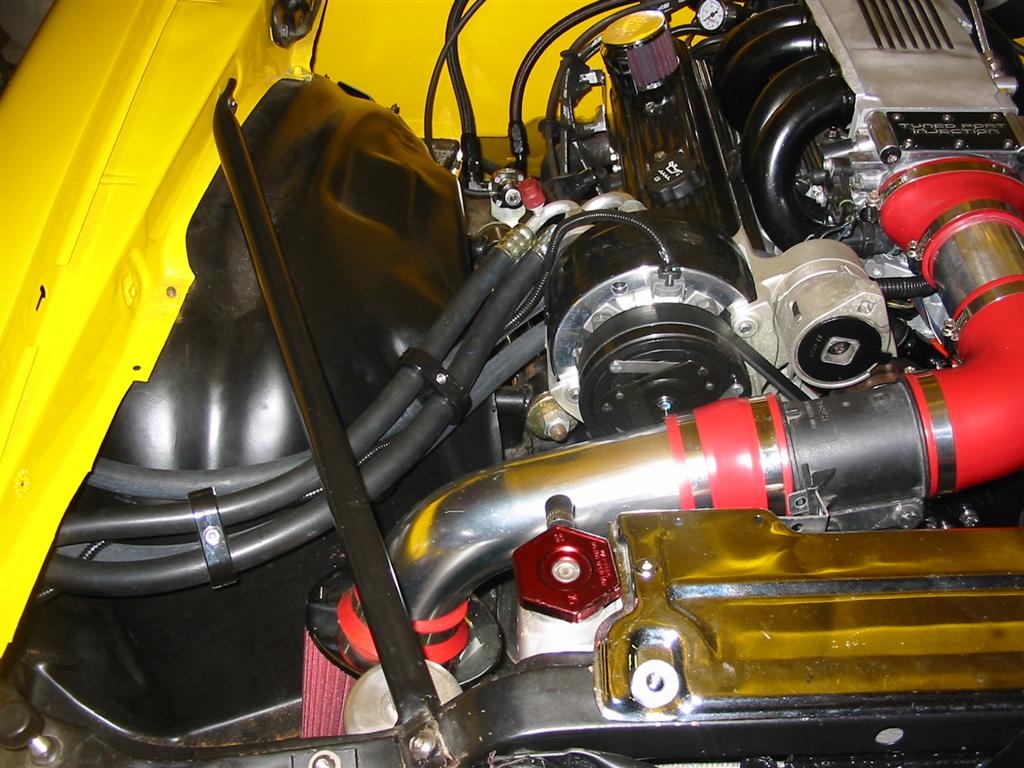
| To clamp the heat and A/C lines I used these T-Clamps made by Made4You. Here is the compressor wired up with the hoses connected. | |

|
|
|
|