|

Left Door Pillar Repair and Rear Undercarriage Stripping (September 1, 2004)
Here are pictures of the repairs done the the drivers side inner door panel and surrounding area. These repairs are not of my best looking patch panels, but all these repairs get hidden by the quarter panel. It is actually a good place for me to get some practice.I am also in the process of stripping all the undercoating and loose rust from the rear frame rails and rear floor area under the trunk and behind the back seats. This is being accomplished with wire wheel brushes, scrapers, Eastwood undercoating remover and carb cleaner. I hope to strip this area clean then coat with ZeroRust.
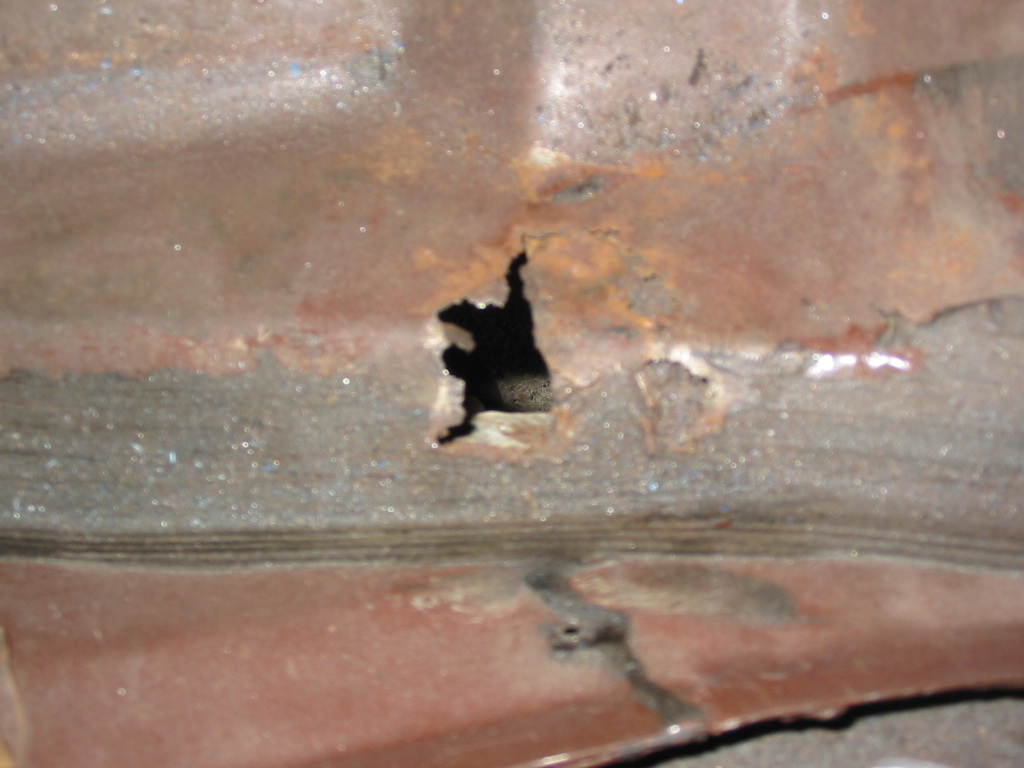
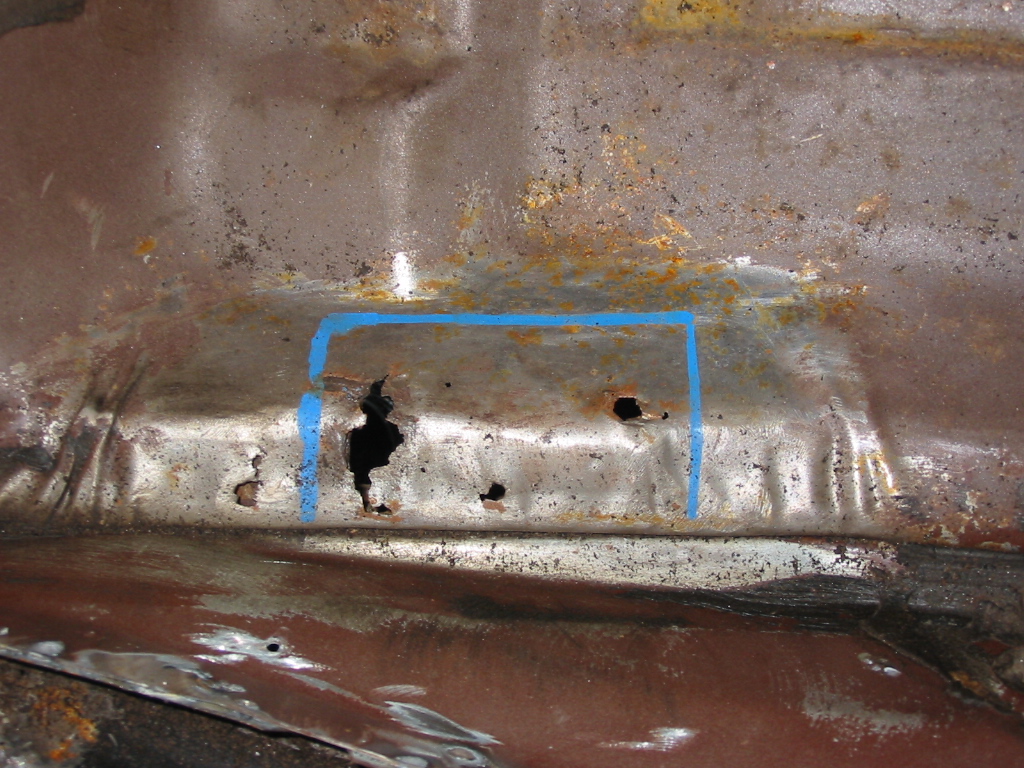
There is also a couple of pictures of rust holes in the floor. These are located between the back seats and front seats on the side. These are small and will be patched.
Status photos as of 9/1/2004:
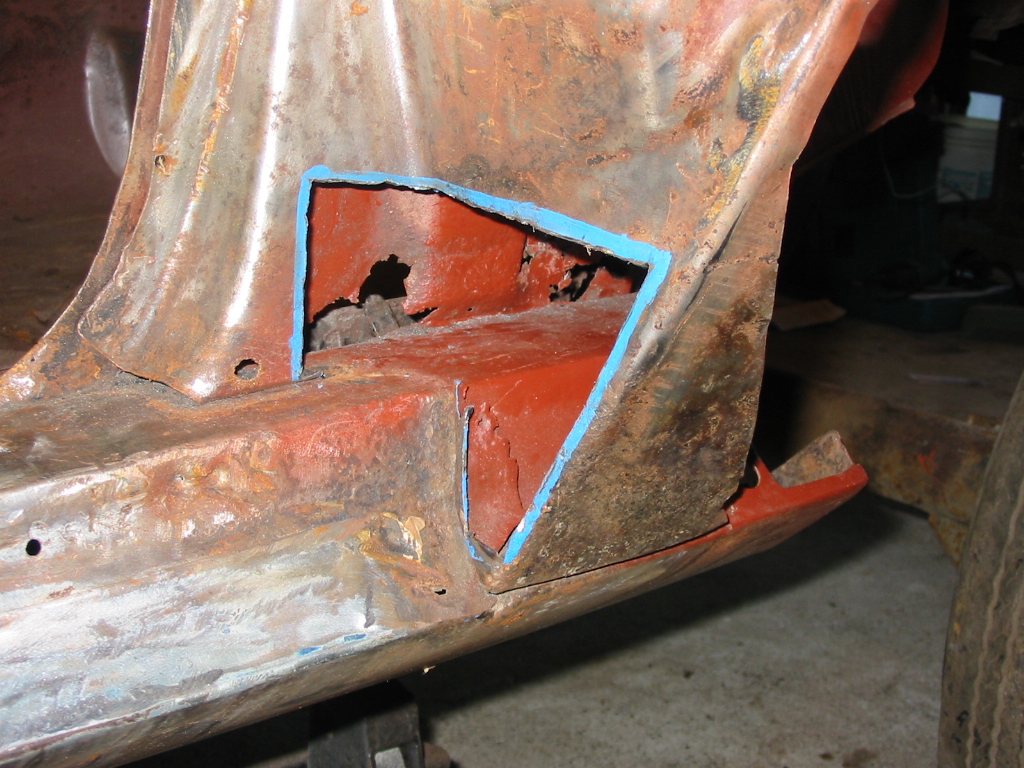
| Here is the left inner door pillar rust damage. | Here is the left inner door pillar with the rust damage cut out |

|
|
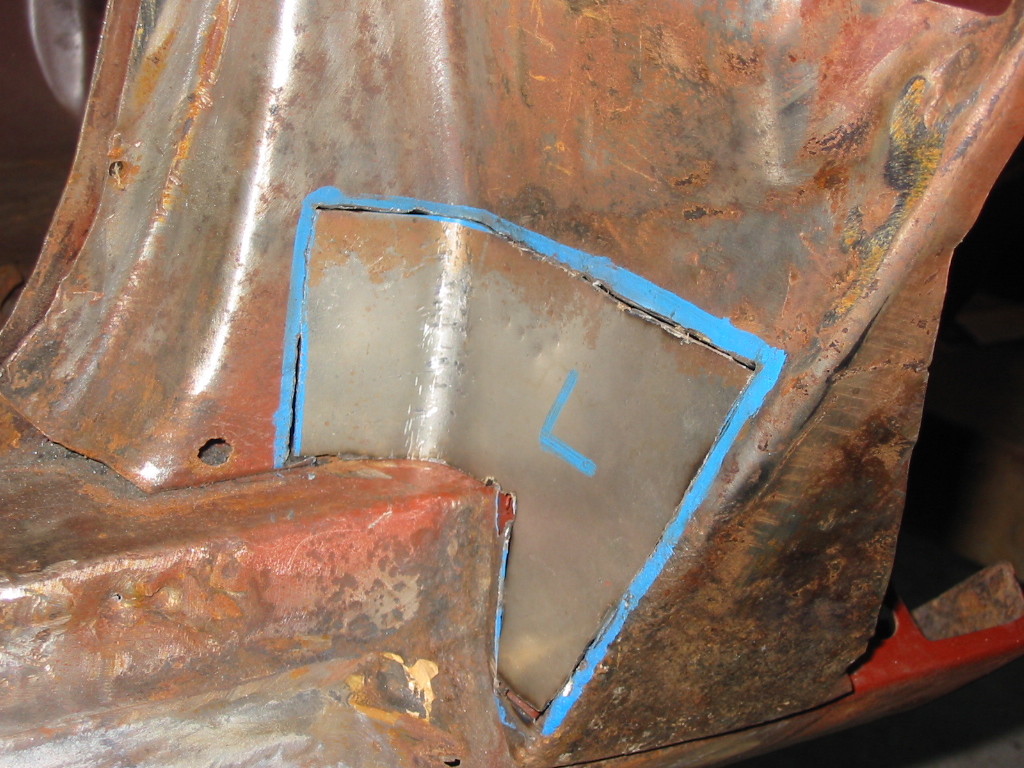
| Here is the left inner door pillar with the patch panel test fit into place. | Here is the left inner door pillar with the patch panel tacked welded into place |
|
|
|
|
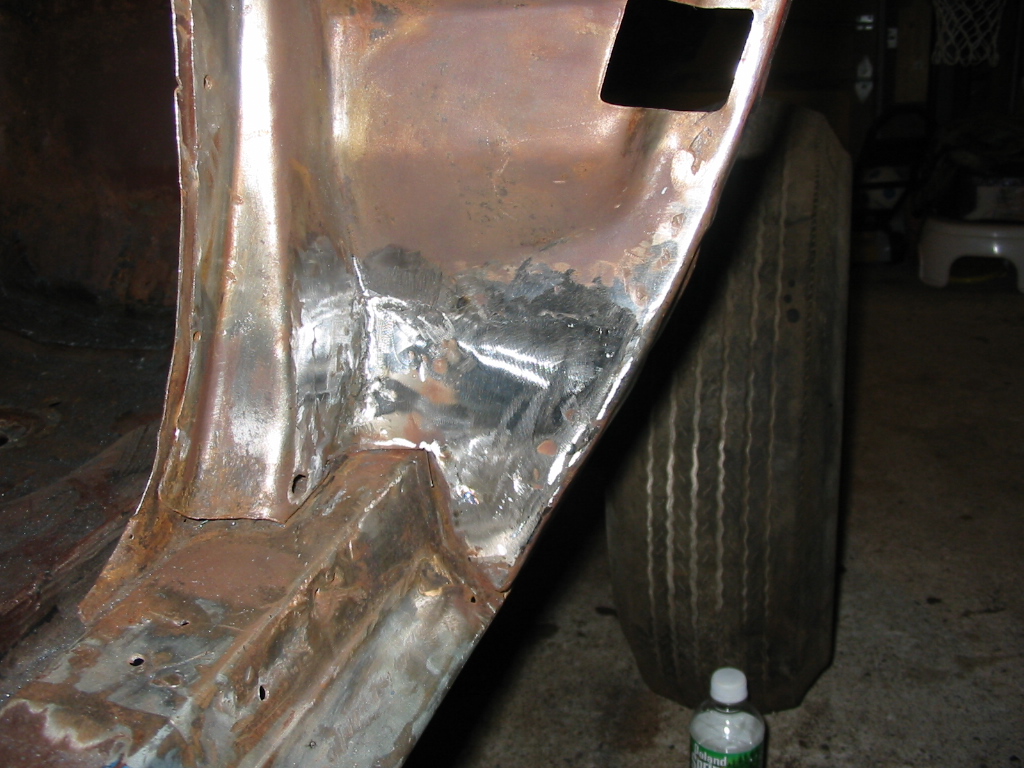
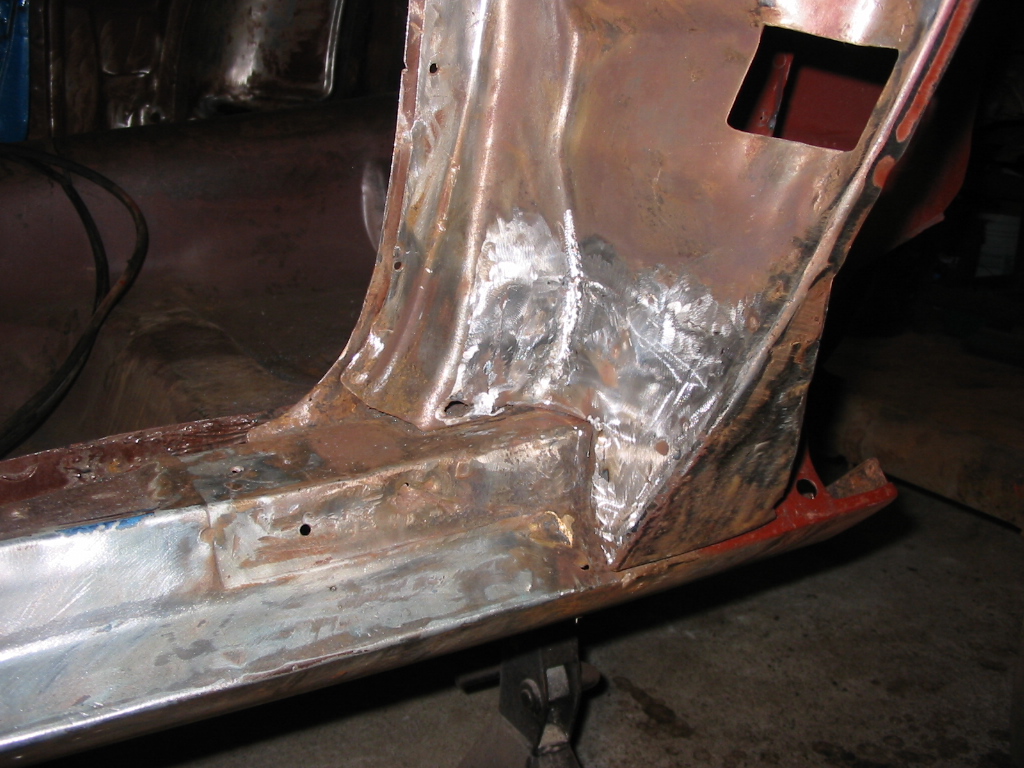
| Here are a few shots of the inner pillar finished. | |
|
|
|
|
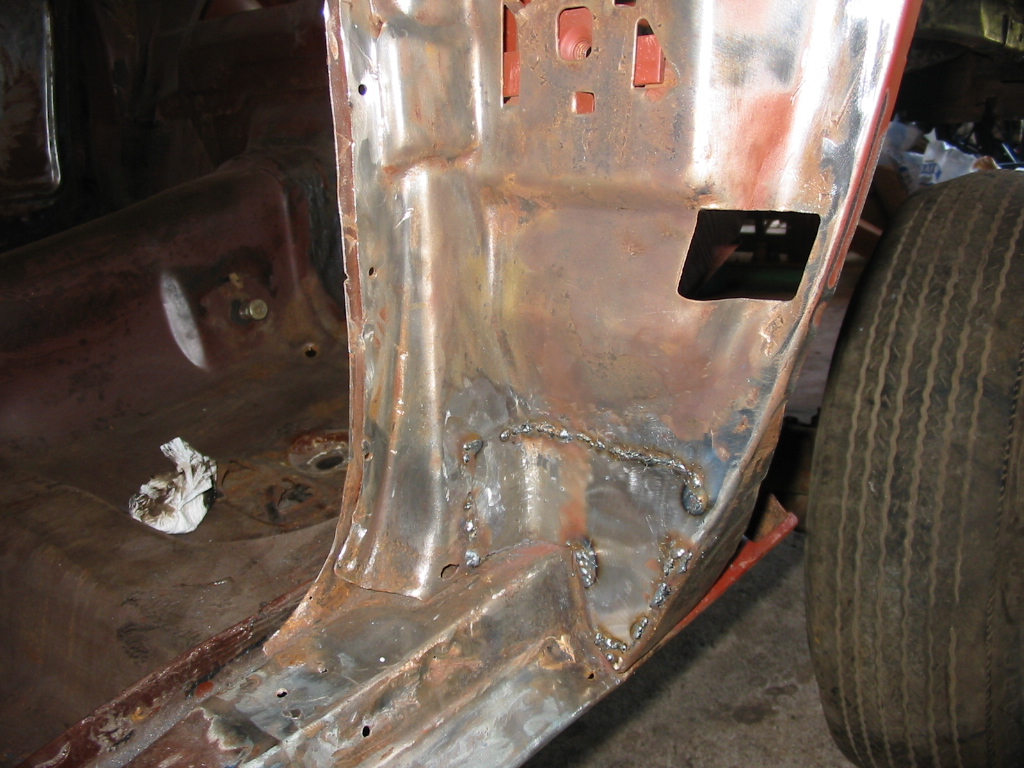
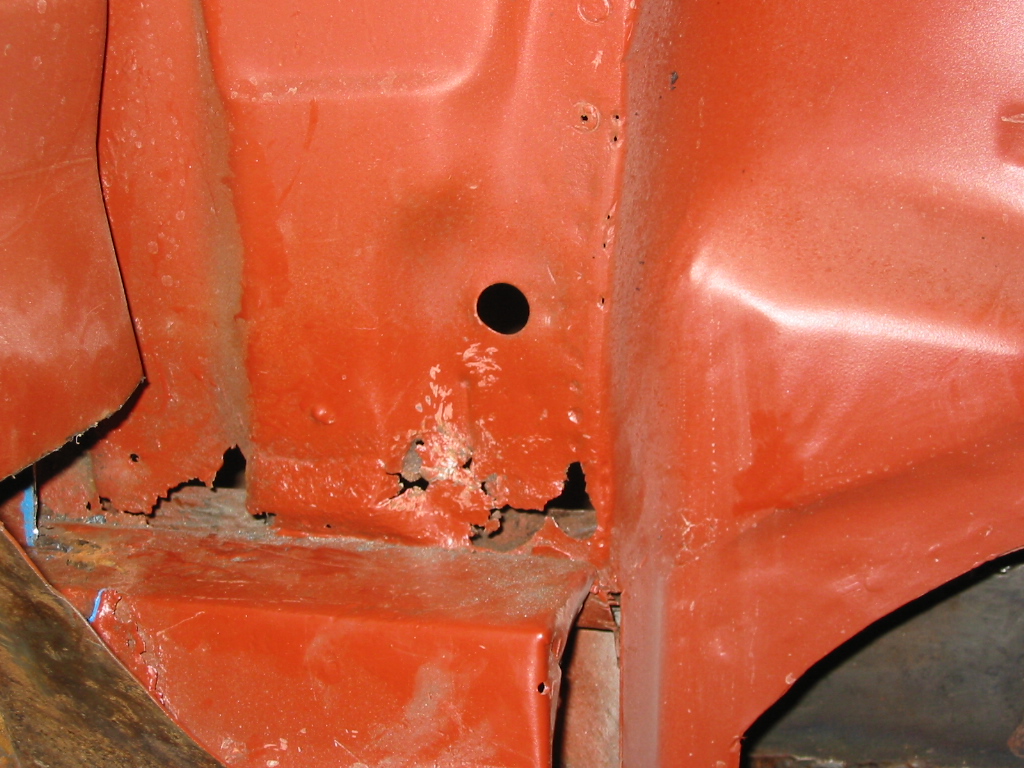
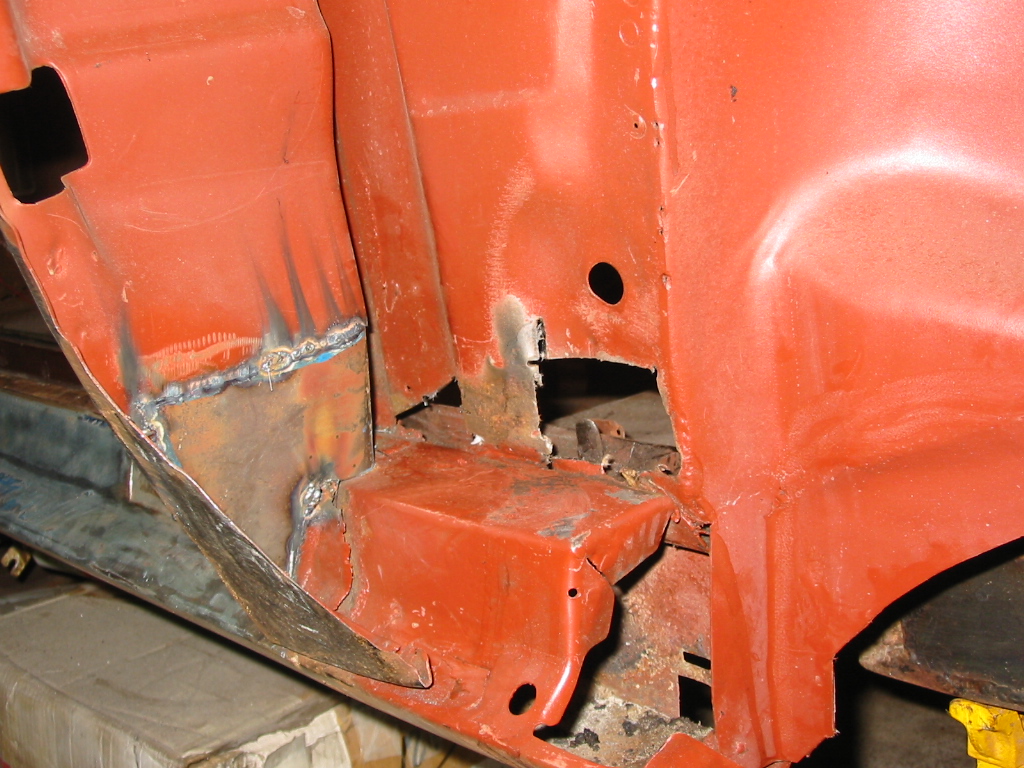
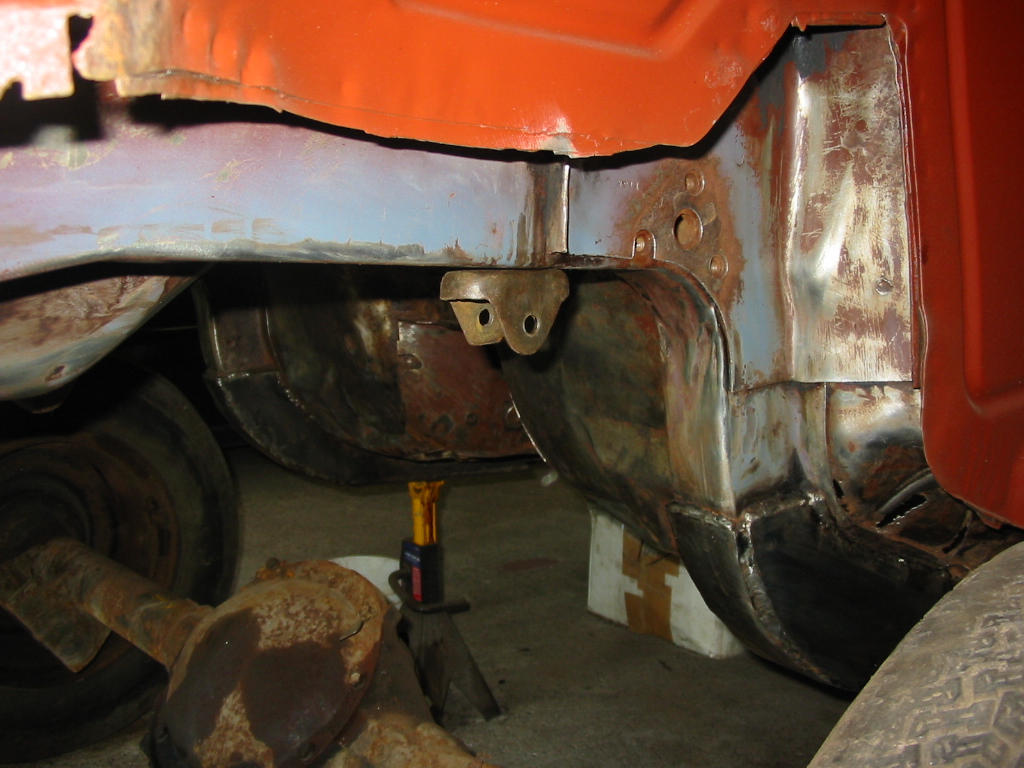
| Here is a shot of the rust damage in the area behind the left inner pillar. This area is just in front of the rear wheel well. | Here is the same area with the rust cut out. |
|
|
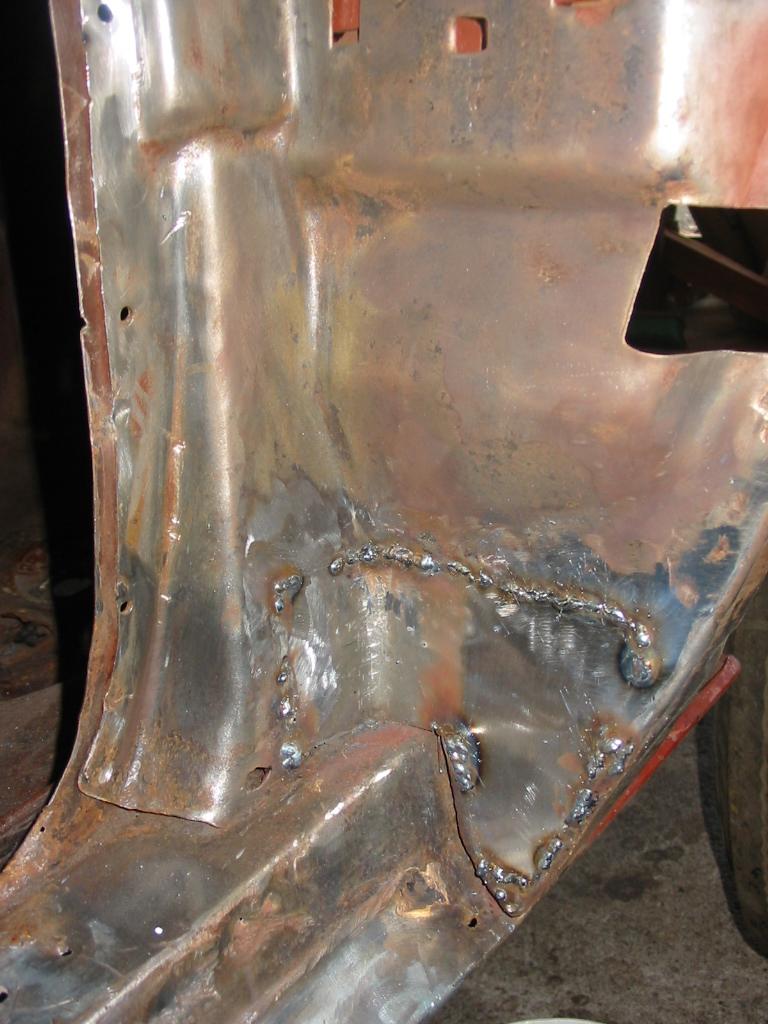
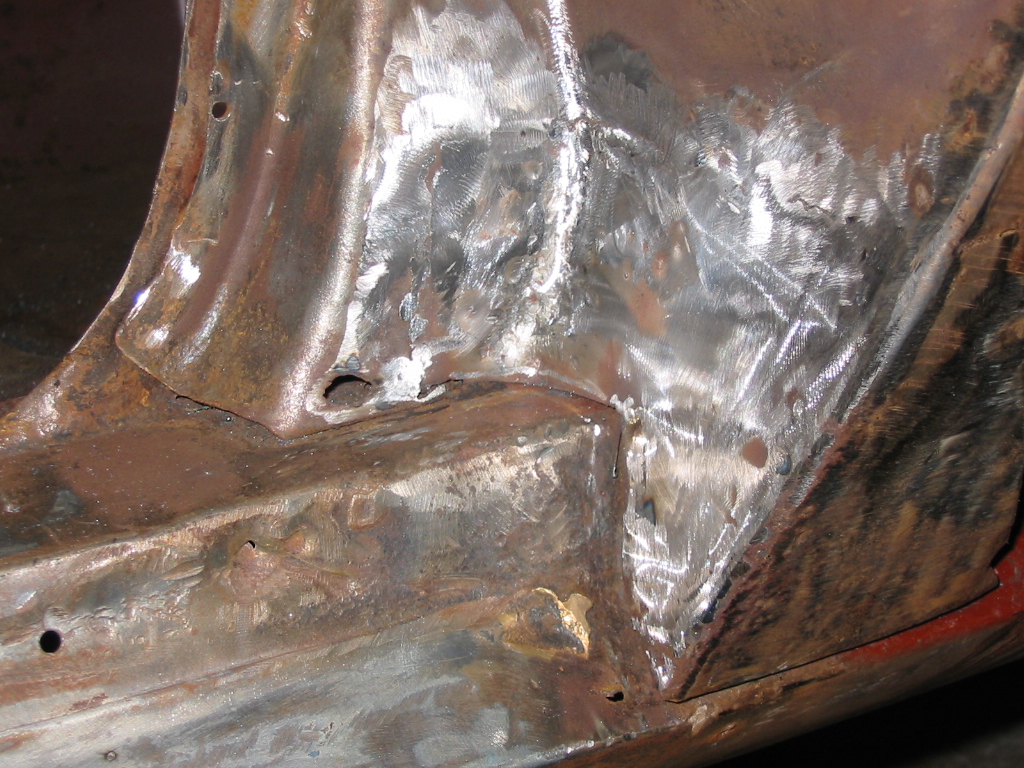
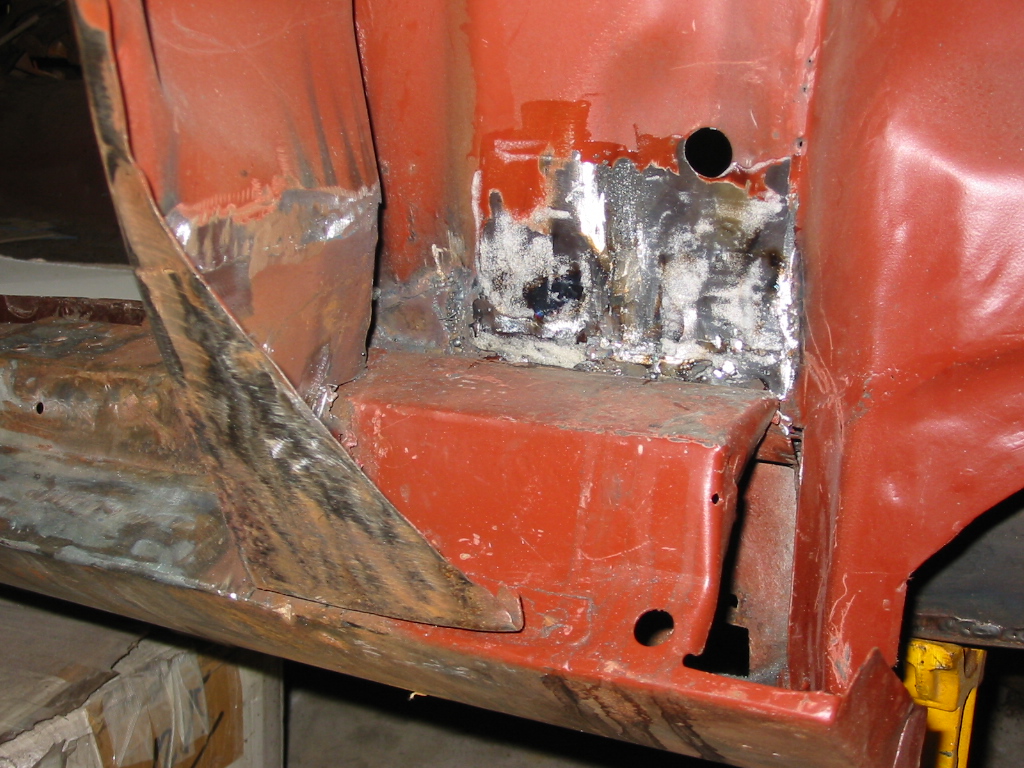
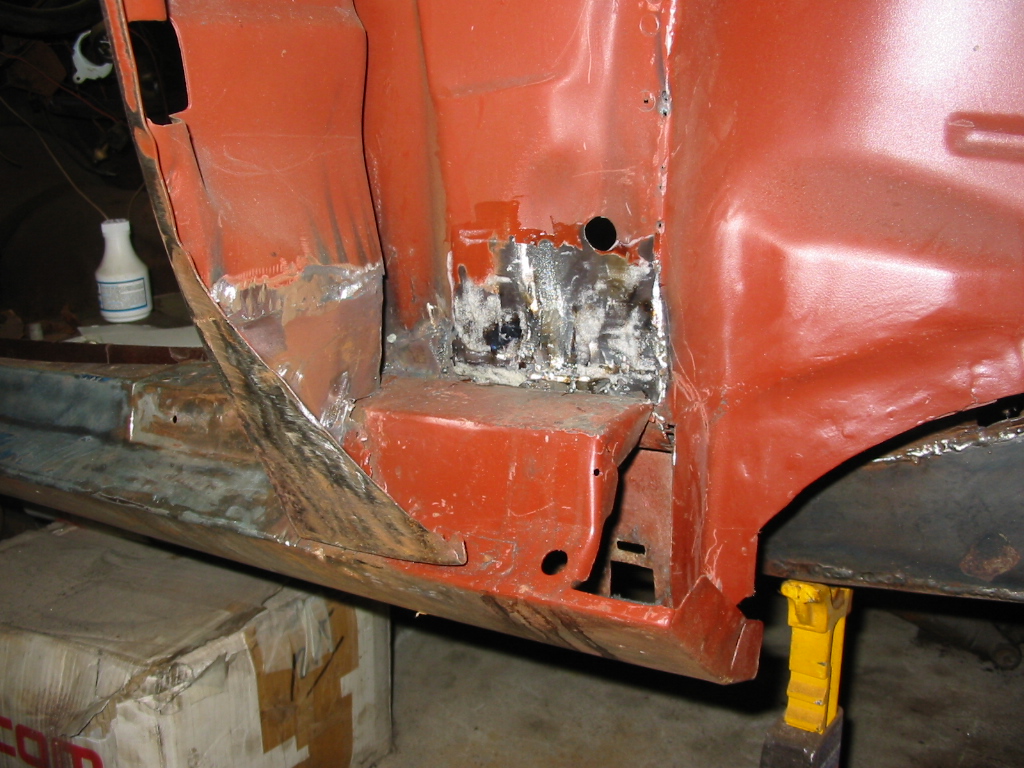
| Here is the same area patched and coated with POR15 sealer. This area did not come out perfect. I learned a valuable lesson here. It is very important to remove any and all bad metal when repairing rust areas. Rusted metal burns through very easily with a welder. Also make sure your patch panels fit tight. Filling holes with welding wire takes a while and is not fun when the weld is in a tight area. It was very hard to get the grinder into position here. | |
|
|
| Here is the mid floor rust hole on the left side. | Here is the mid floor rust hole on the right side. |
|
|
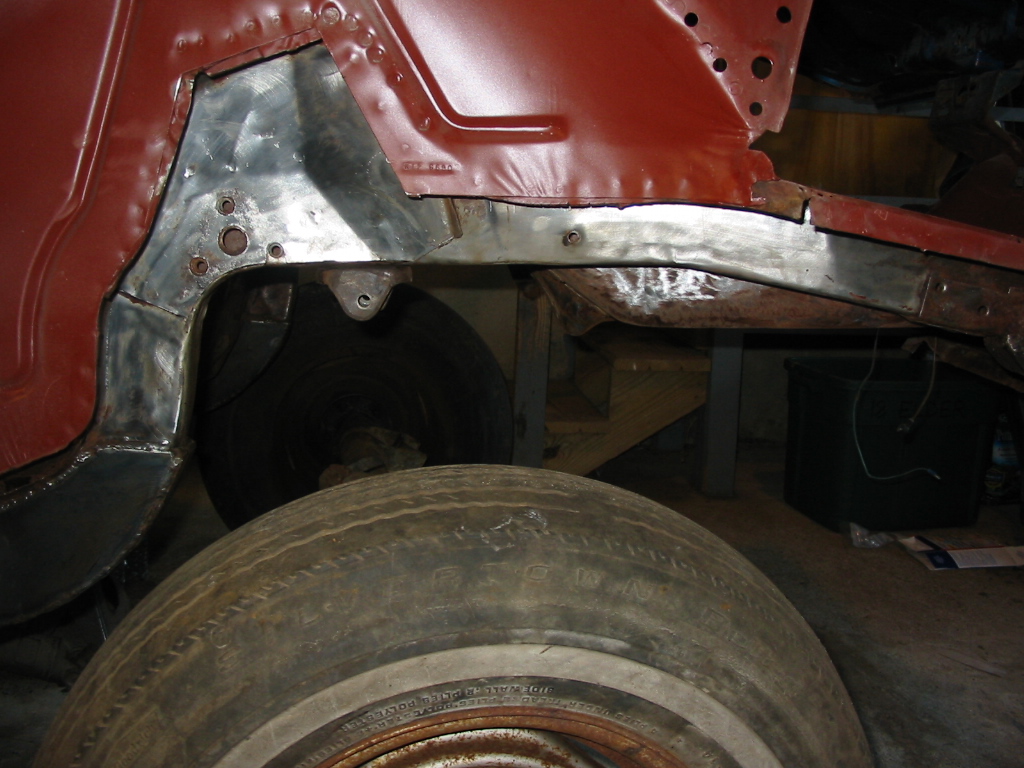
| Here are a couple of shots of the stripped left frame rail. | |
|
|
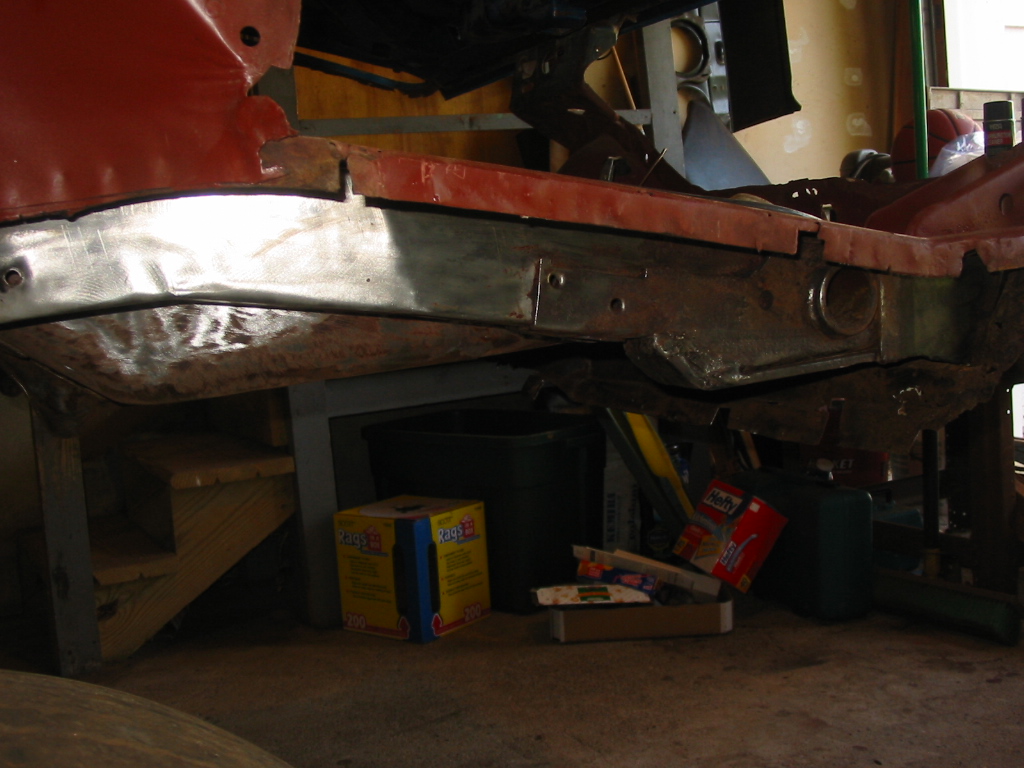
| Here is a shot of the trunk floor and area behind the back seats stripped. | Here is a shot of the stripped right frame rail. |

|
|