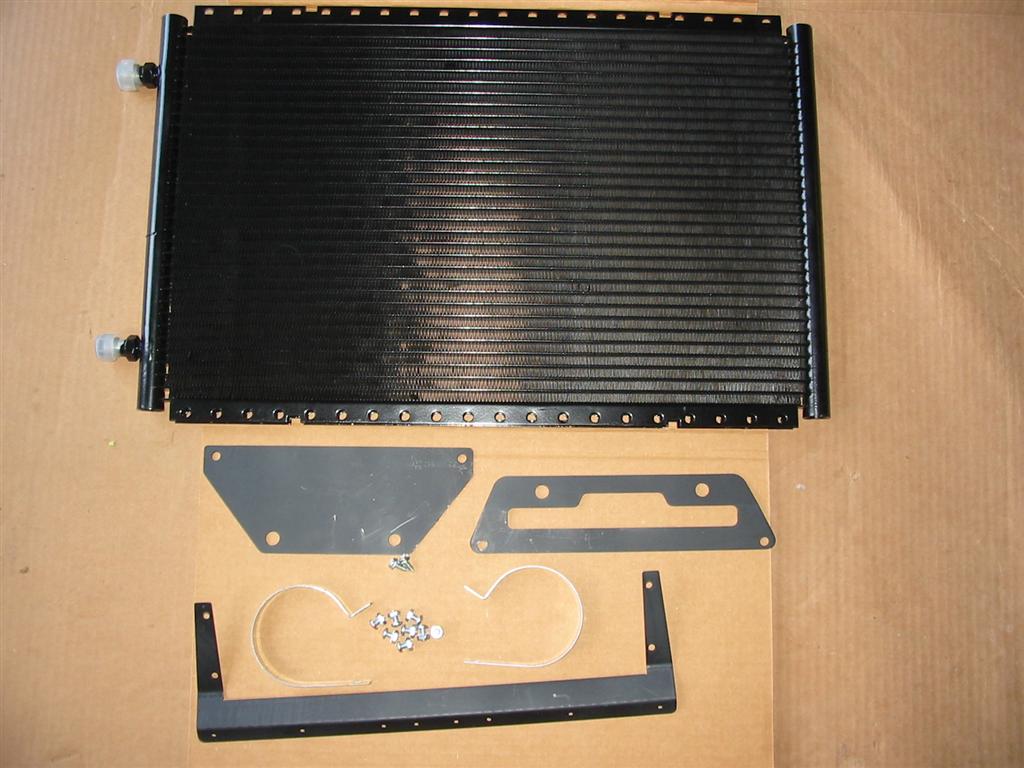
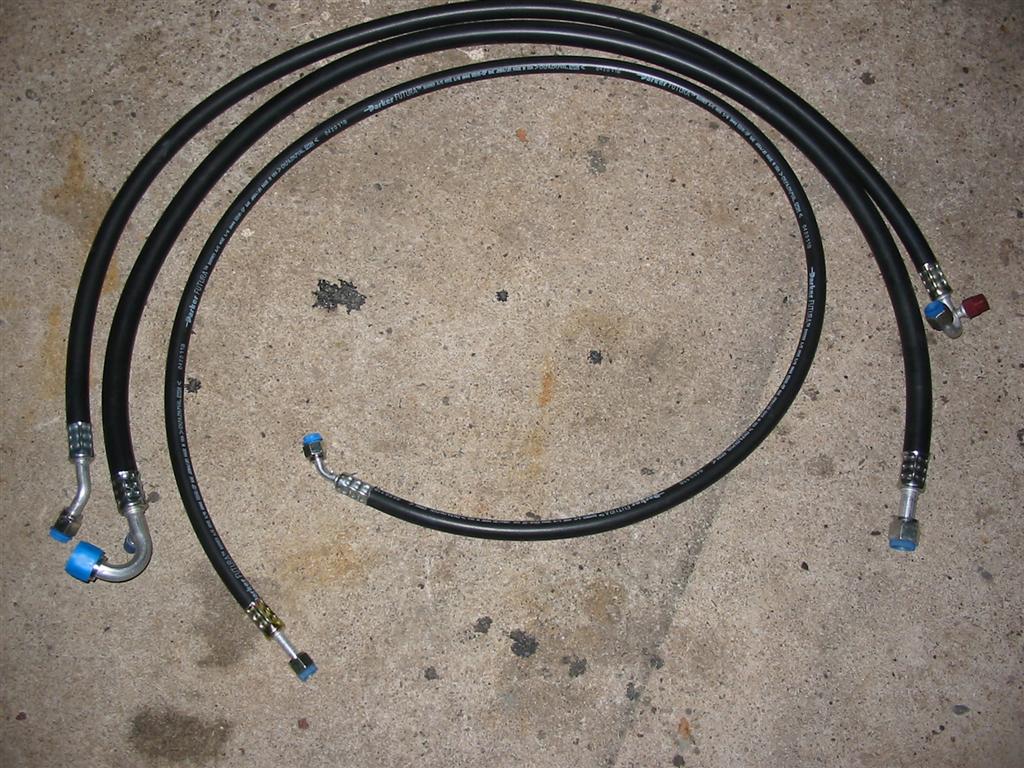
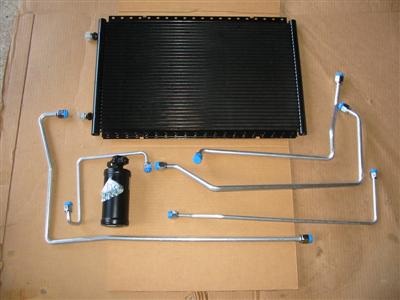
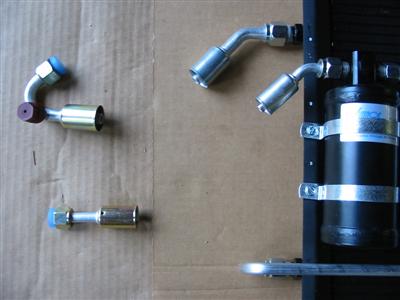
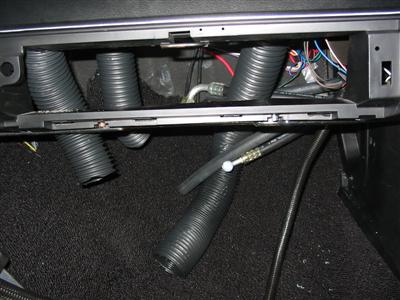
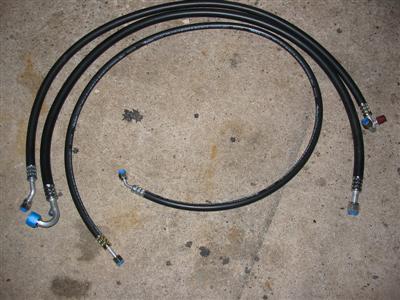
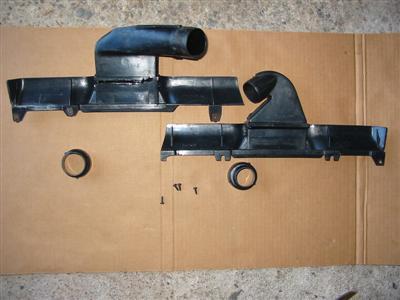
| Here are pictures of all the hard lines that come with the condenser. Most
of the parts in this picture are not used when using the hidden hose
option. |
|
|
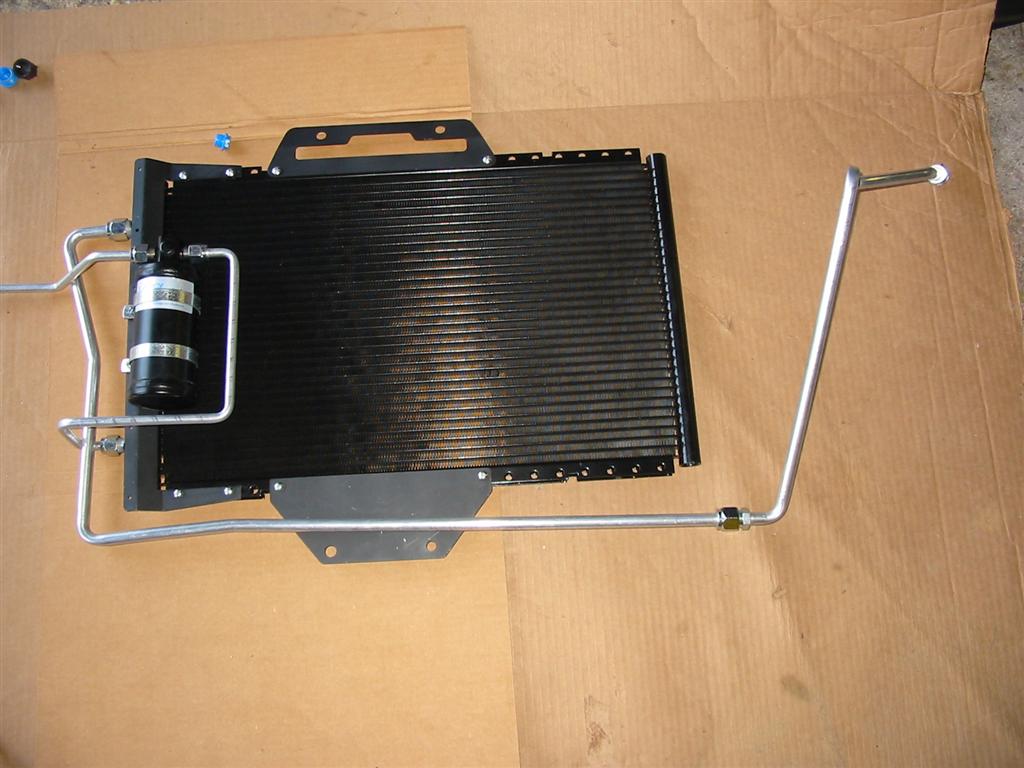
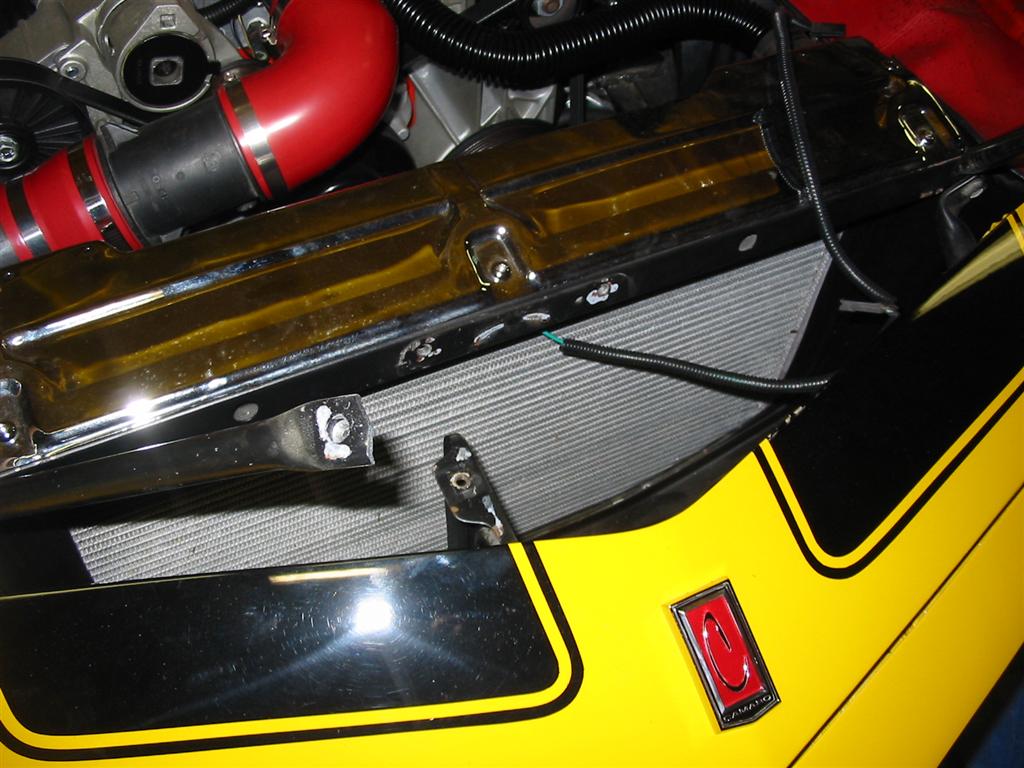
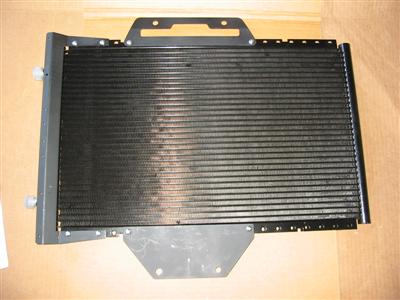
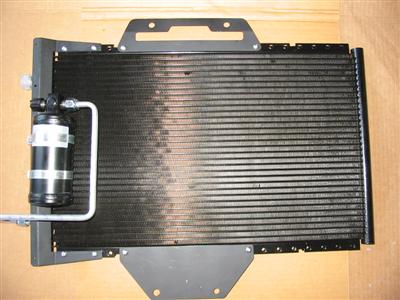
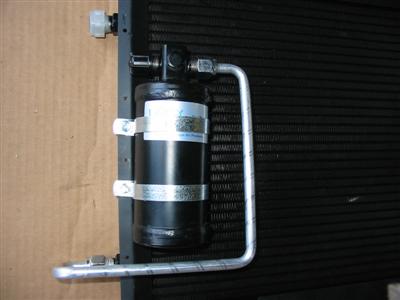
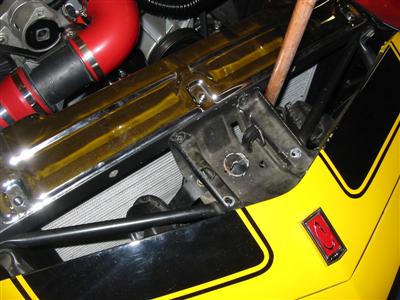
| Here is the installation of the brackets for the mounting of the condenser
and the mounting of the drier unit. |

|
|
|
|
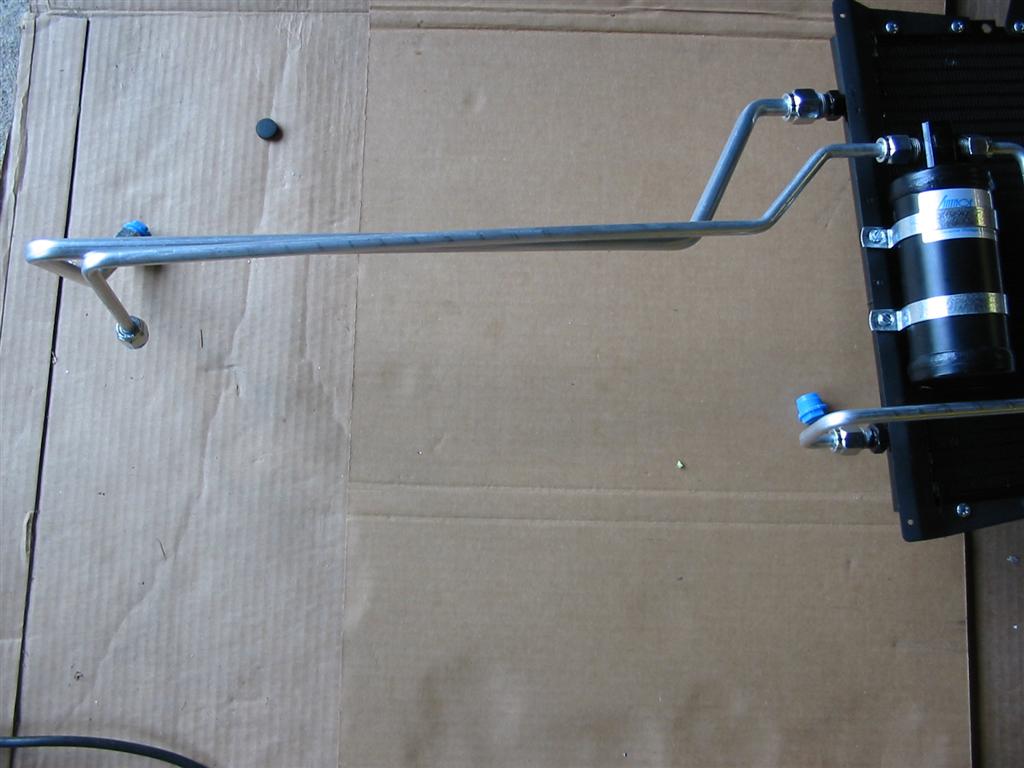
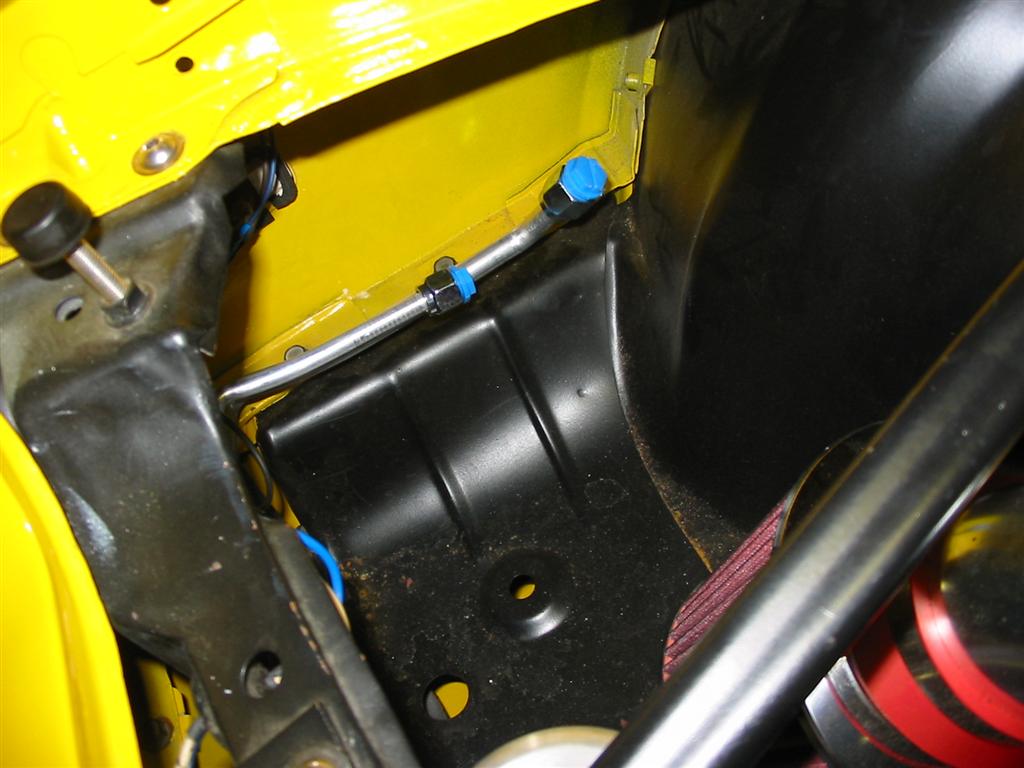
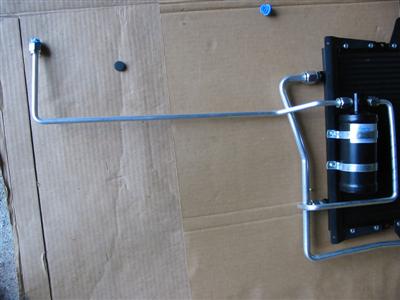
| Here is how the lines would mount on a system with a driver side compressor installed.
I didn't mount them this way but documented it in case someone in the future was curious.
|

|
|
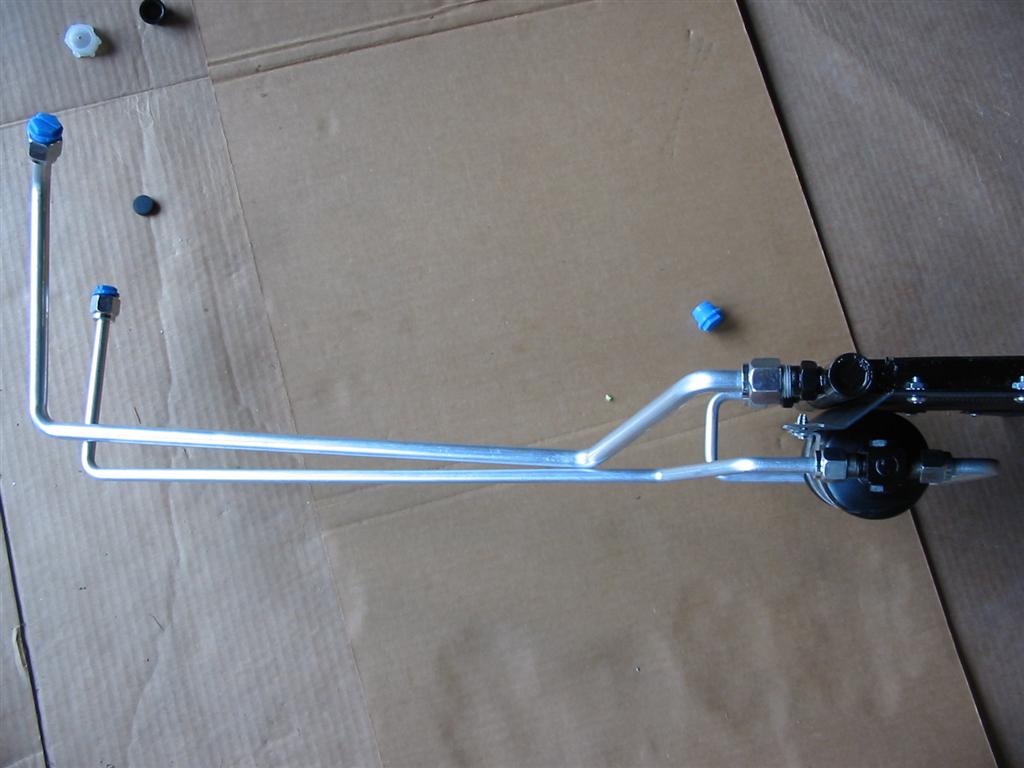
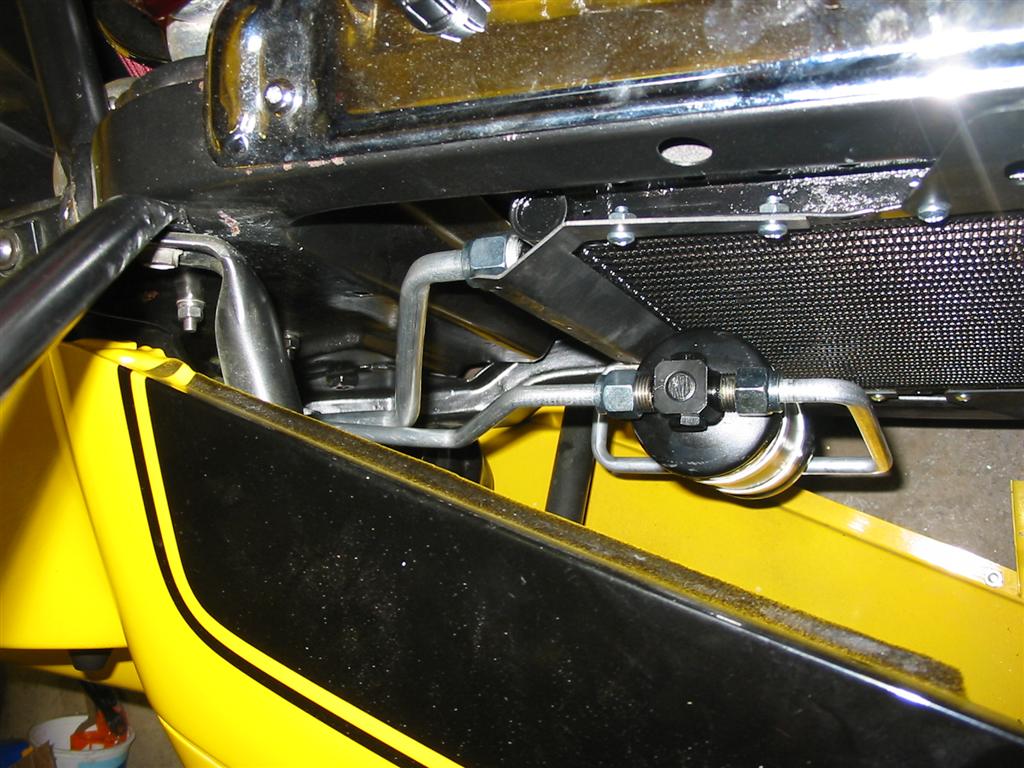
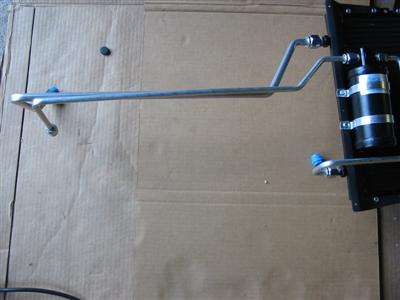
| Here is how the lines would mount on a system with a passenger side compressor installed.
I didn't mount them this way either because I am running the hoses directly to the condenser.
|
|
|
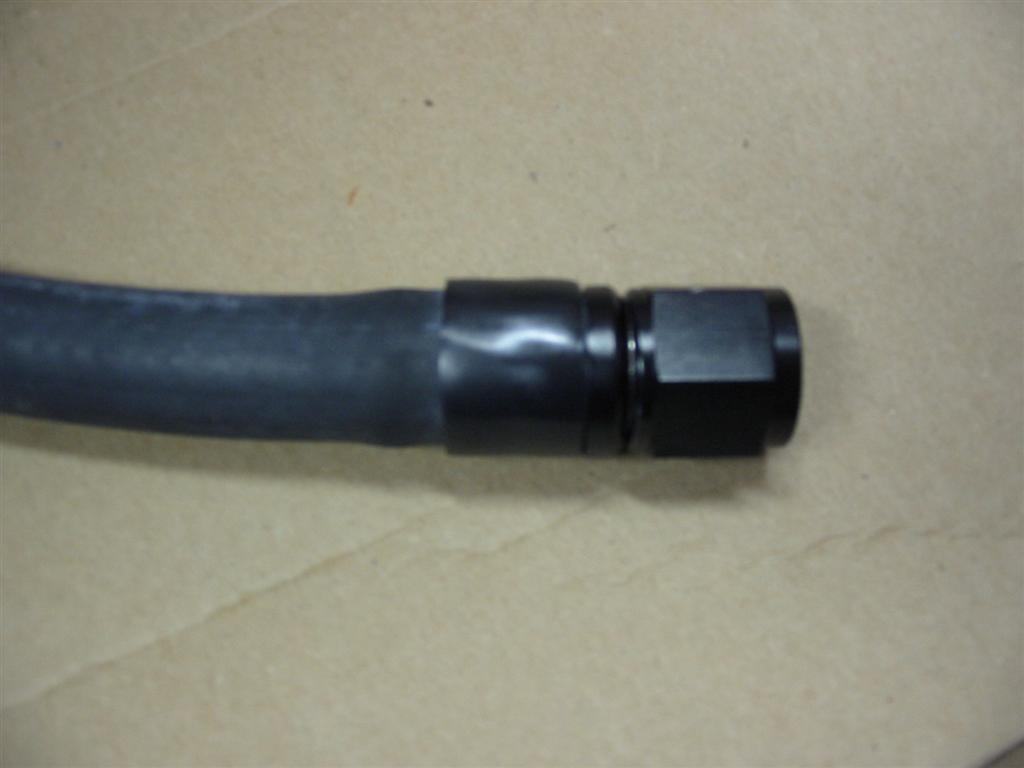
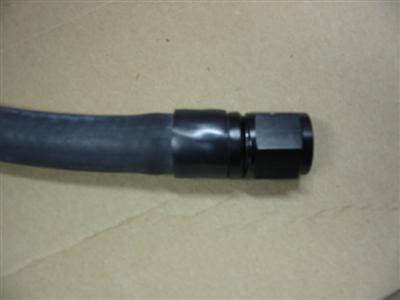
| Here are the hose endings that I am using to connect the condenser to the system. |
|
|
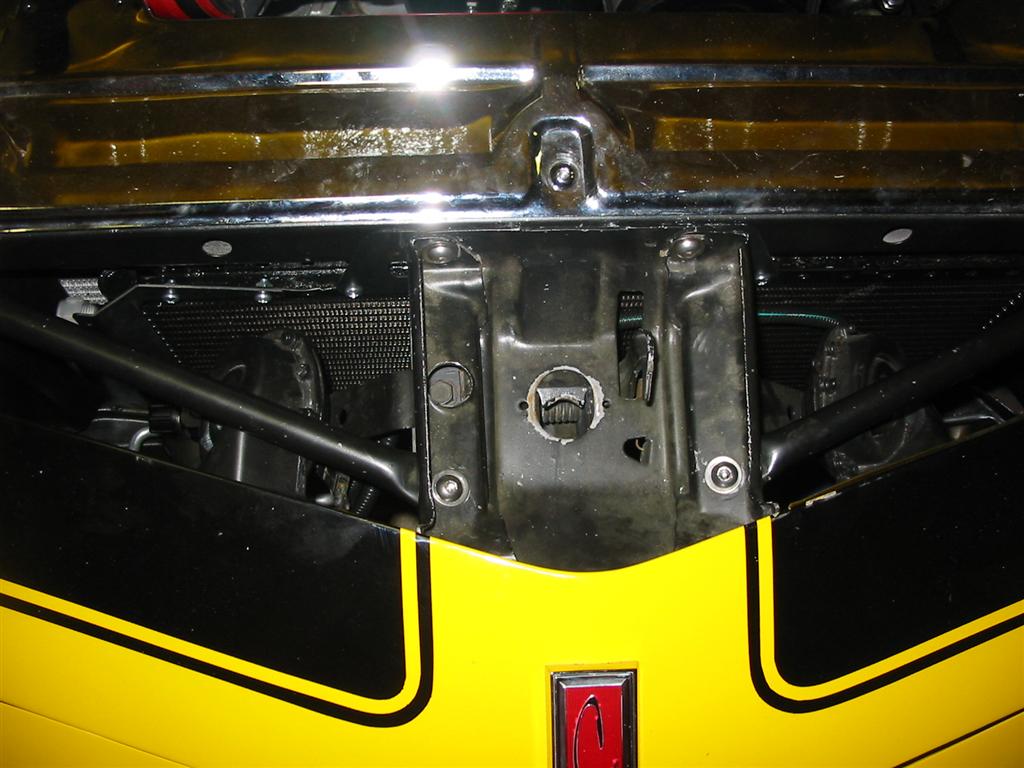
| To install the condenser, the hood latch and supports need to be removed. The brackets for the condenser
use the hood latch support mounting holes in the core support for mounting. |
|

|
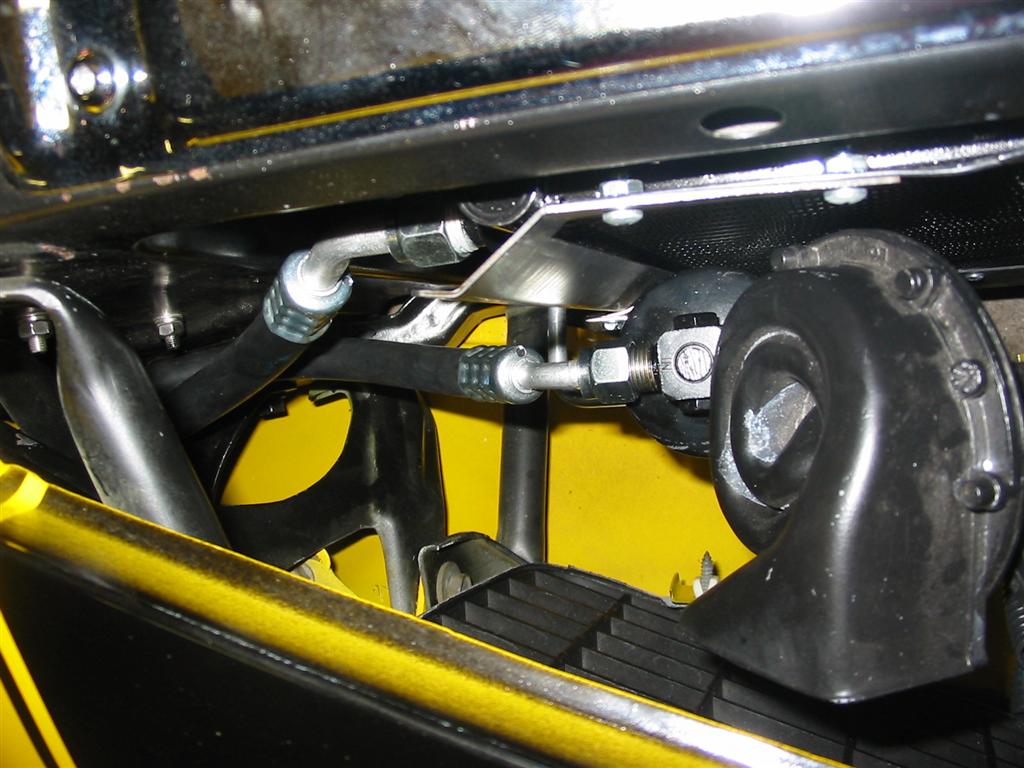
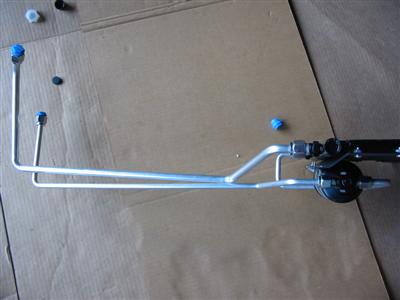
| Out of curiosity I installed the hardlines that came with the system for the passenger side
mounted compressor. I had thought of using these and running the flexible lines to these
hard lines. I decided to not go that route because I didn't want to add two more connections
to the system. These pictures show how they would mount and be routed. |

|

|
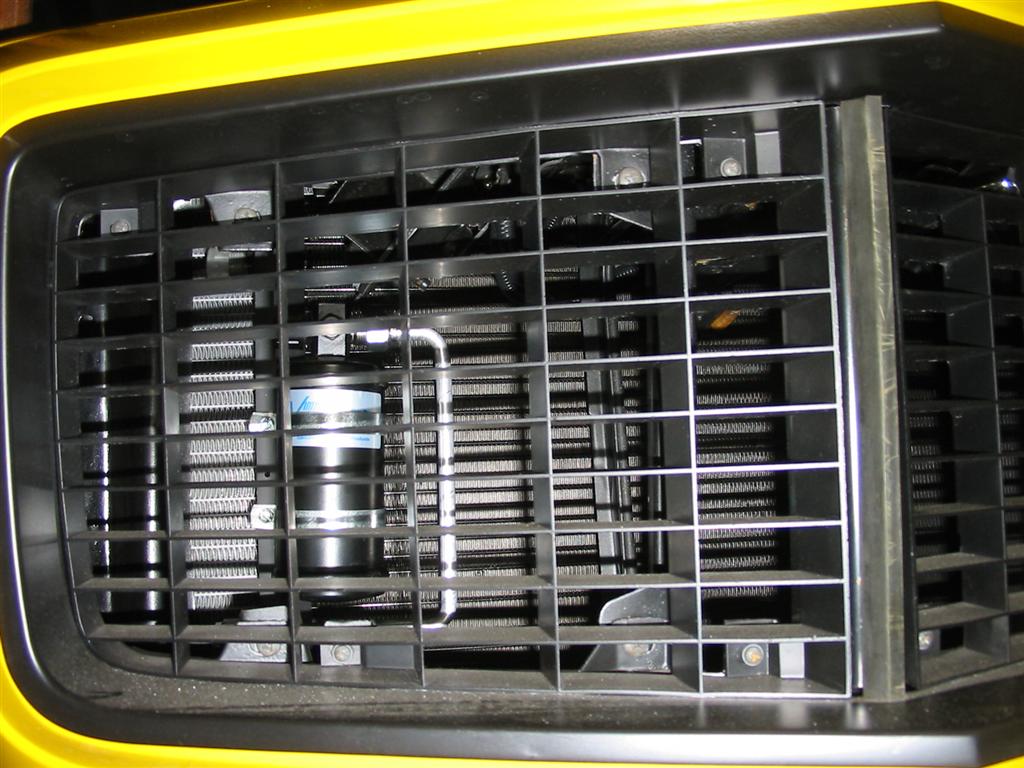
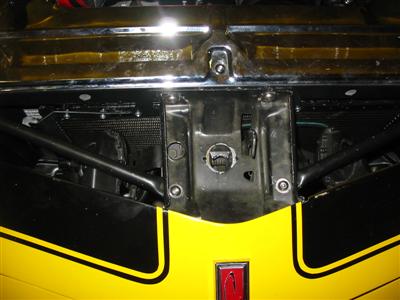
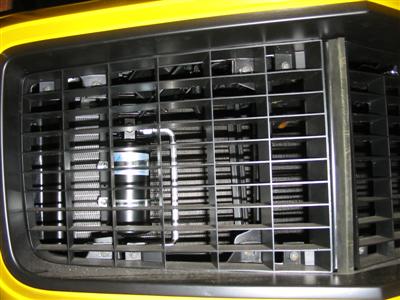
| Here is the condenser installed without the lines hooked up. I also did not install the
binary switch at this time. I did not install the binary switch because I think I am
going to go with a trinary switch that will control the compressor and my electric fan. |
|
|
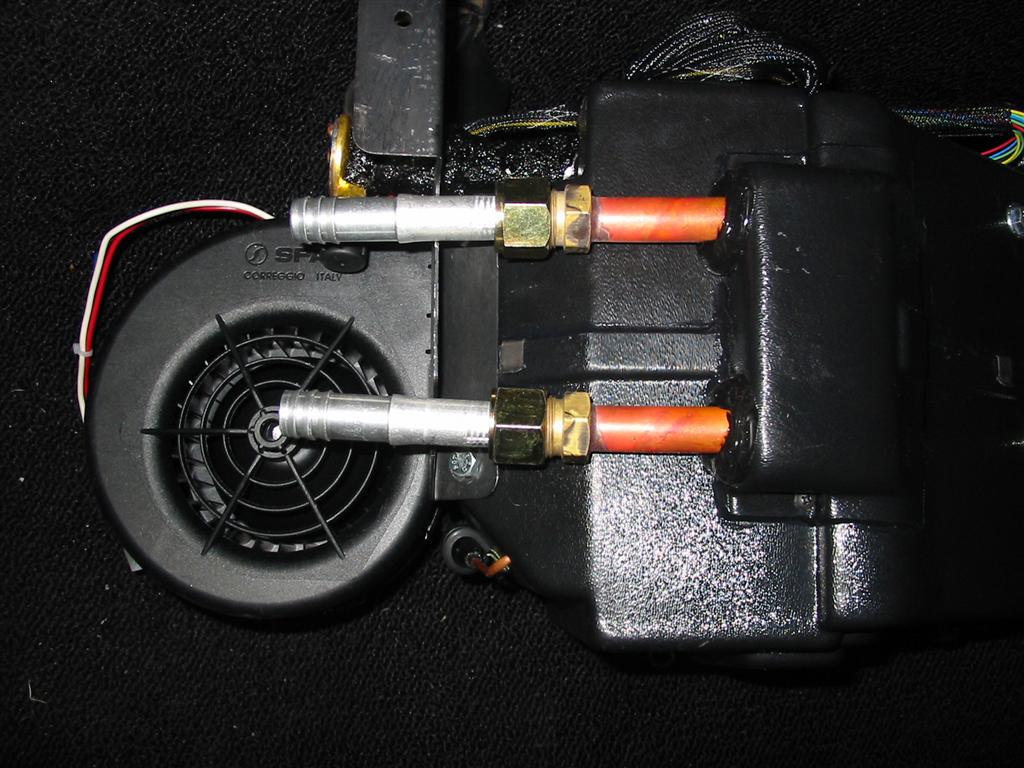
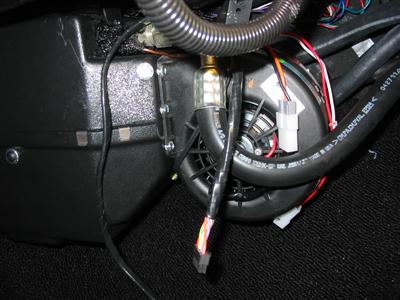
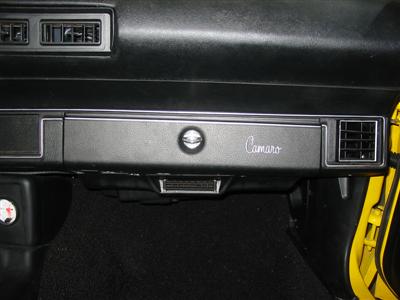
| Next I finished installing the evaporator unit. This included connecting most of the vent hoses
and the installation of the A/C and heater lines to the unit. |
|
|
|
|

|

|
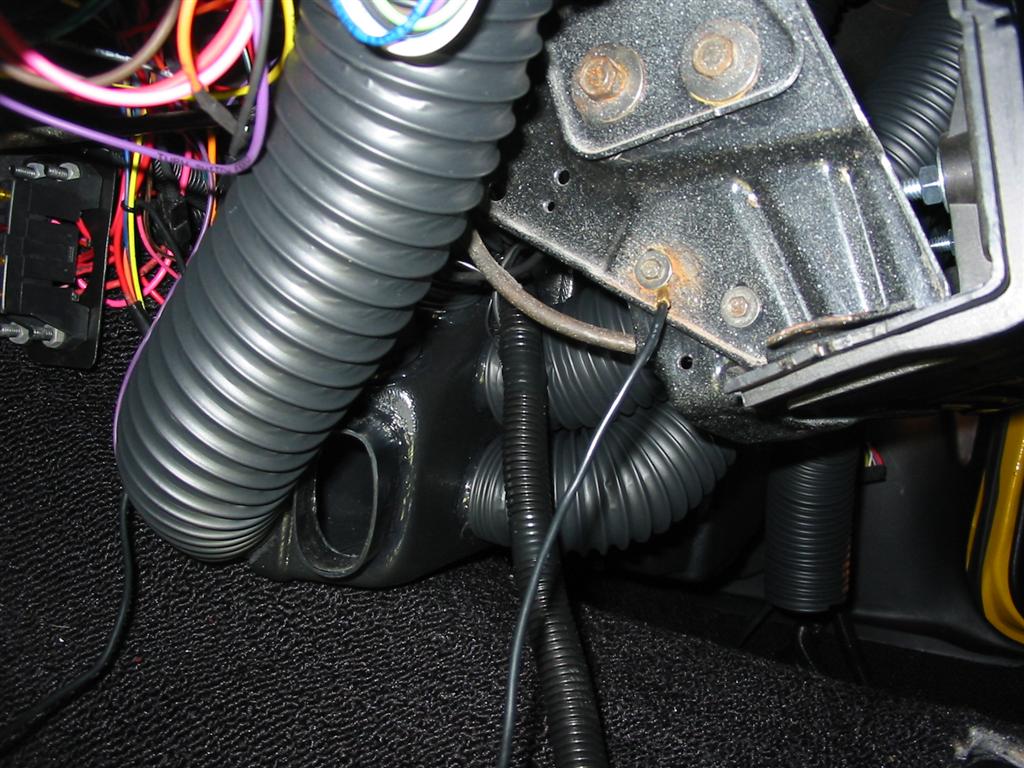
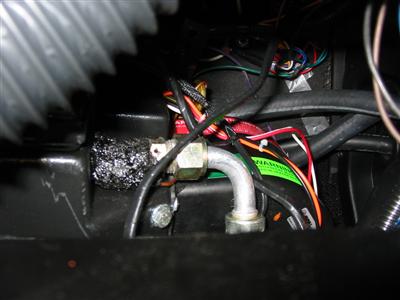
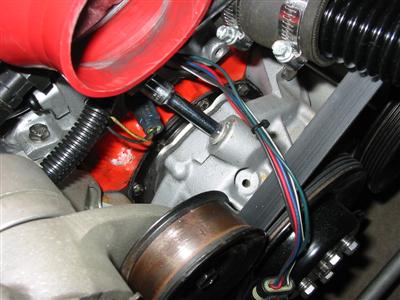
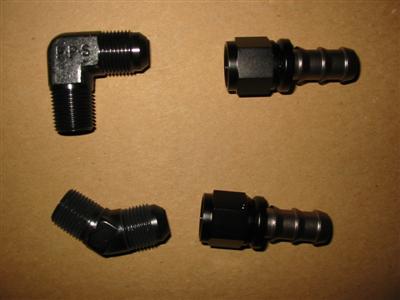
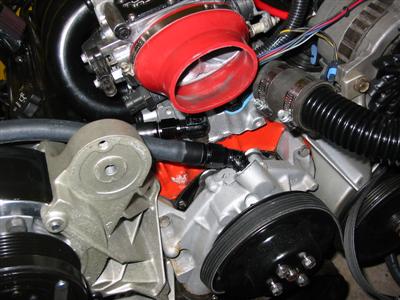
| Since my car had no heat or air, I needed to install heater lines for the system. I
am now running a TPI system so I need to use the NPT fitting in the front of the
intake and the fitting in the back of the water pump. I used 1/2 NPT to AN-10
adaptors in the intake and water pump to mount the heater hoses. I am also
using Push Lock connectors for the heater hose. |
|
|
|
|
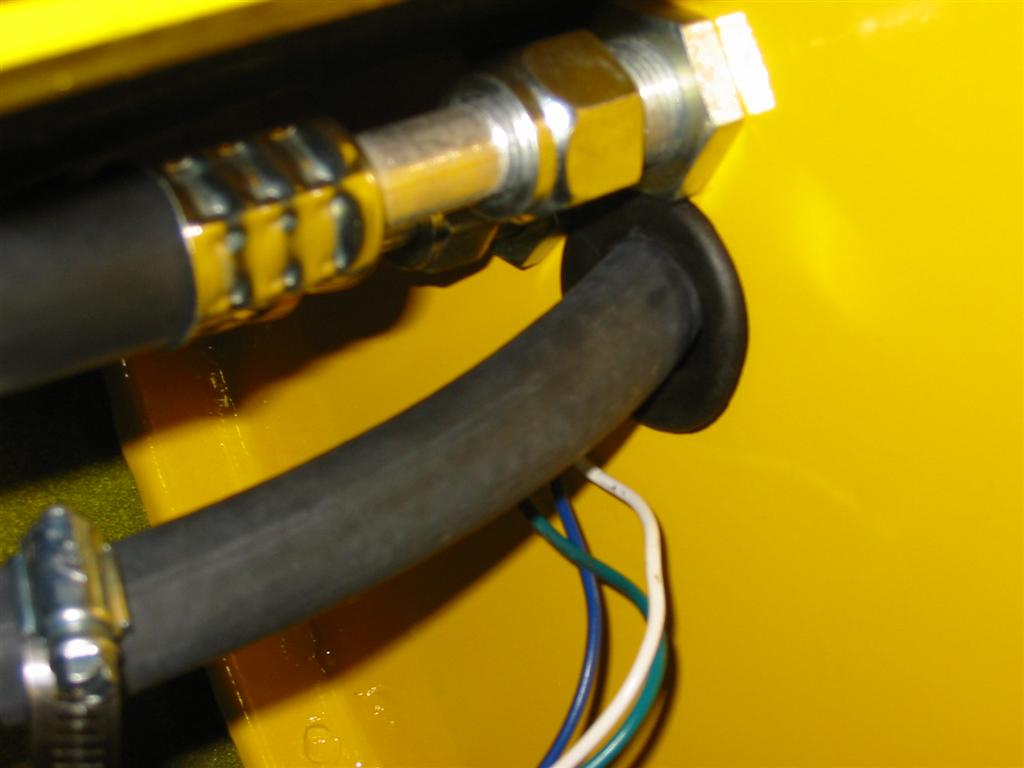
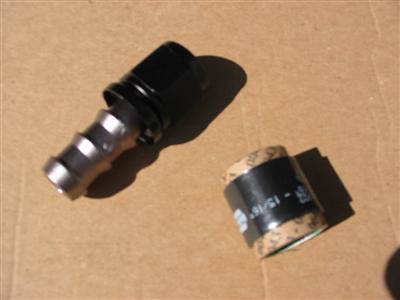
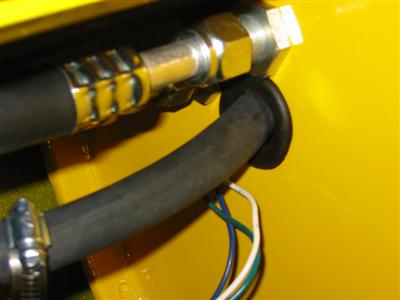
| For the heater lines I am using standard 5/8 heater hose with push lock AN-10 fittings. I was
not sure that the Push Lock fittings would give a leak free seal with the heater hose so
I secured the hose to the fittings with the Gates Power Grip hose clamps. These clamps
work like shrink wrap to seal the hose to the barbed fitting. |
|
|
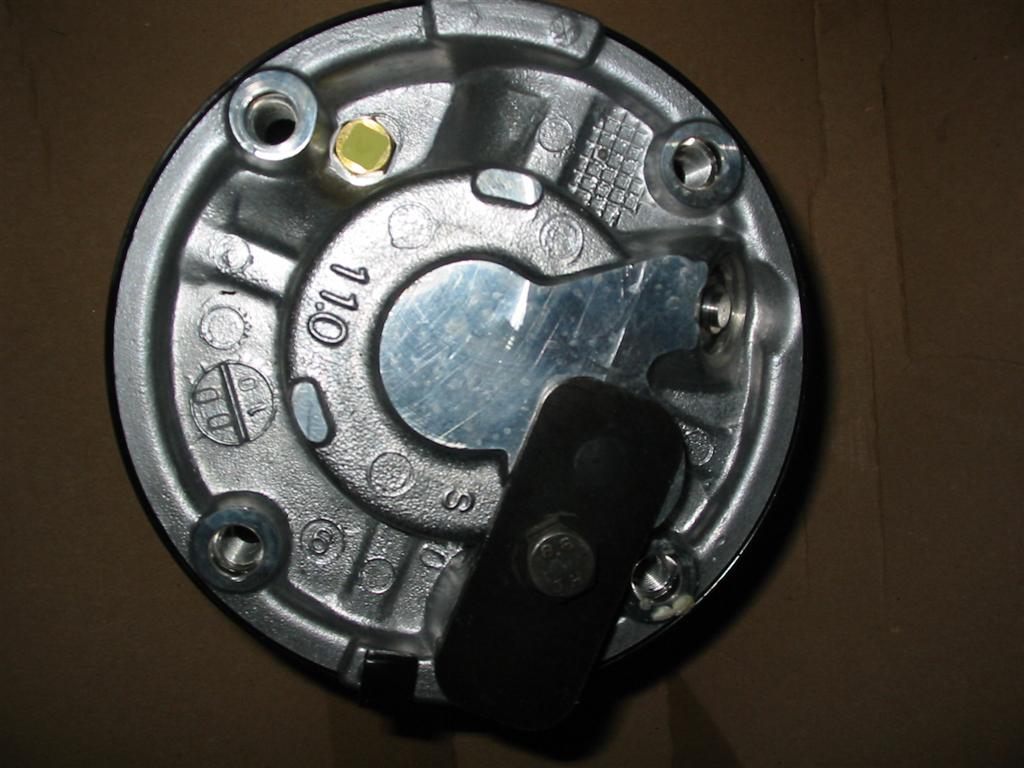
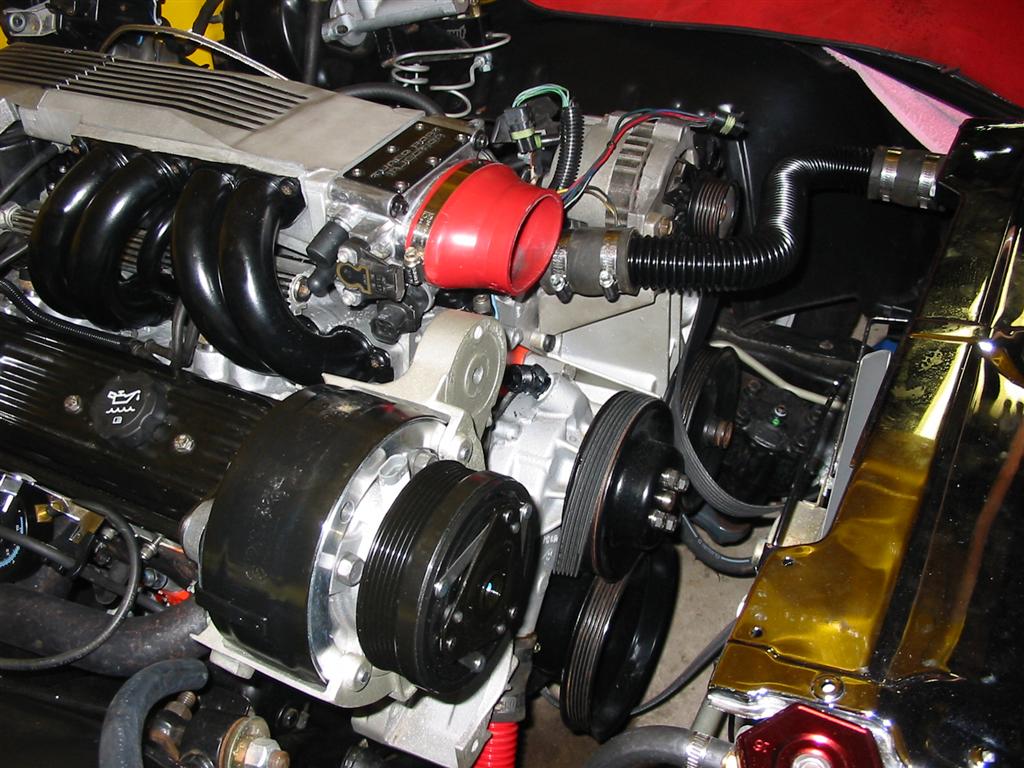
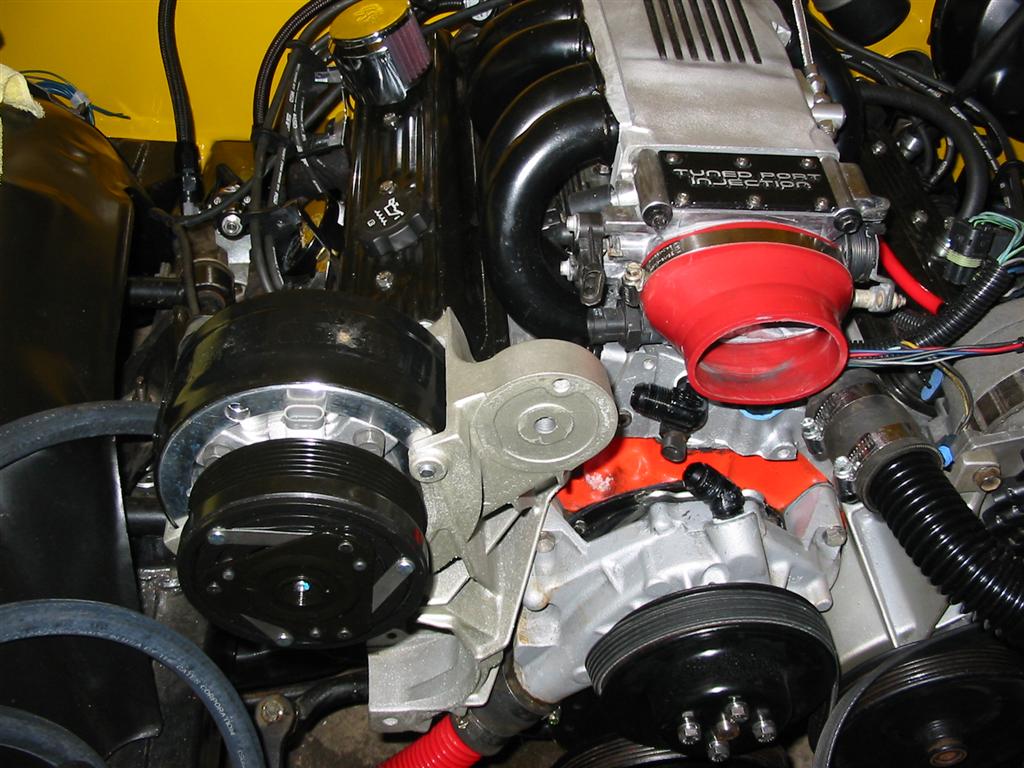
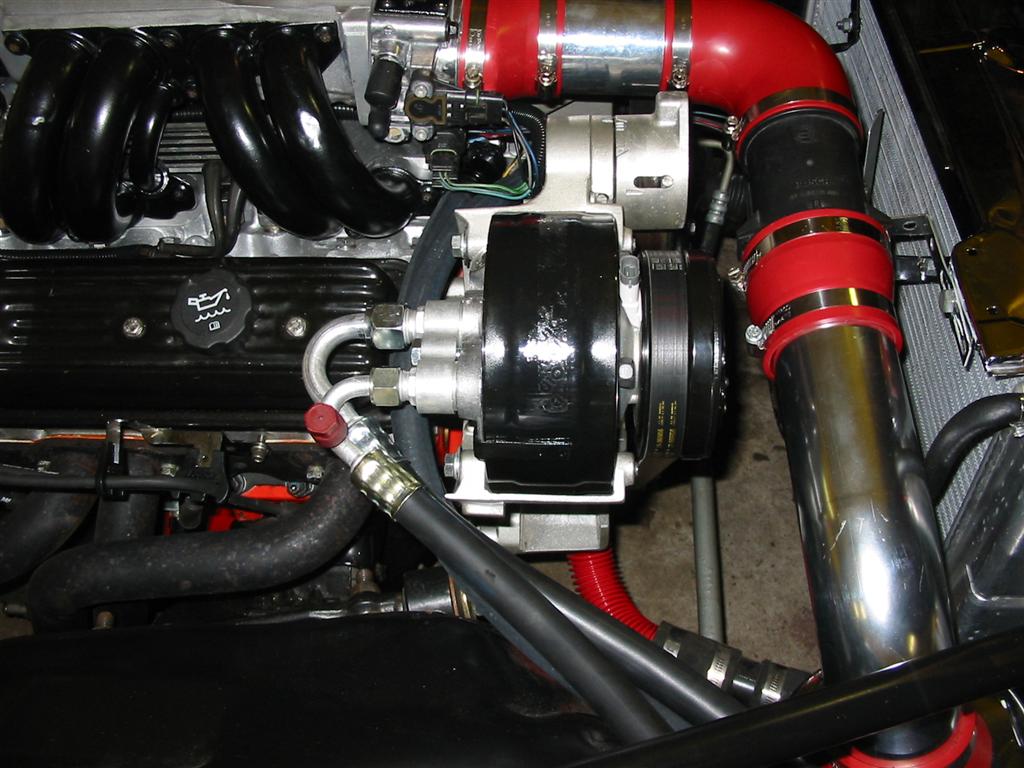
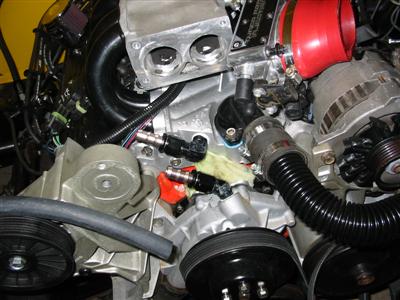
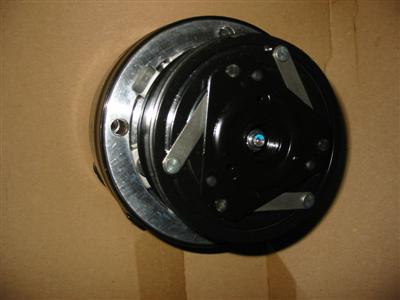
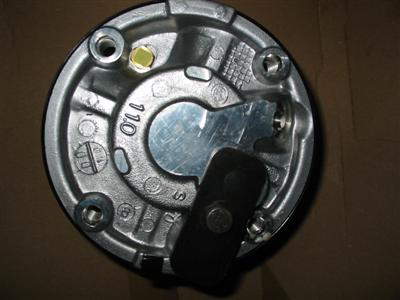
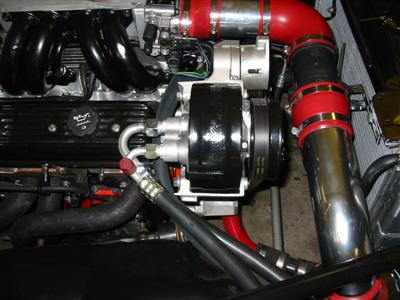
| I then installed the A/C compressor so I could verify that there would be no fitment issues
with the heater hoses. I am using a standard GM "Pancake" compressor for my install. I went
with this compressor because it fits with the serpentine system I installed with my TPI
system. |
|
|

|

|
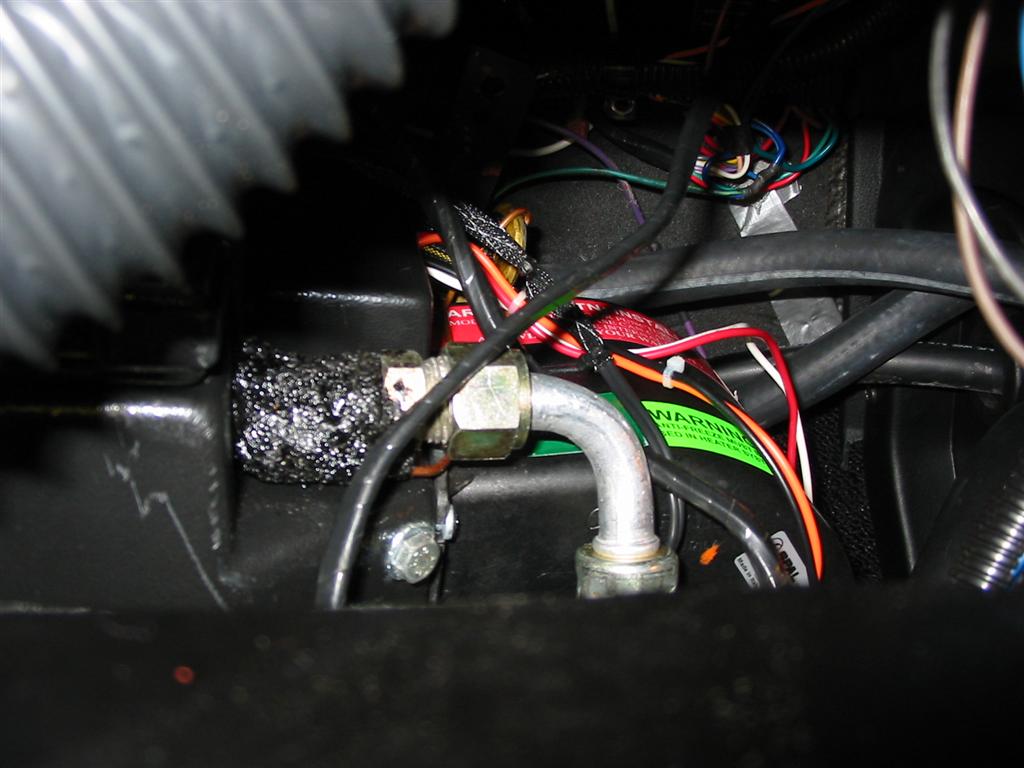
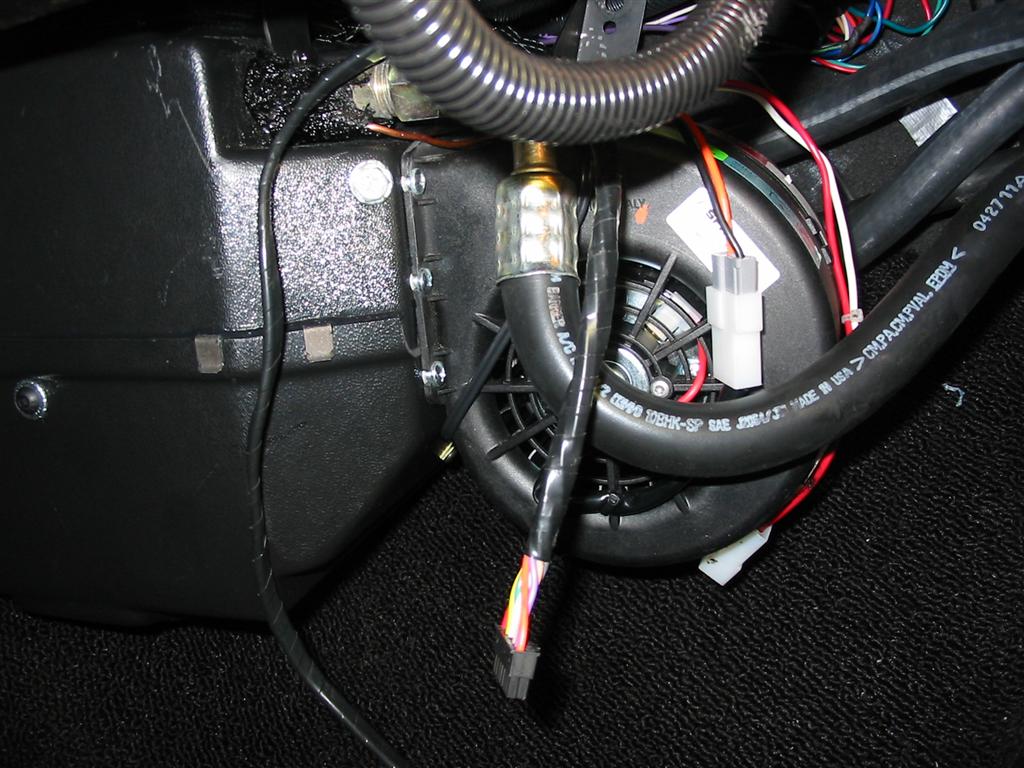
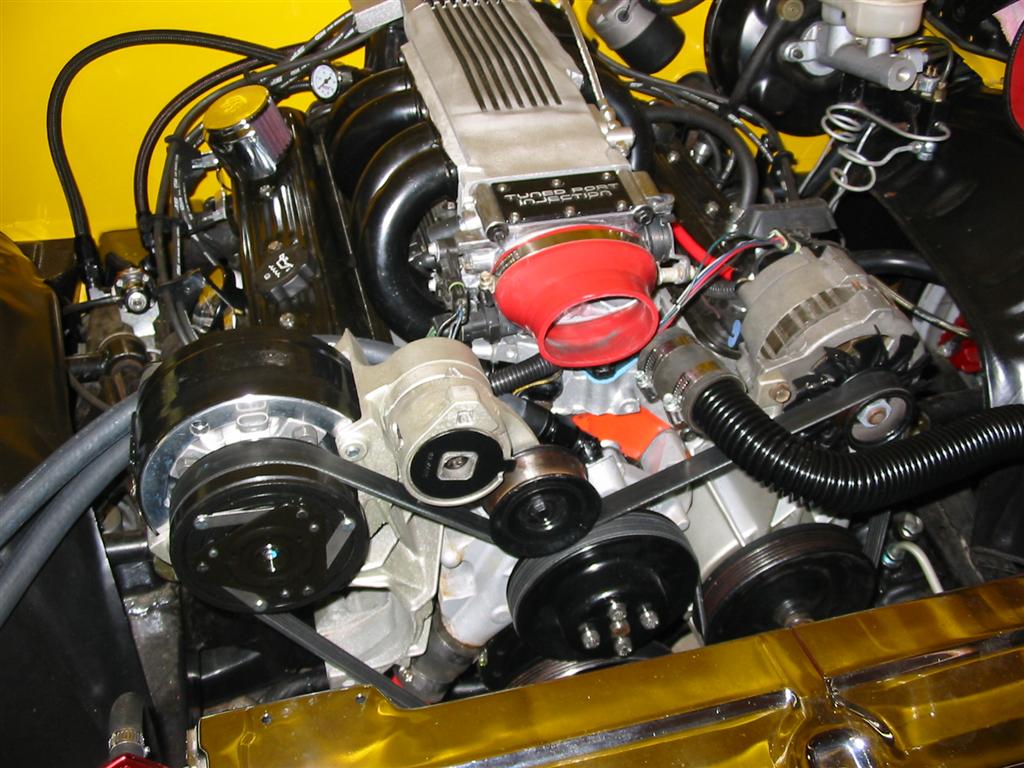
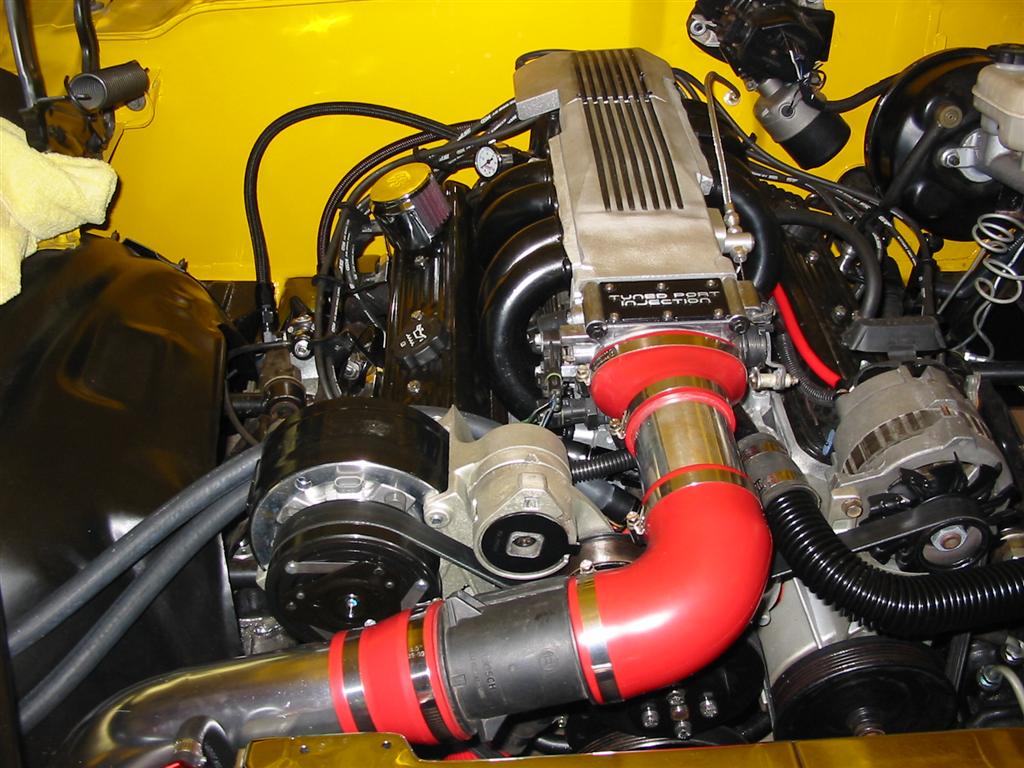
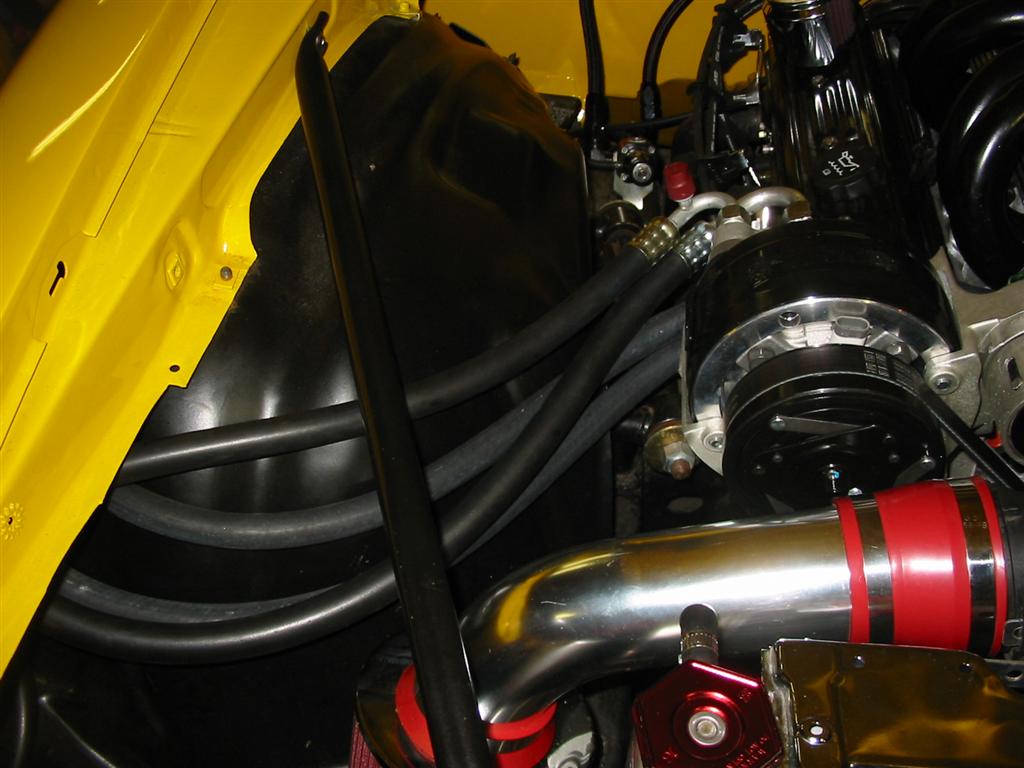
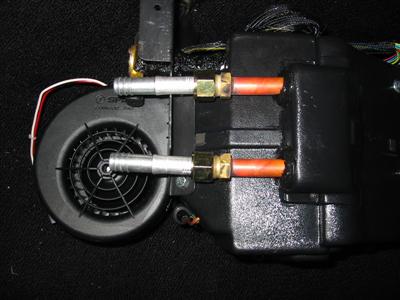
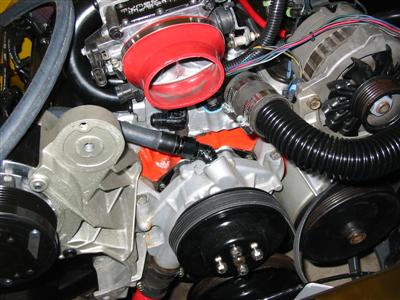
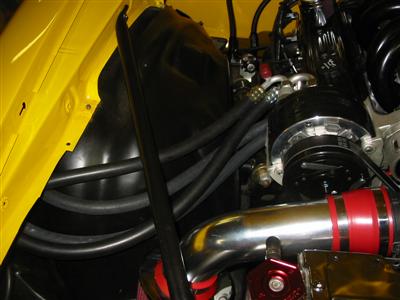
| Once the compressor was installed, I installed the heater hoses. |
|
|
| Here are the heater hoses installed. |

|

|
| I then went to the local NAPA and had them crimp the final 3 A/C lines. I then hooked
them up to the firewall bulkhead, compressor and condenser. |
|
|

|

|
|
|
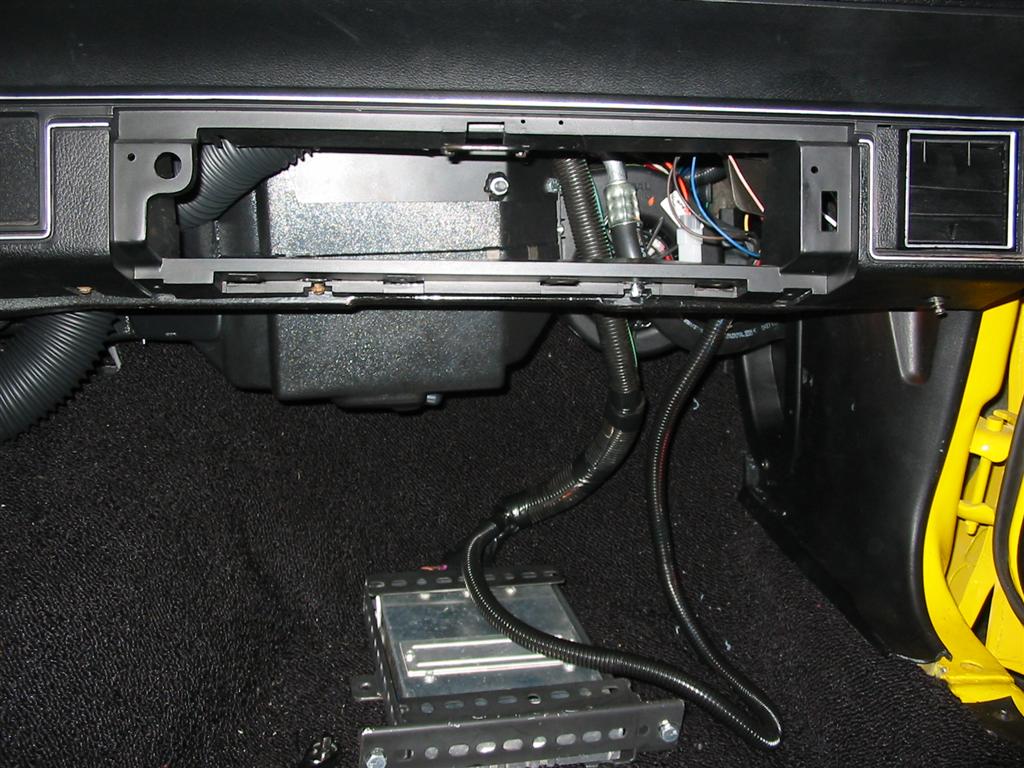
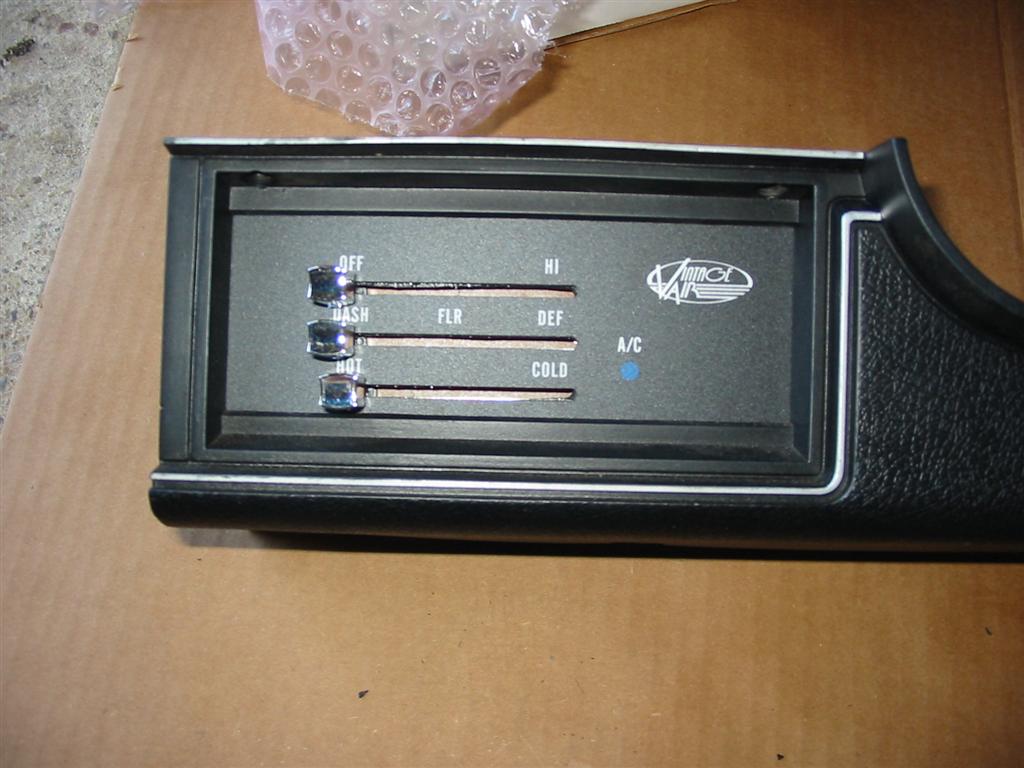
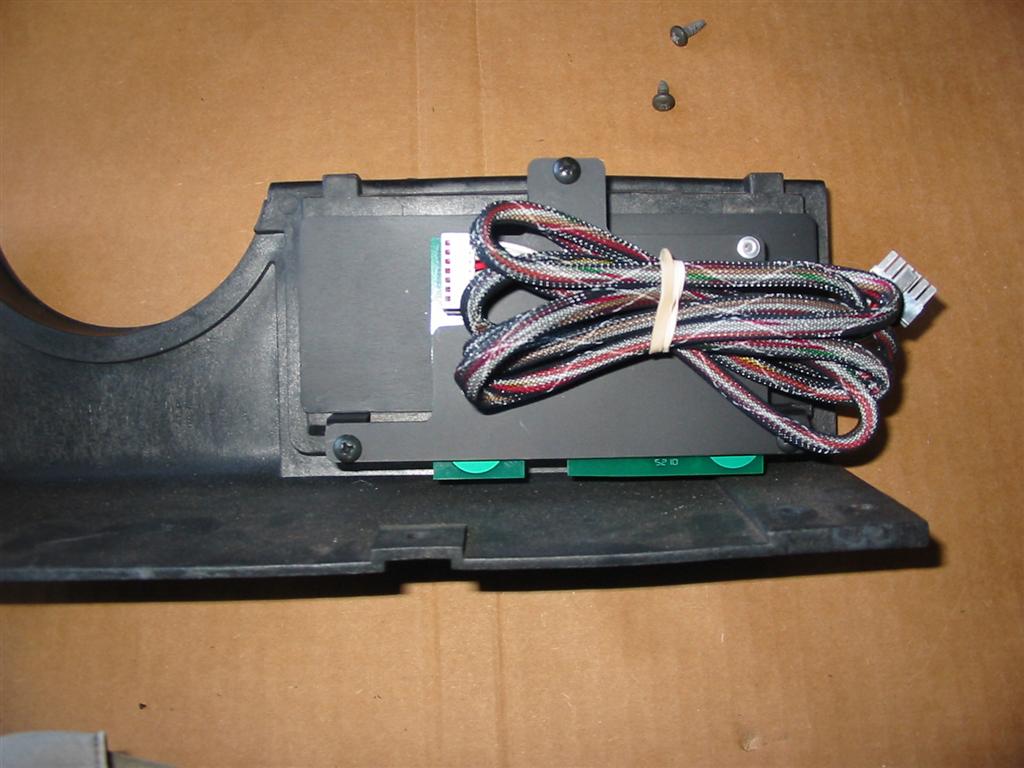
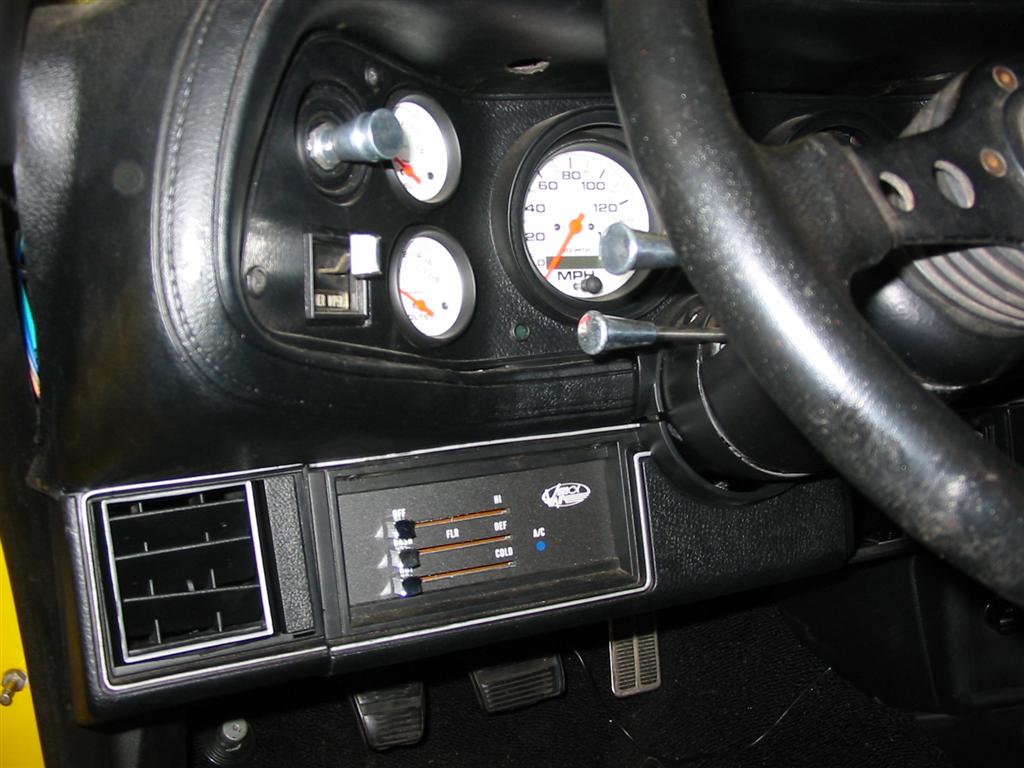
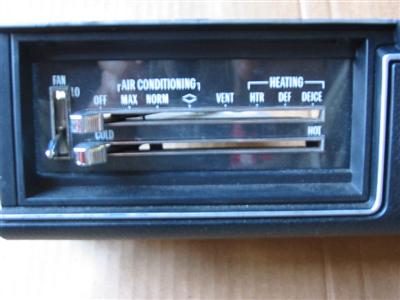
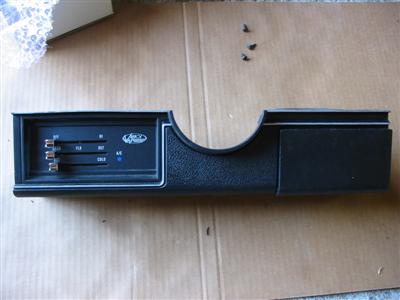
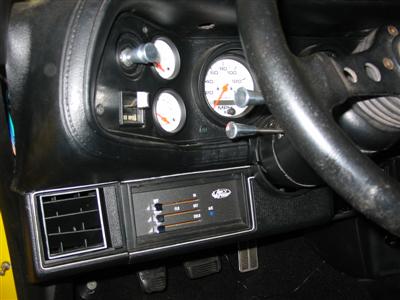
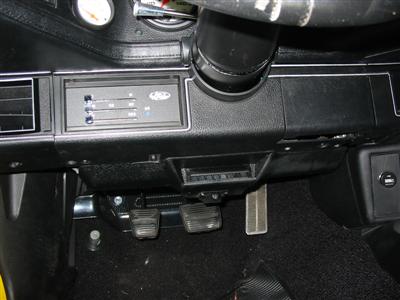
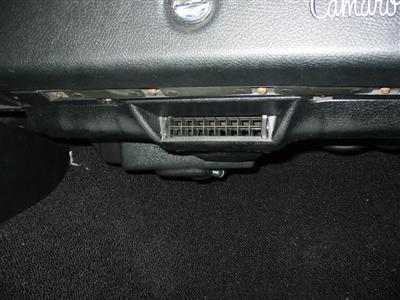
| I then installed the HVAC control unit. One of the nice features of the Vintage Air
system is that everything is electronically controled and the HVAC control unit mounts
where the factory controls mounted using the same mounts. There are no vacuum lines or
cables to install. The HVAC control unit connects to the evaporator unit
with wires only and the wires are contained within one small easy to run plug. |
|

|

|
|
|
|
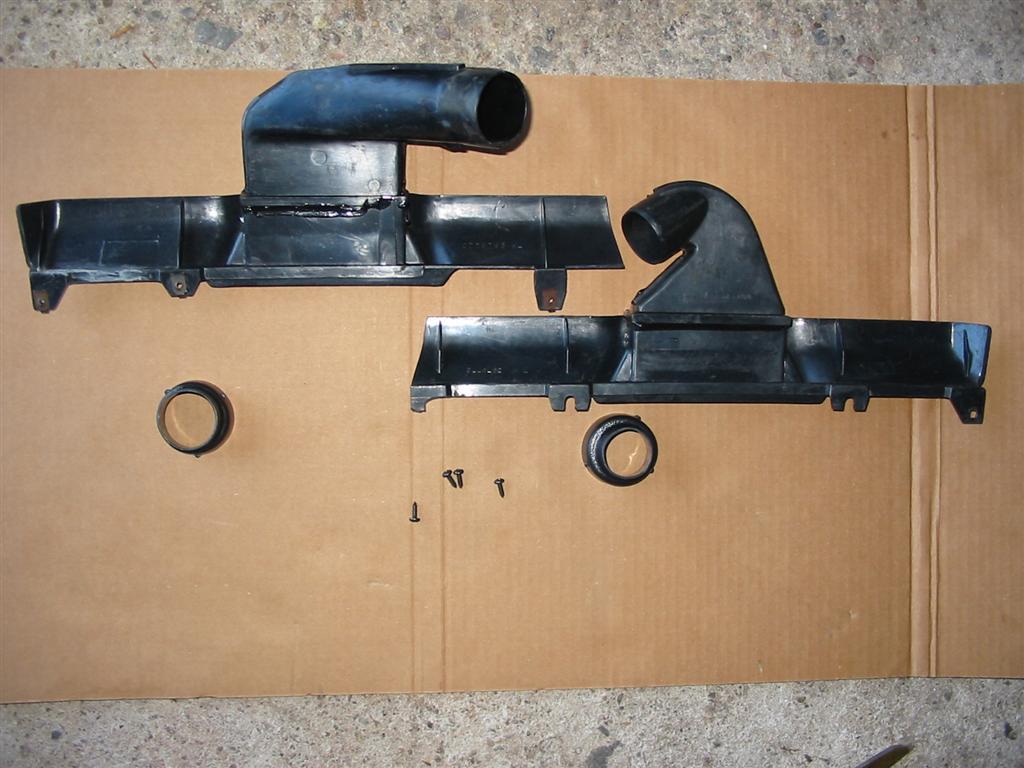
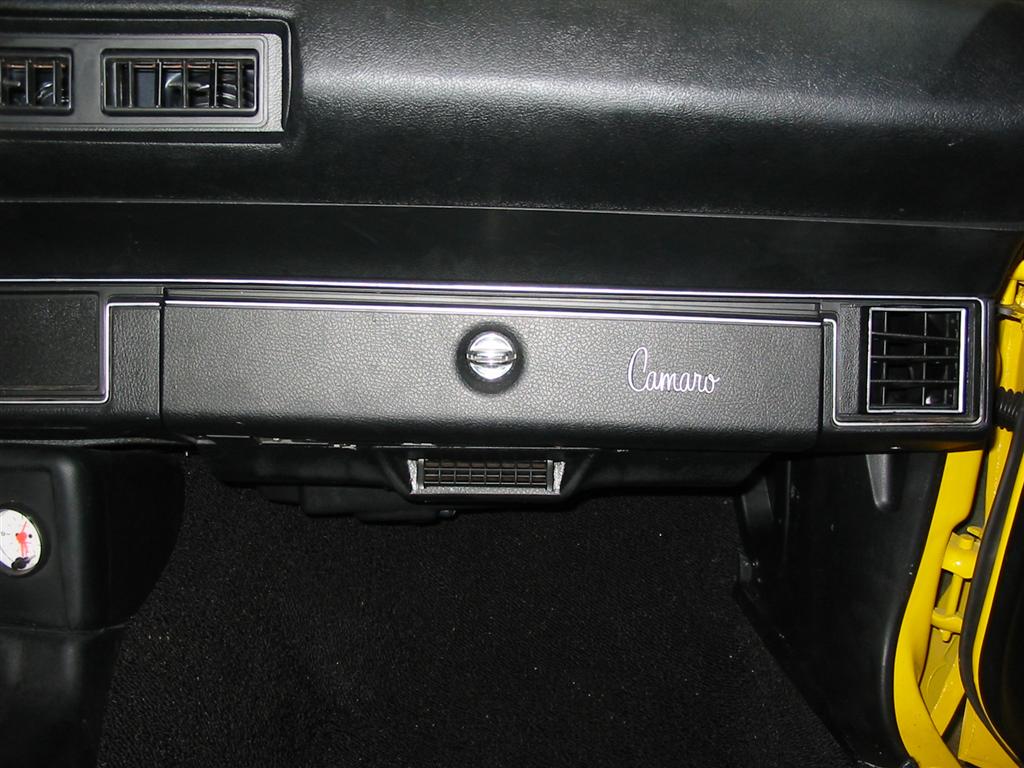
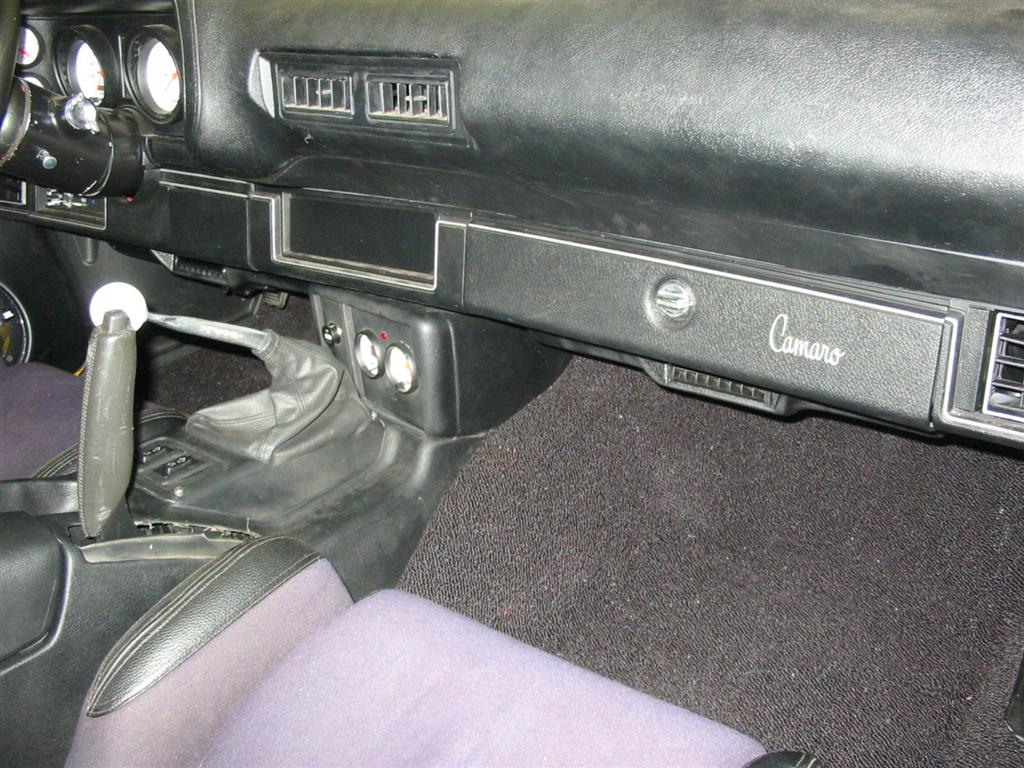
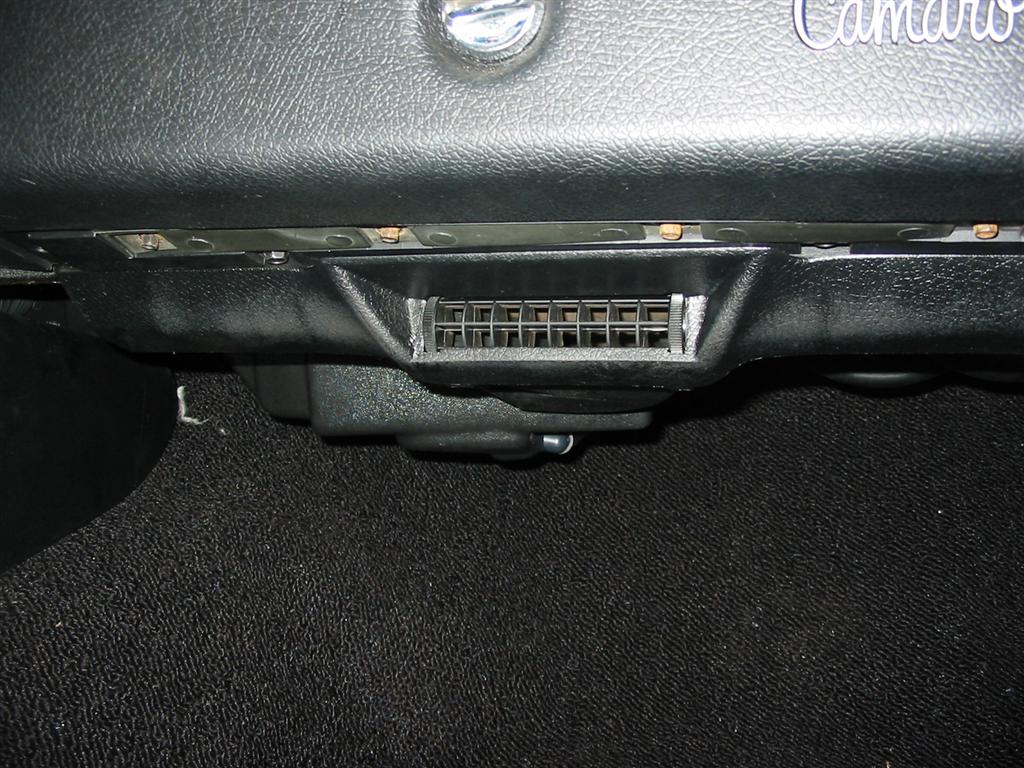
| The system also re-uses the factory lap vents. You just need to install the included
adaptors to the lap vents. |
|

|
|
|

|
|
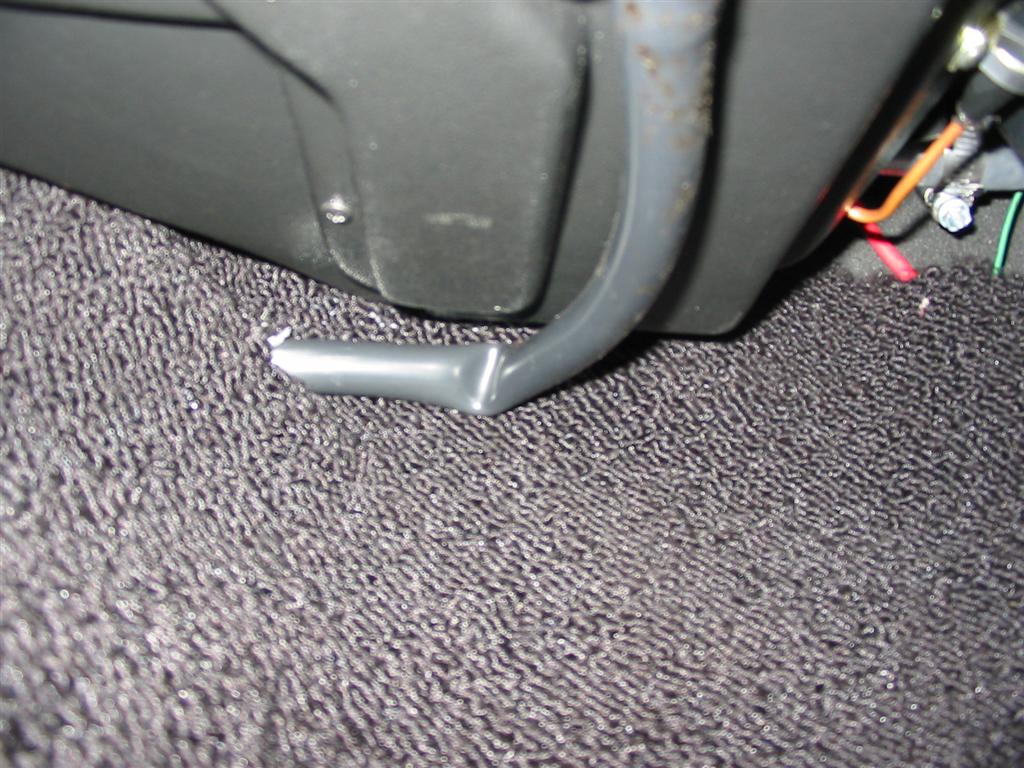
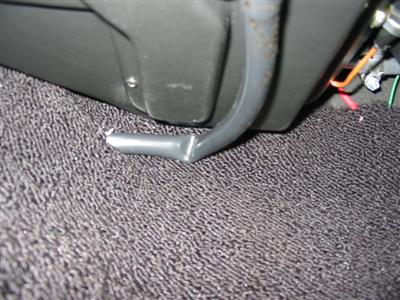
| The system also requires you to drill a hole in the floor and install a drain from the evaporator. |
|
|