|

Trunklid and Rear Spoiler Initial Fitting. (July 29, 2007)
Here are pictures of the initial fitting of the trunklid and rear spoiler. This includes stripping and repairing the trunklid. The trunklid had some holes in it from emblems and a poor spoiler mounting job. The rear spoiler is a factory GM part but the left side had a hairline crack in it. I used some fiberglass mat and resin to repair it.The pictures also show everything epoxy primed and mounted on the car. I took this opportunity to order and install a new left trunklid spring for a trunk with the rear spoiler. Originally, the car did not come with a spoiler so the springs were always too weak to hold the trunklid up. Now that is not a problem. Also, the trunklid took a little bit of massaging to fit properly. This included elongating a few mounting holes on the hinges and trimming some material off of the side of one of the hinges.
Status photos as of 7/29/2007:
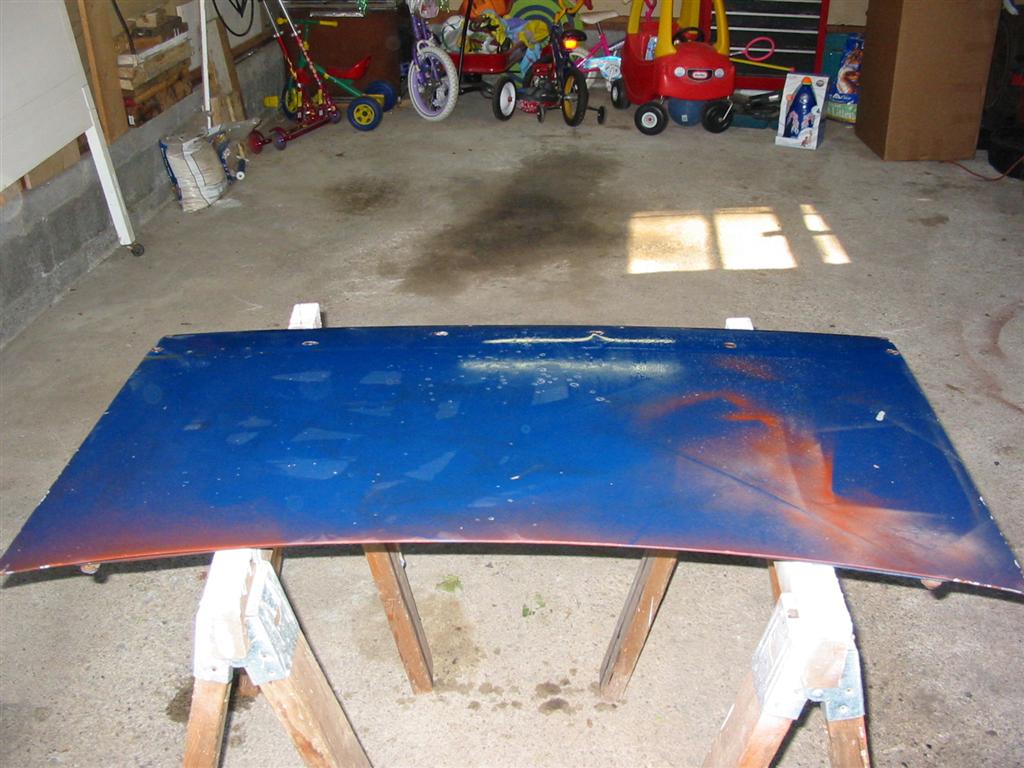
| Here is the trunklid before stripping. | |
|
|
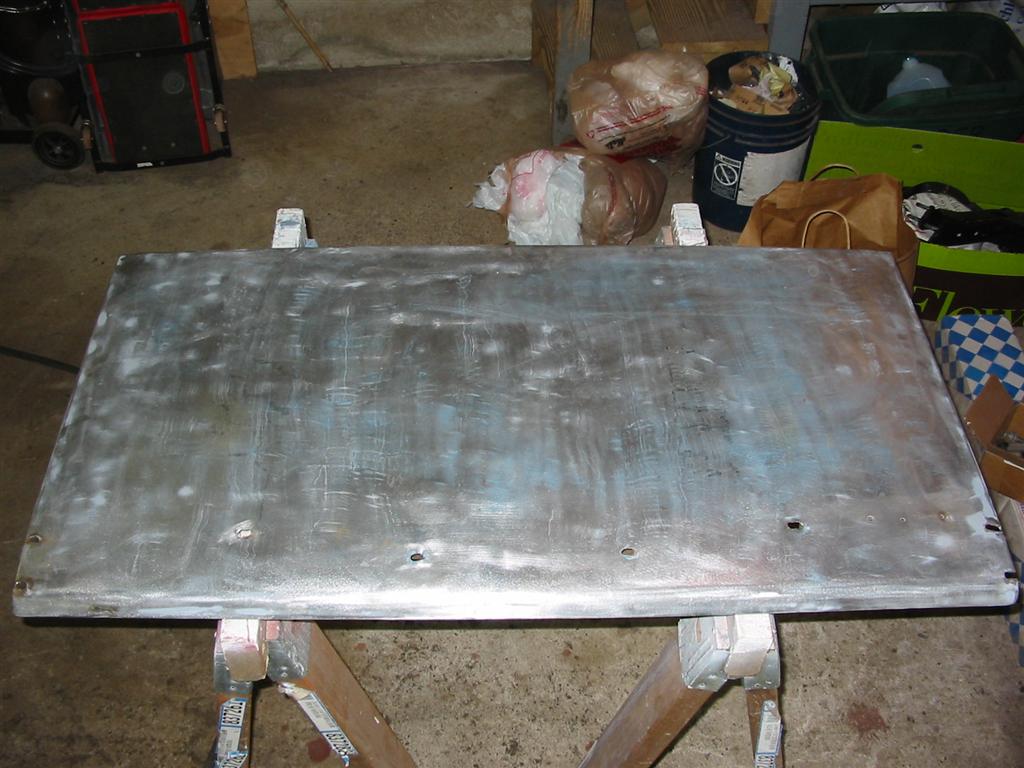
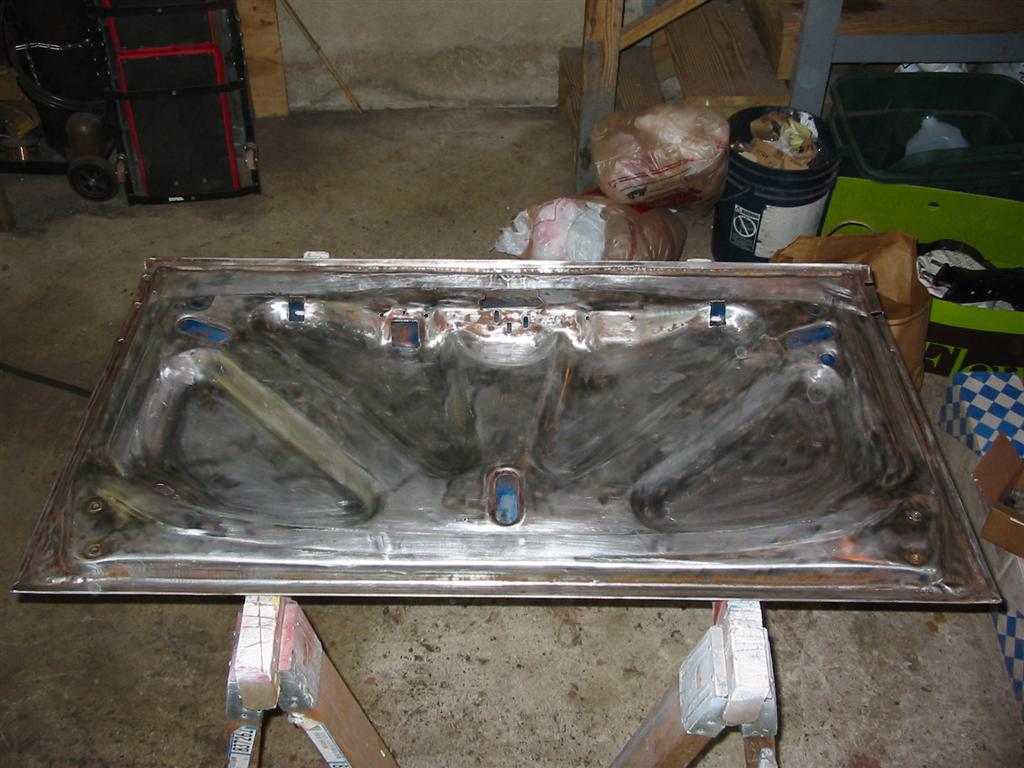
| Here is the trunklid with all the paint stripped off of it. Thankfully, the lid was solid without any major damage or rust to repair. | |
|
|
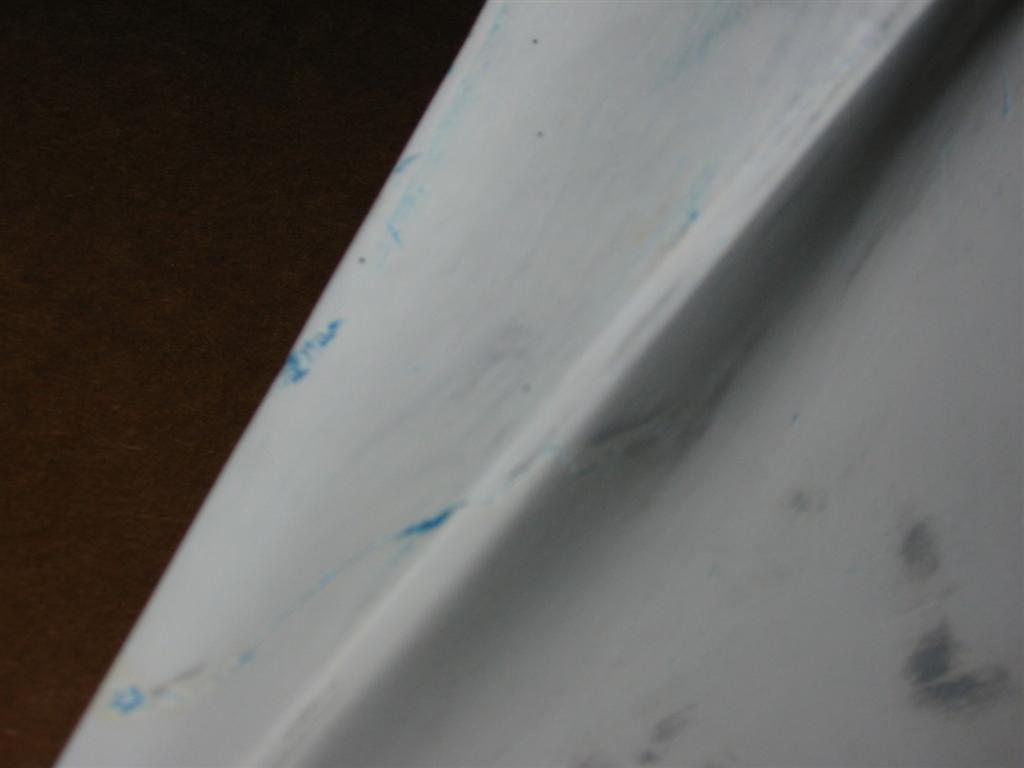
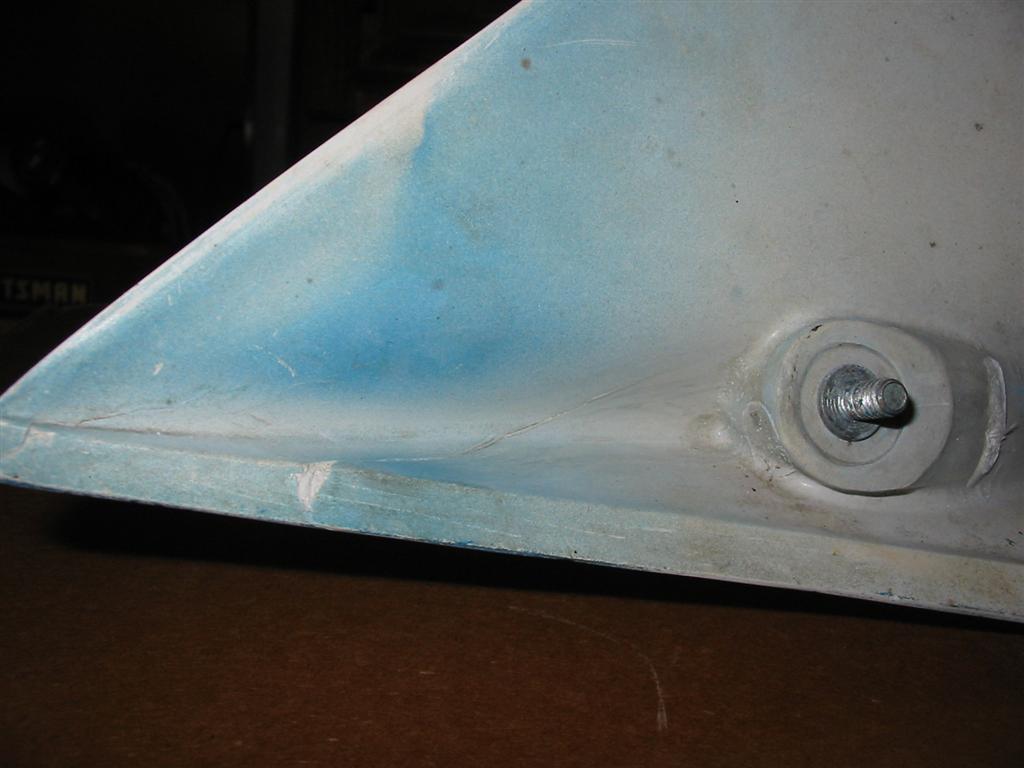
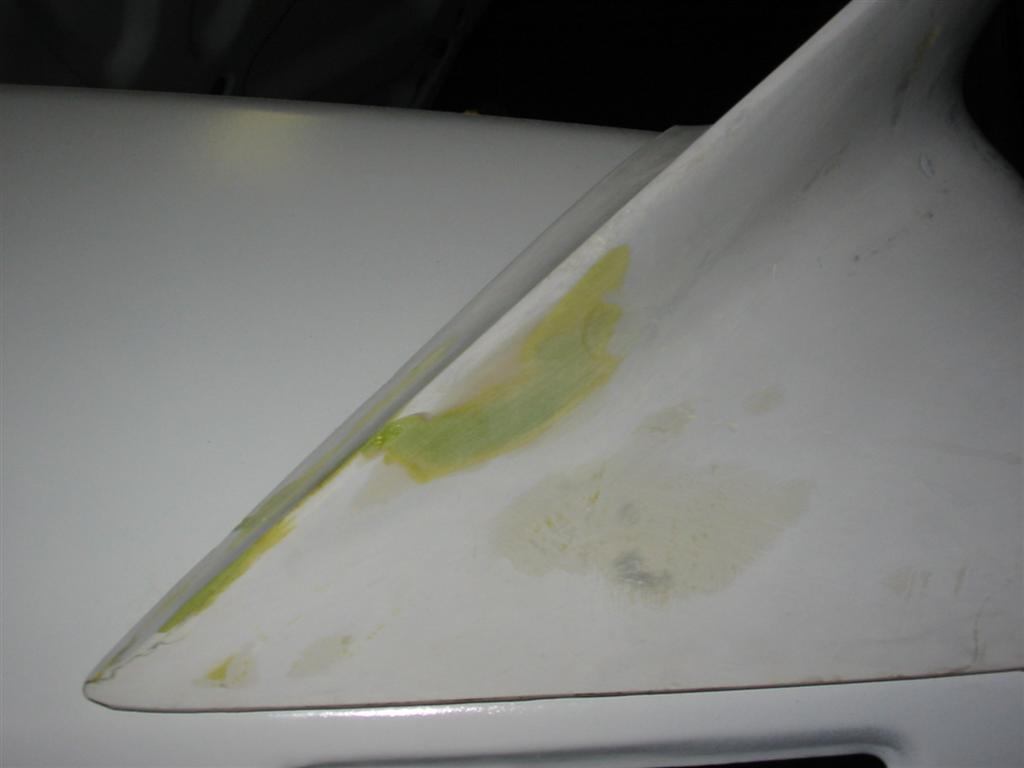
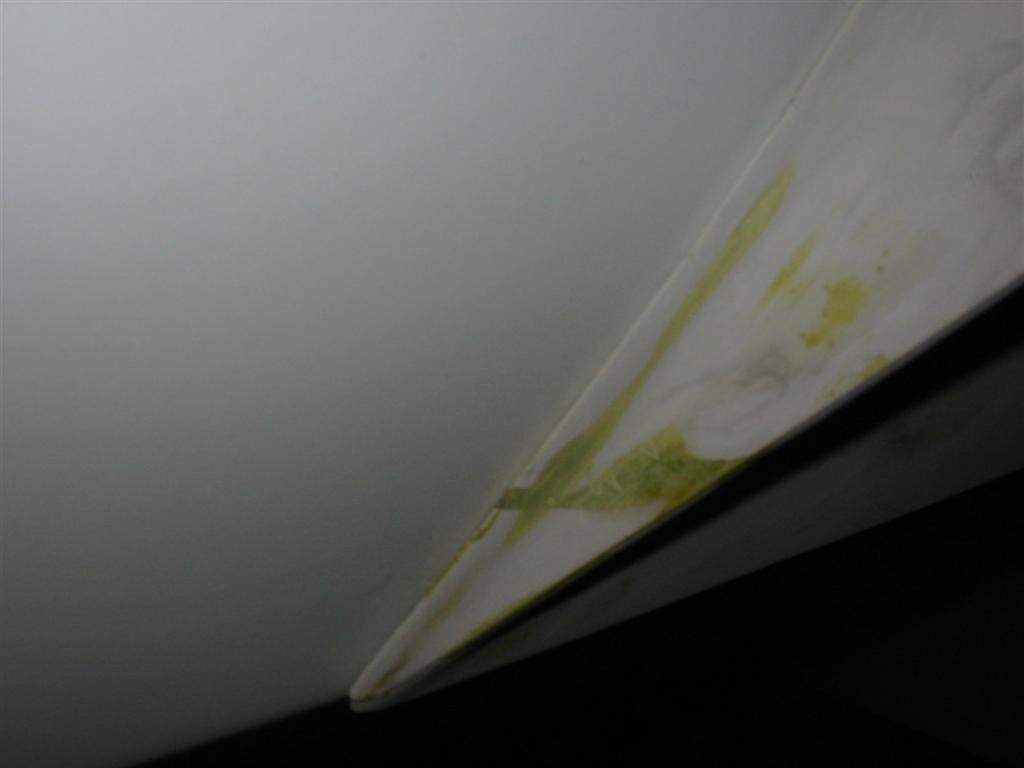
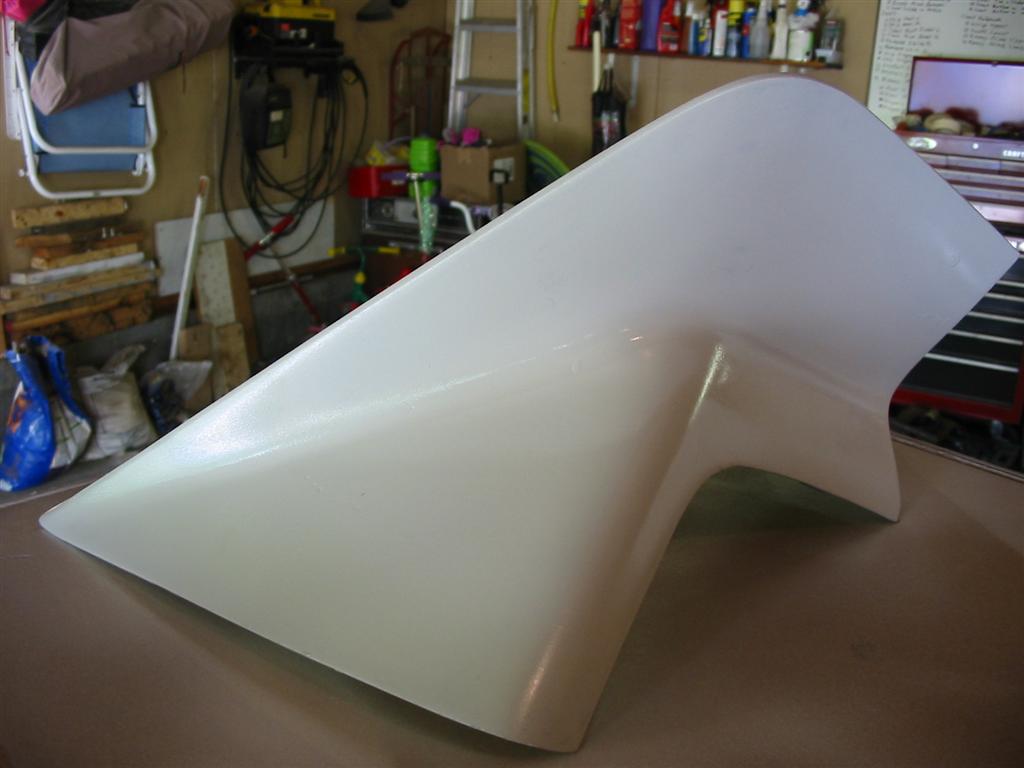
| Here is a picture of the left spoiler end. Notice the small hairline crack that needs to be repaired | |
|
|
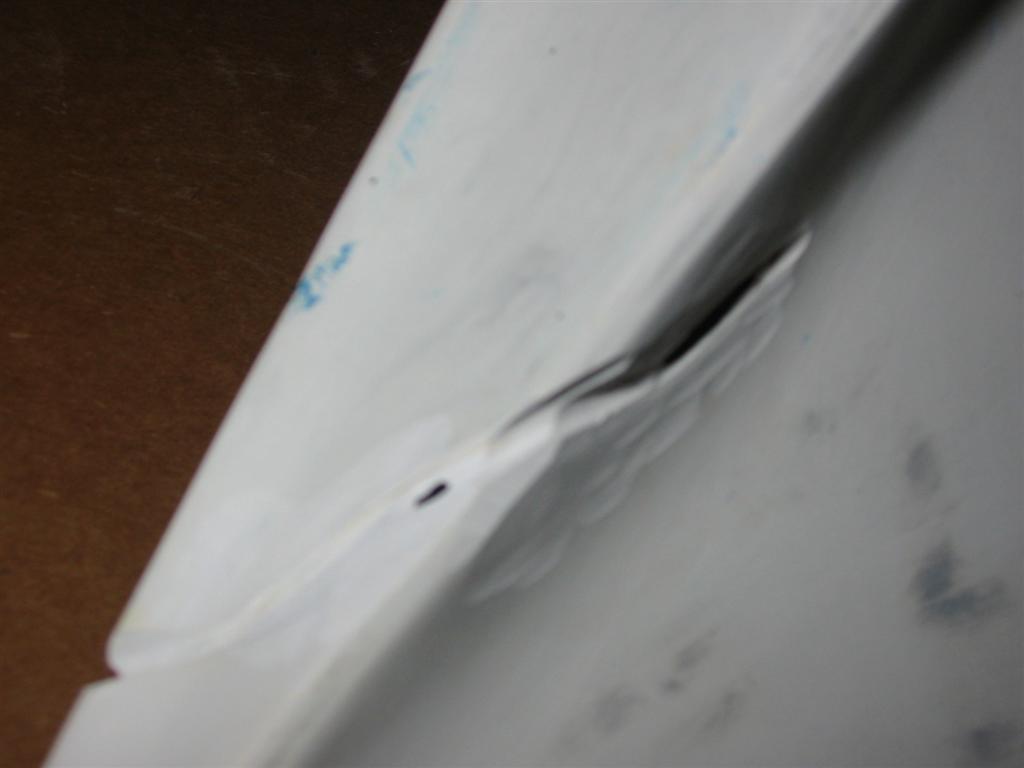
| Here is a picture of the left spoiler end during the repair process. It was a little scary taking a grinder to the crack and opening it up. I did this so I could get some resin on the repair. | |
|
|
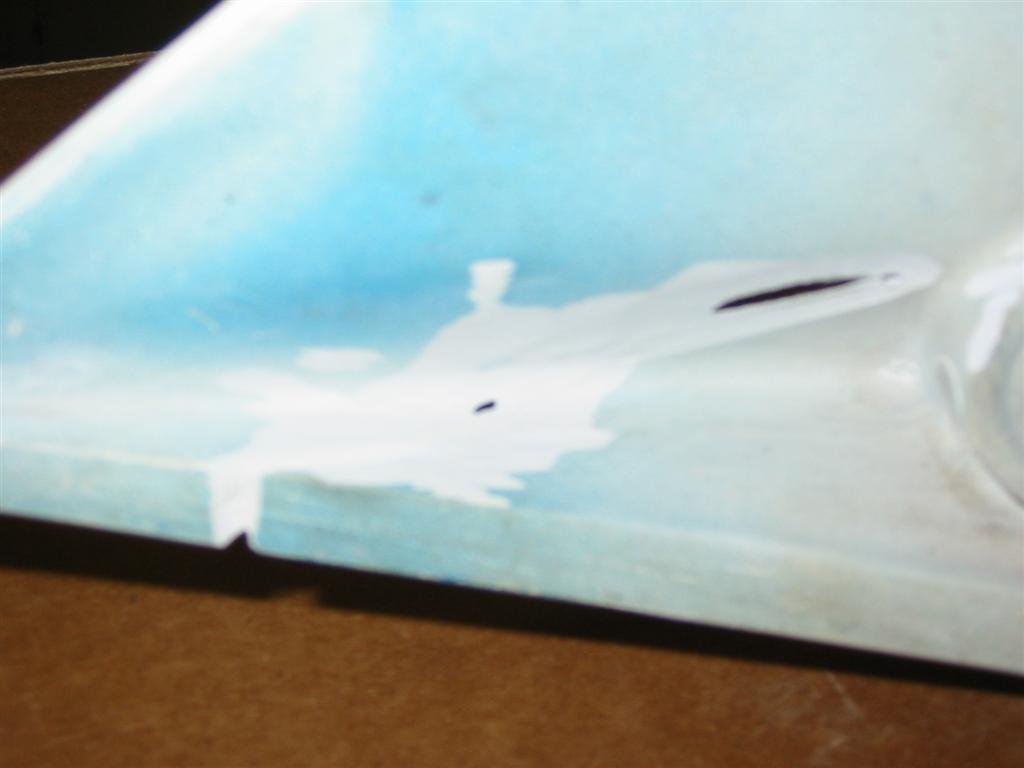
| Here is the spoiler end cap after being repaired with resin then a small coat of filler. It turned out pretty good. Hopefully, the repair will be permanent and not crack in the future. | |
|
|
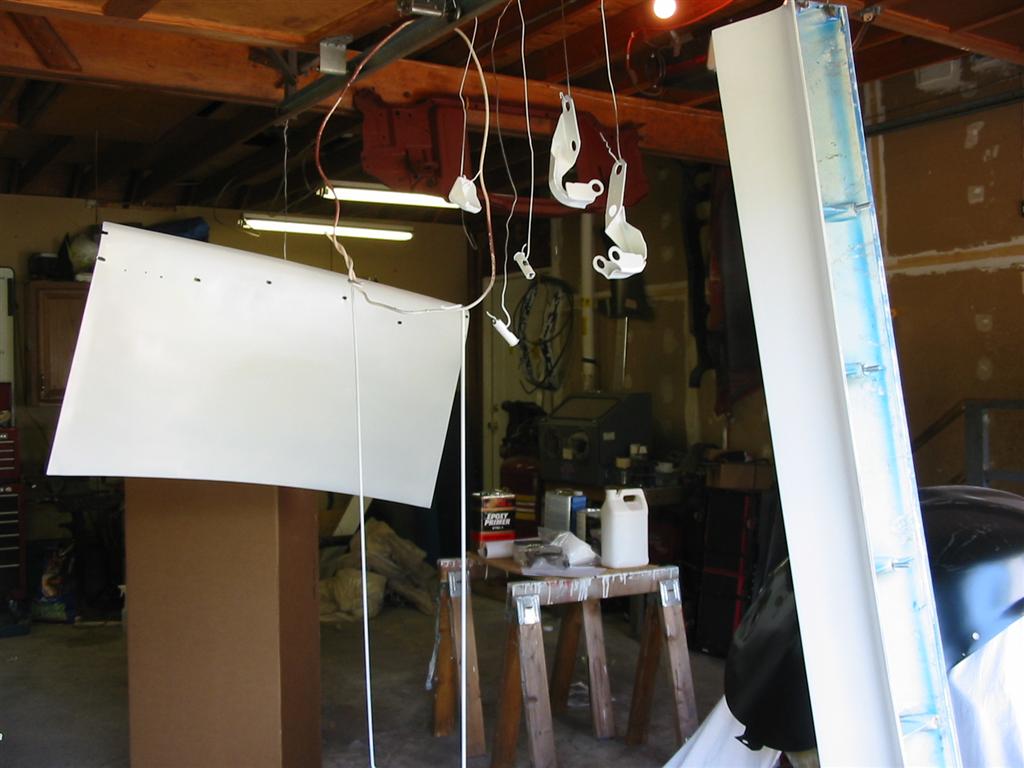
| Here are pictures of the various trunk and spoiler parts with an initial coat of epoxy primer. | |
|
|
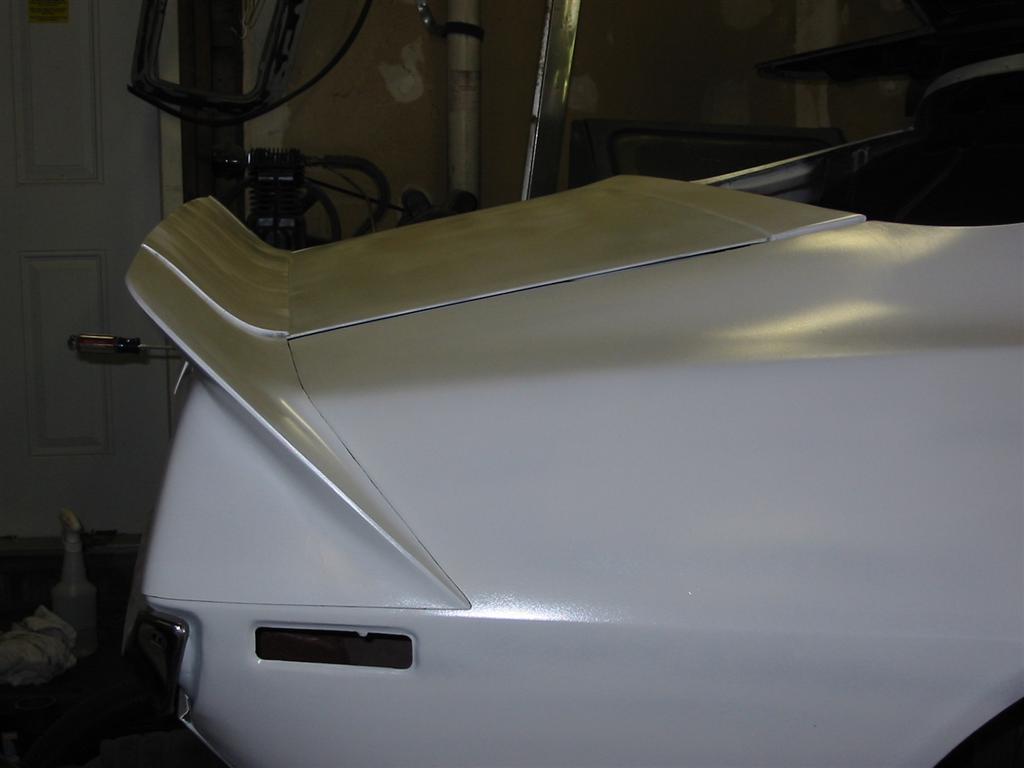
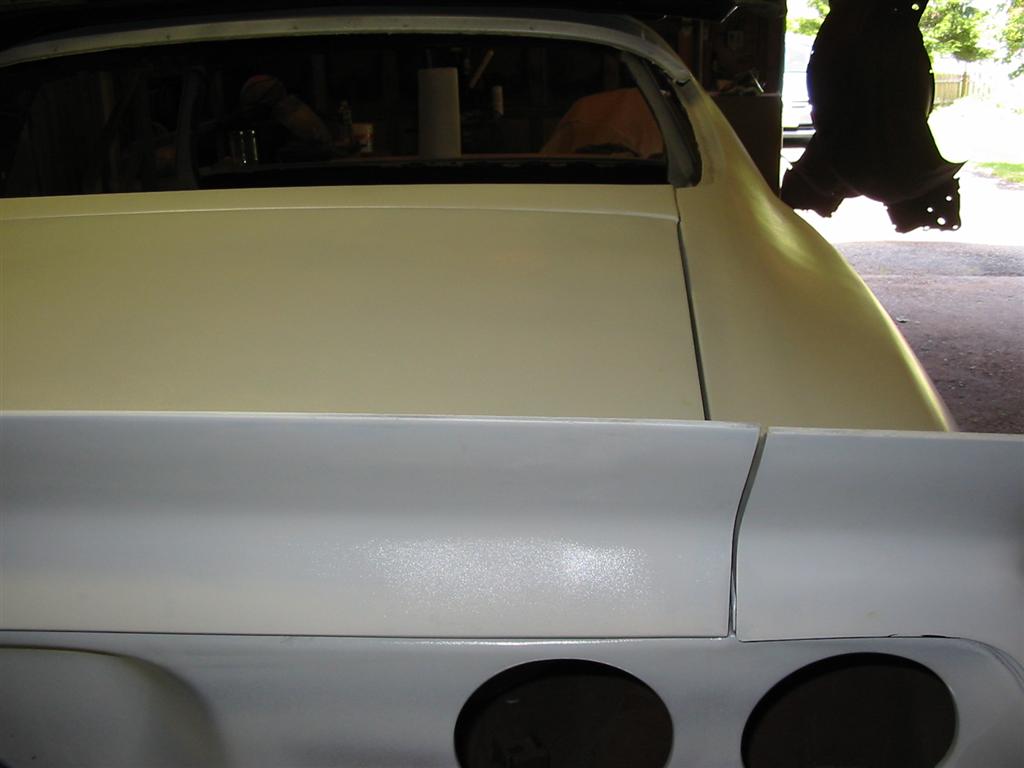
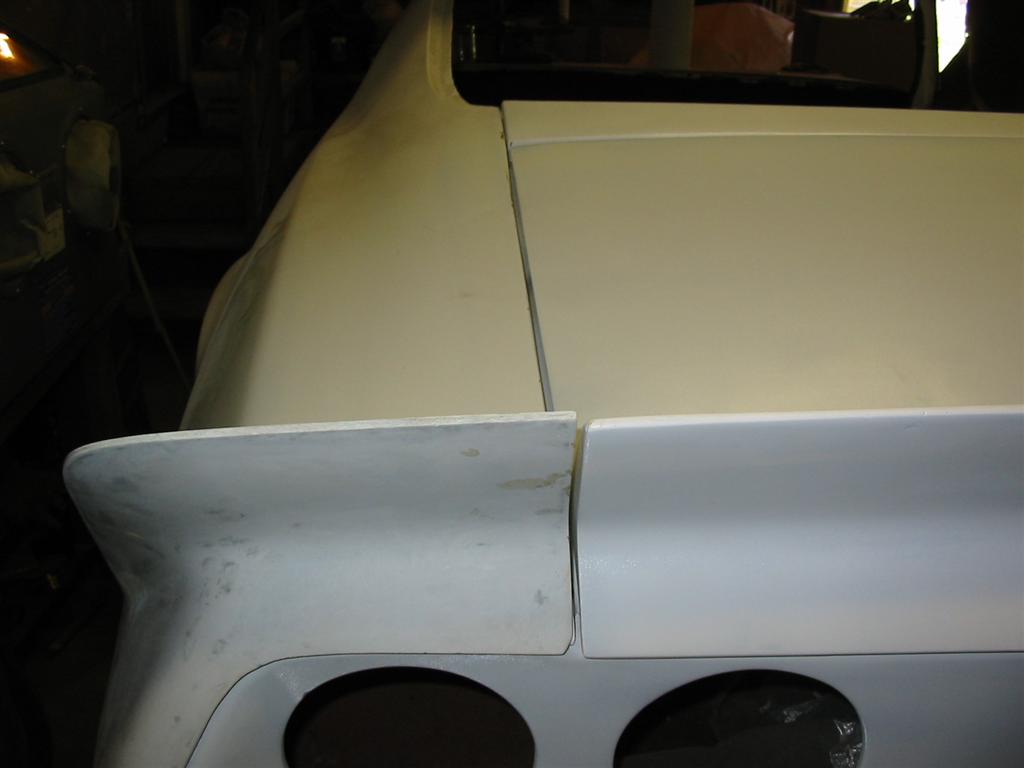
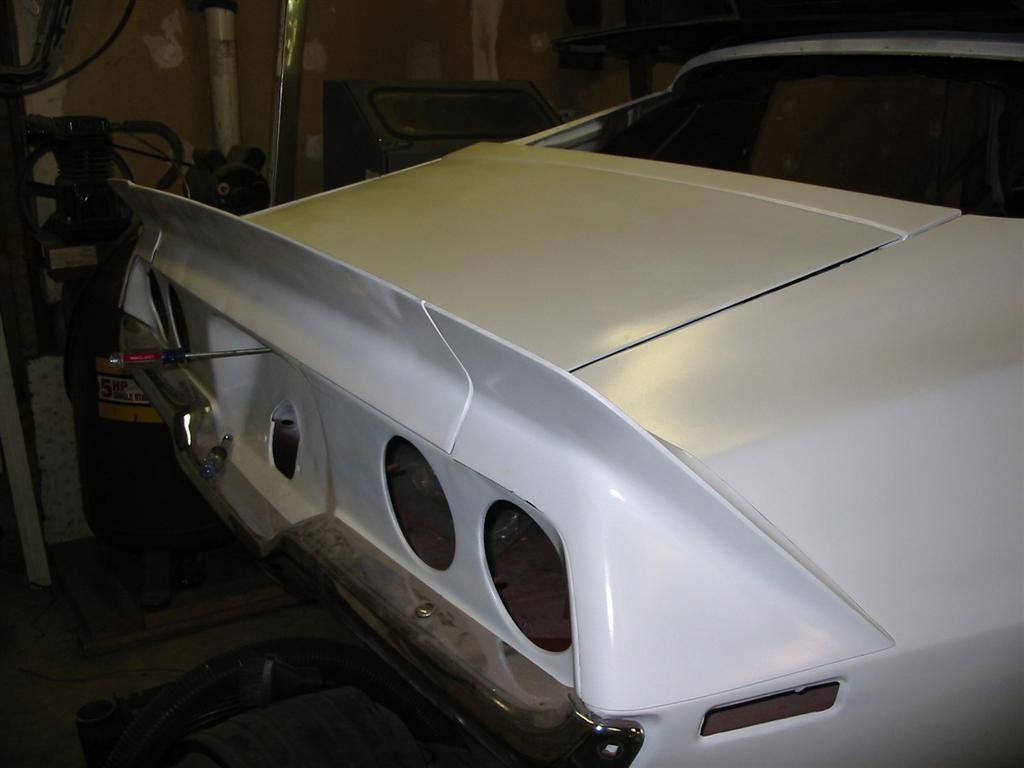
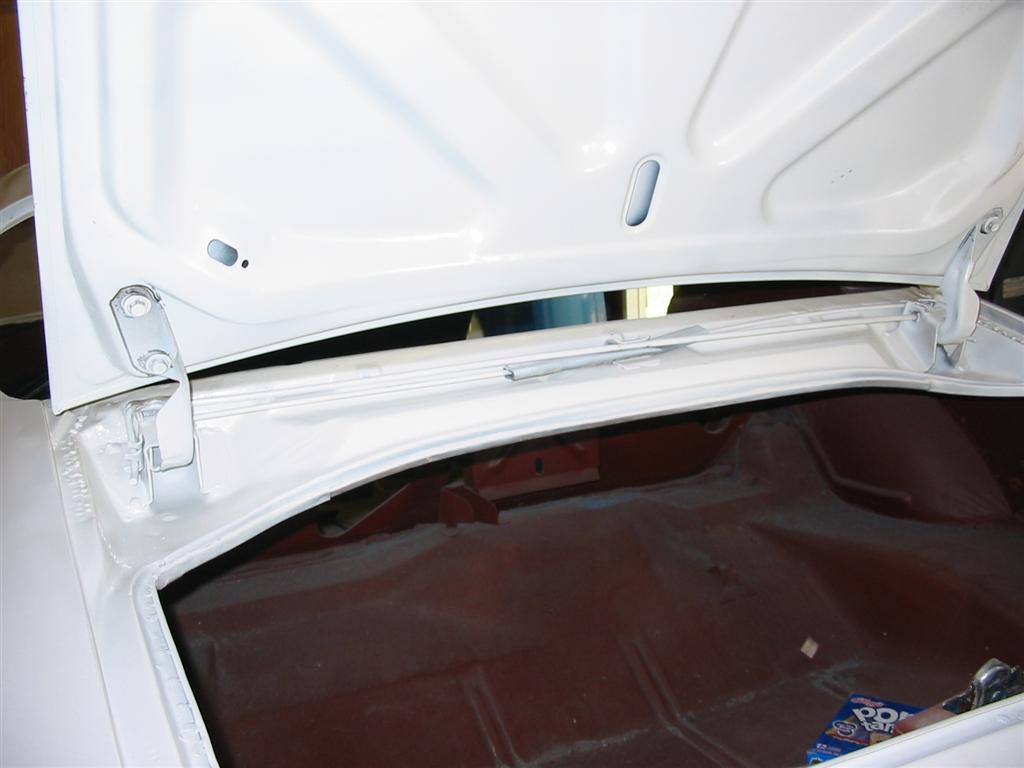
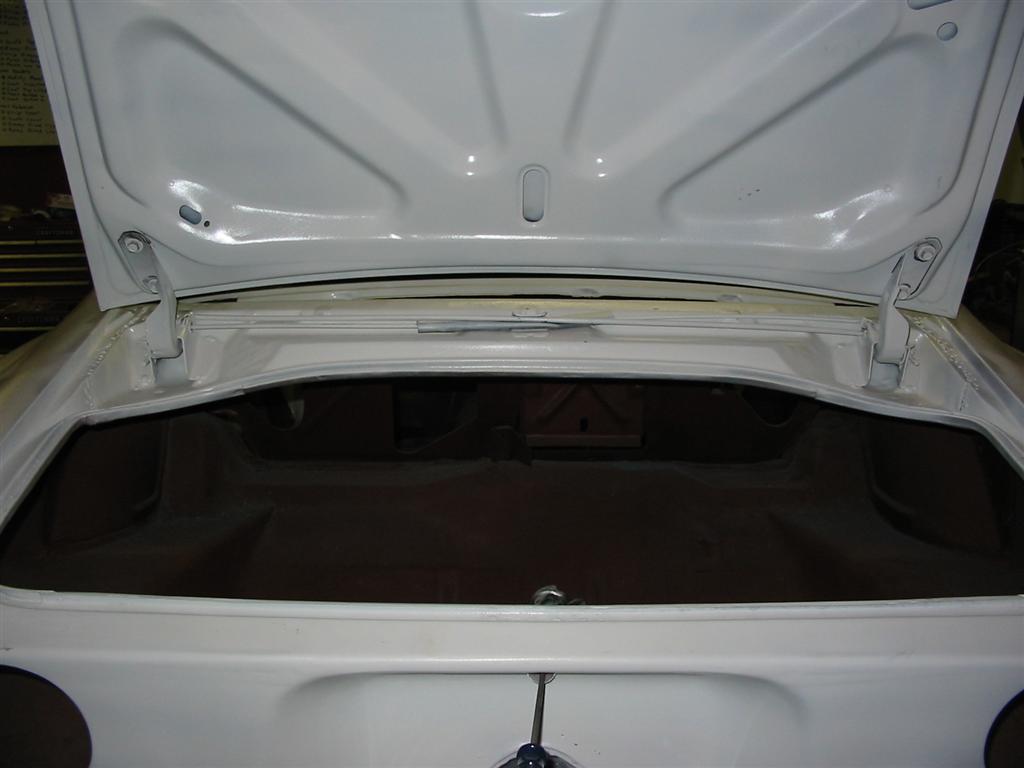
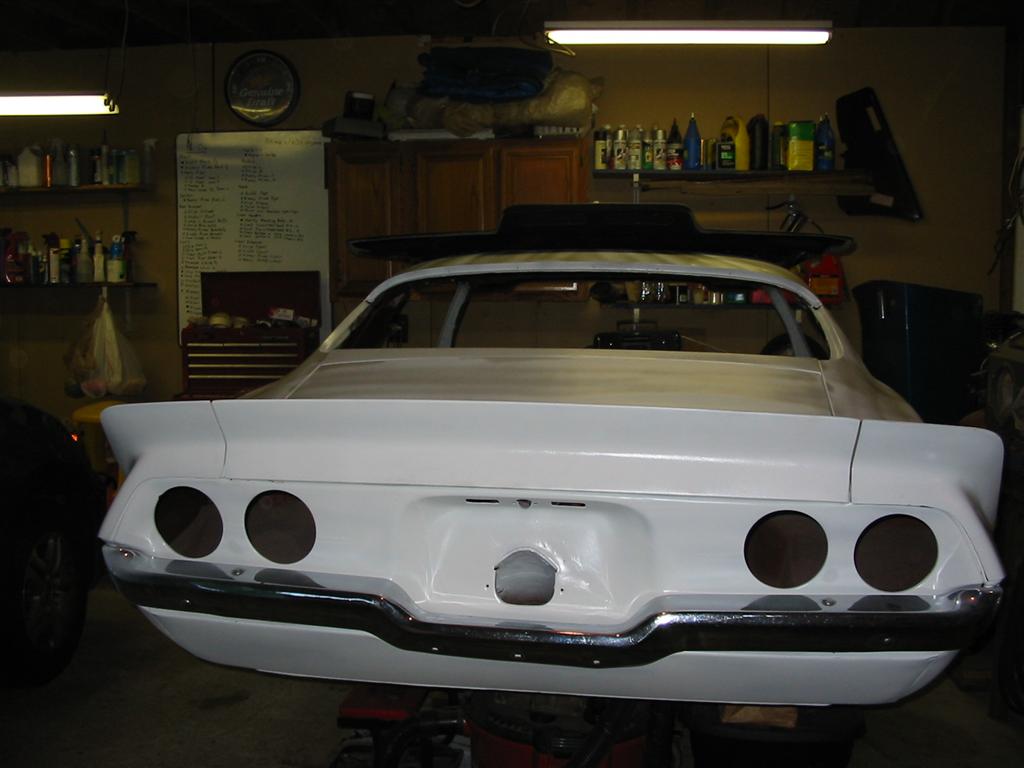
| Here are a few pictures of the initial fitment of the trunklid and rear spoiler. At this point, there is one coat of primer on everything but the left spoiler end. | |
|
|
|
|
|
|
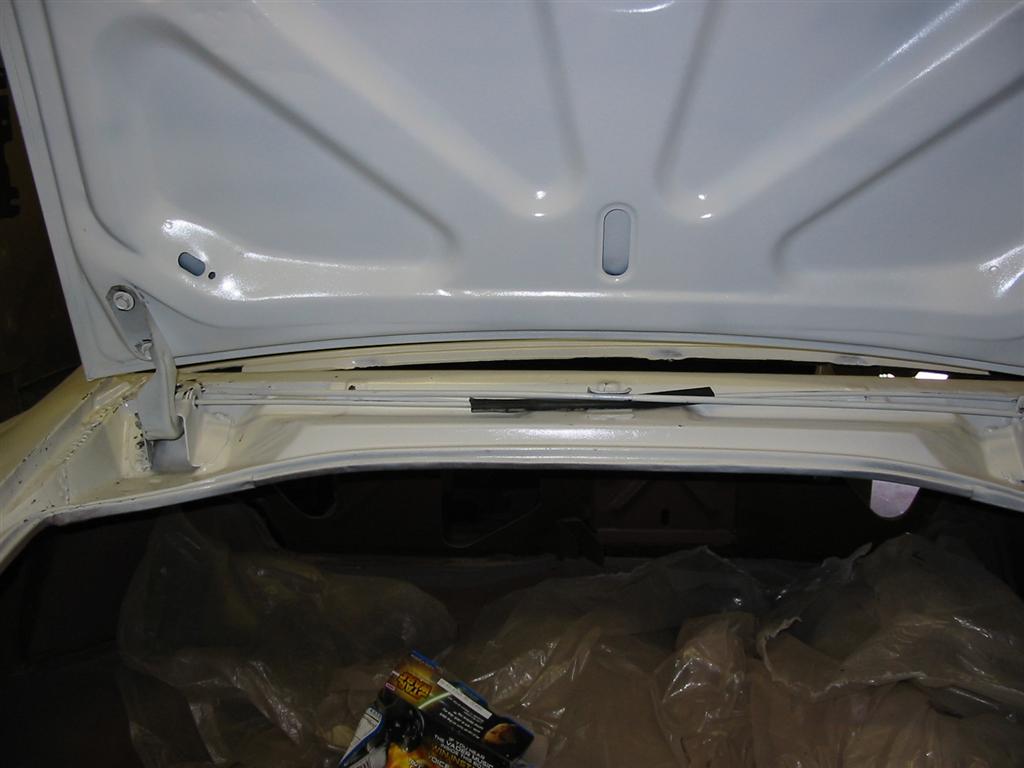
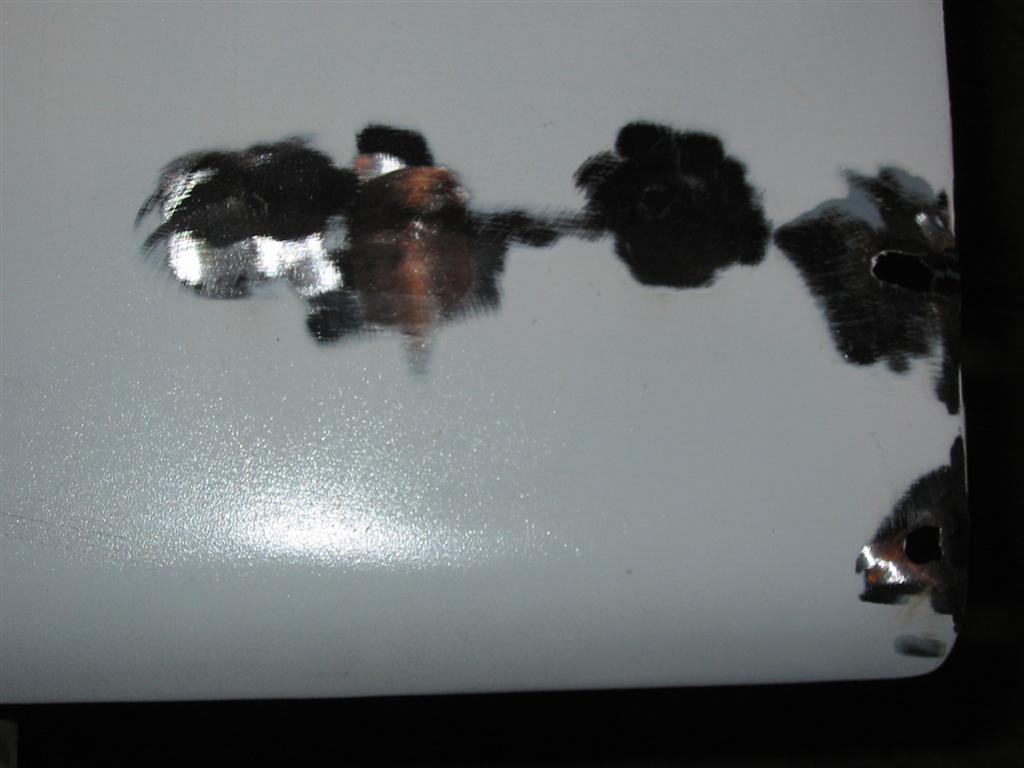
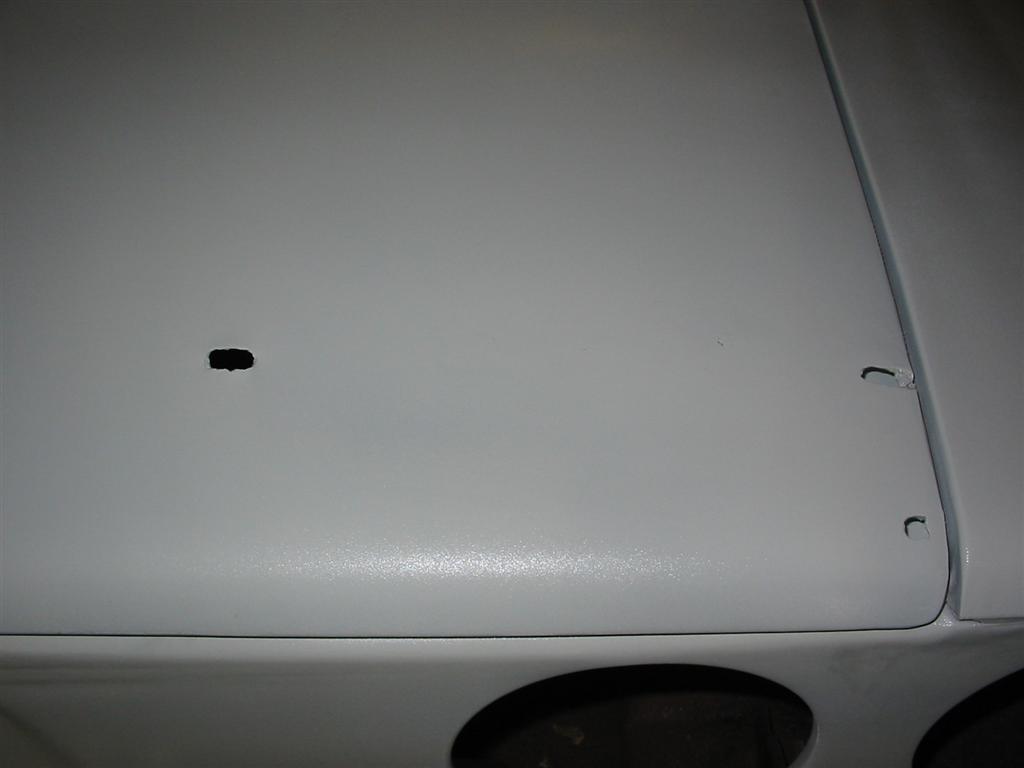
| Here is a picture of where I welded up the holes in the trunklid from the Camaro emblem. I also repaired some of side holes for the rear spoiler. | Here is the same area after being primed. |
|
|
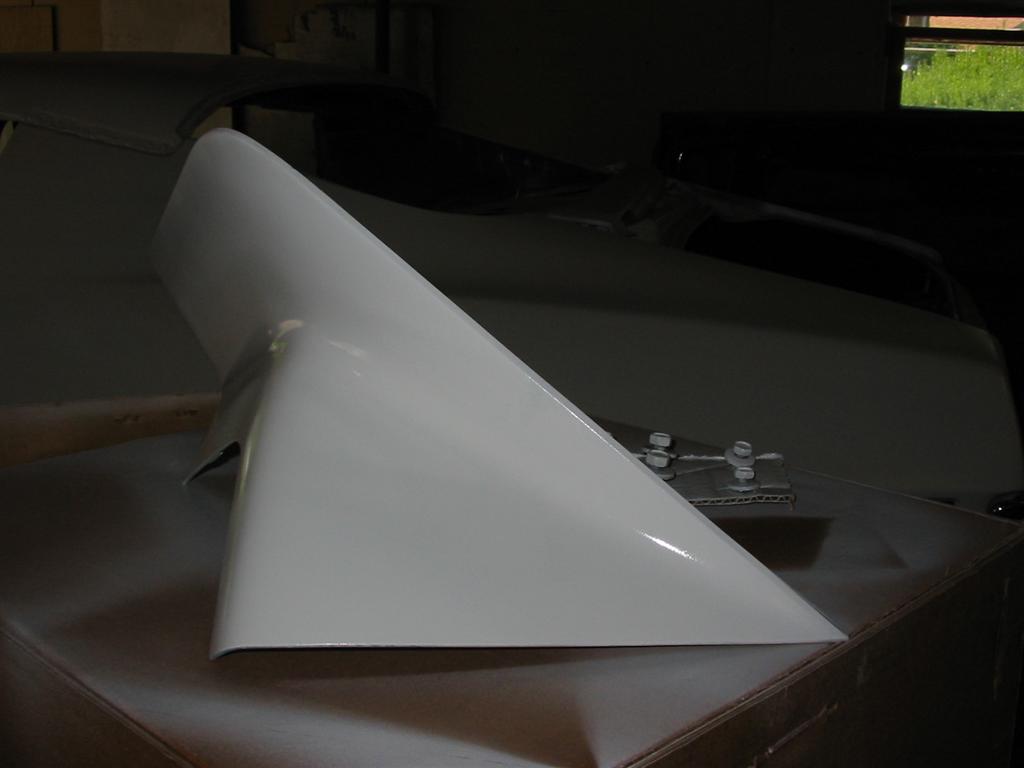
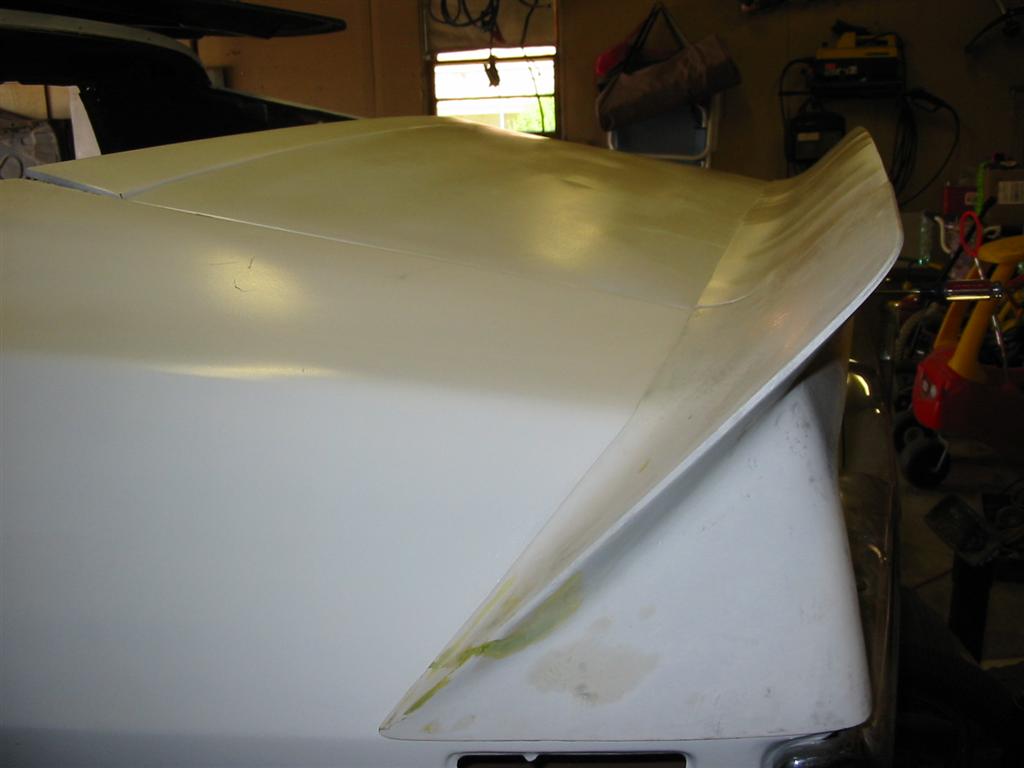
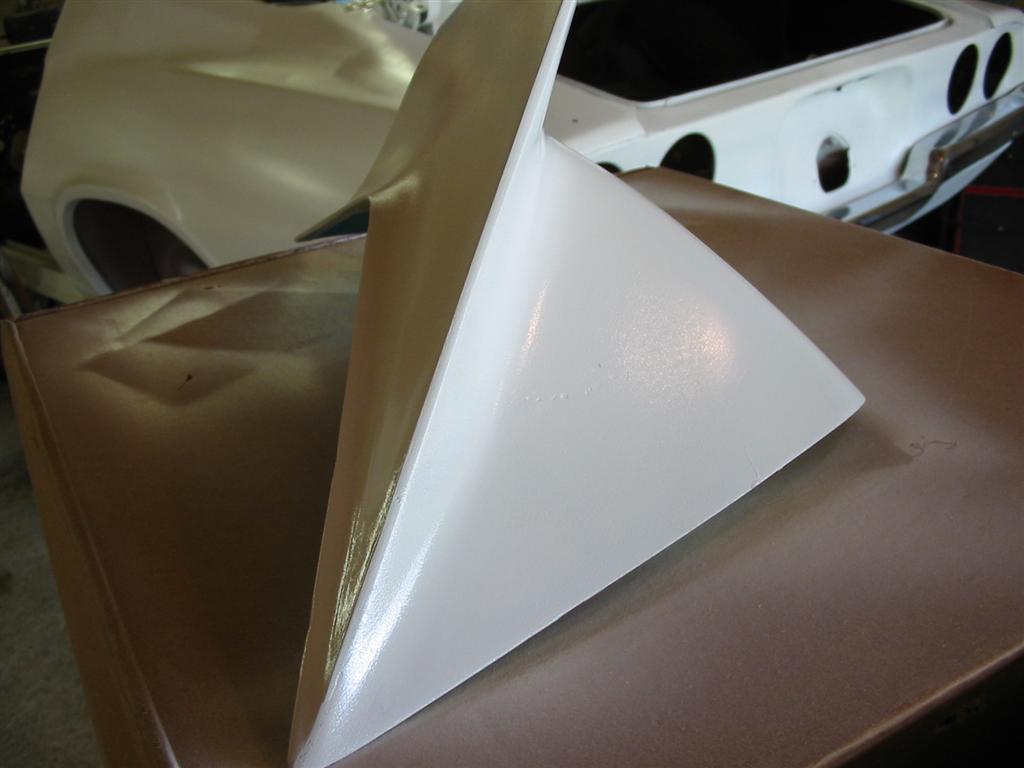
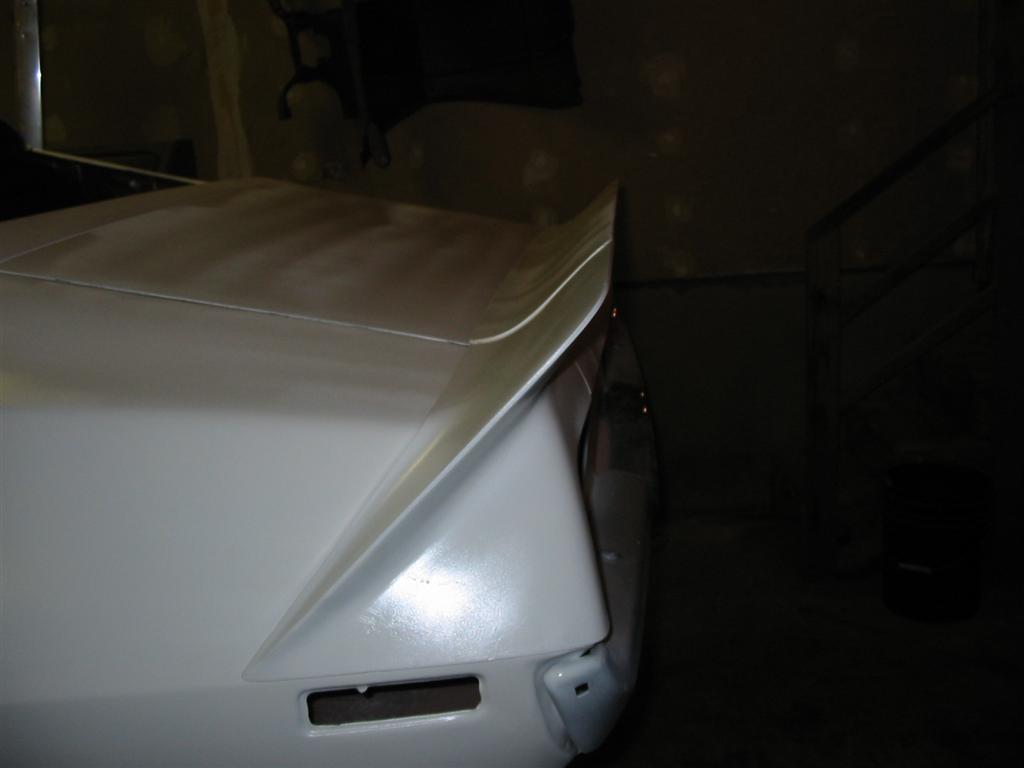
| Here is the left side spoiler piece repaired and primed. | |
|
|
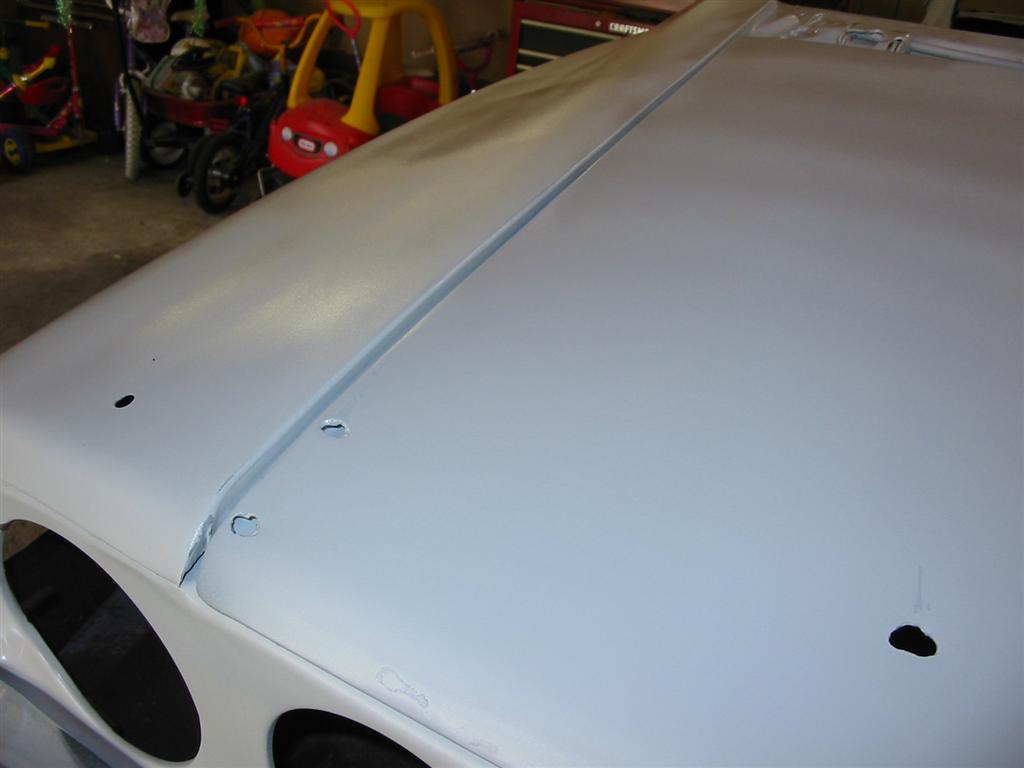
| Here is the trunklid and spoiler primed and ready for body work. | |
|
|
|
|
|
|