|

Shell Bodywork and Front Sheetmetal Primering (August 15, 2007)
This page documents the process of doing the filler work on the body shell including the firewall and the stripping of the front sheet metal panels. Also covered is the epoxy primering of all these parts. For the initial filler work I used Clausen Z-Chrome Z-Glass - Extra Fine Haired Fiberglass Body Filler with Kevlar. This stuff should be plenty strong enough for bridging the gaps in the quarter panel to roof seams. I also used it on the firewall and the lower left quarter panel. The lower left quarter had a small portion that needed to be repaired from a rust patch repair.Also on this page are pictures of my bolt-on Harwood fiberglass hood. I block sanded the hood and covered it in epoxy primer. I also took this time to strip and prime the fenders and the front upper valance. Lastly are pictures of the initial process of smoothing the rear bumper. I filled two unused mounting holes and cut off two unused tabs on the bumper. I plan on smoothing the entire bumper and welding in the bumper bolts.
Status photos as of 8/15/2007:
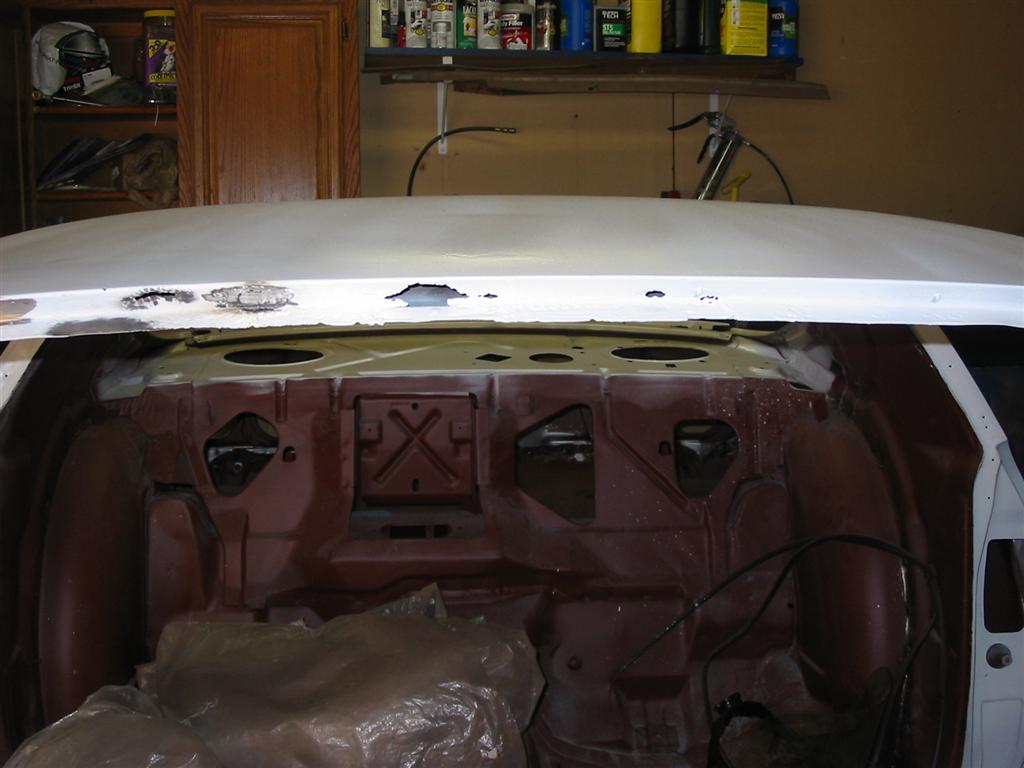
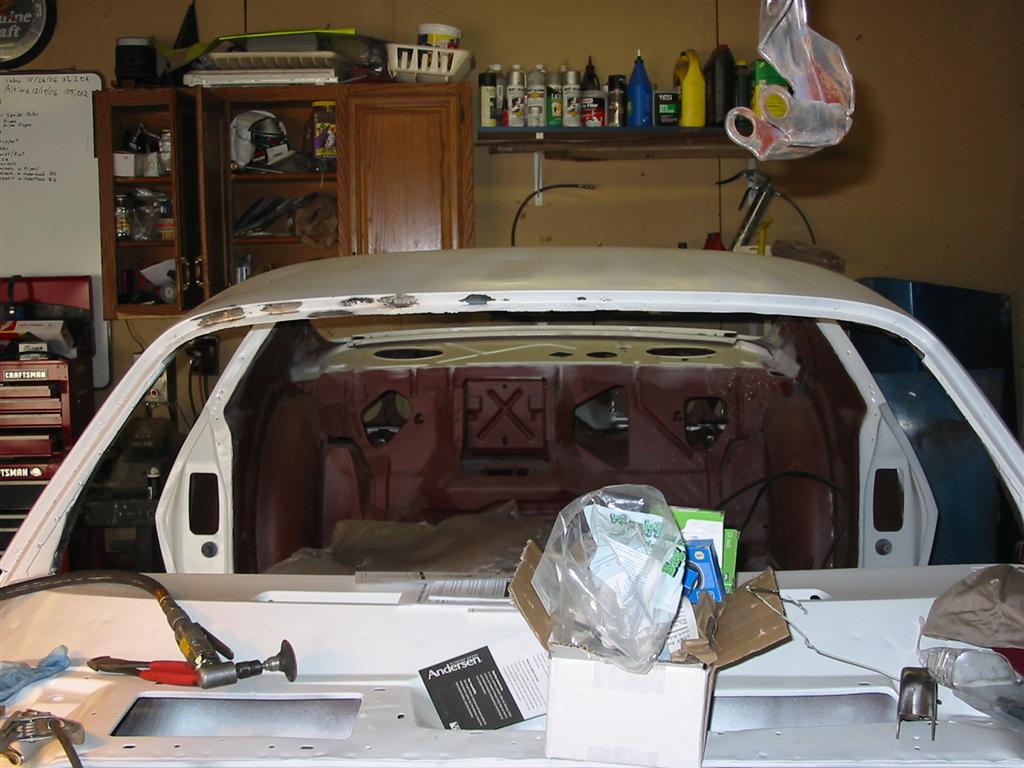
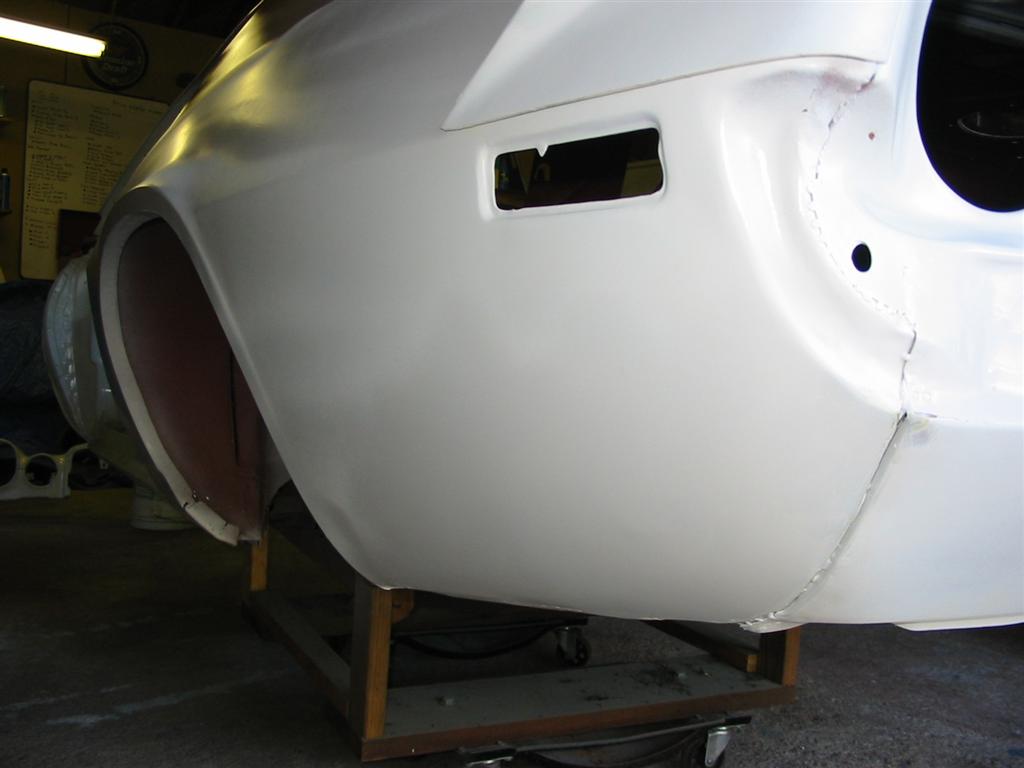
| These pictures document the process of repairing the windshield frame from rust. I repaired the rust by welding in patches and grinding the welds smooth. | |
|
|
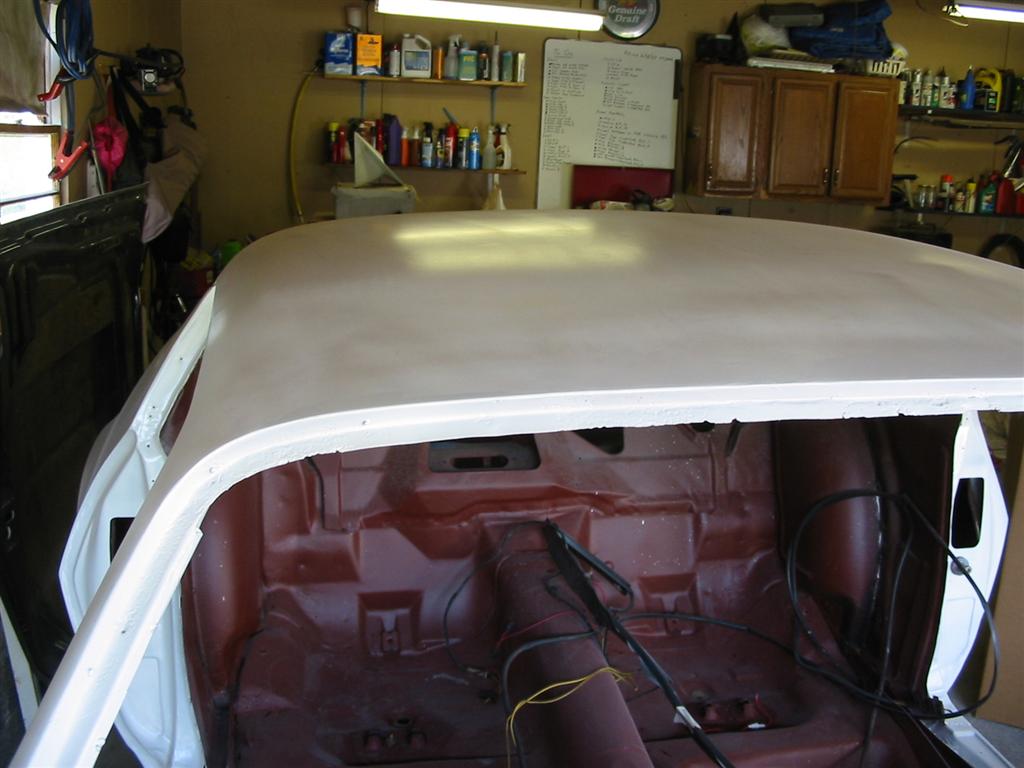
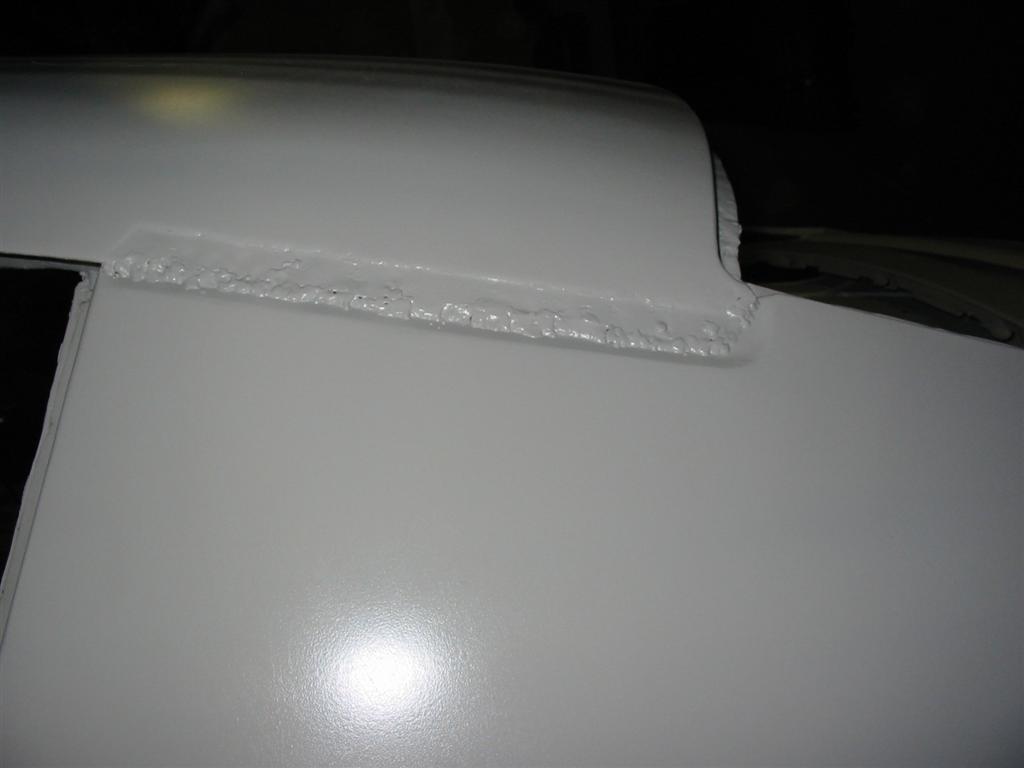
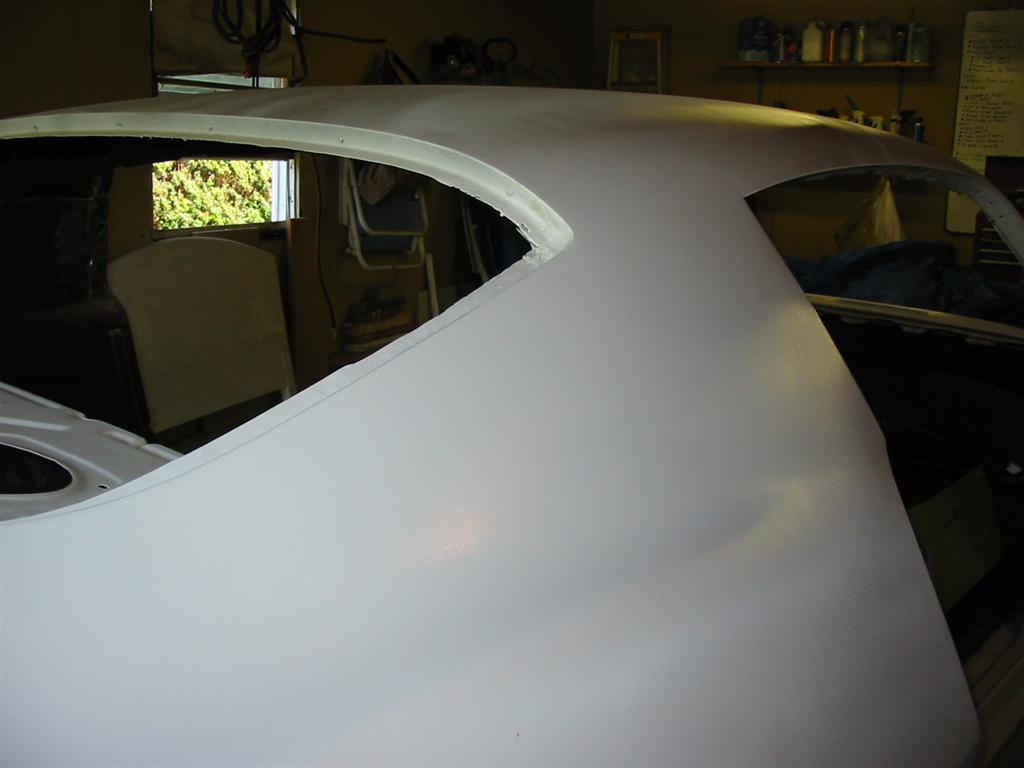
| Here is the windshield frame after the repair and covered with epoxy Primer. | |
|
|
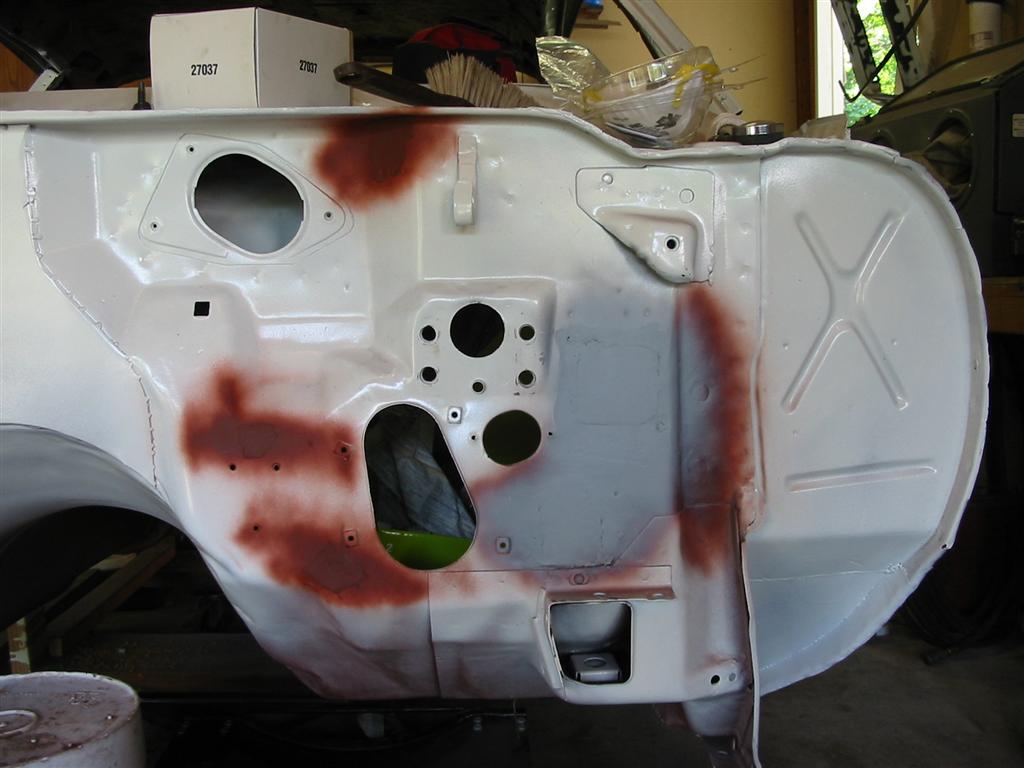
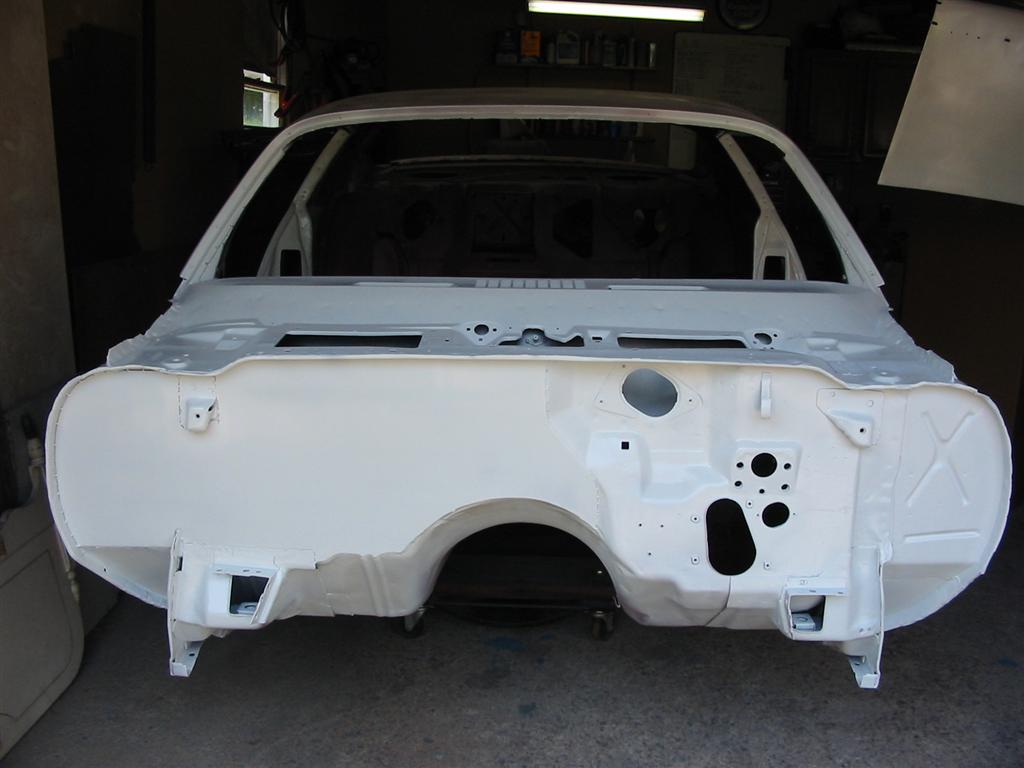
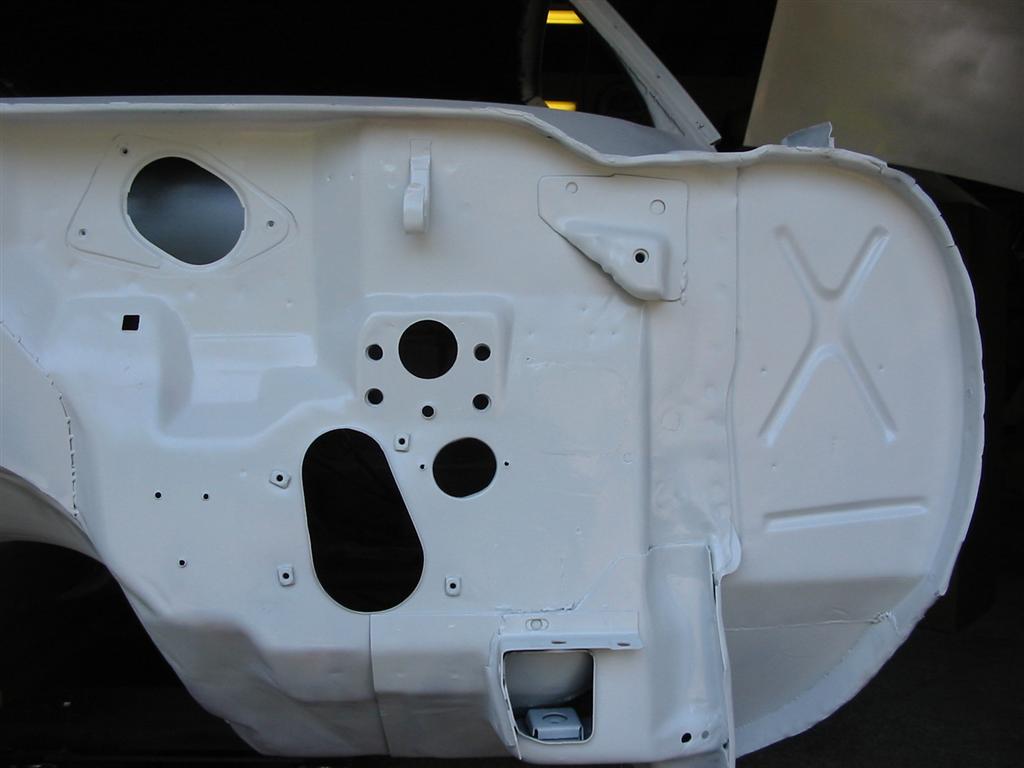
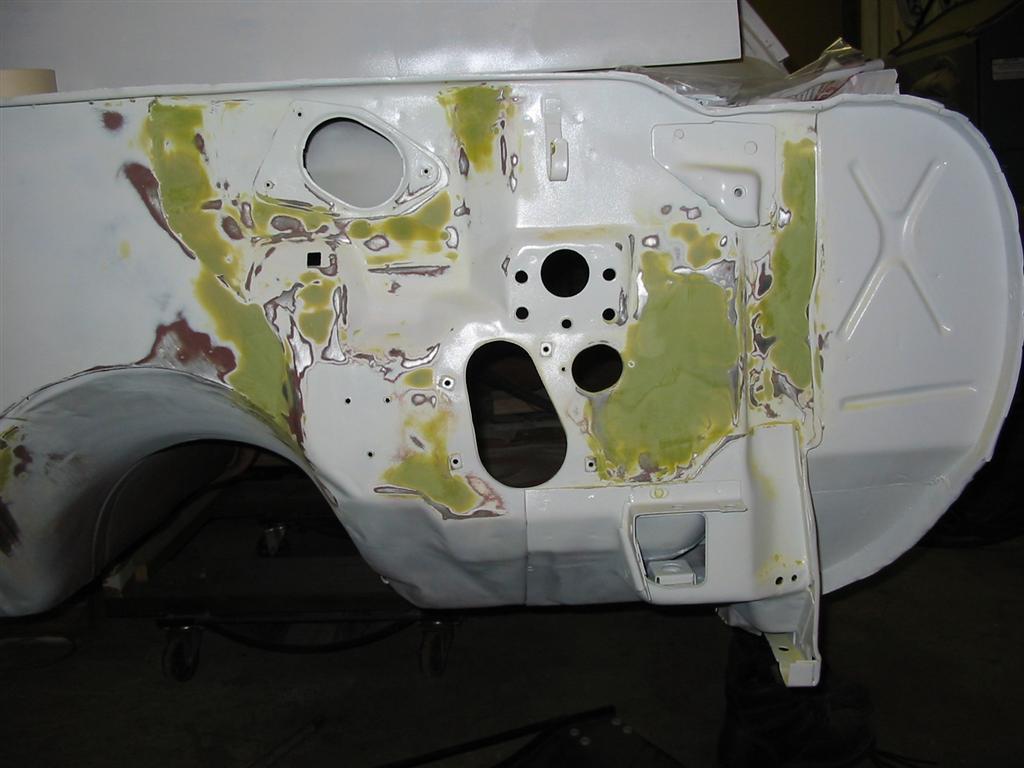
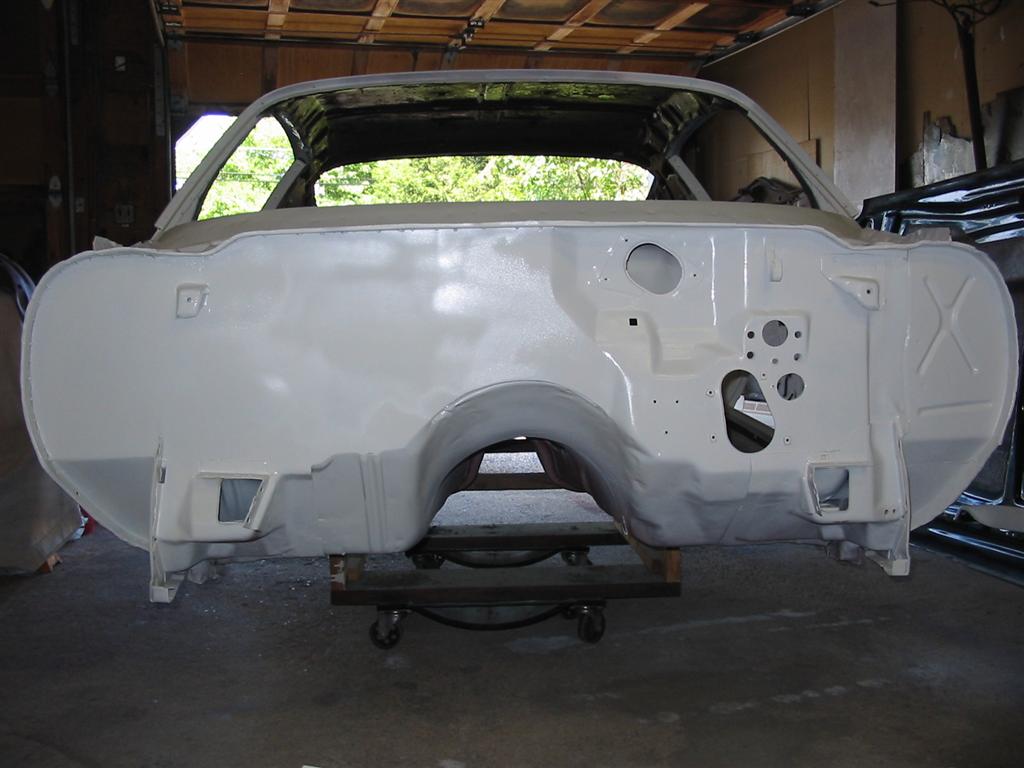
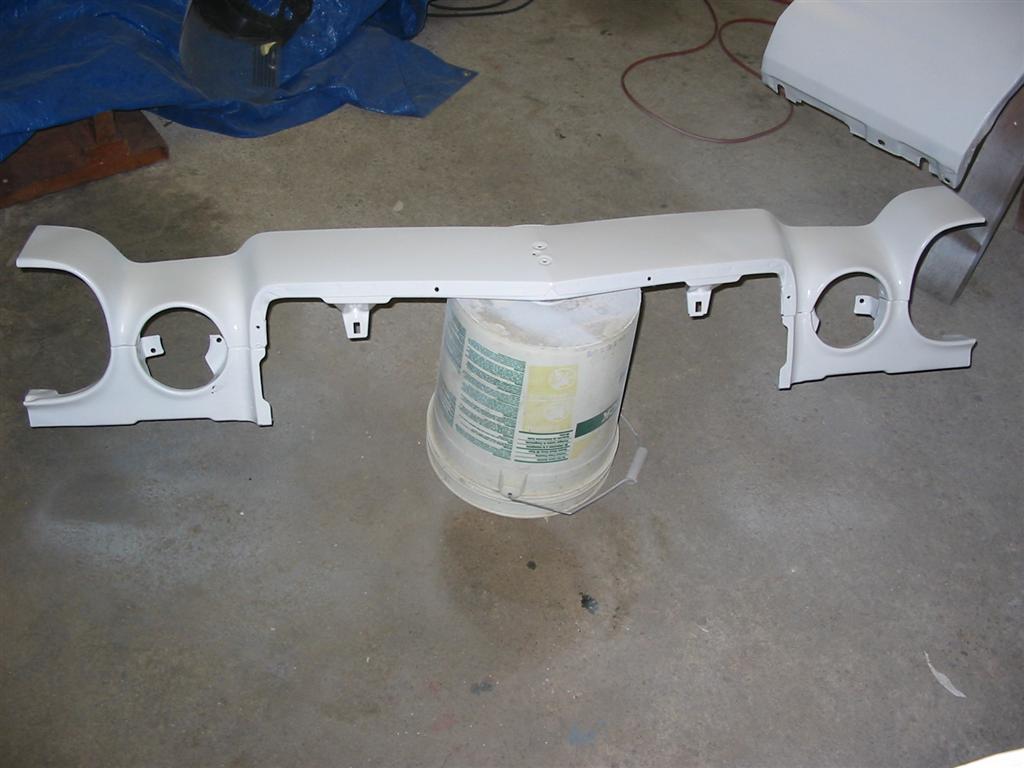
| Here are pictures of the firewall with all the patches welded in. | Here is a close-up picture of the driver's side of the firewall. In this photo you can see that I filled in the holes for the parking brake mounting holes, fuse box wiring harness and speedometer cable. All these items will be mounted somewhere else. |

|
|
| Here are pictures of the firewall with epoxy primer before I started the filler work. After research, I decided to apply the filler over the epoxy primer. | |
|
|
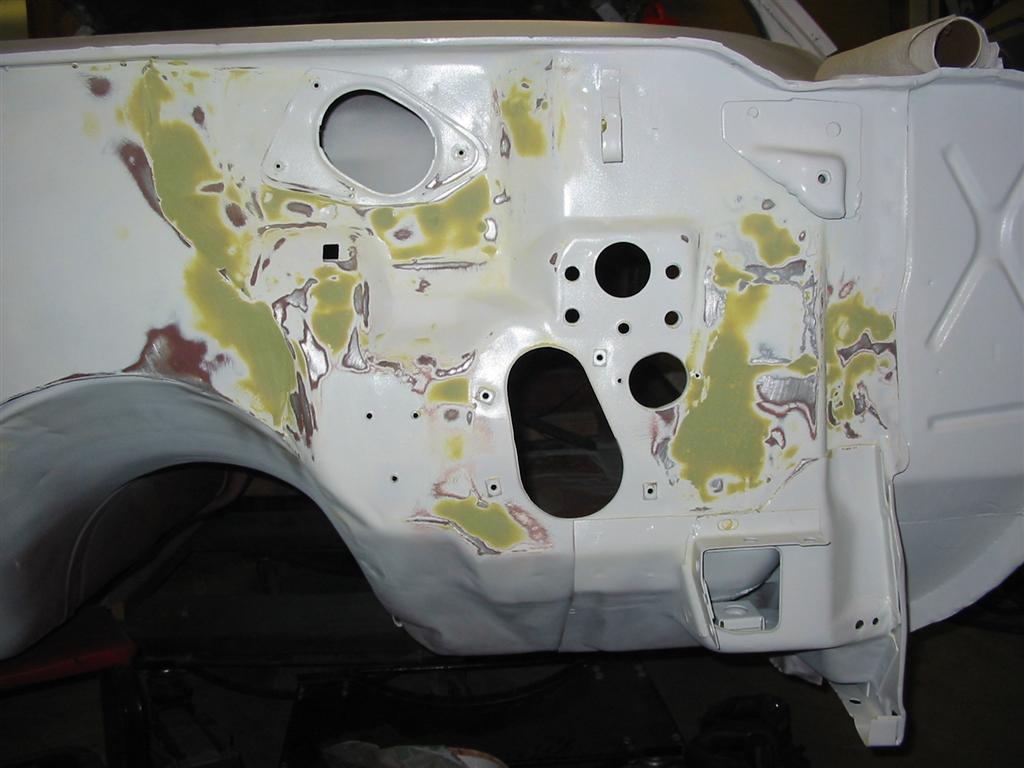
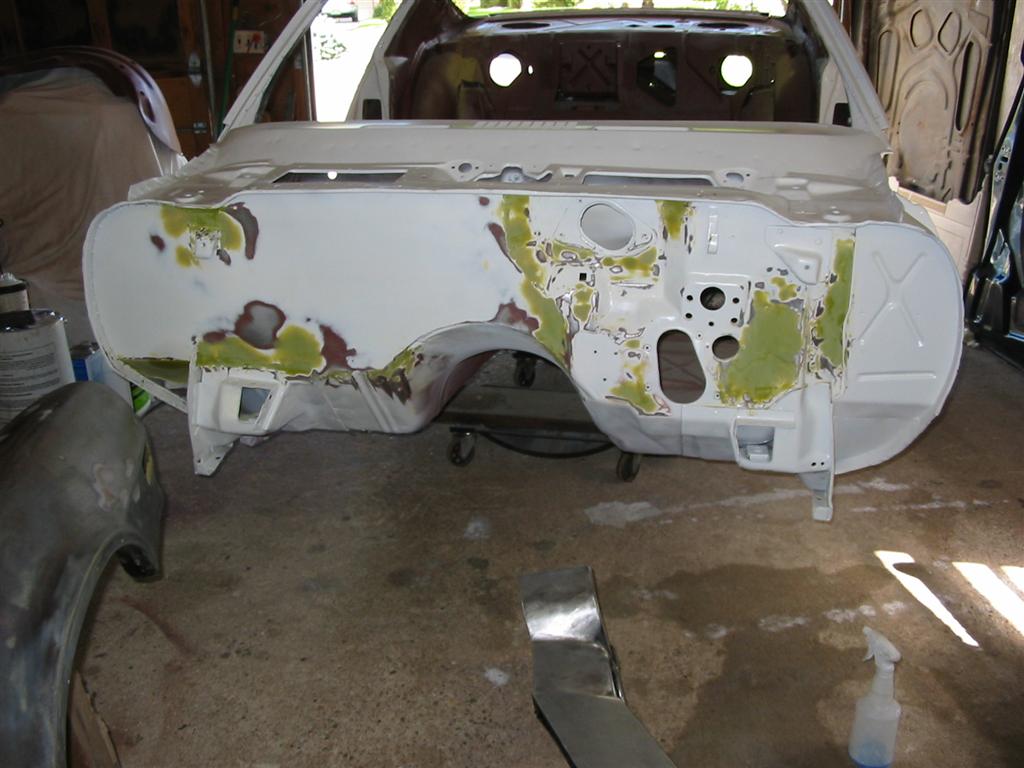
| Here is the firewall in various stages of body filler work. | |
|
|
|
|
|
|
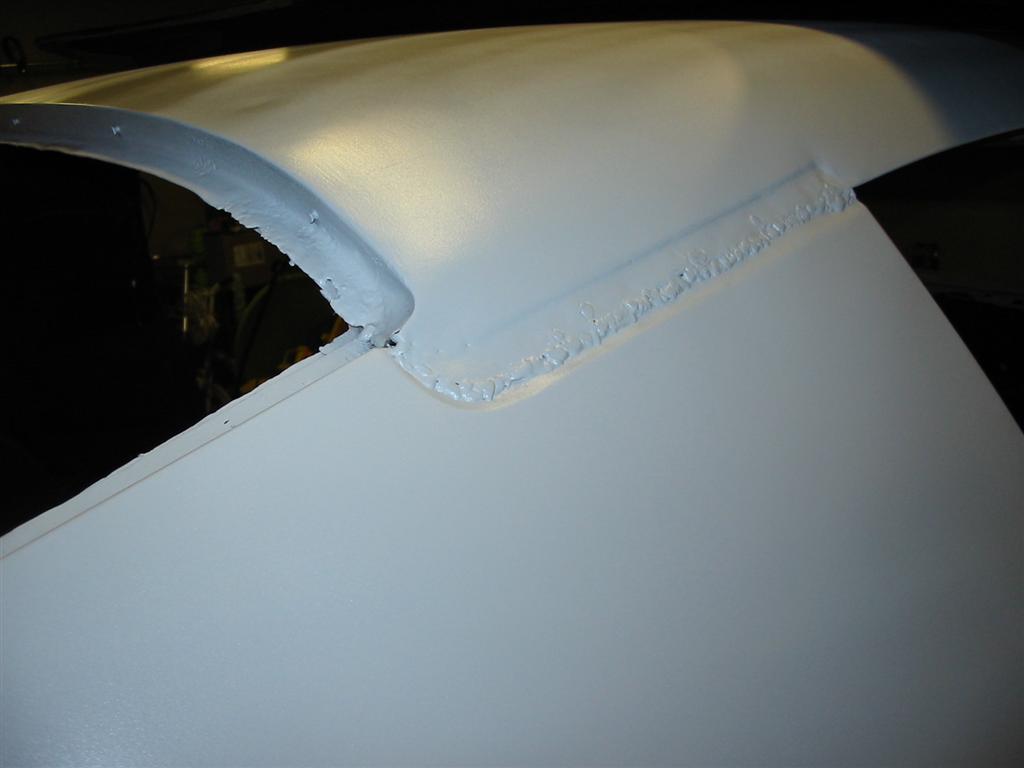
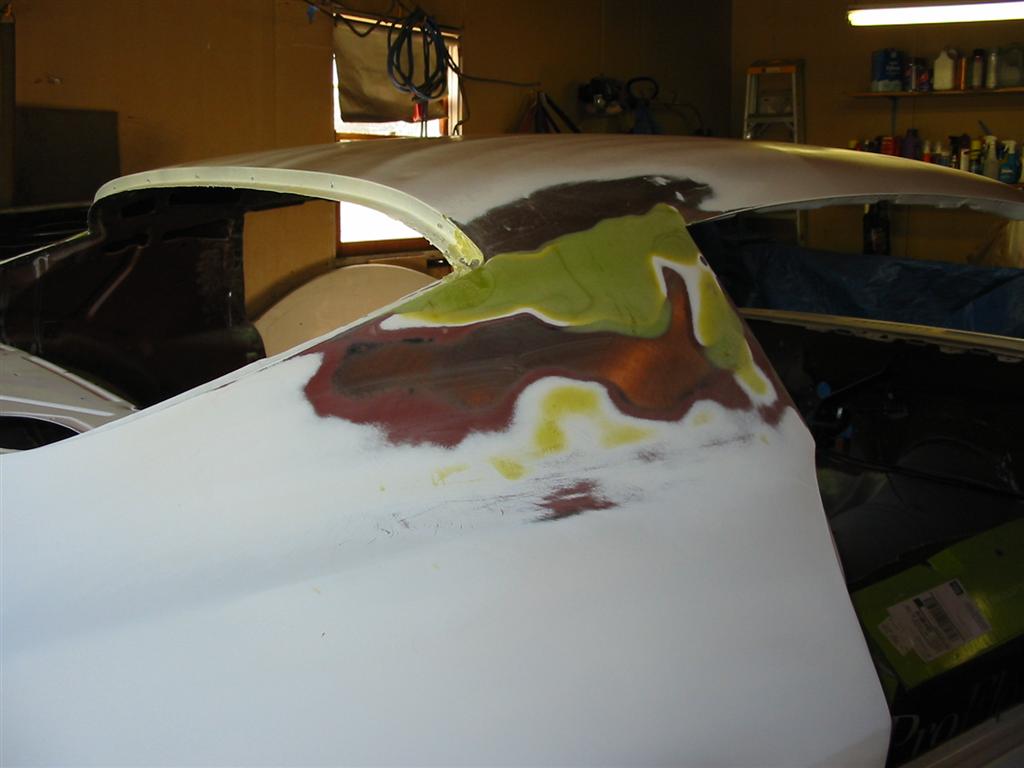
| Here are pictures of the various stages of body work for the two quarter panel to roof seams. | |
|
|
|
|
|
|
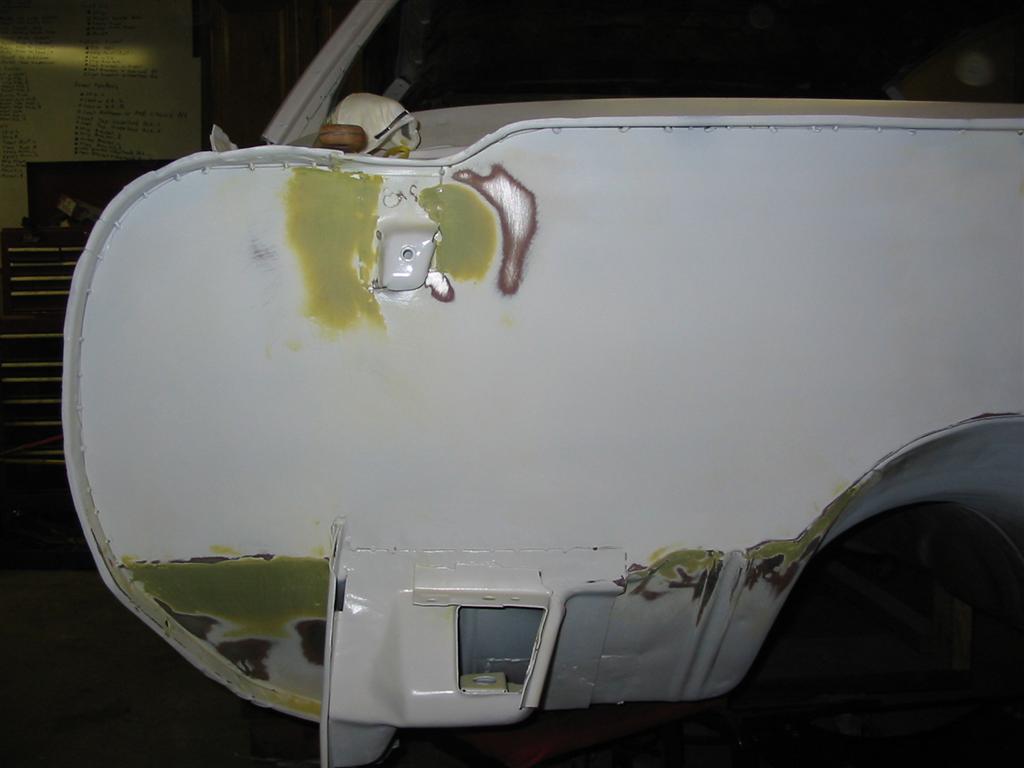
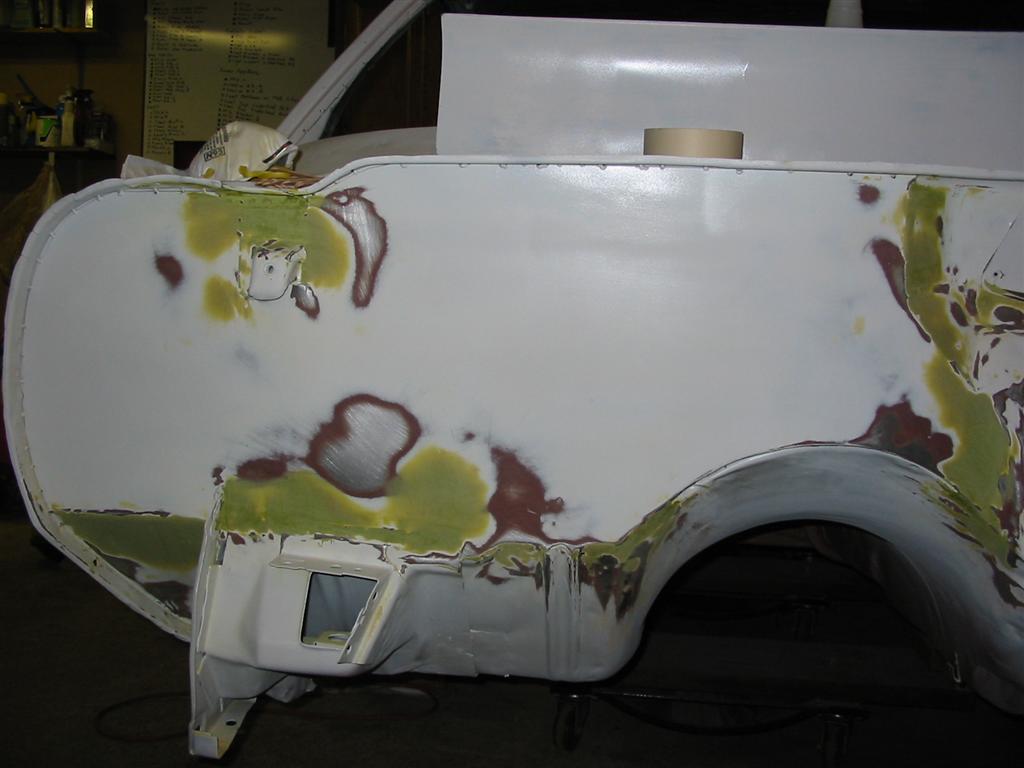
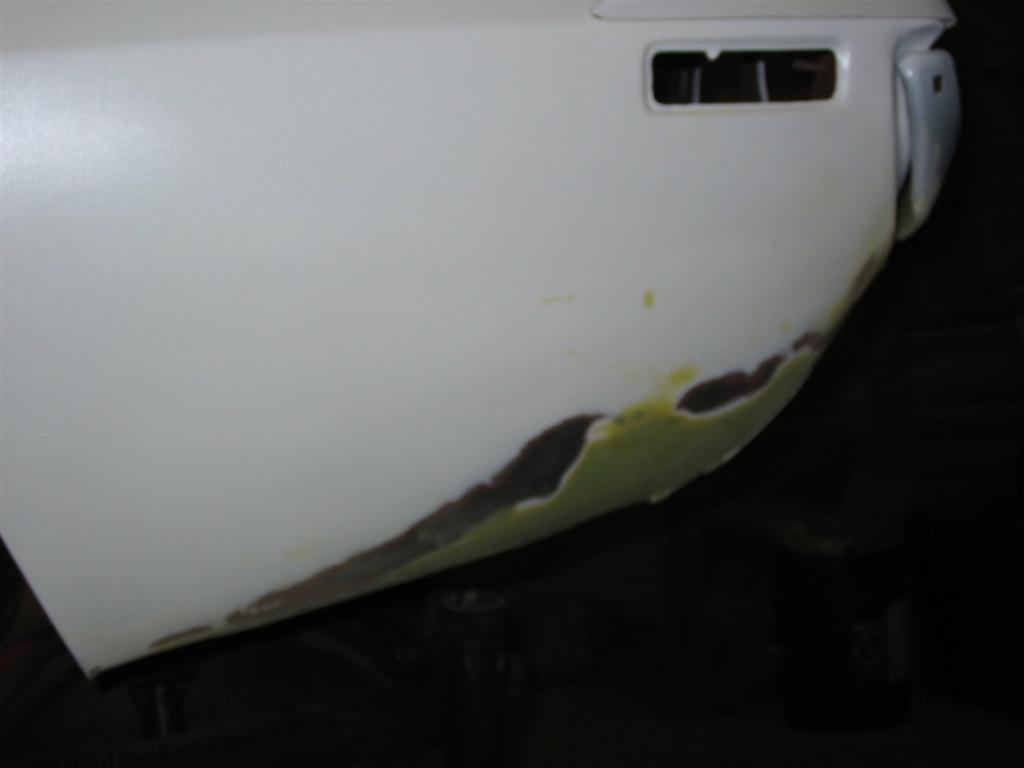
| Here is the body filler applied to the lower left quarter panel. This area had a patch welded into it and needed a littler filler to smooth it out. | |
|
|
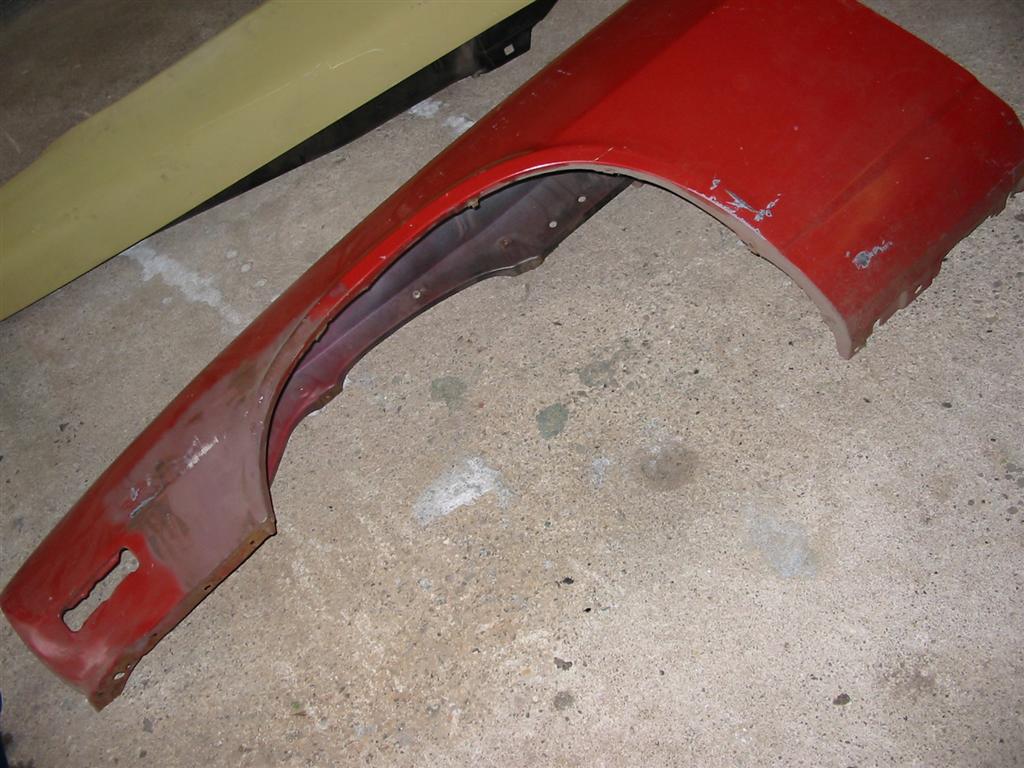
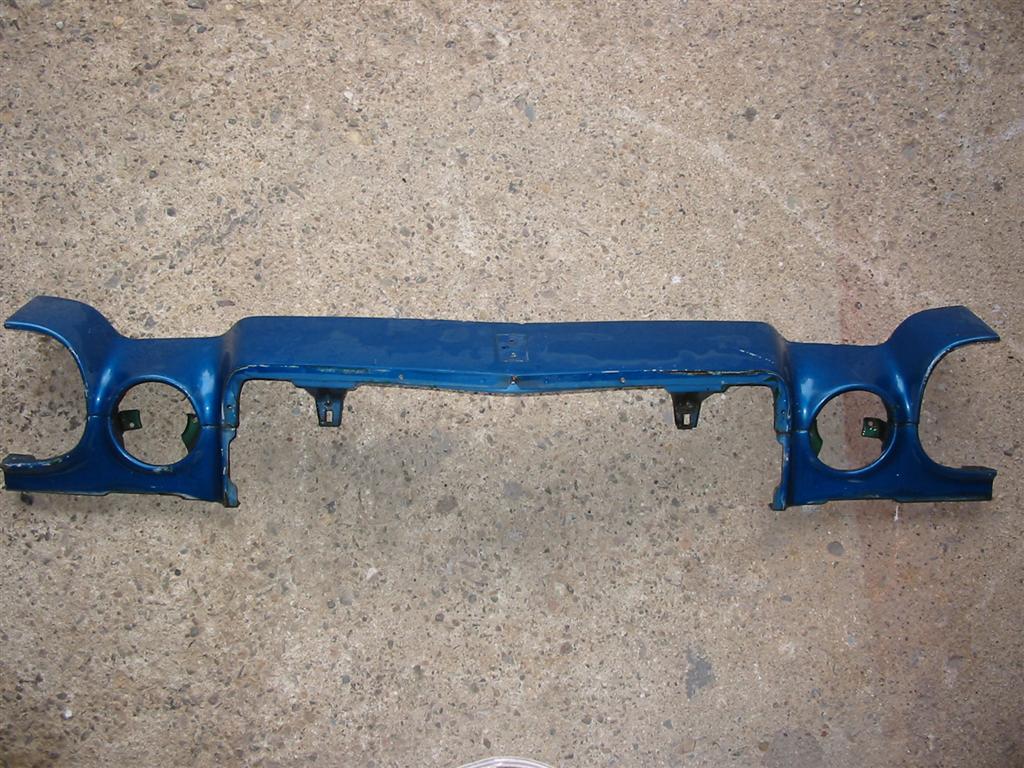
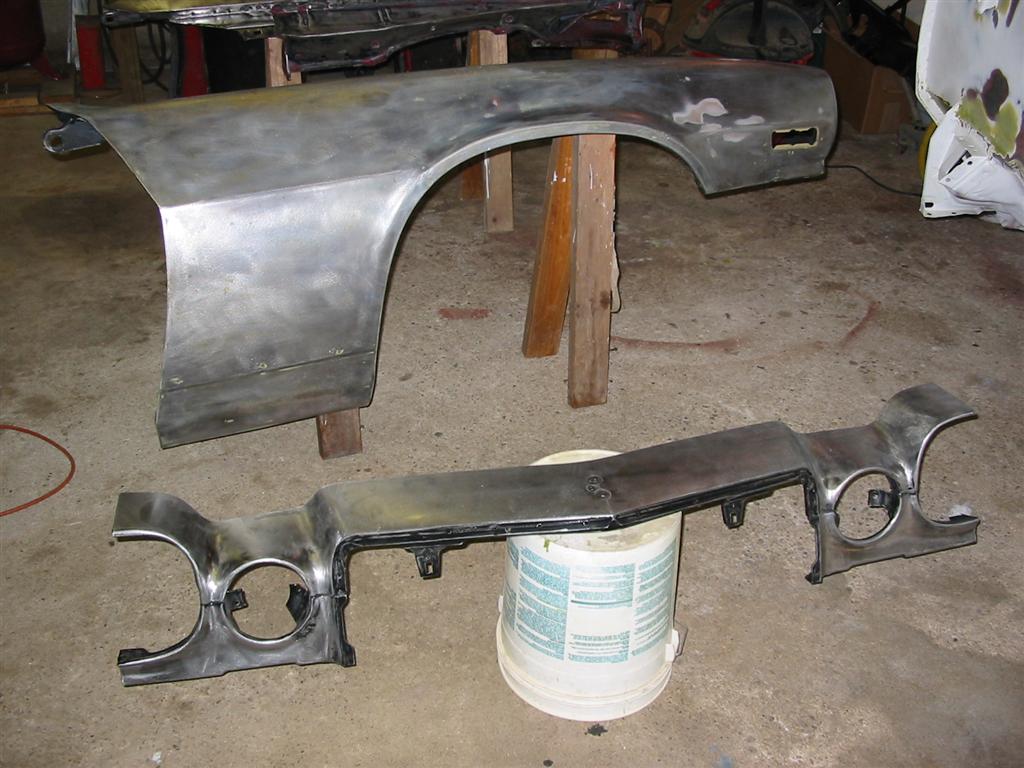
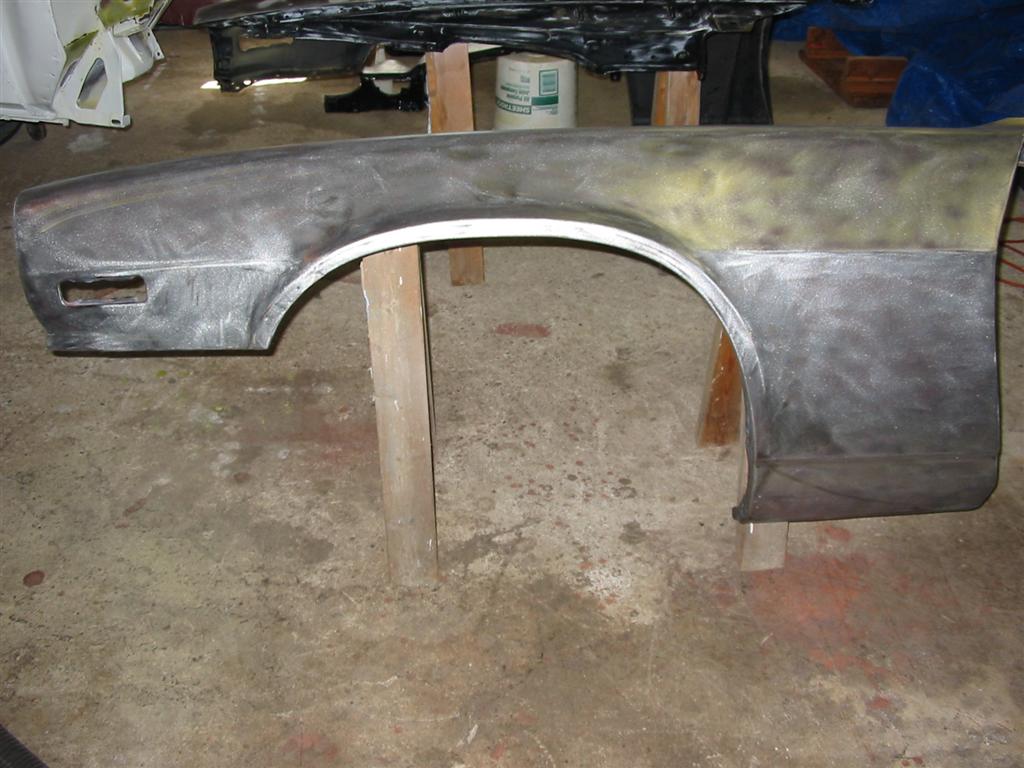
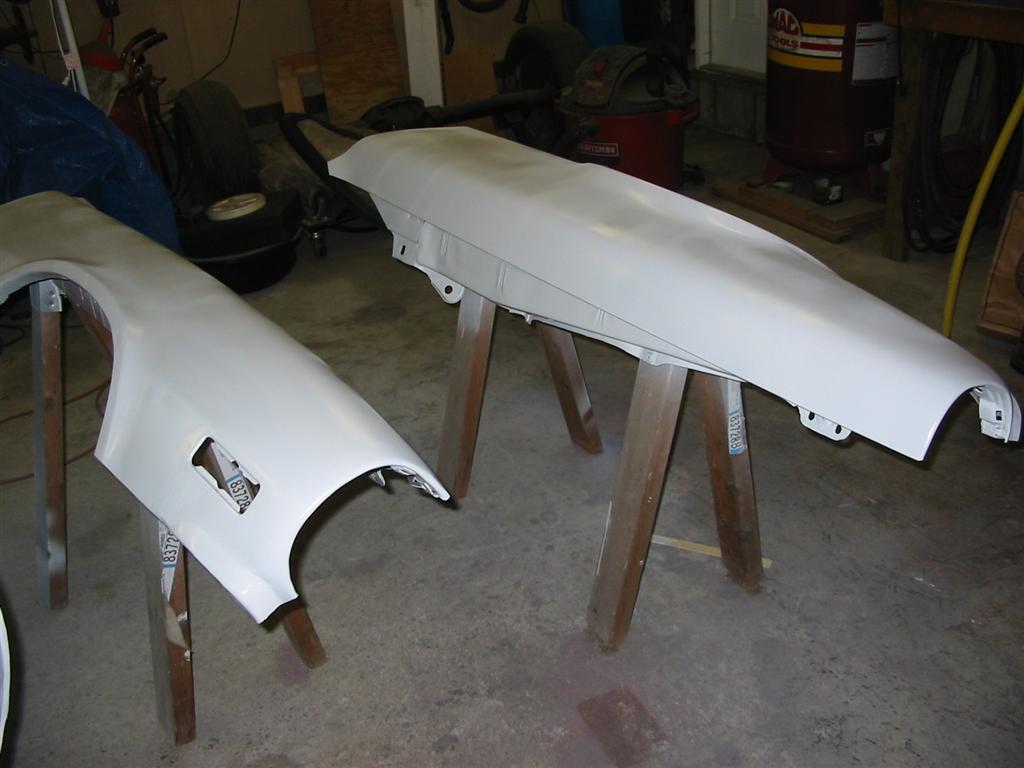
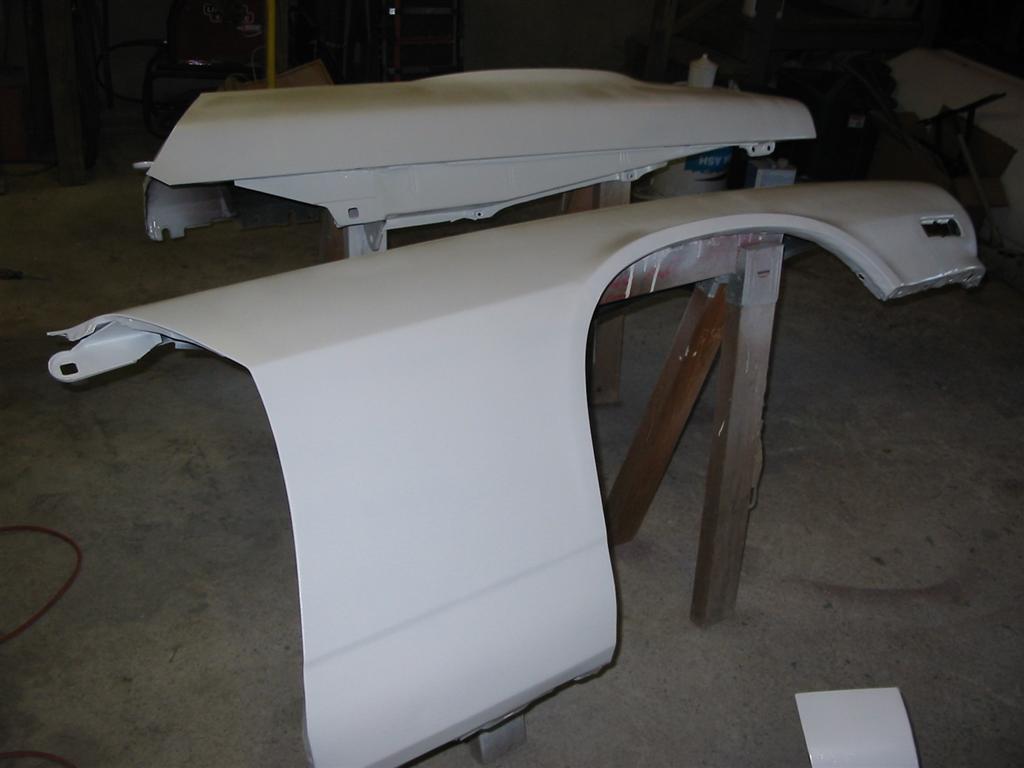
| Here are the front end sheet metal parts before and after the stripping process. | |

|
|
|
|
|
|
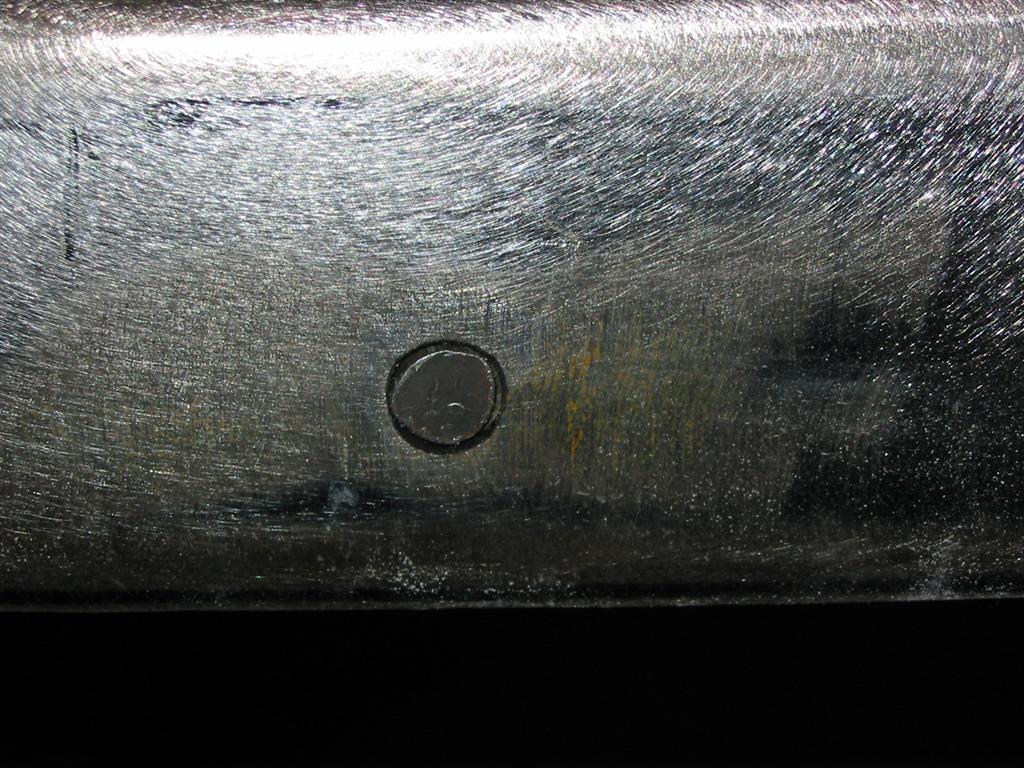
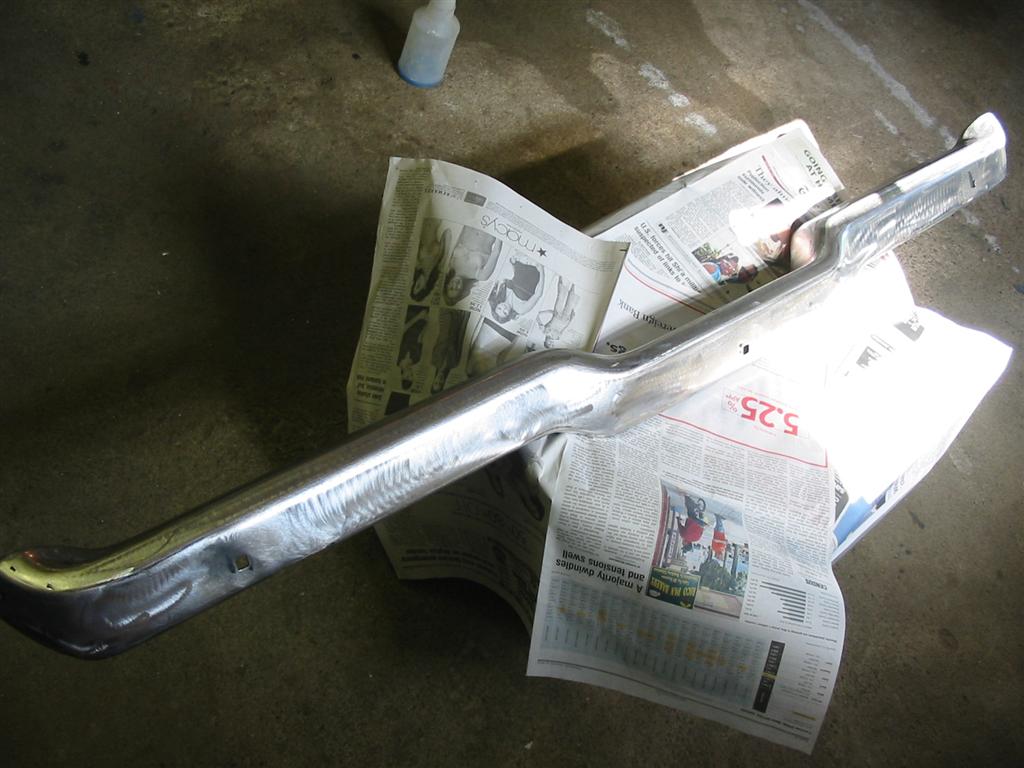
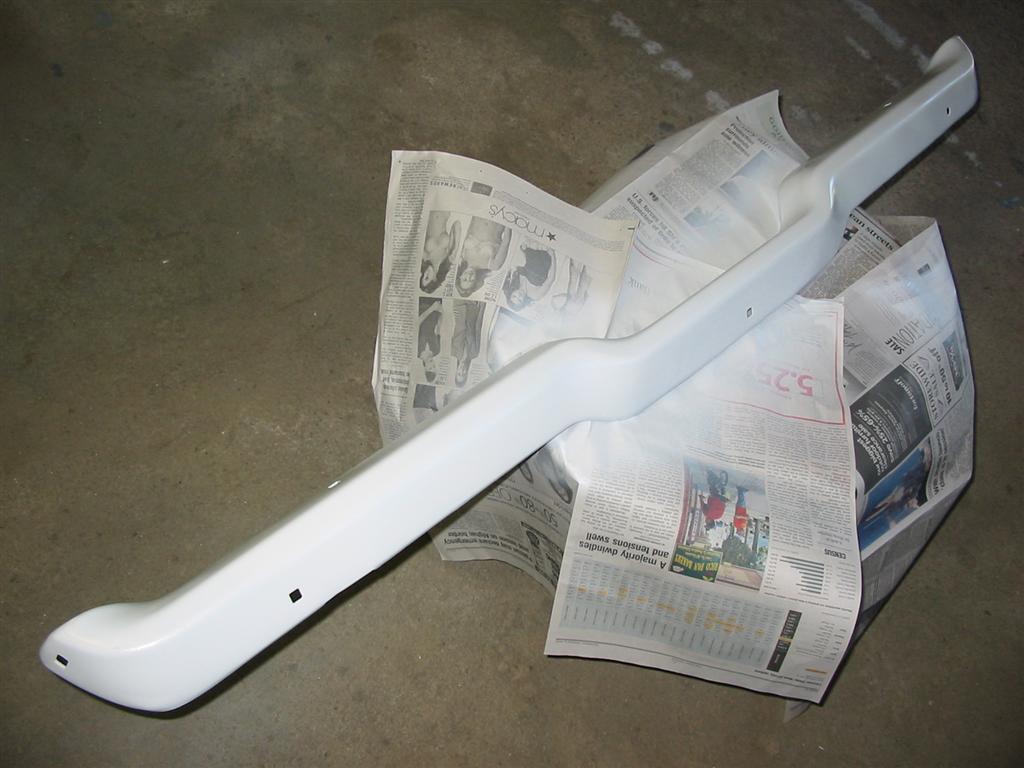
| Here are pictures of me filling in two unused holes in the bumper. I think they are there to mount rear bumper guards. I welded in two small round pieces of metal and then ground them down smoother. Doing metal work on the bumper is so much easier than on 18 gauge body sheet metal. I also hit the whole bumper with a 60 grit grinder disc and then 80 grit sandpaper to rough it up enough for the primer to stick to. | |

|
|

|
|
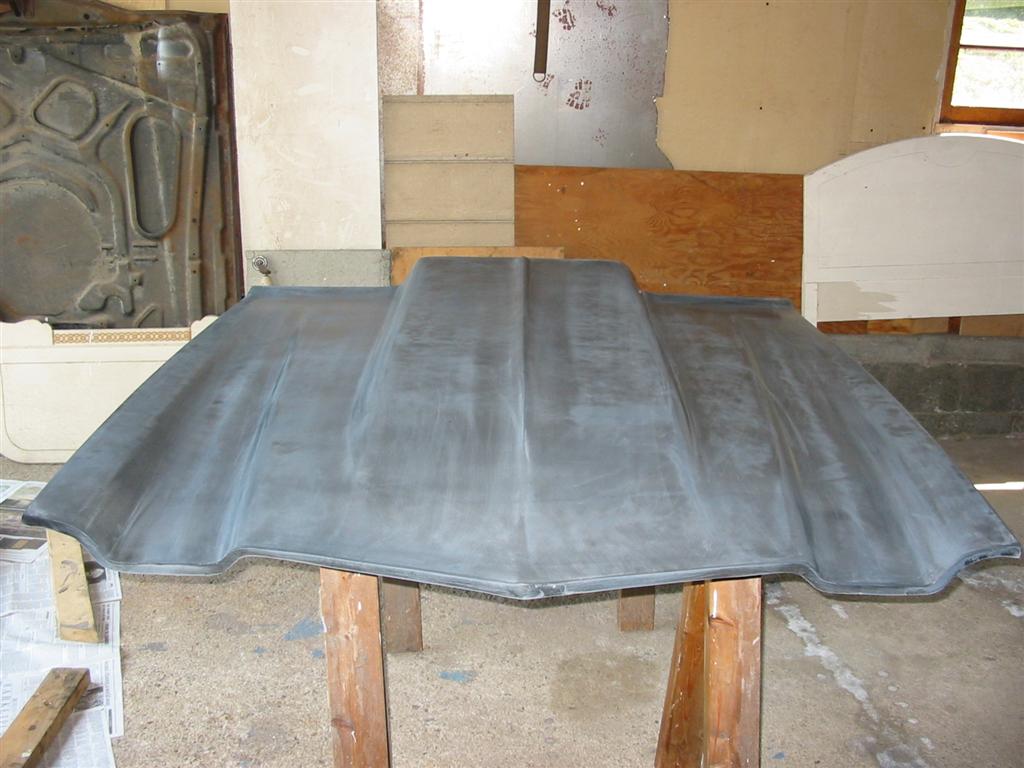
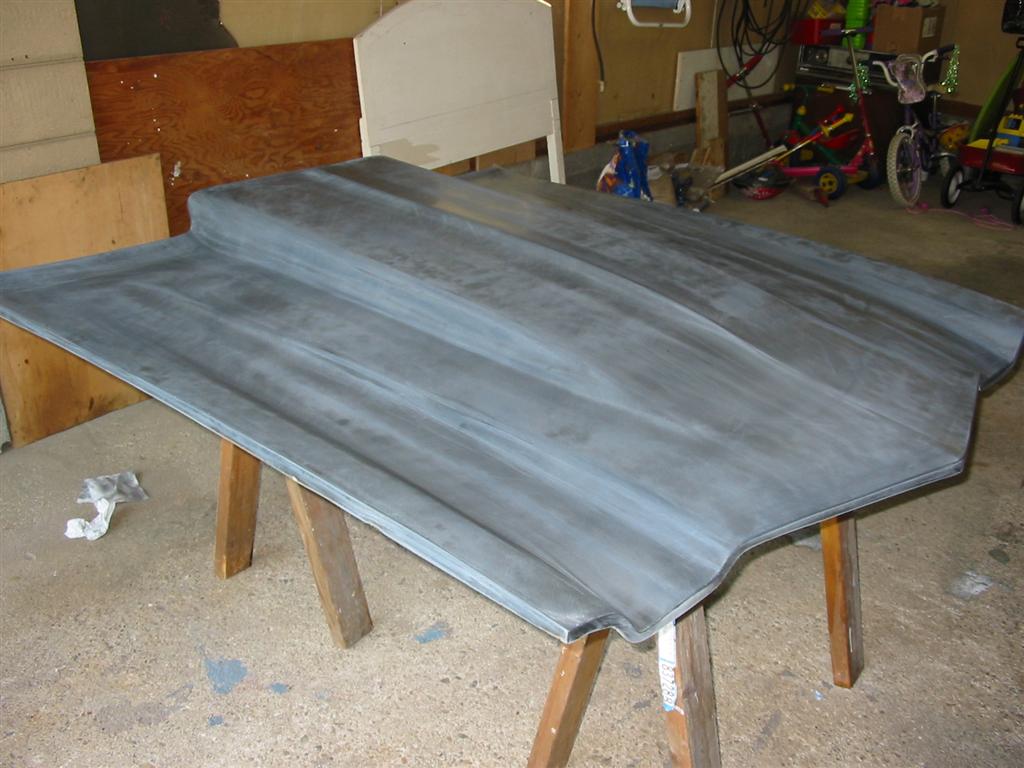
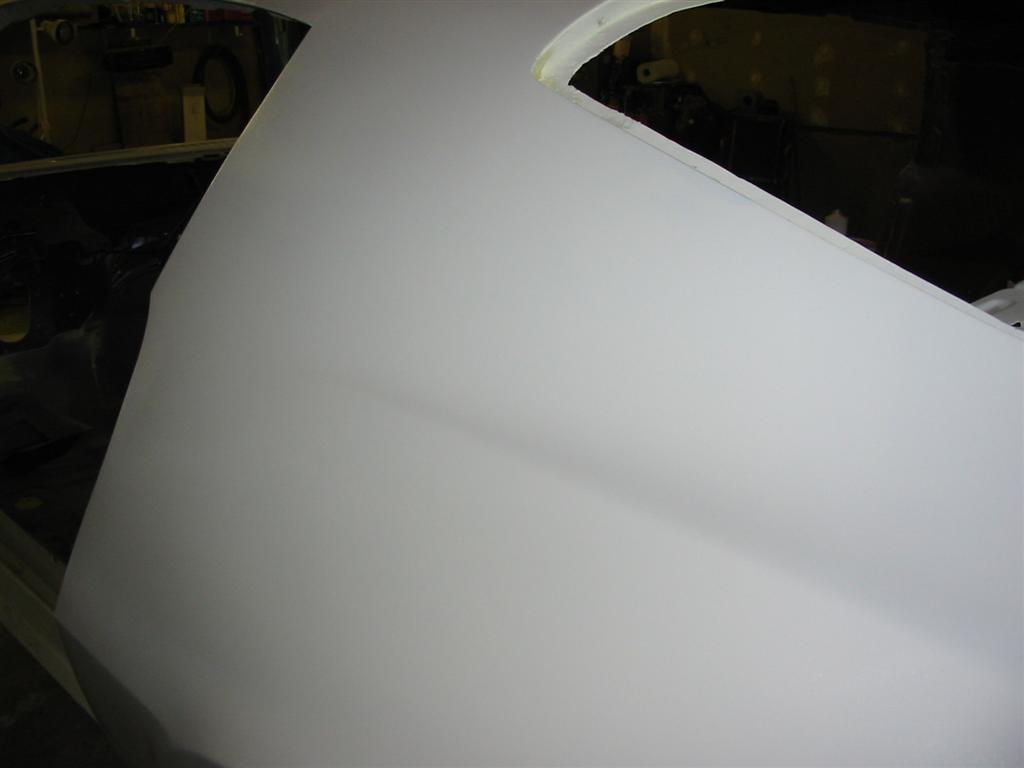
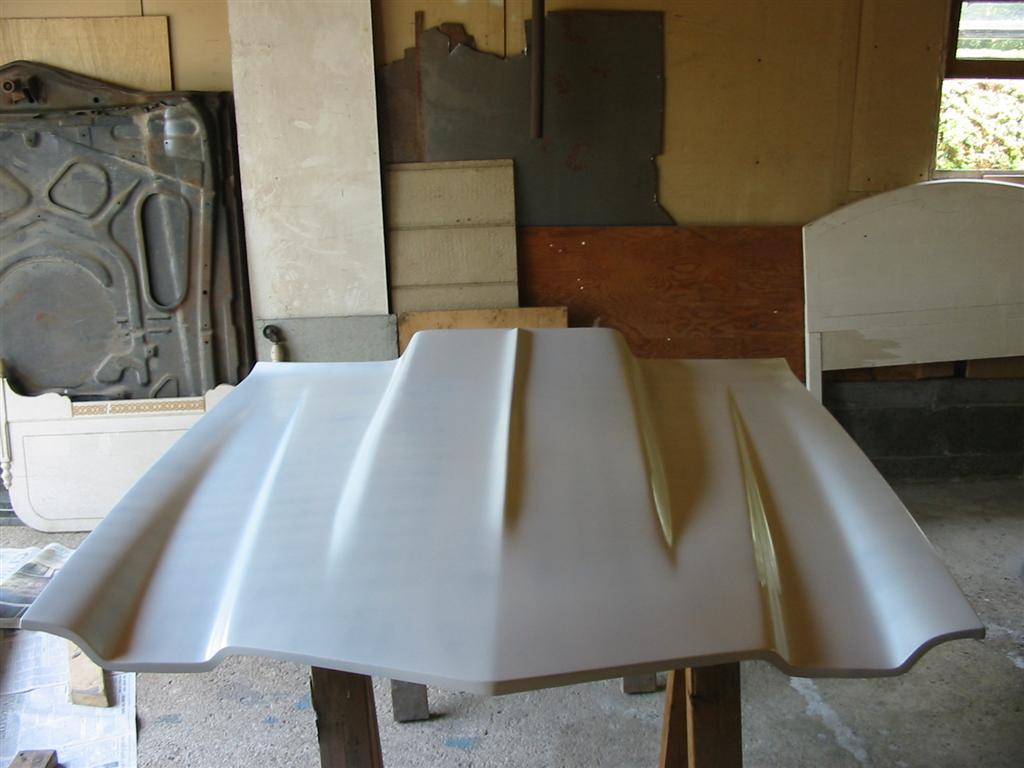
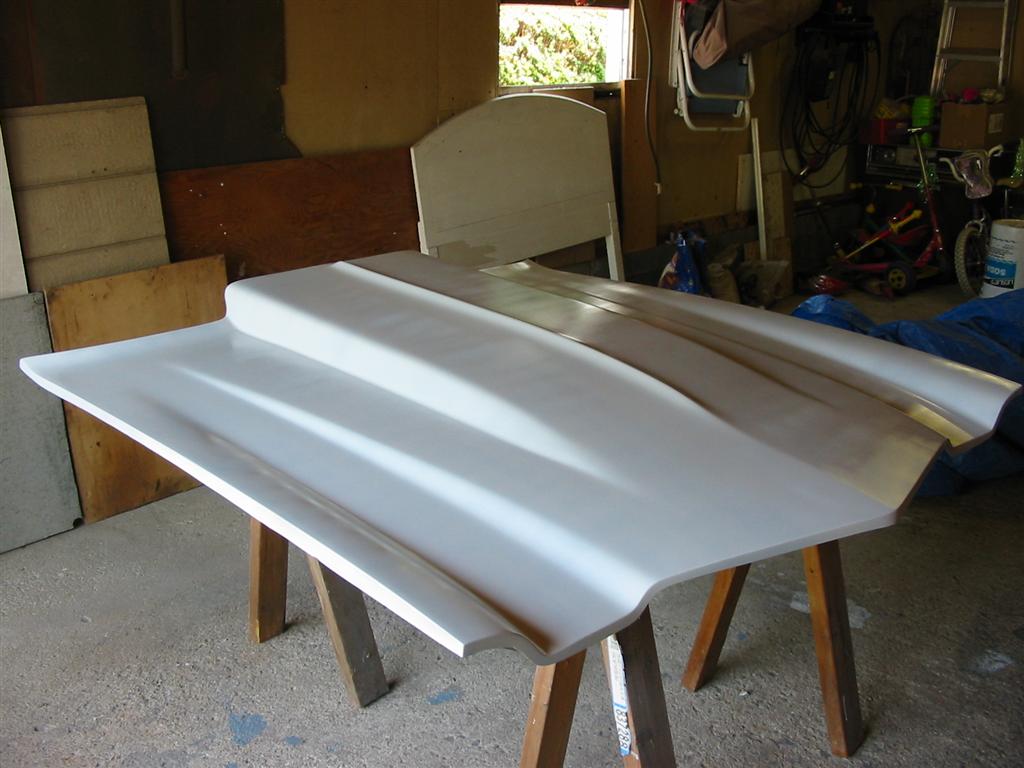
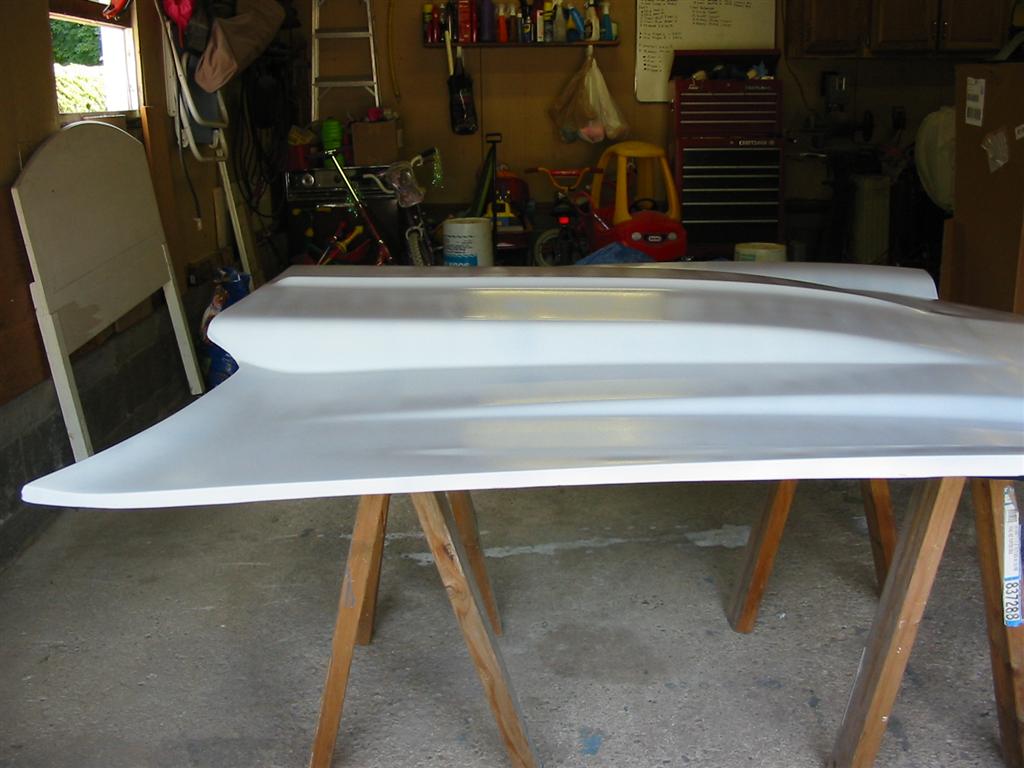
| Here are pictures of my bolt on Harwood fiberglass 3 inch cowl hood before primering. I block sanded the whole hood with 180 grit sandpaper to smooth the hood and pre for primer. | |
|
|
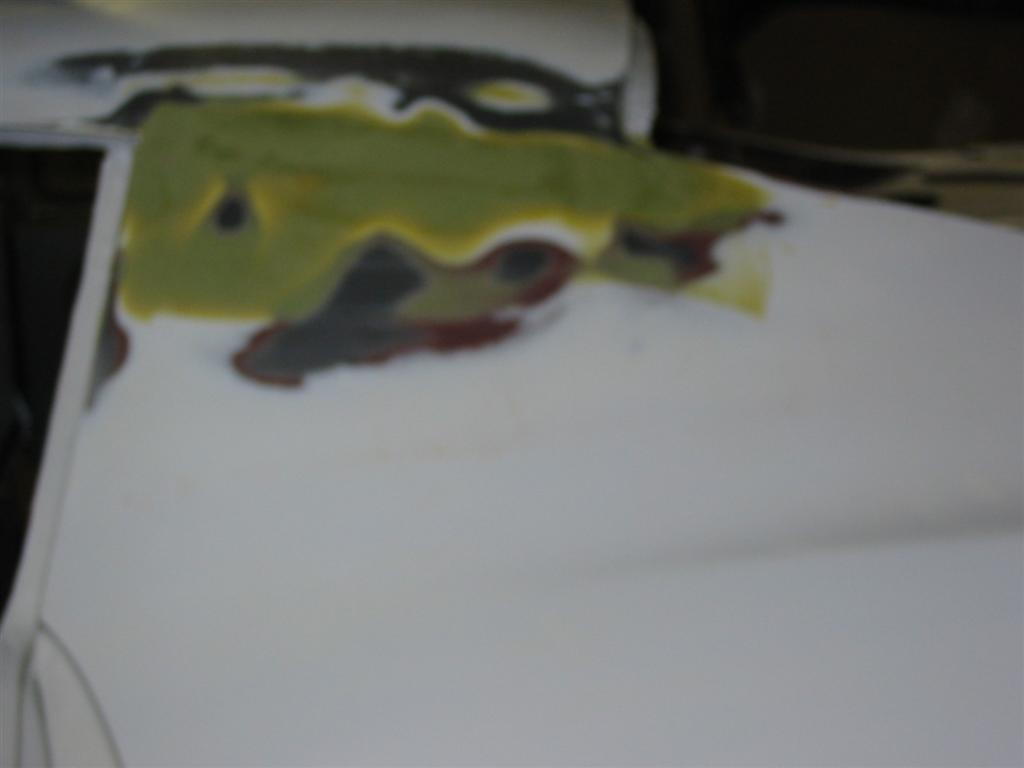
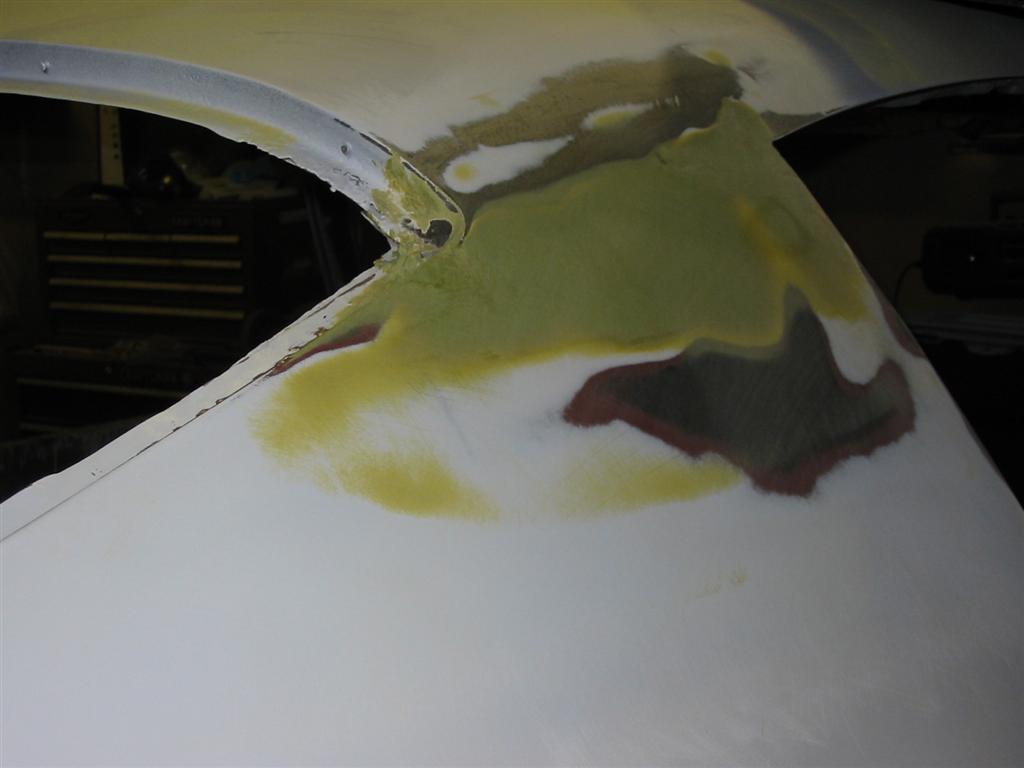
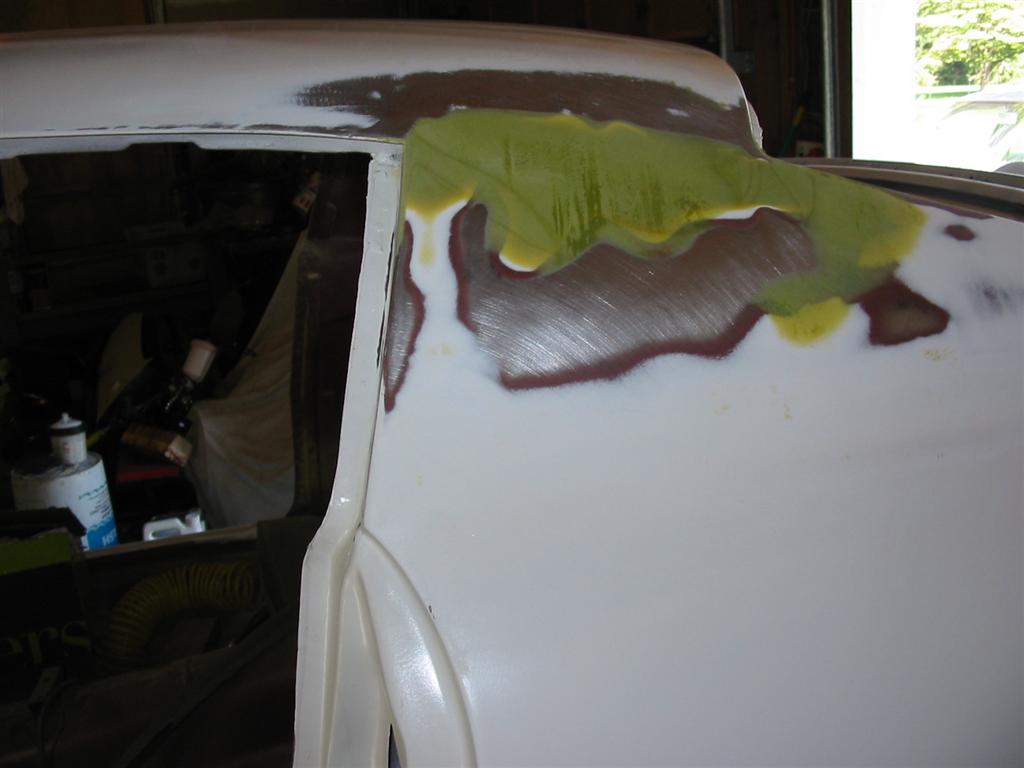
| Here are pictures of all the above parts with a coating of epoxy primer on them. | |
|
|
|
|
|

|
|
|
|
|
|
|
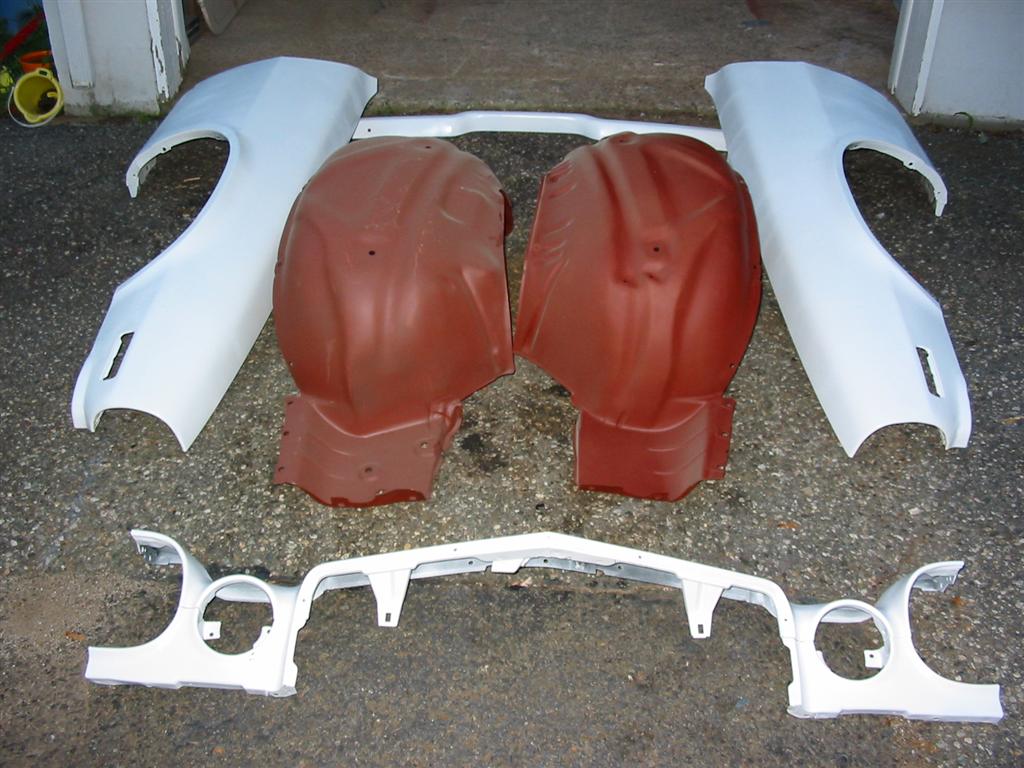
| Here is a picture of most of the front end sheet metal. Missing is the hood and the front lower valance. I did not do the front lower valance at this time because it just needs to be scuffed and primed because it is a brand new reproduction piece. | |
|
|