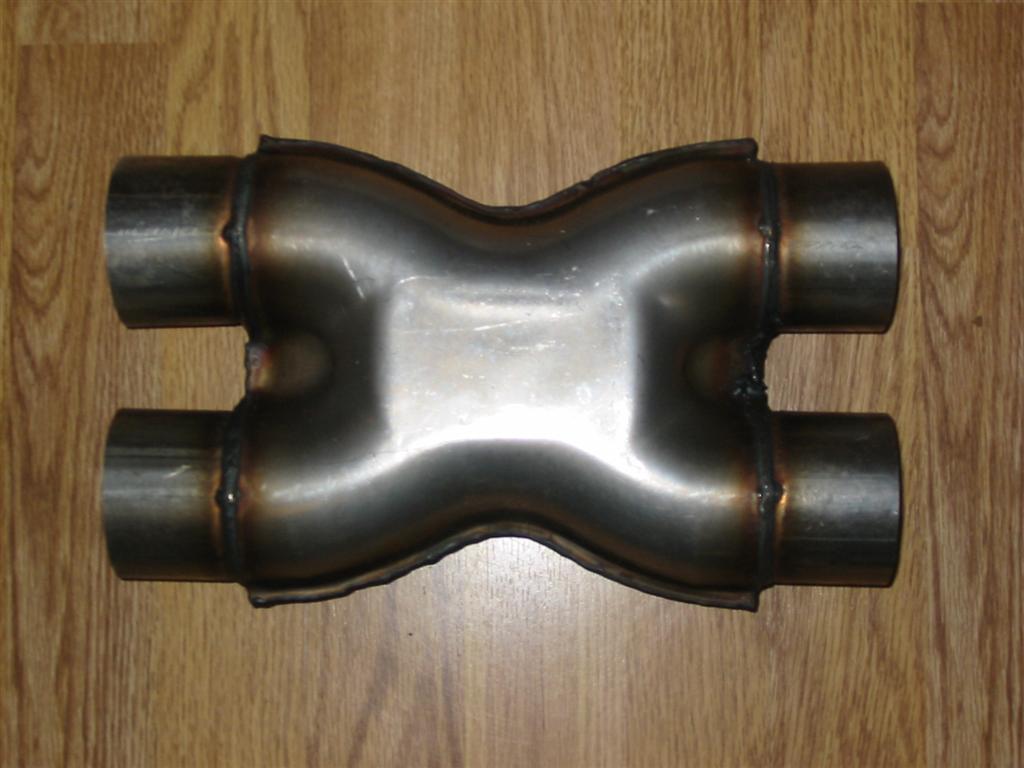
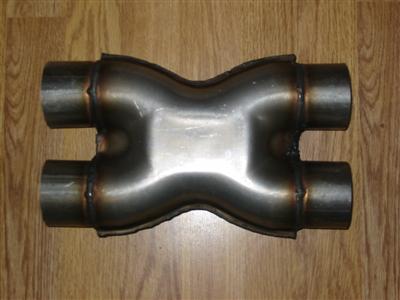
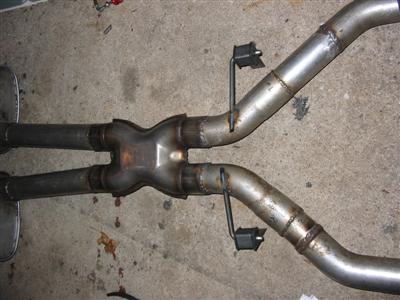
| Here are pictures of the x-pipe. I purchased the x-pipe off of eBay. |
|
|
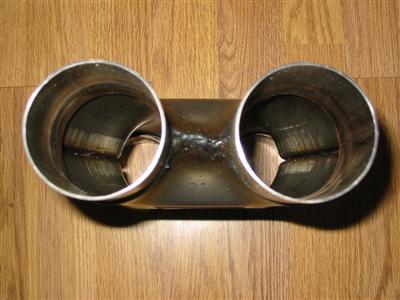
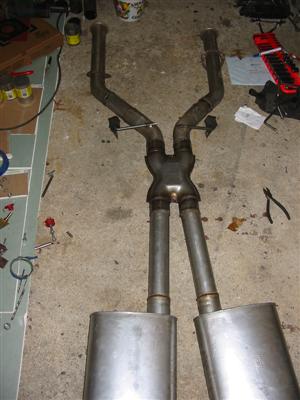
| Here is the x-pipe welded into the exhaust system ready to be mounted. |
|
|
|
|
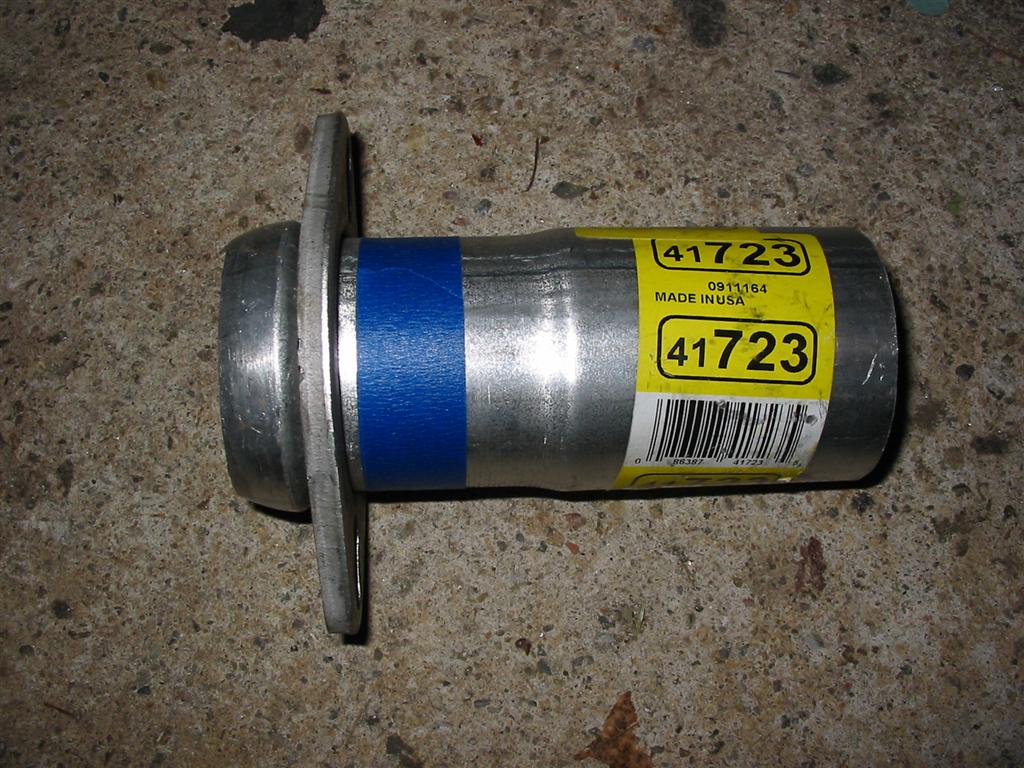
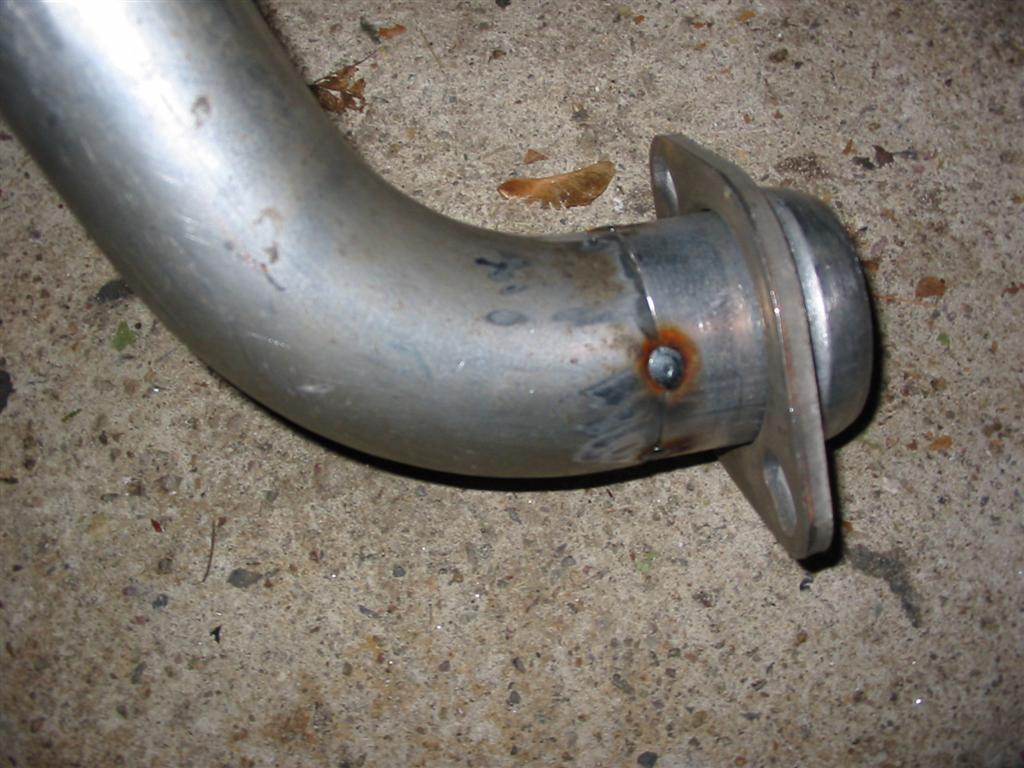
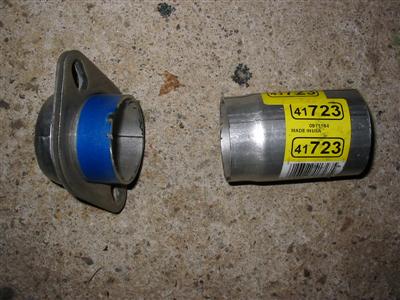
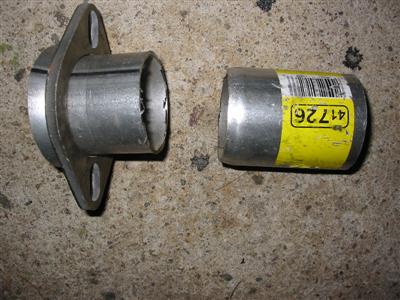
| For better tailpipe alignment, I decided to install a ball and socked junction for the
connection between the tailpipe and muffler. Due to space limitations, I needed to trim my
ball socket pipes and flange pipes to shorten them. |

|
|
|
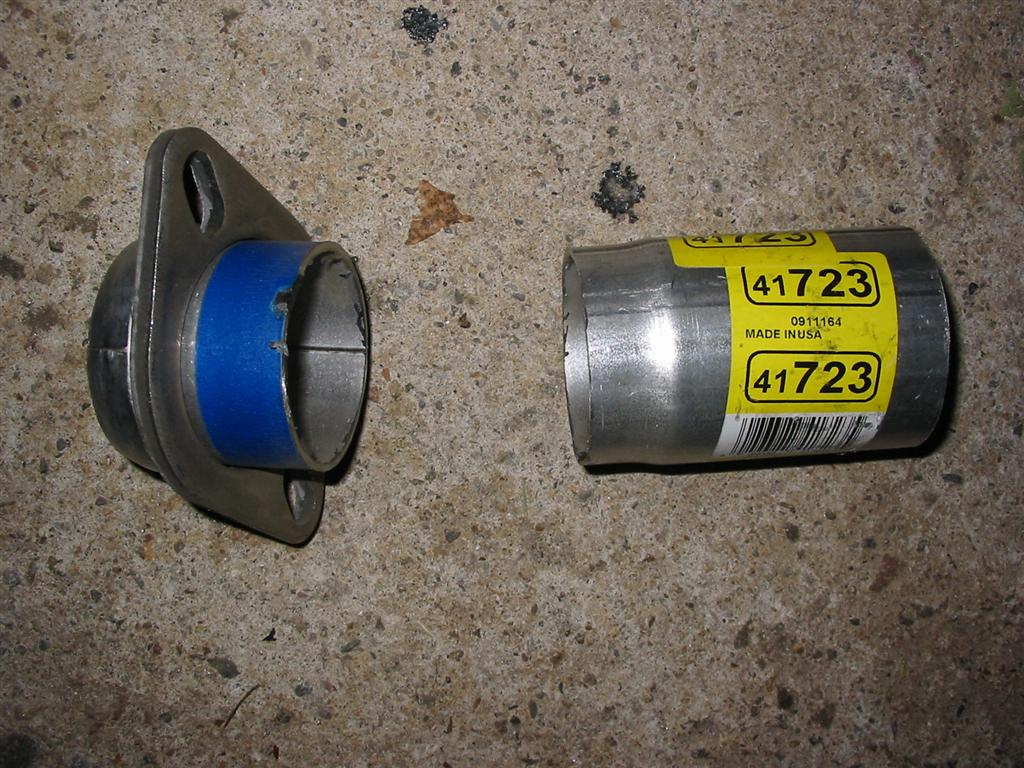
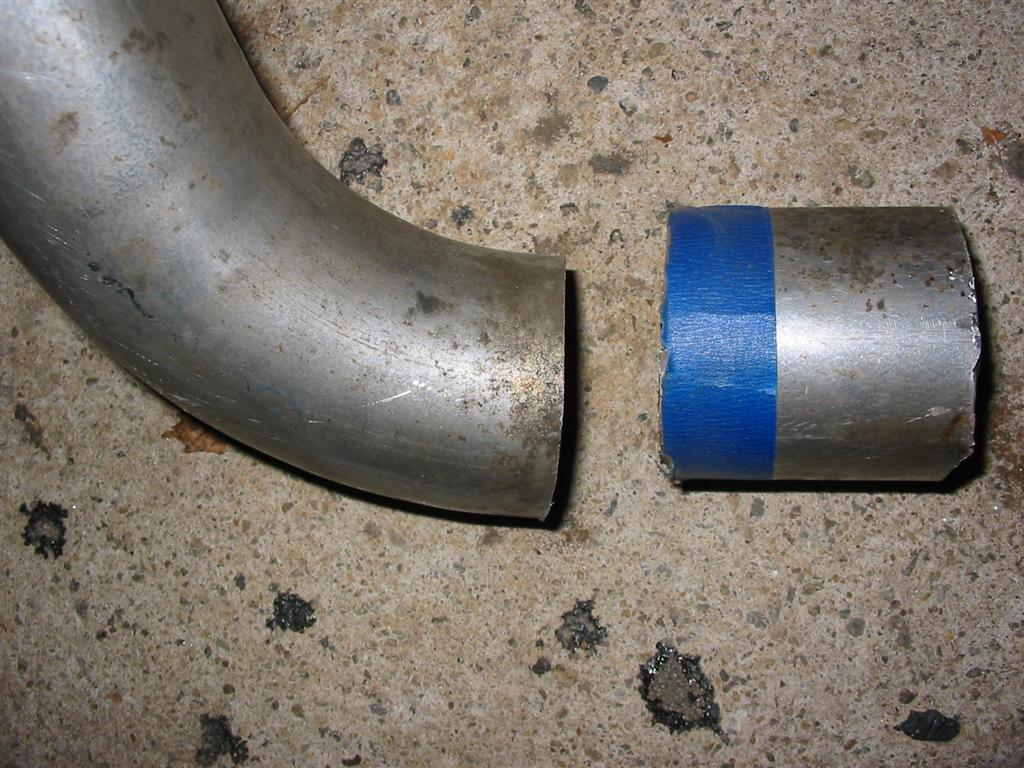
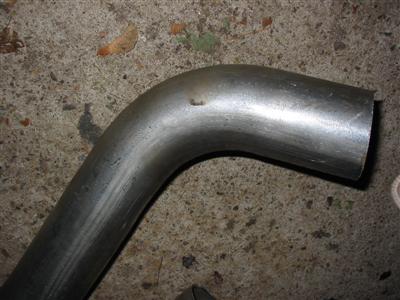
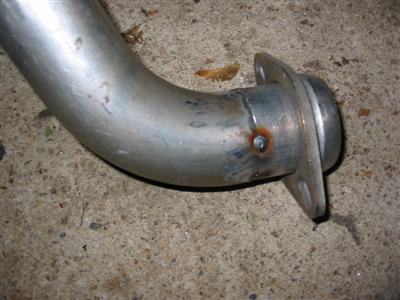
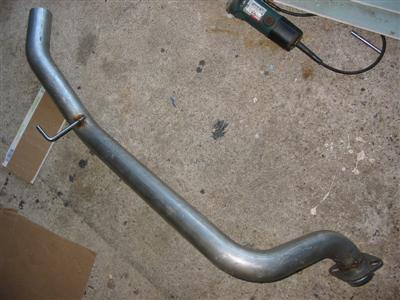
| The tailpipes needed to be trimmed before the ball socket was welded on. Here are pictures
of the process. |
|

|
|
|
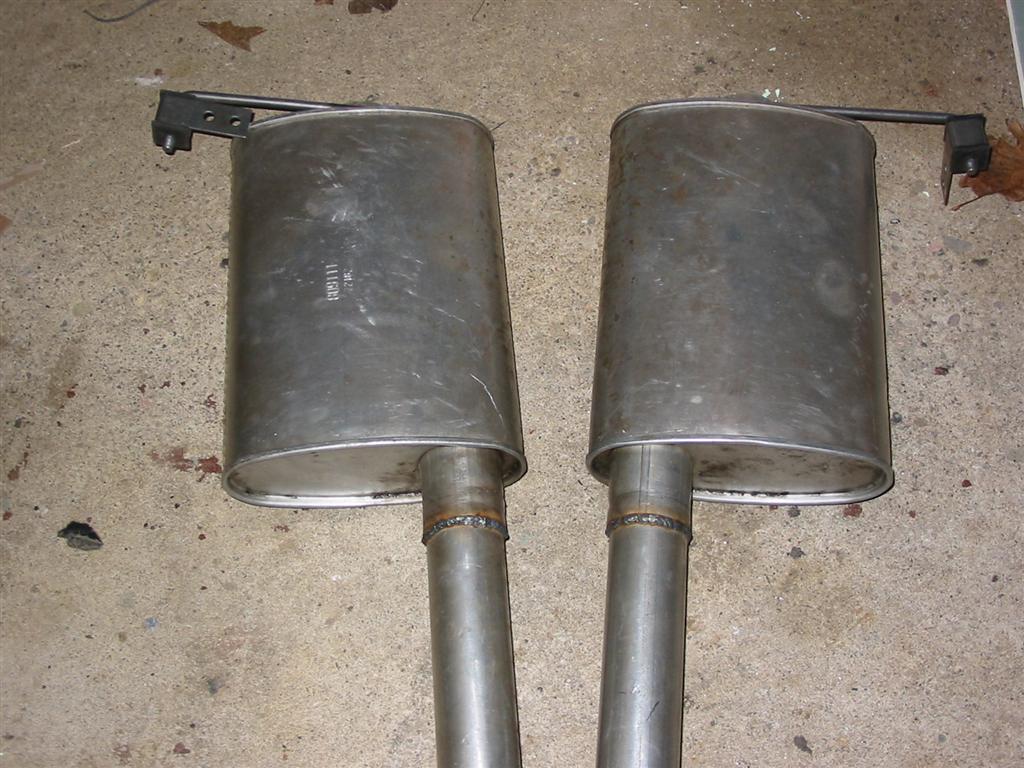
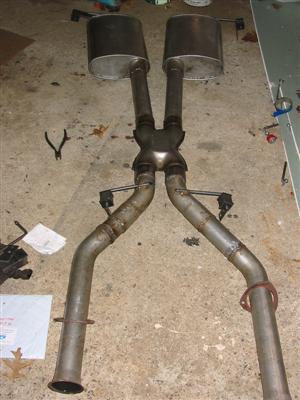
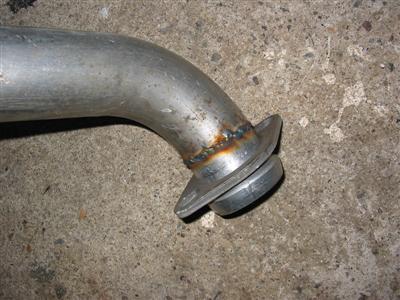
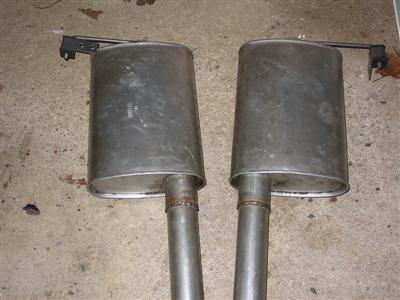
| I also welded new hangers onto the tailpipes and mufflers for a better fit. Here is one of the completed
tailpipes and the completed mufflers. |

|
|
|
|
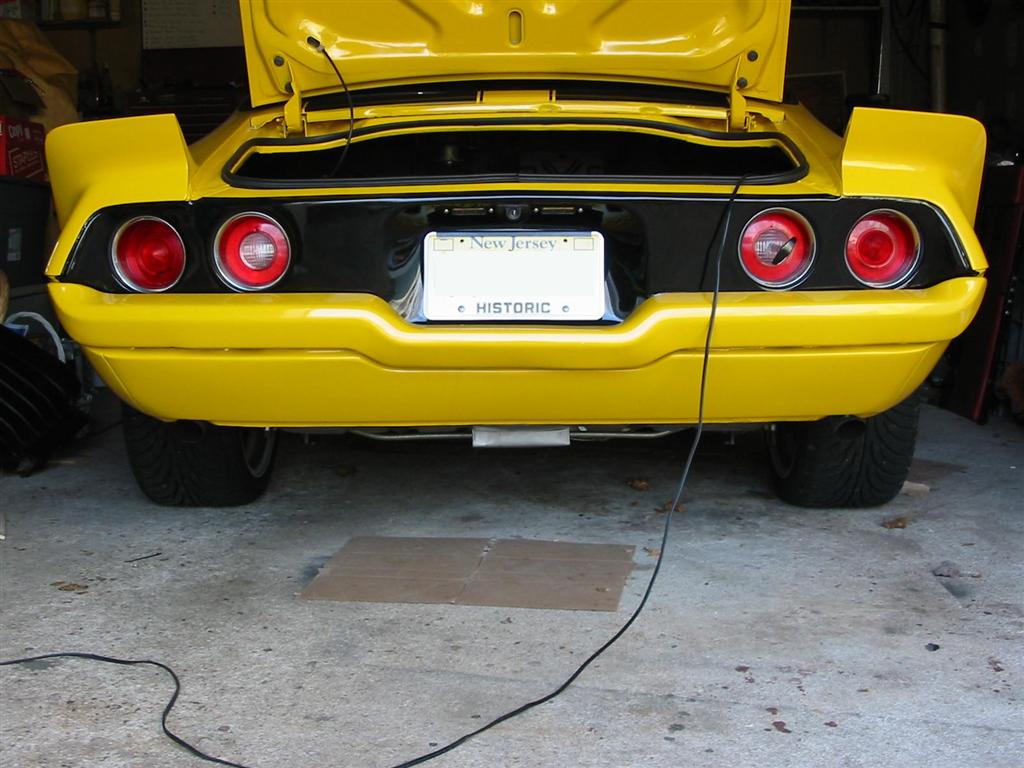
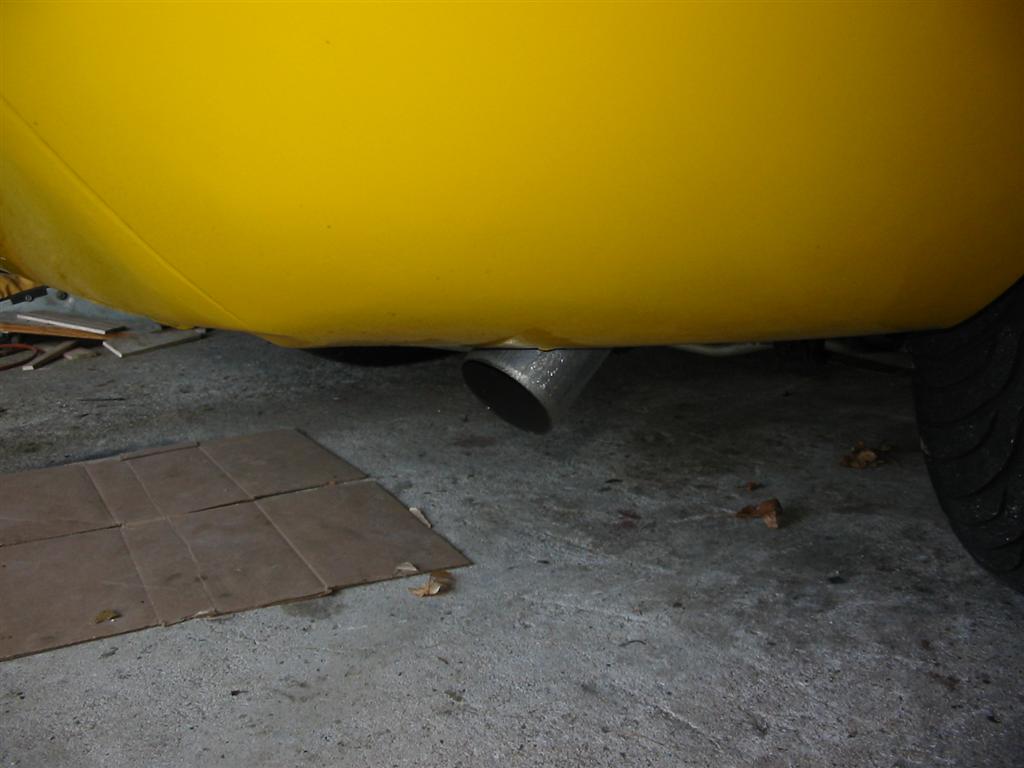
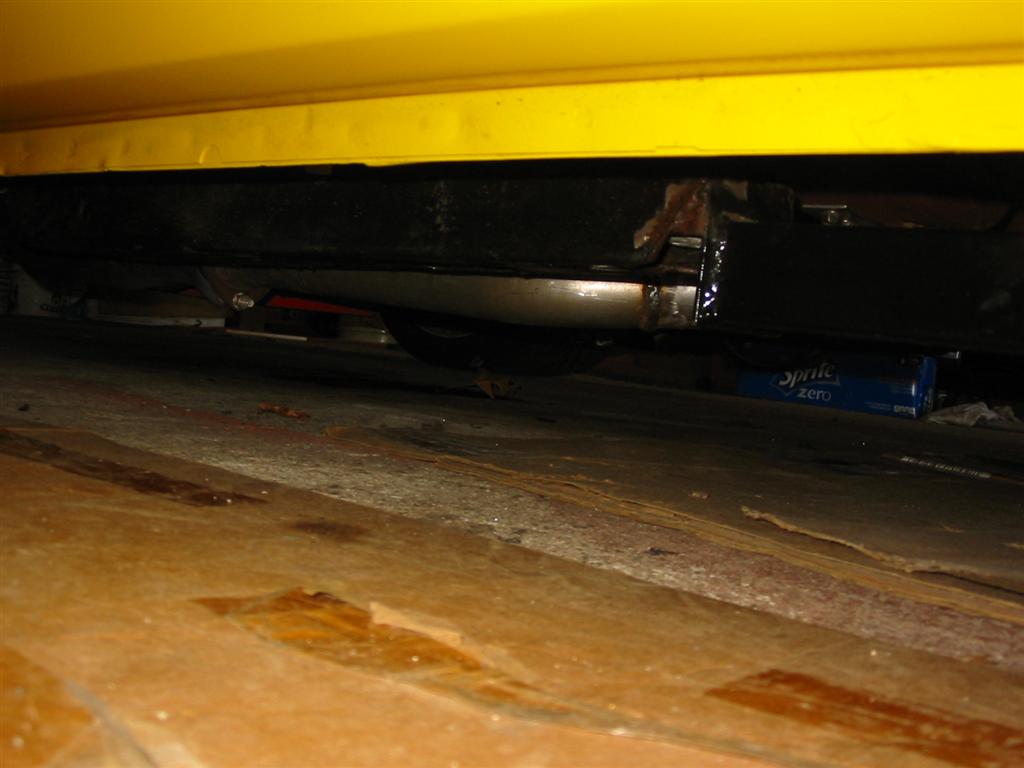
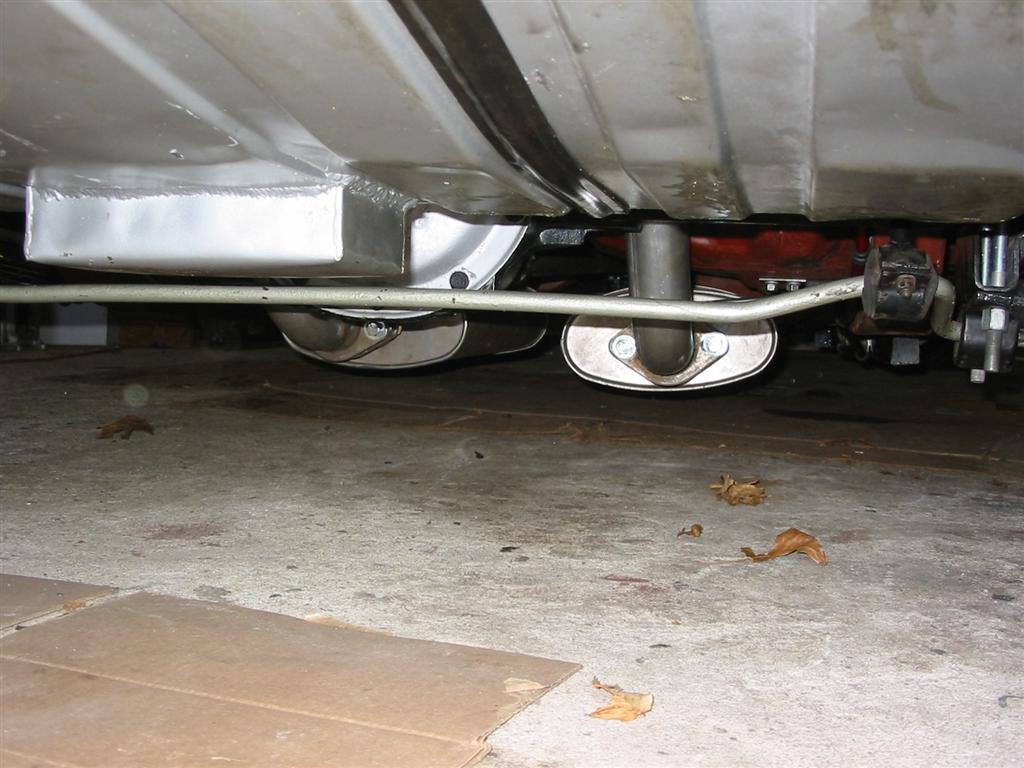
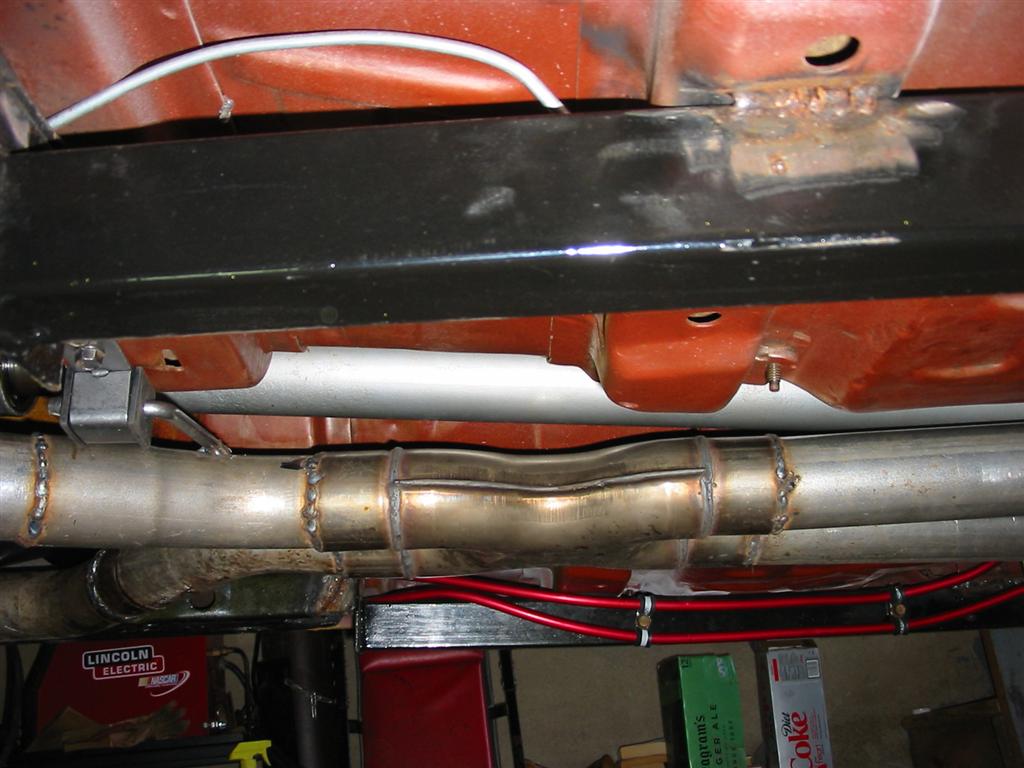
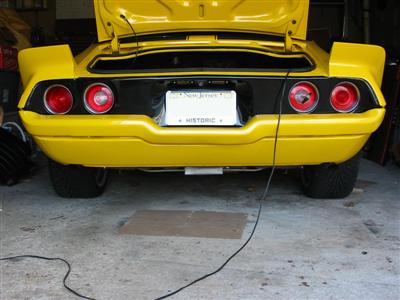
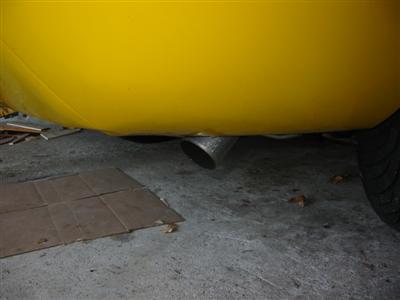
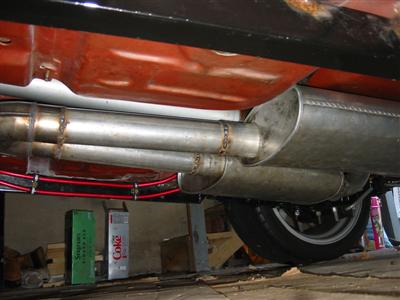
| Here are pictures of the completed system mounted. |
|
|

|

|
|

|
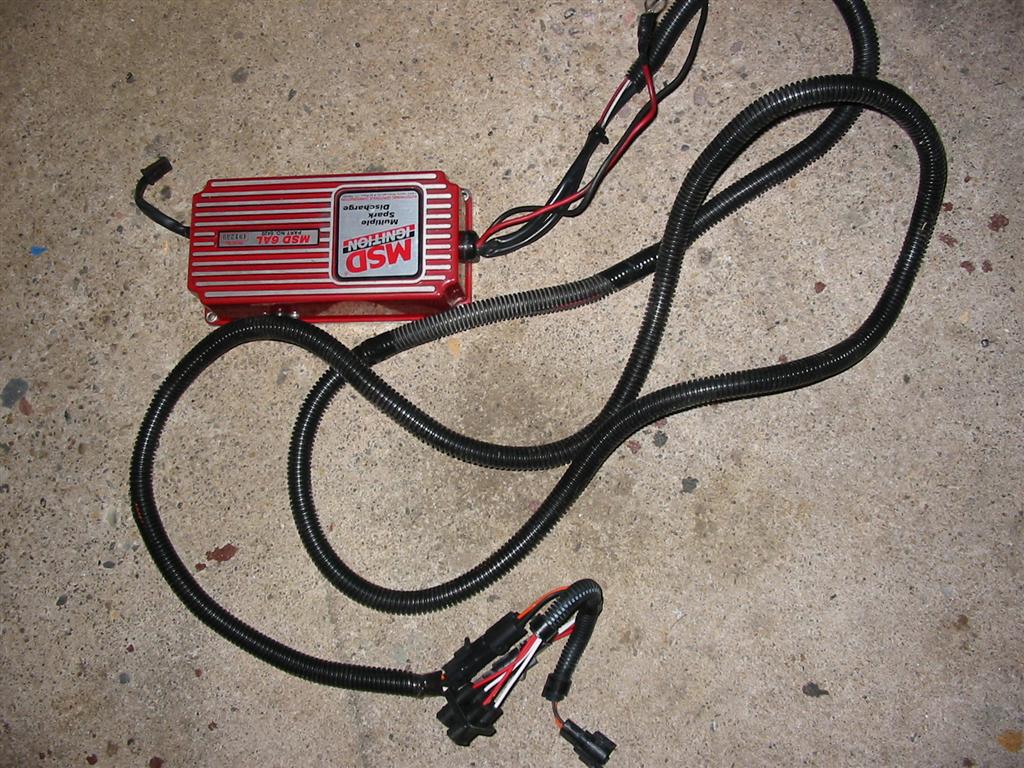
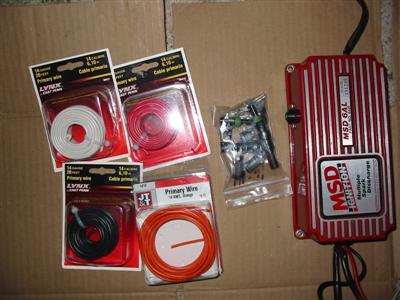
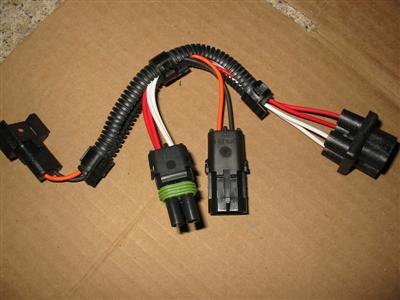
| Here is the MSD 6AL and assorted wires that I purchased to install. Also pictured is the
MSD adapter to install the 6AL to the TPI Ignition. |
|
|
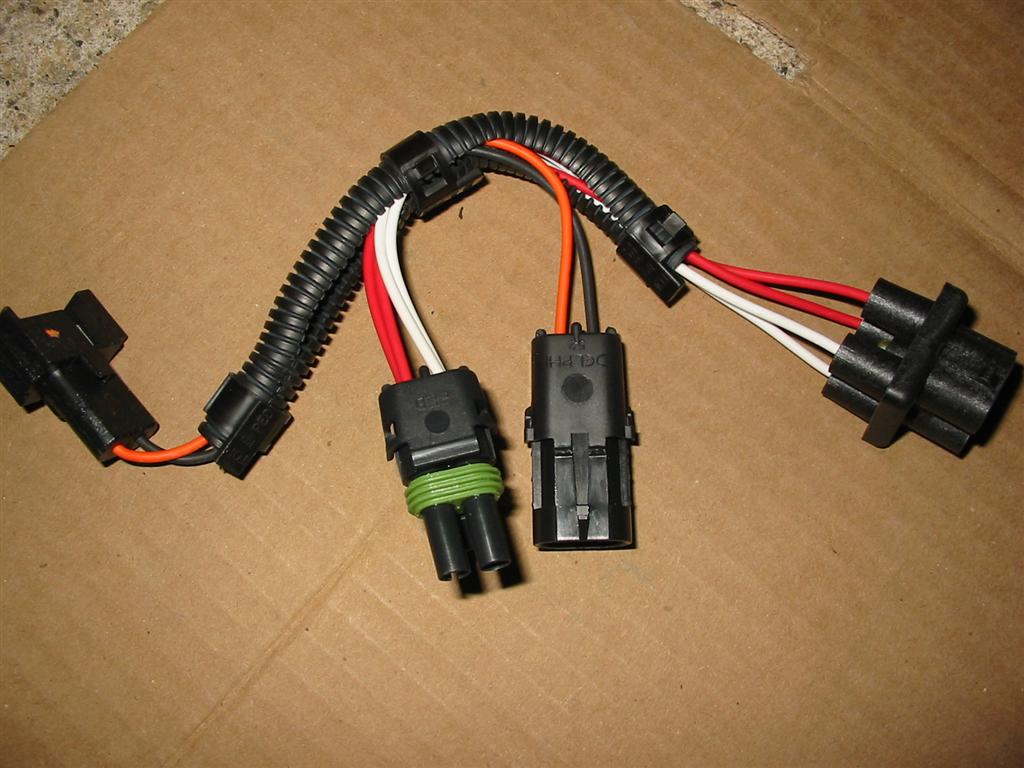
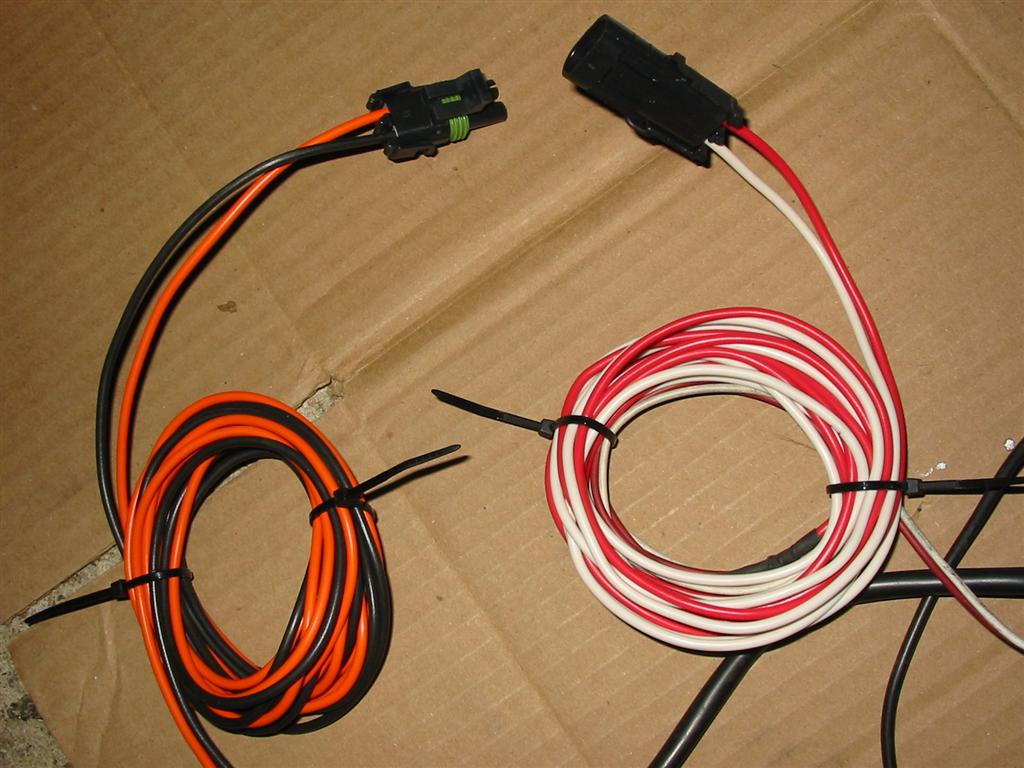
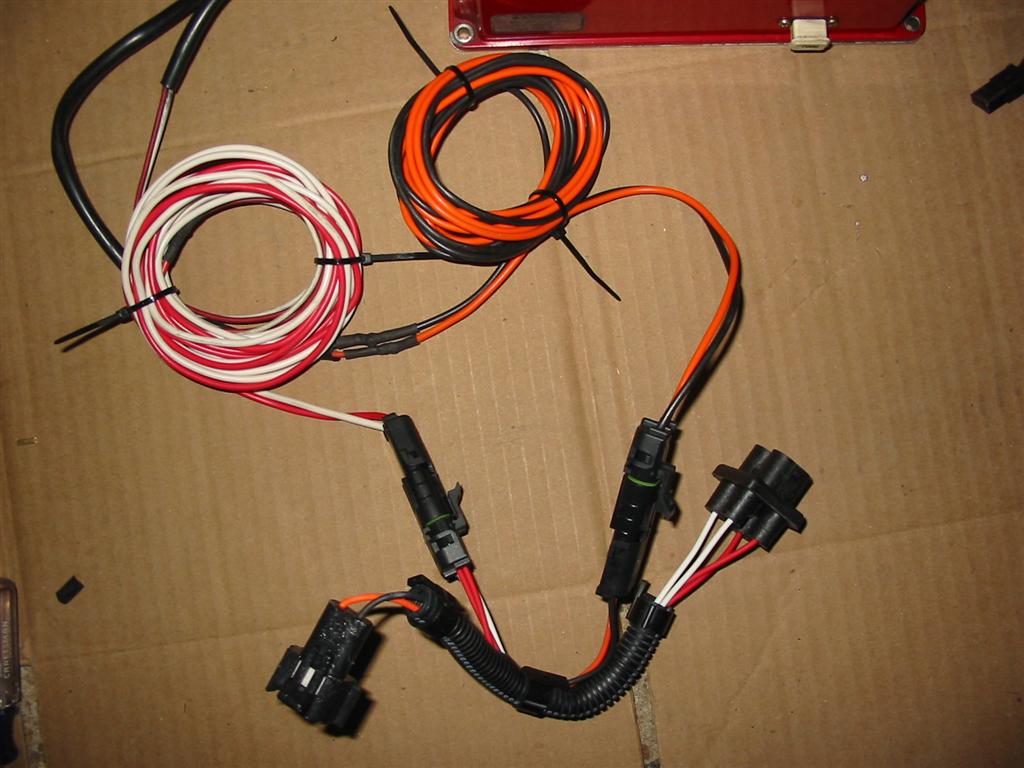
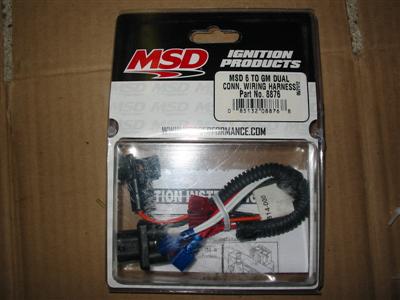
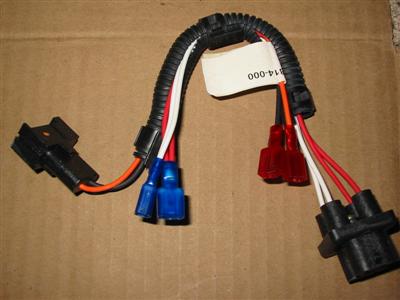
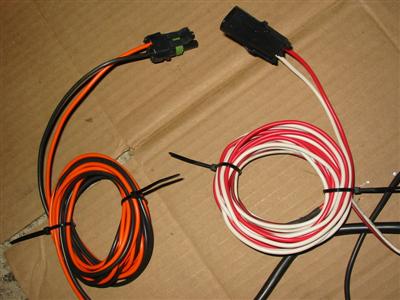
| I decided to connect the MSD to the adapter using weather pack connectors. Here are shots
of the extension wires and the connectors. |
|
|
|

|

|
|
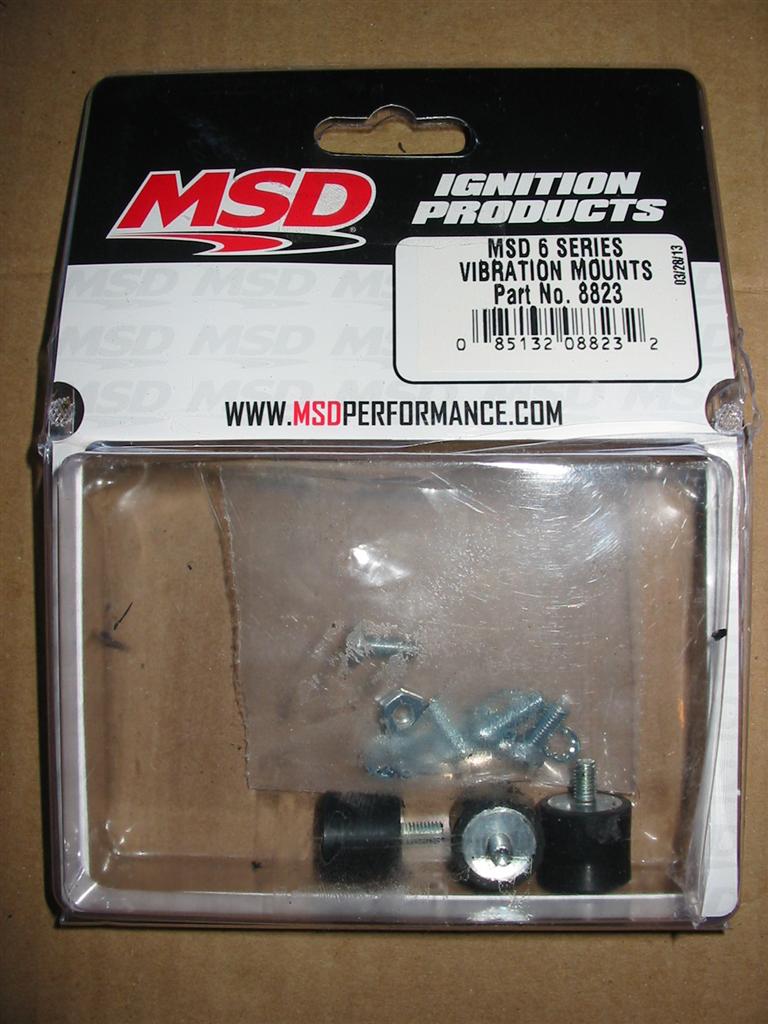
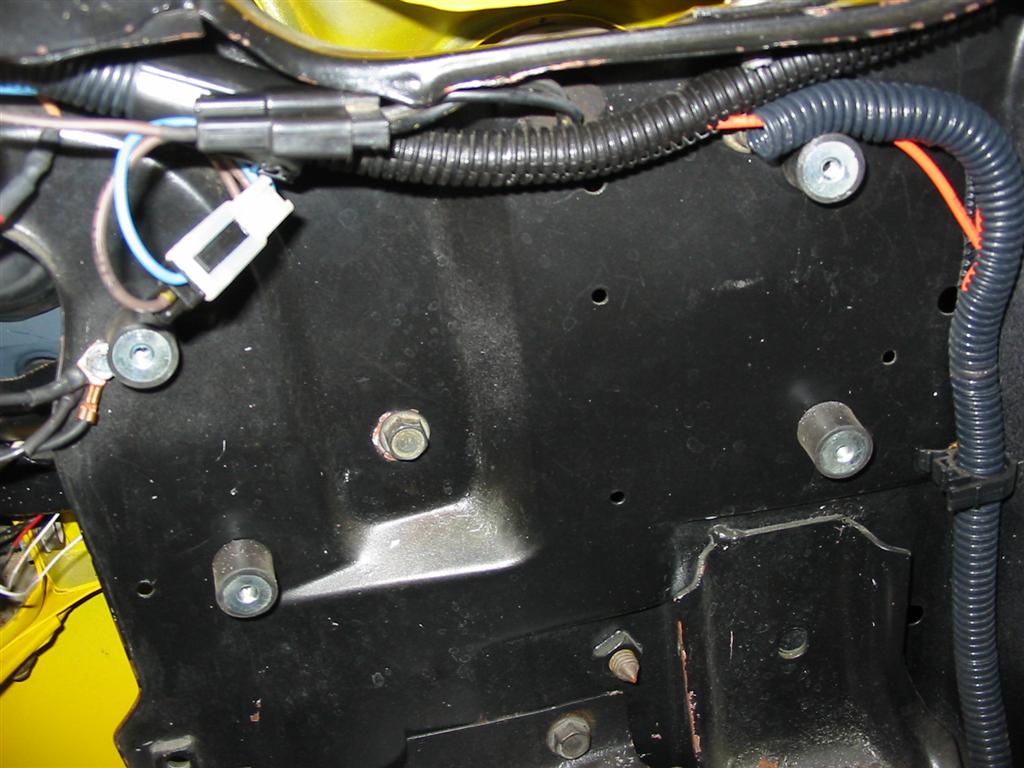
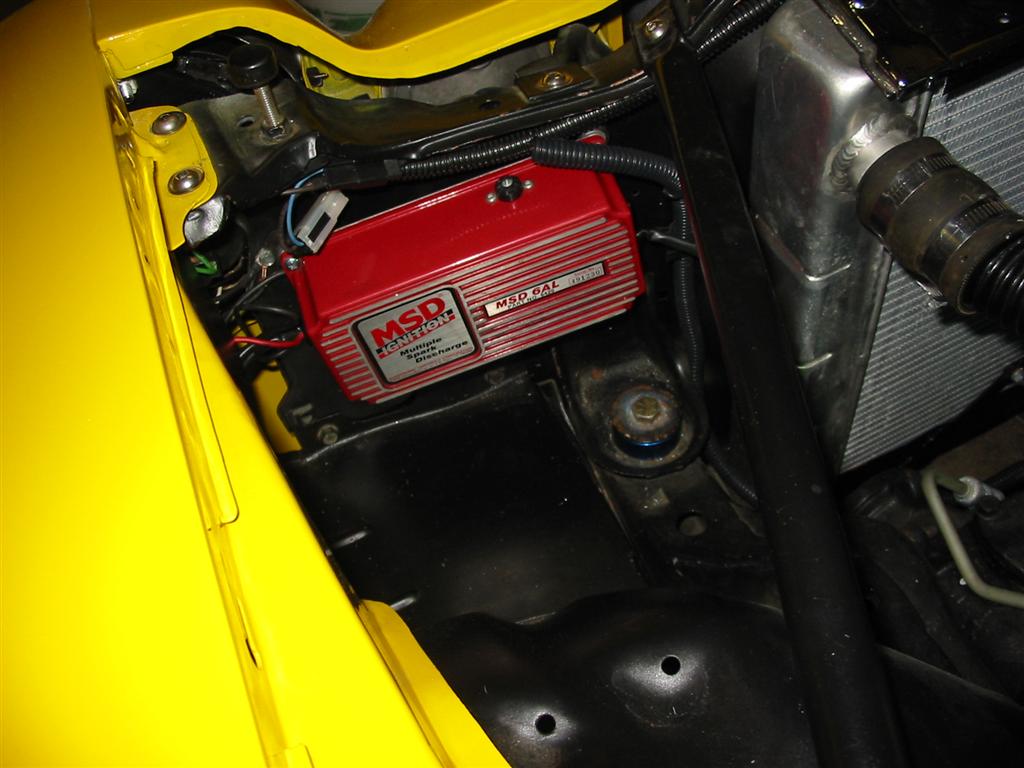
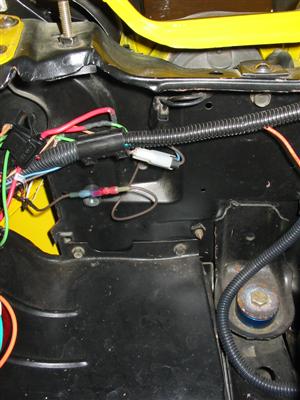
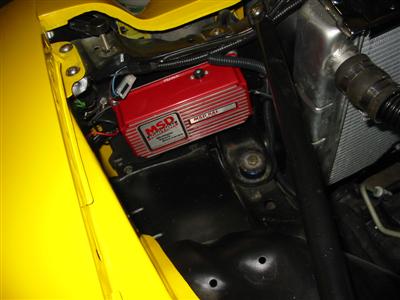
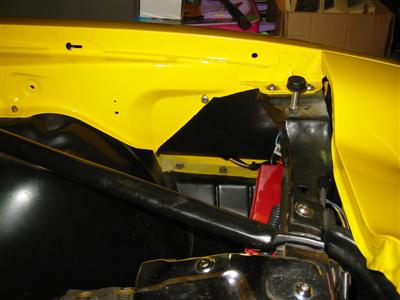
| After looking through the engine compartment, I decided to mount the 6AL to the core support
behind the driver's headlight. I decided against the firewall because I want to keep the
firewall as clean as possible. I also bought a vibration mount kit for the install. |
|

|
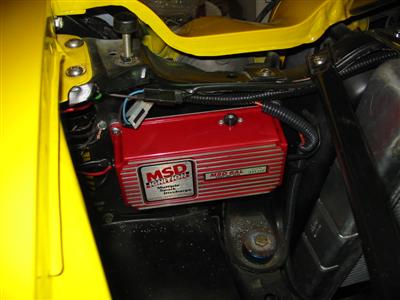
| I installed the mounts and then mounted up the 6AL |

|
|
|
|