|

Front Subframe Repairs (August 29, 2006)
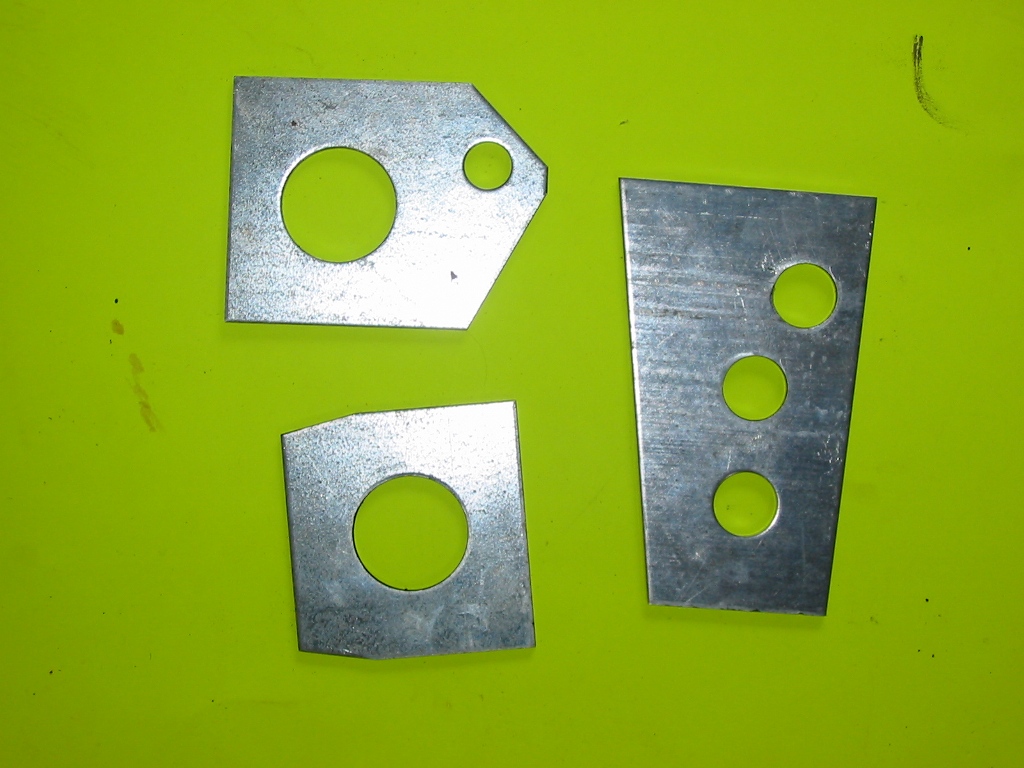
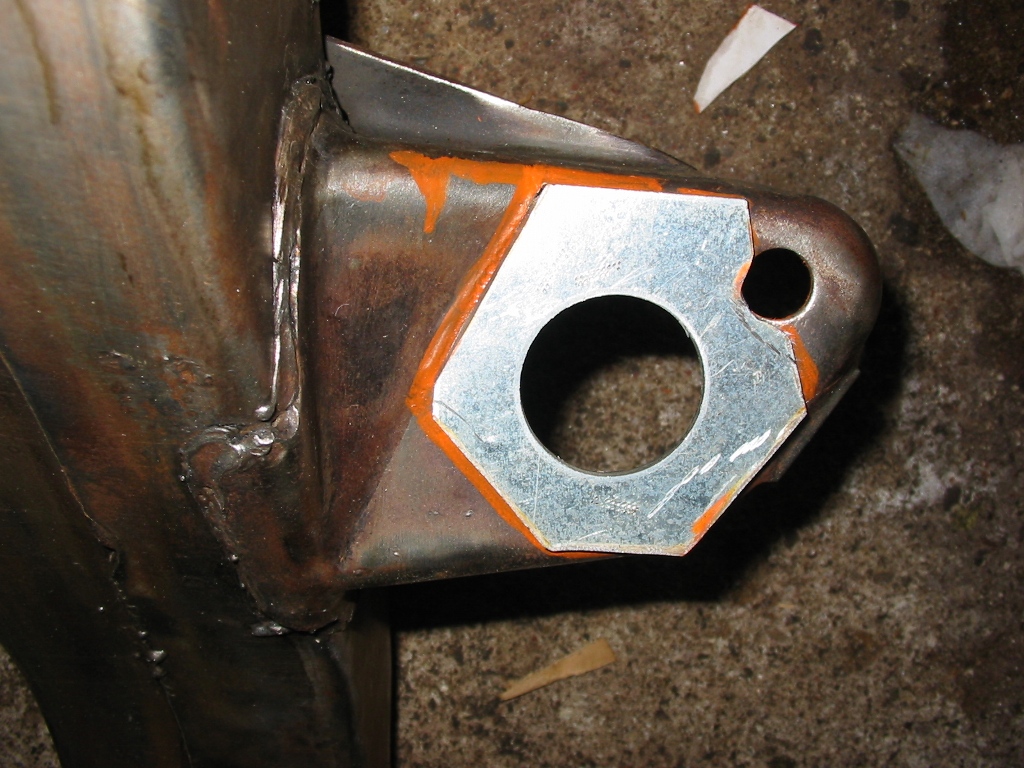
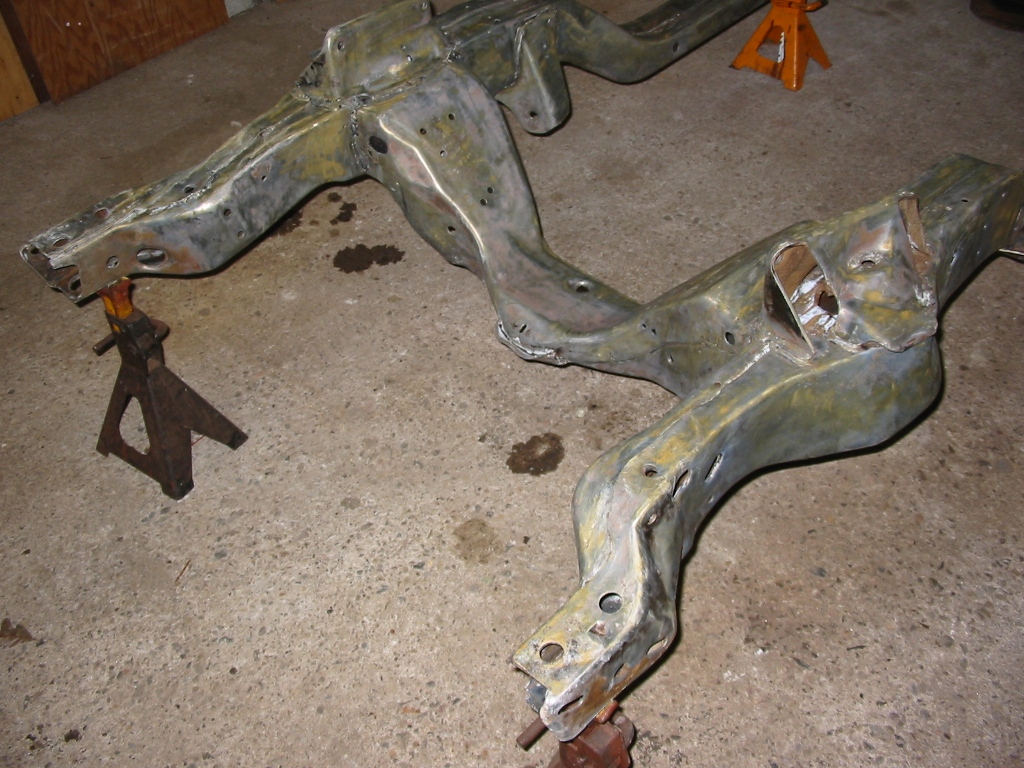
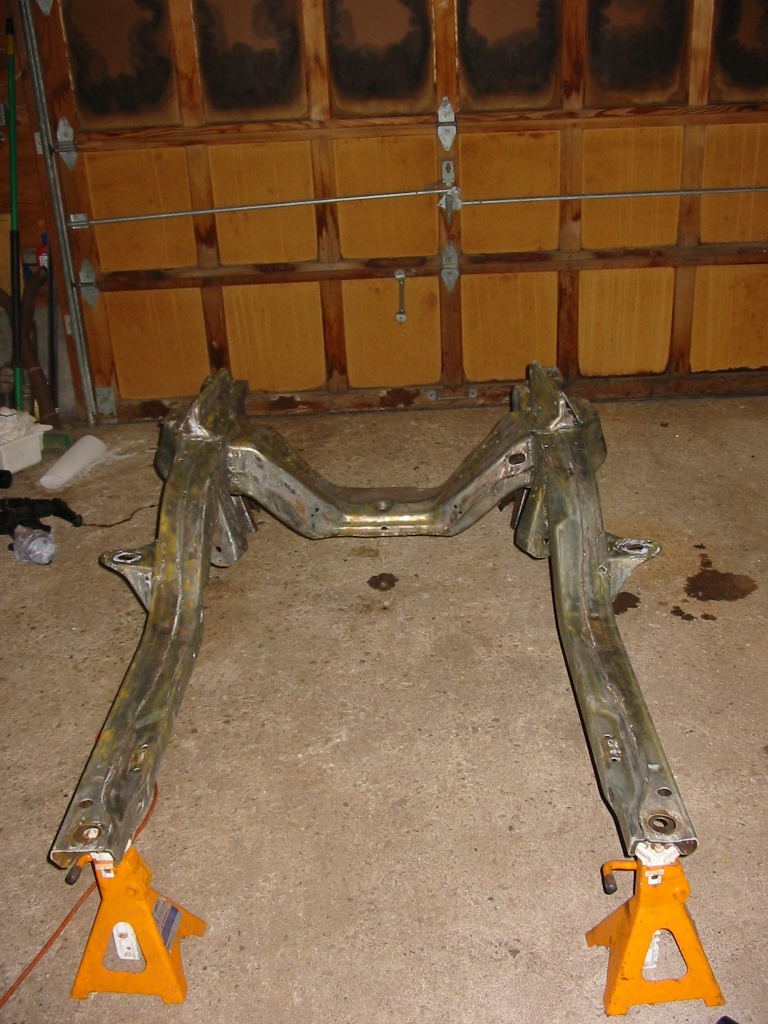
This page documents the repairs to the front subframe. When I removed the subframe, I noticed that the front crossmember was cracked and damaged. On a previous page, I documented how I massaged the frame into shape. On this page I show where I welded the front crossmember to finalize the repairs.I also noticed that the front body mounts were very rusty and holes were greatly enlarged from the rust. I purchased repair patches from Goodmark Industries to fix them. As you can see from the pictures, they did not fit correctly. The size of the front body bushing holes are correct, but the alignment holes do not line up. this required me to cut the patches up and figure out exactly where the holes should be.
Status photos as of 09/29/2006:
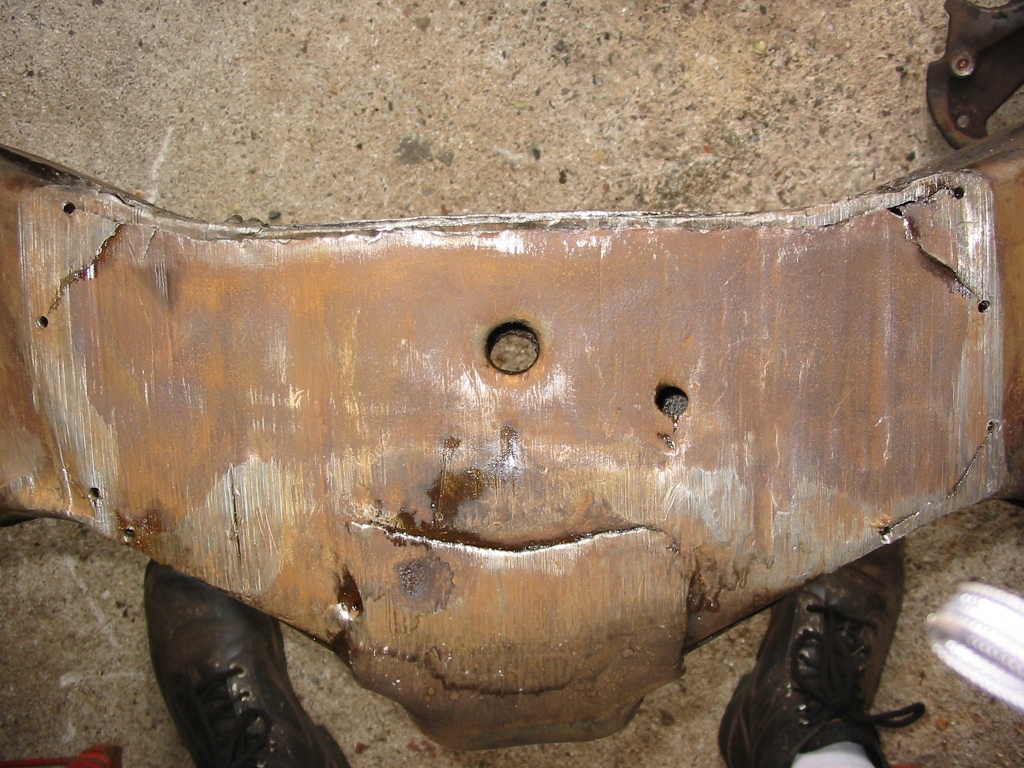
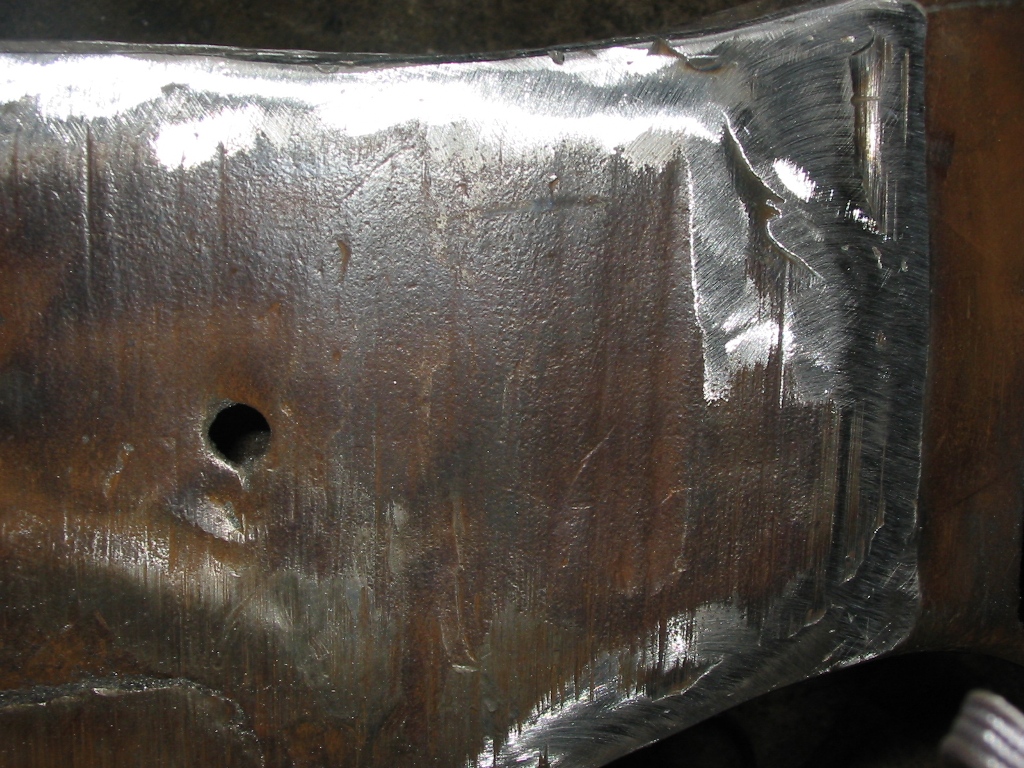
| Here is a picture of the front crossmember. Noticed that I drilled holes at the ends of the cracks. This is done to keep the crack from coming back after the repair. | Here is another picture of the front crossmember. Noticed that I used a grinder and made the cracks wider to give a wider joint for the weld. |
|
|
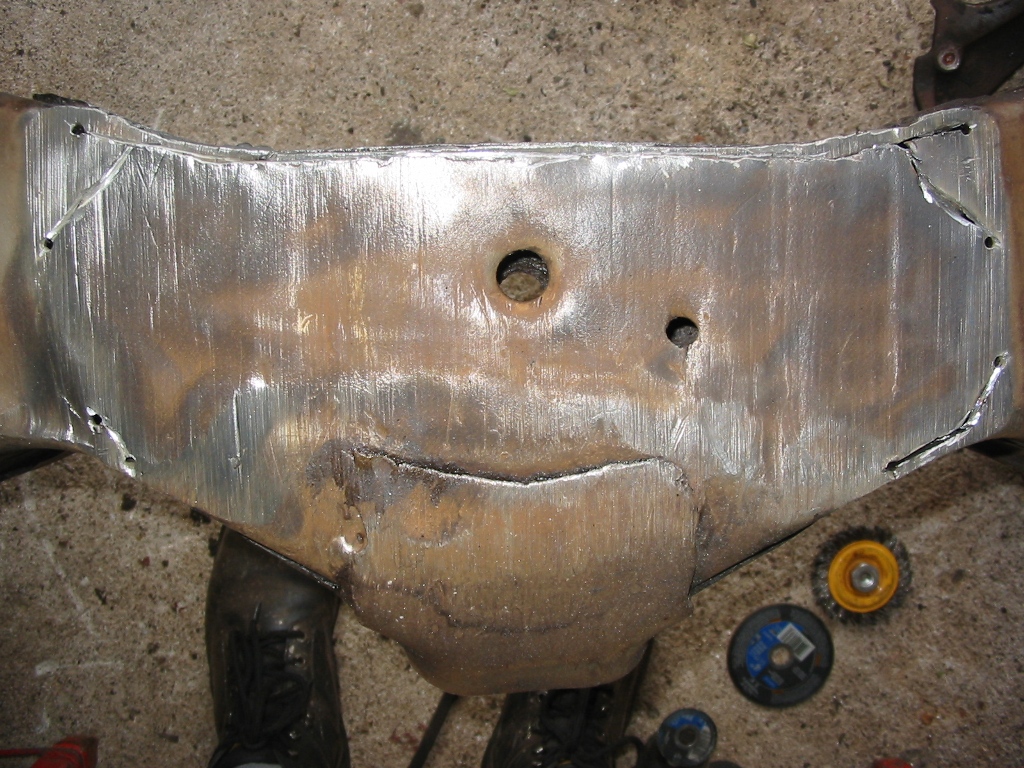
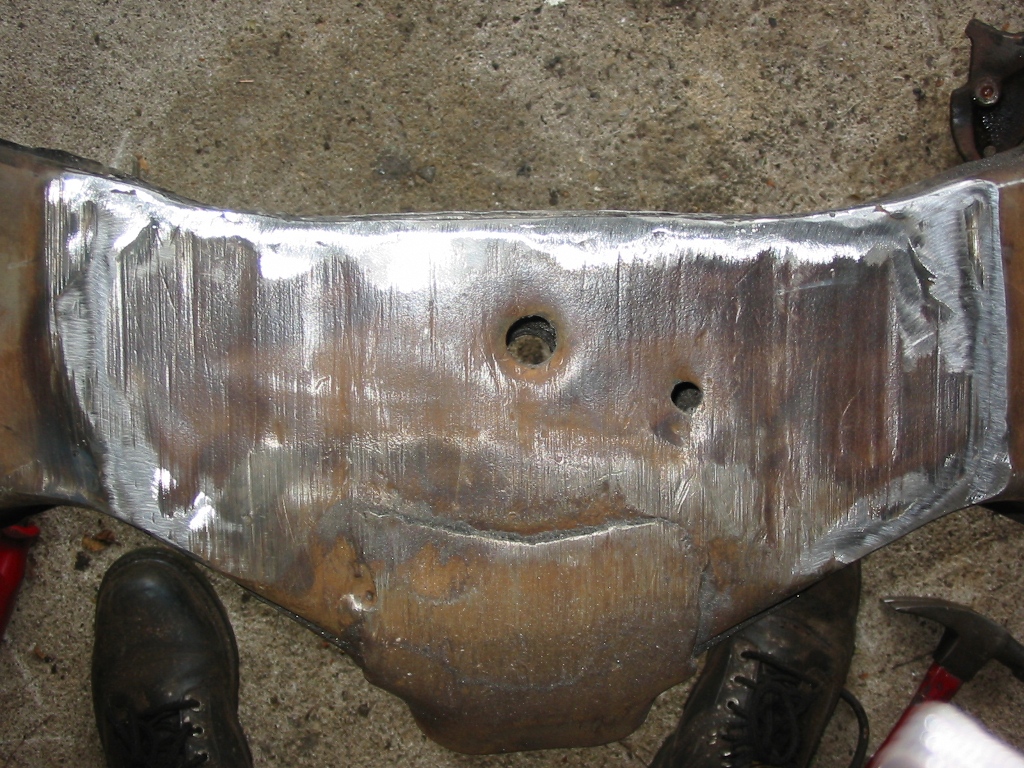
| Here are pictures of the front crossmember after being welded and ground done. This is when having a 220 volt welder comes in handy. I just cran k it up to get proper penetration on thicker steel. | |
|
|

|
|
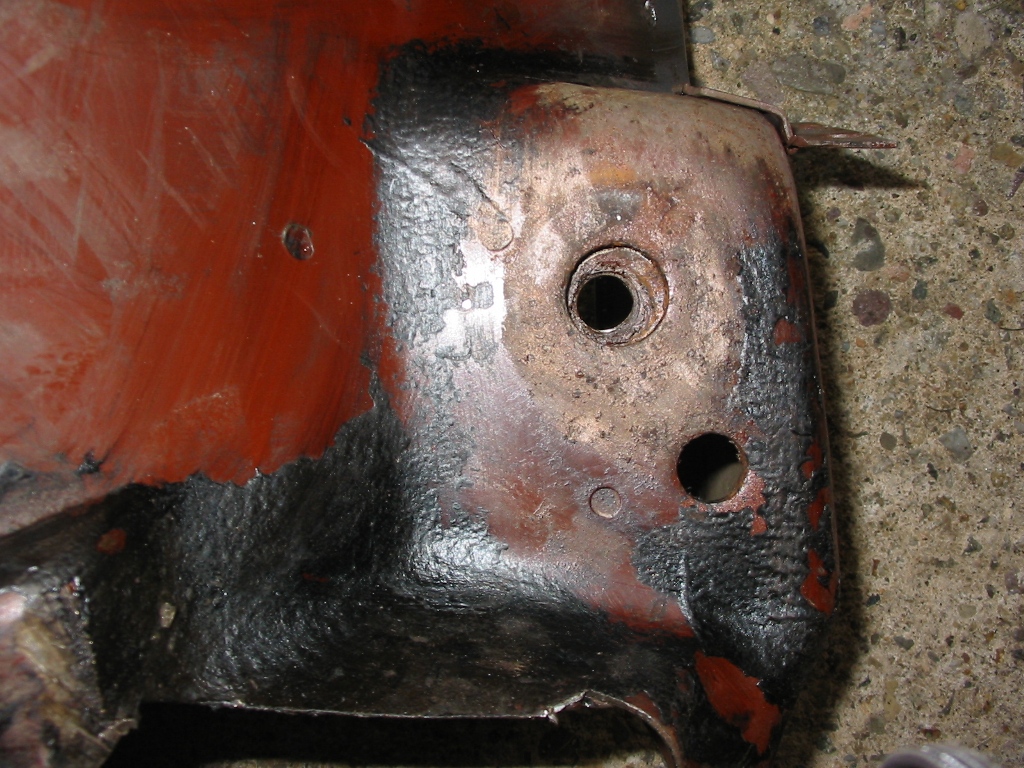
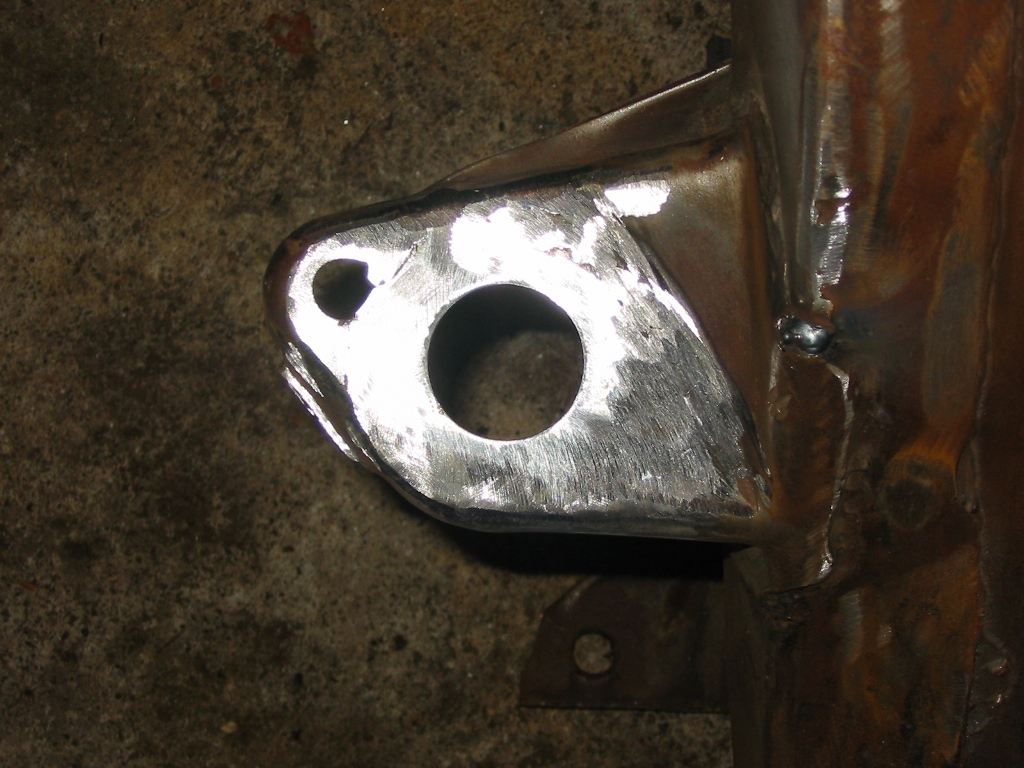
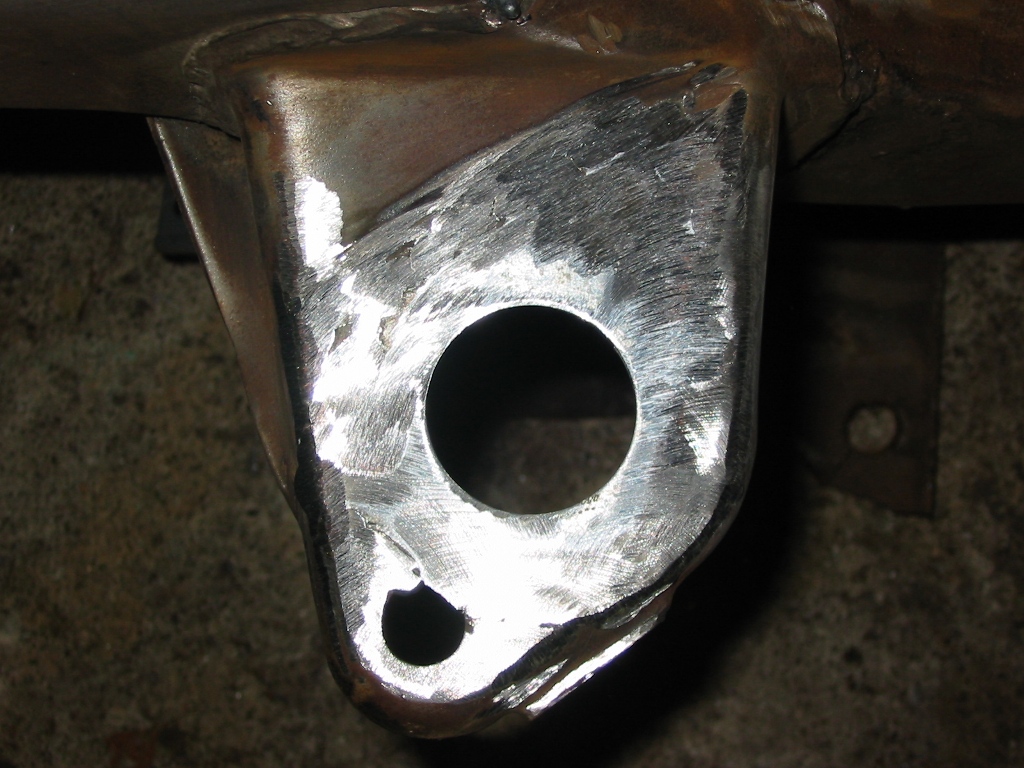
| Here is a picture of the front body mount of an early 2nd gen f-body. This piece came off of a parts car and is identical to the one on my shell. | Here is a picture of the Goodmark patch panels. They list the piece for 67-81 Camaro use. This really isn't the case as you will see later on. |
|
|
| Here is how off the Goodmark patch panels are | |
|
|
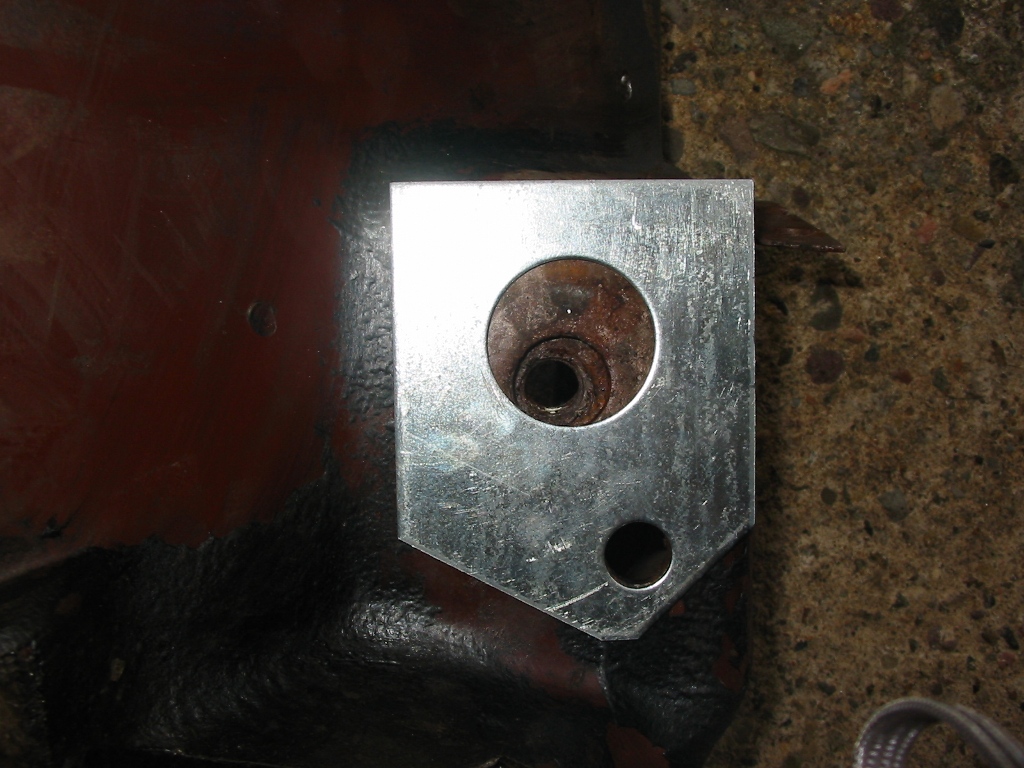
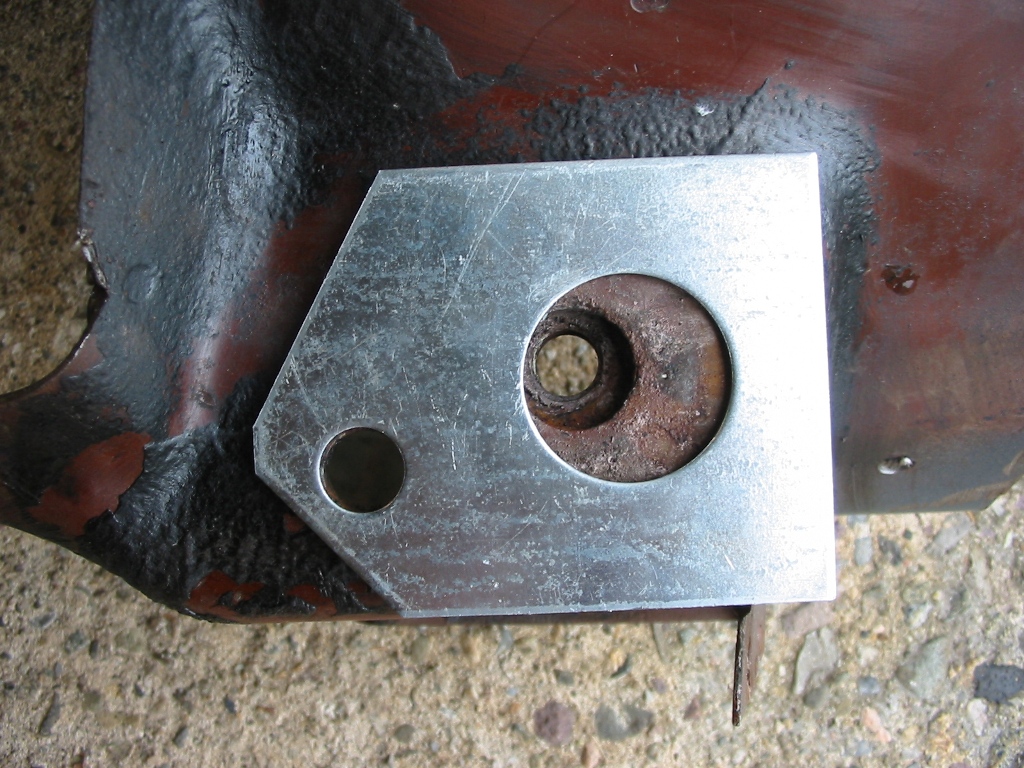
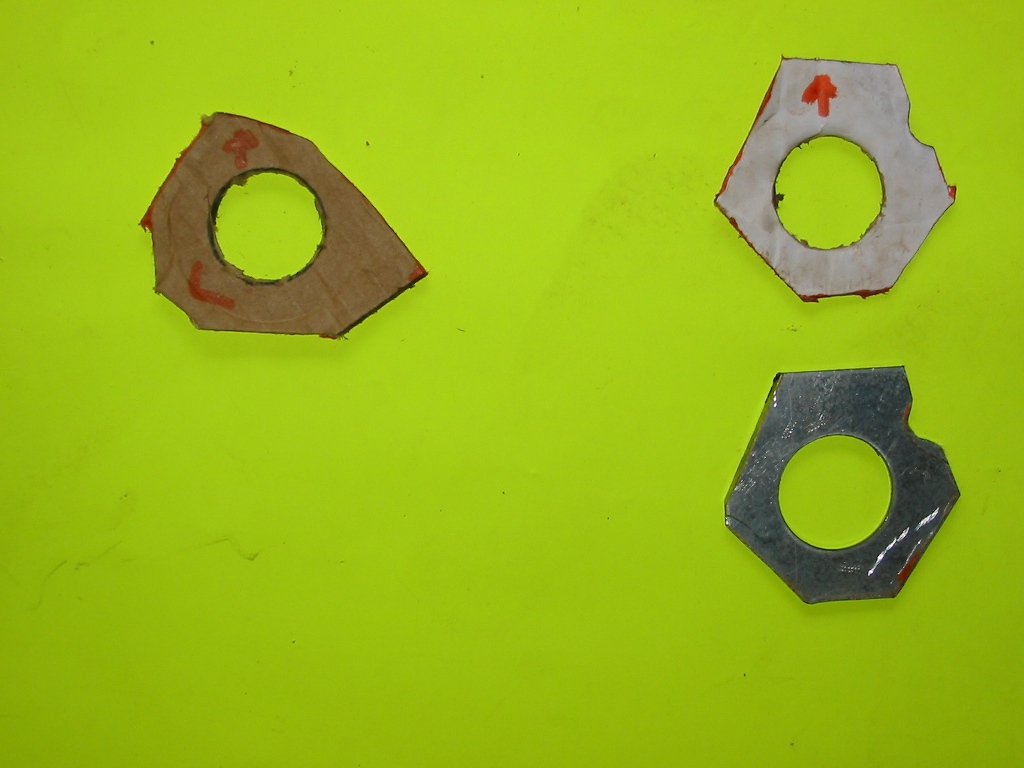
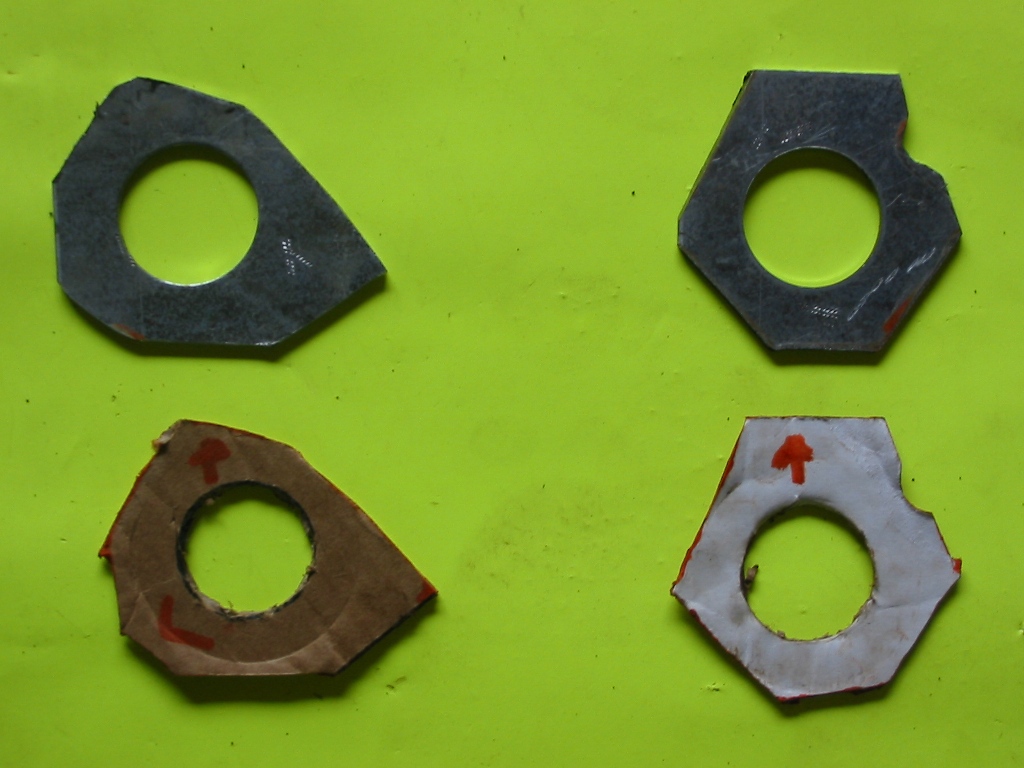
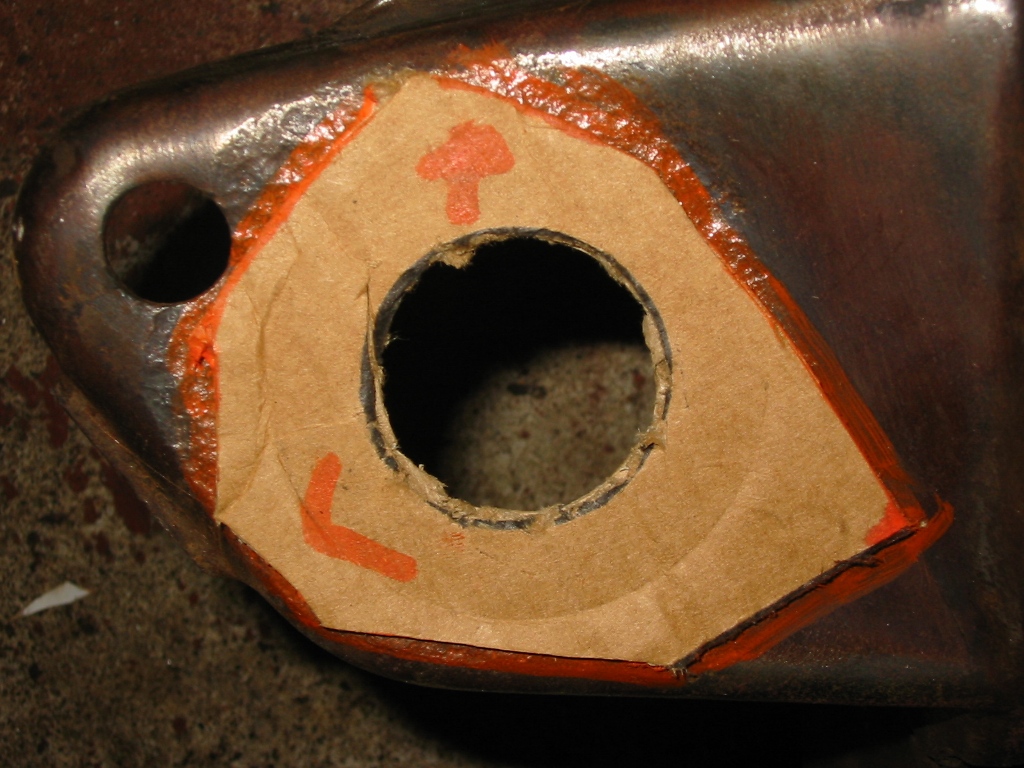
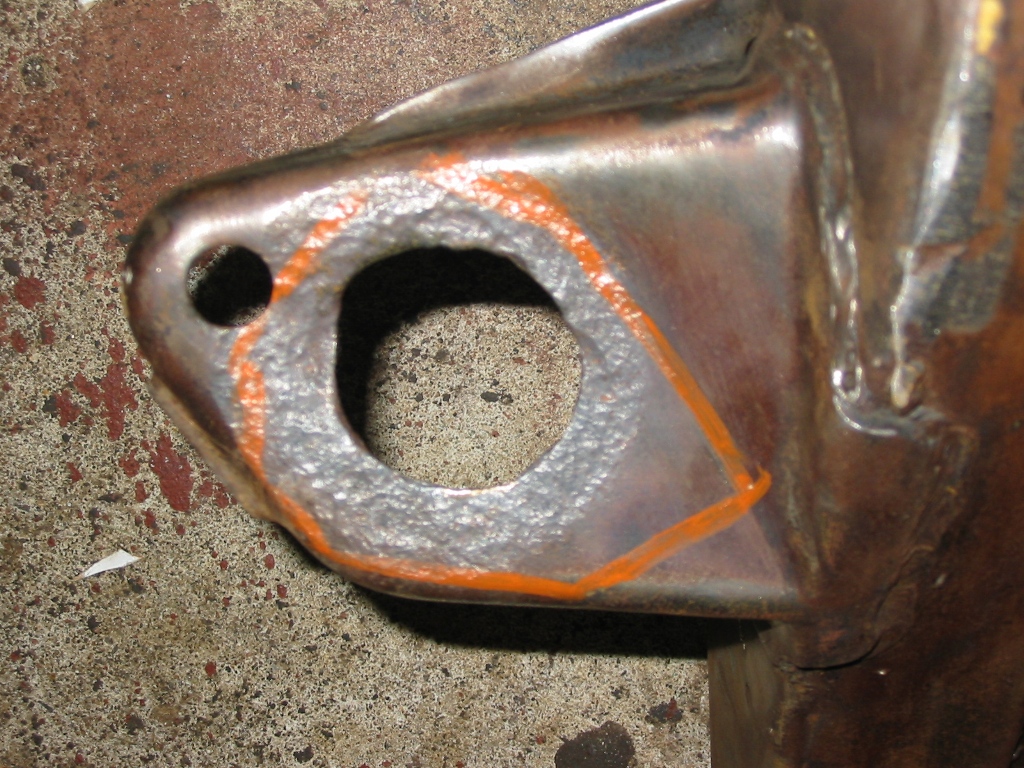
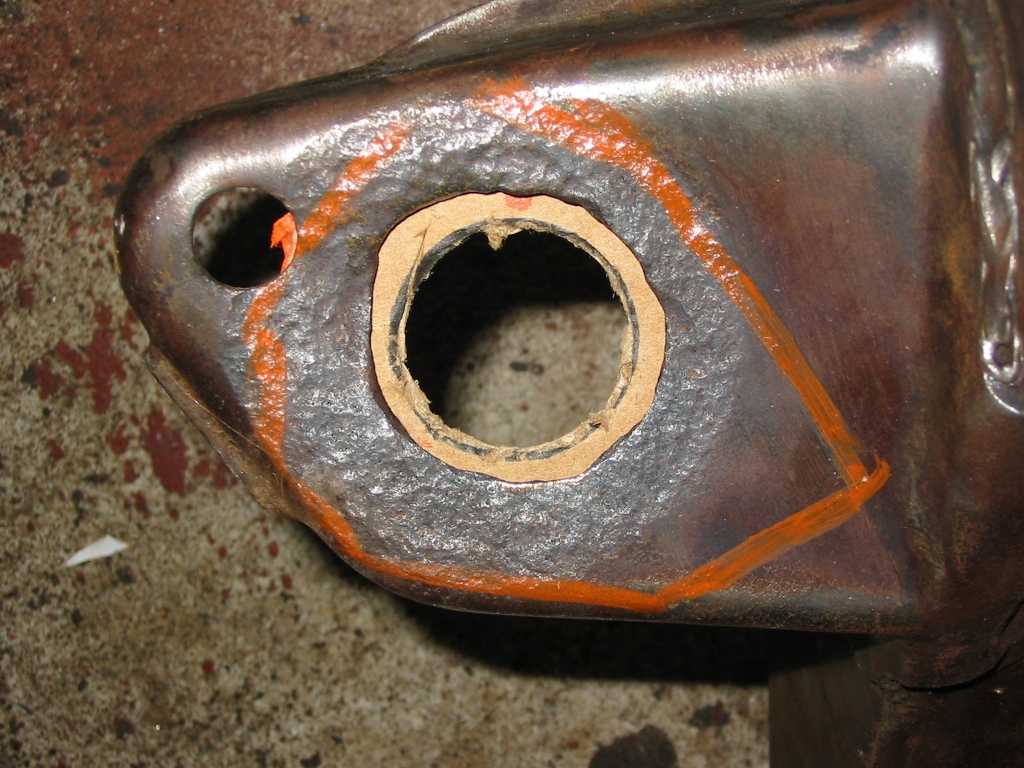
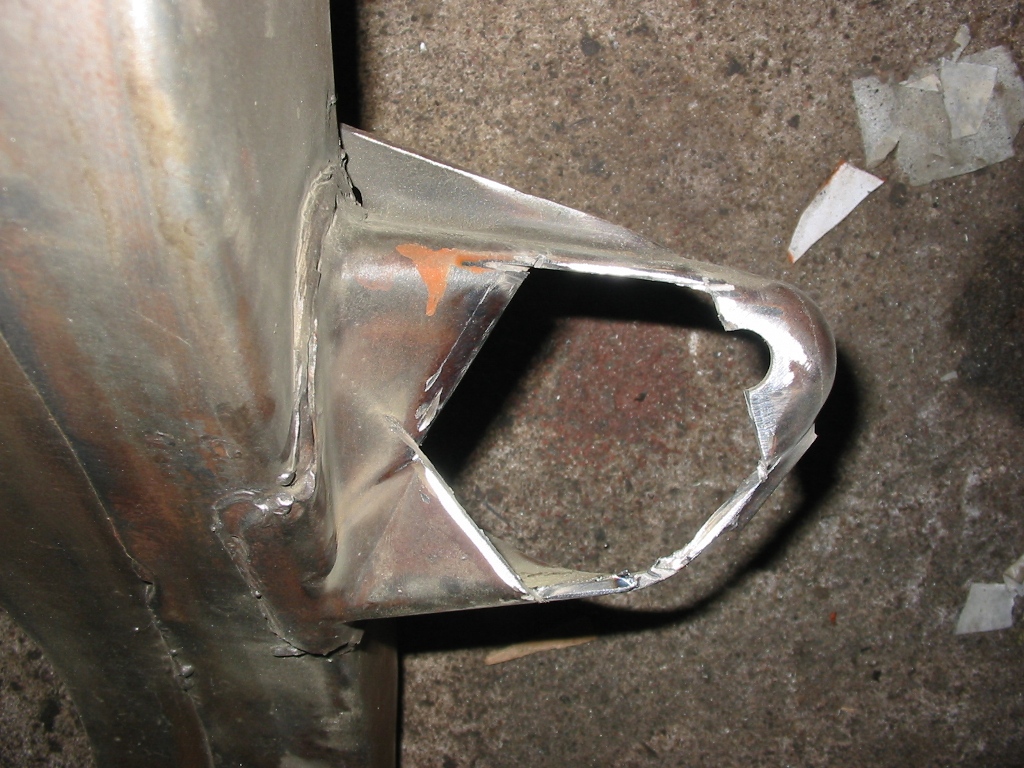
| To make these patches fit, I had to cut them up and not use the alignment holes in the patches. I mount and aligned the frame and made cardboard templates to use for a guide. I wanted to make sure that the new holes were exactly were they were supposed to be. These pictures show how the templates were made and used for the right side. The last photo shows how worn my original mounts were. | |
|
|
|
|
| These pictures show how the templates were made and used for the left side. The first photo shows all the cardboard templates and modified patch pieces. The last photo shows how worn my original mounts were. | |
|
|
|
|
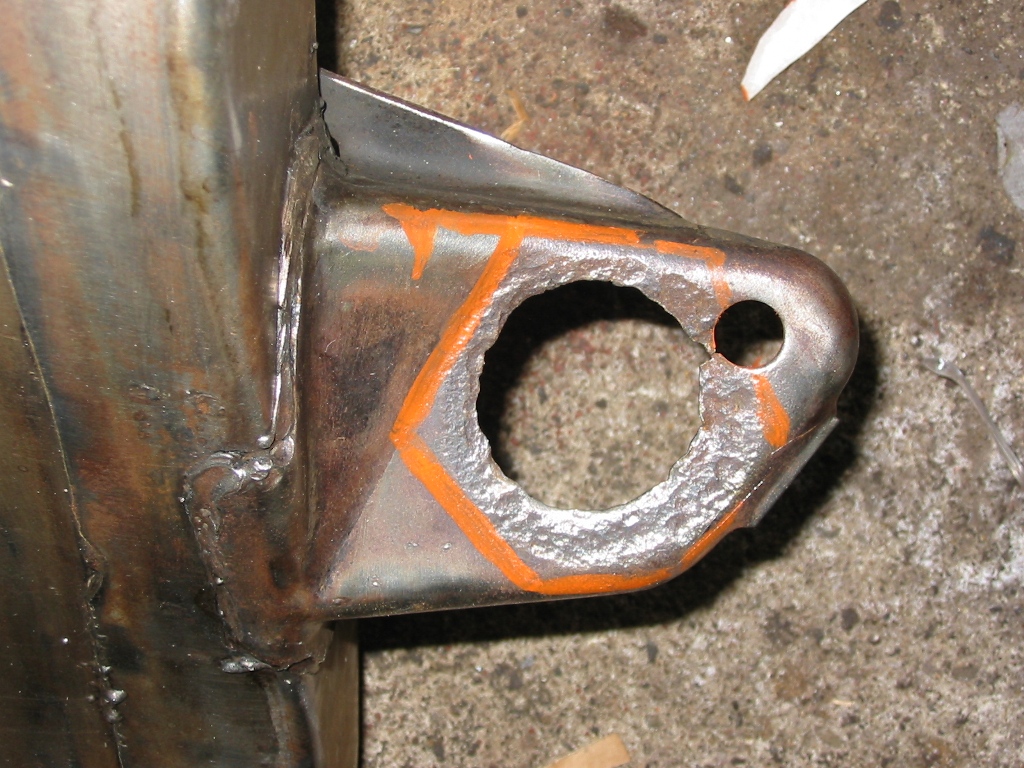
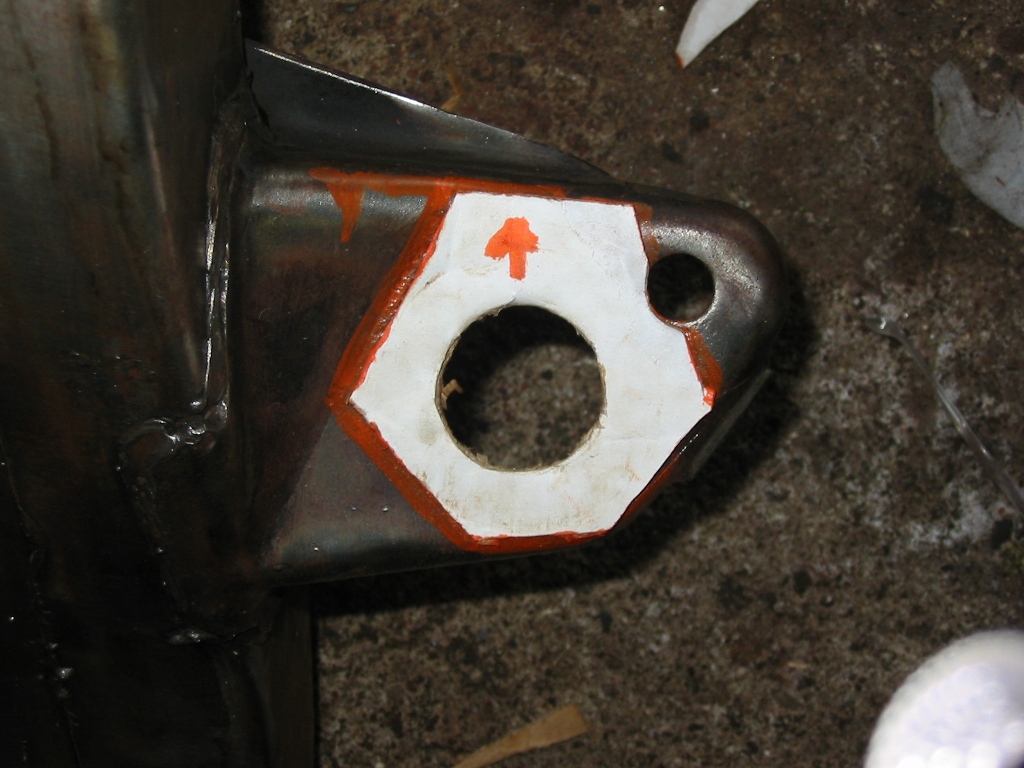
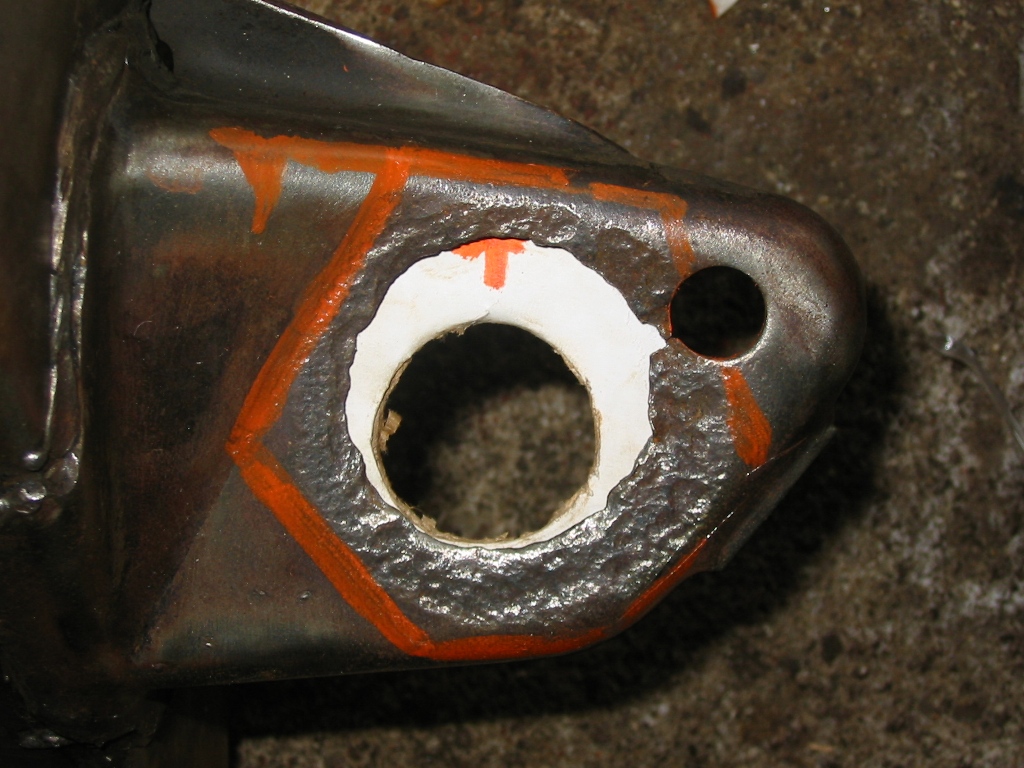
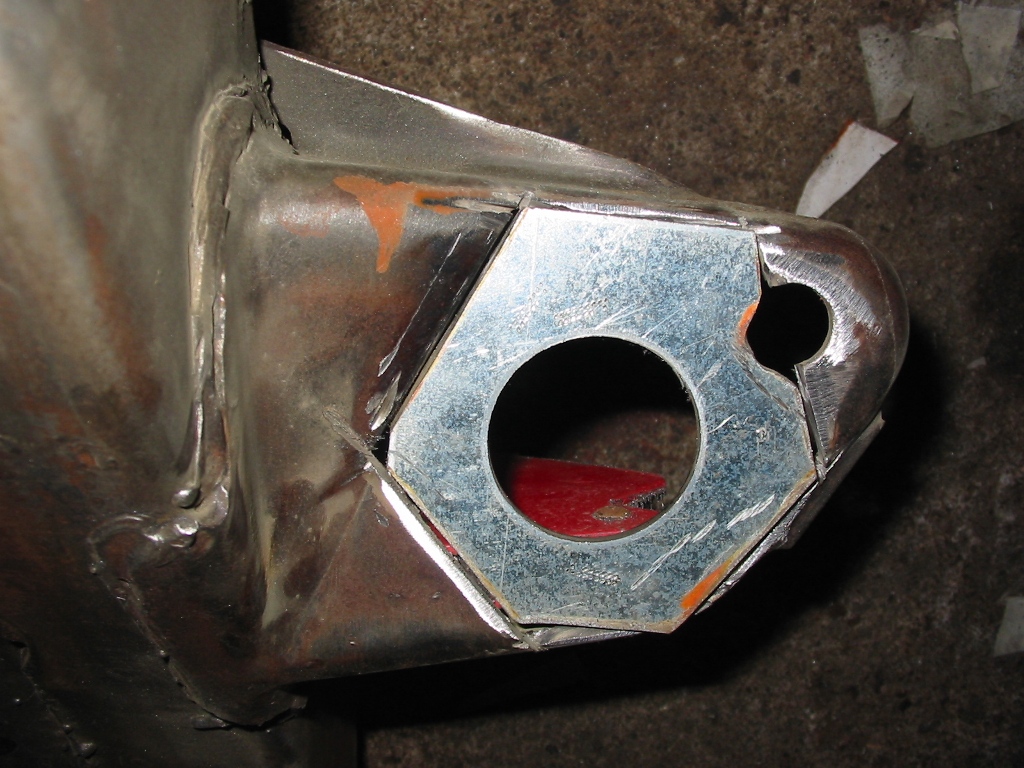
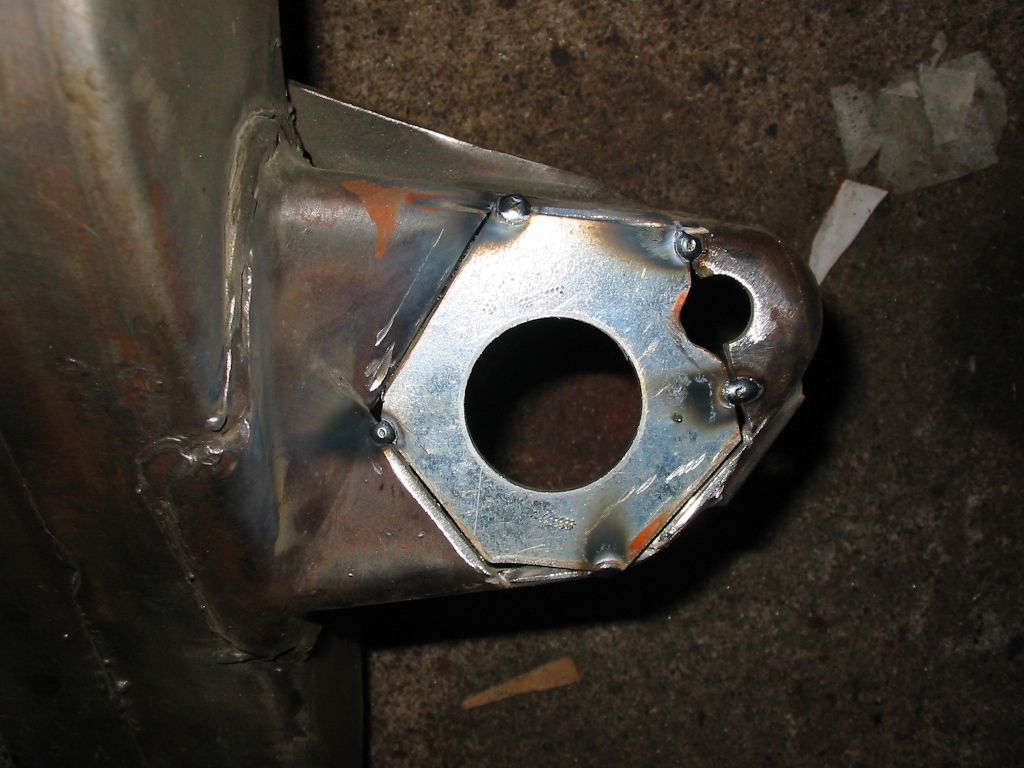
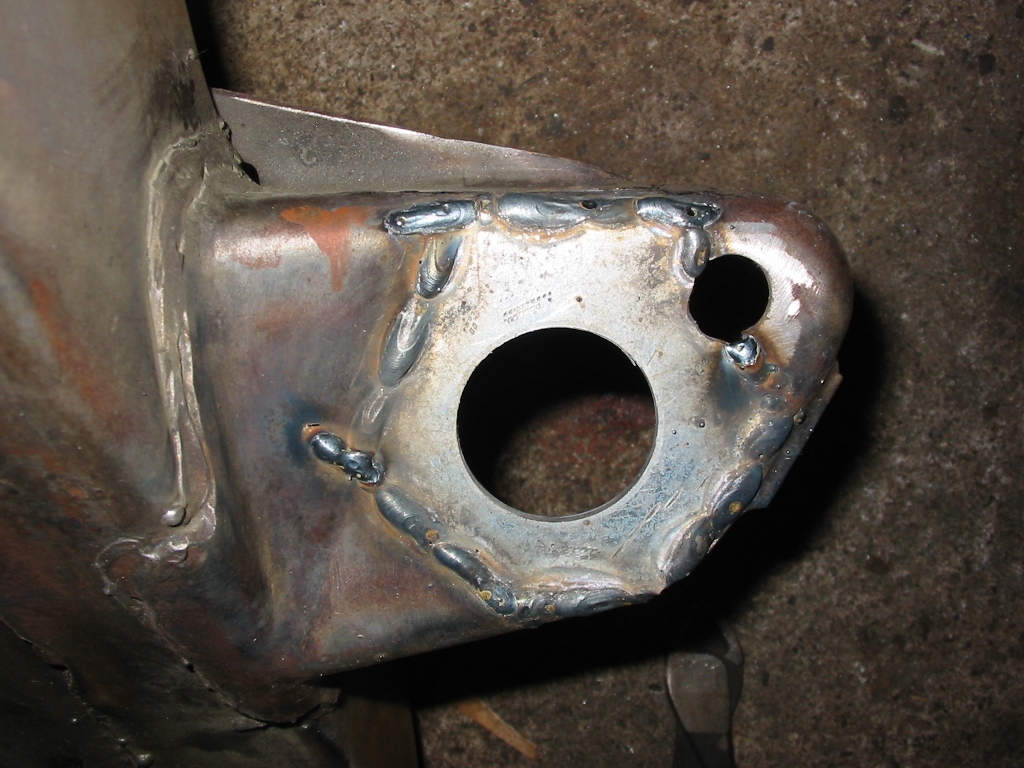
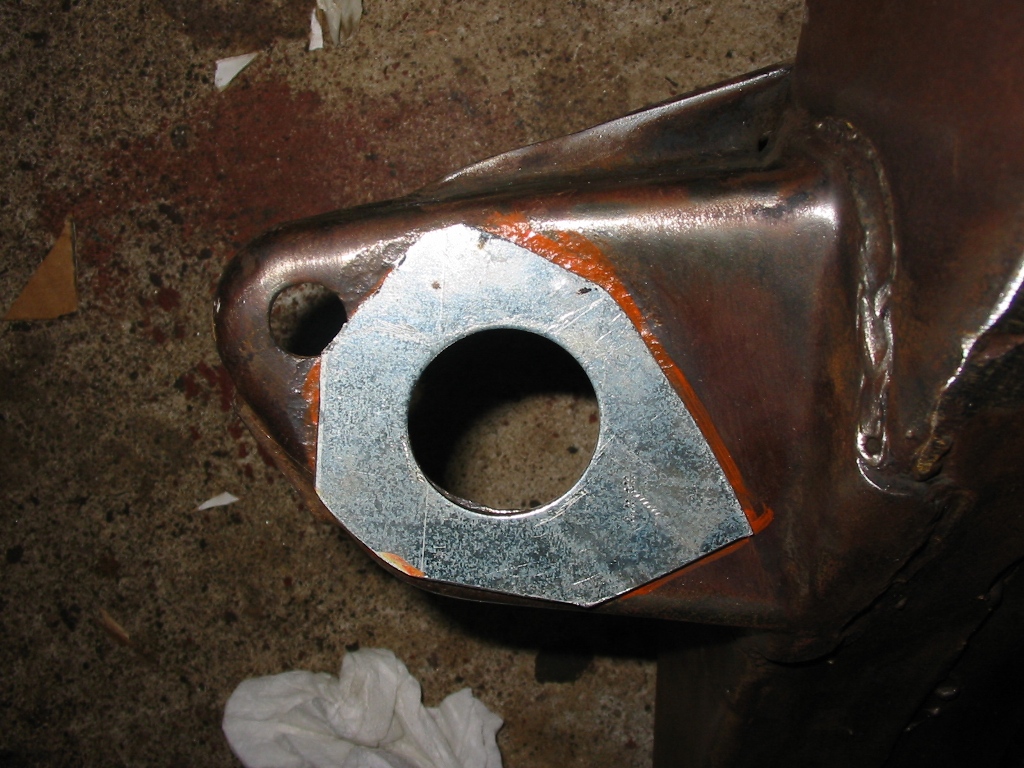
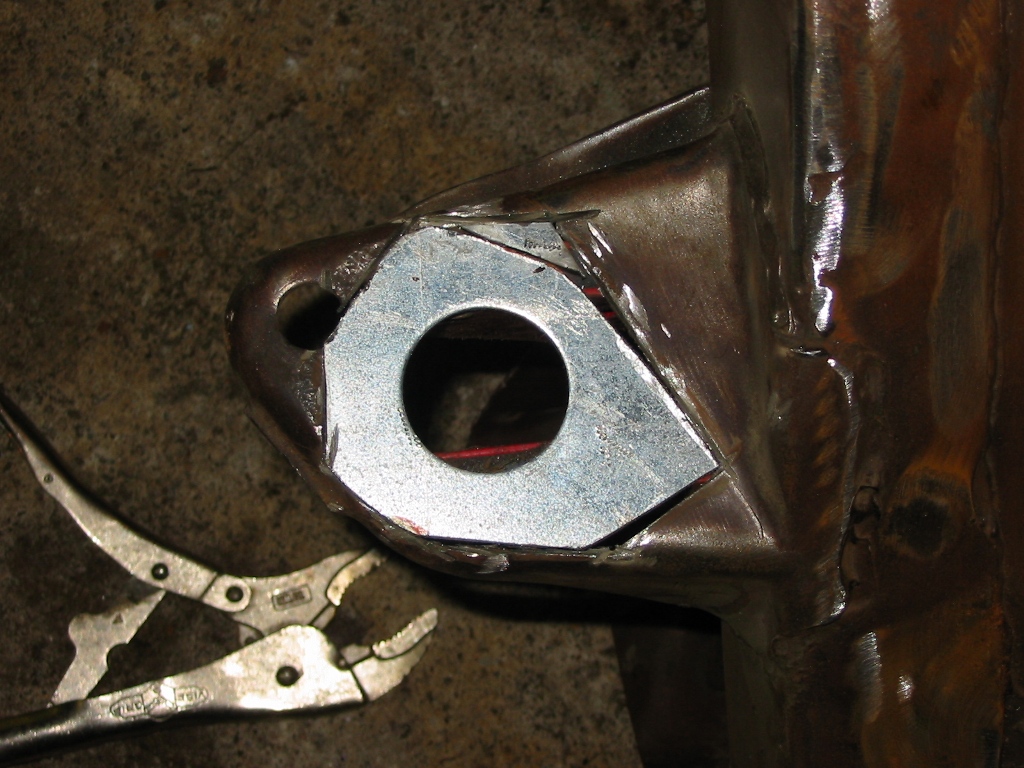
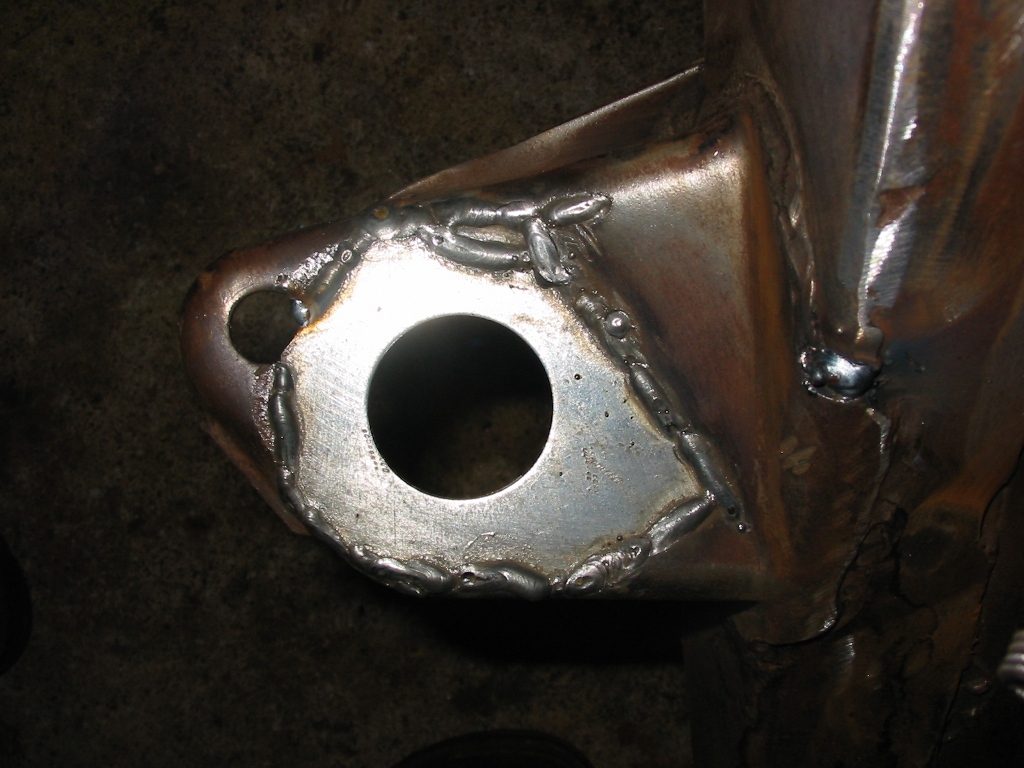
| Here are pictures of the process of cutting out the area to be repaired on the right mount and welding the patch in place. | |
|
|
|
|
|

|
| Here are pictures of the process of cutting out the area to be repaired on the left mount and welding the patch in place. | |
|
|
|
|
|
|
| Here are some shots of the frame all stripped and prepped with Metal Ready. The next step will be coating it all POR-15 Gloss Black | |

|
|
|
|