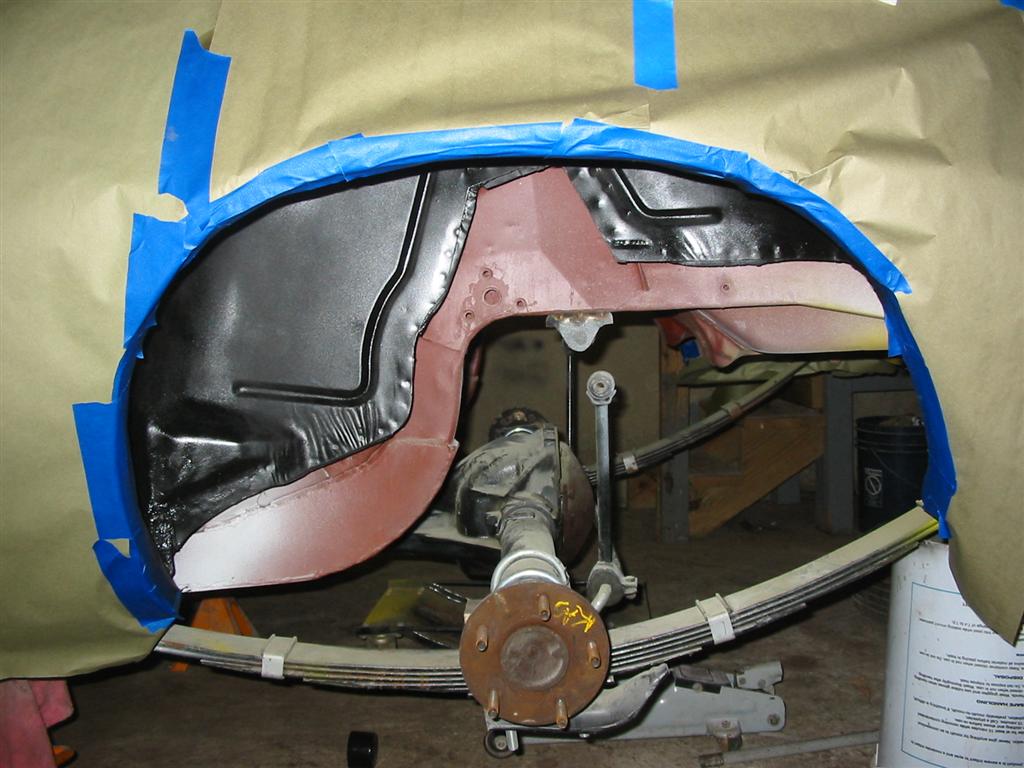
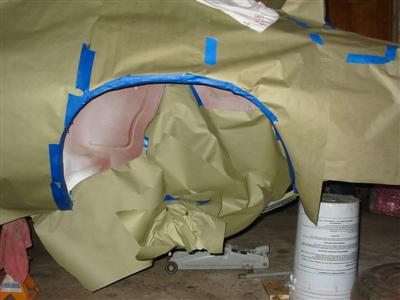
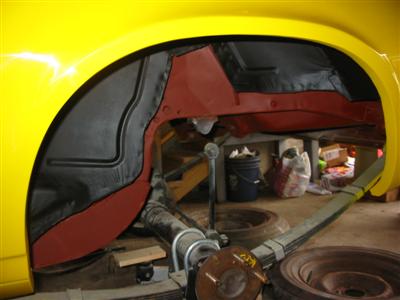
| While I had the back apart, I took the time to paint the wheel wells with black ZeroRust.
The black ZeroRust is being used as a primer. I plan on coating the wheel wells with
a roll in bedliner product eventually. |
|

|
|
|
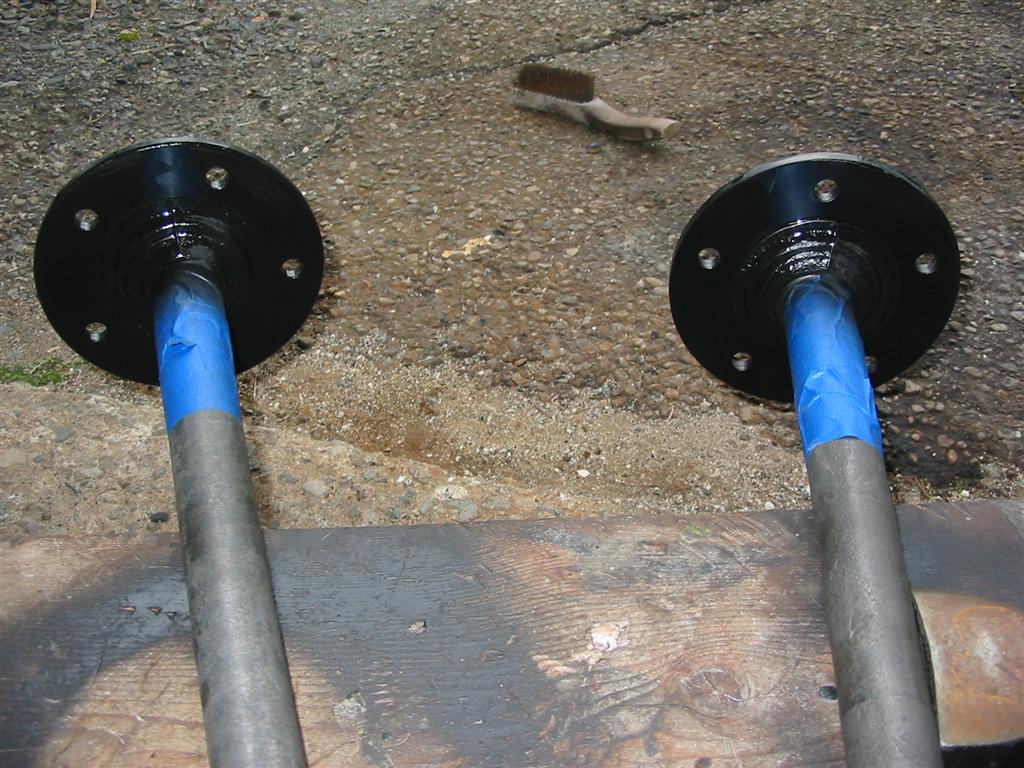
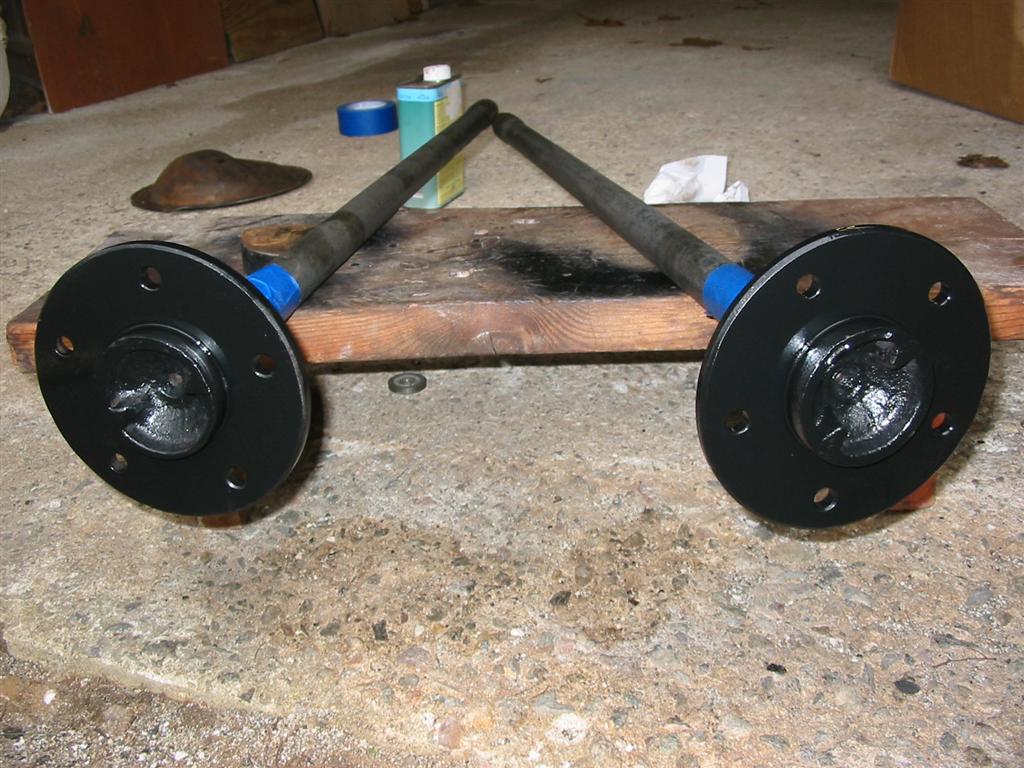
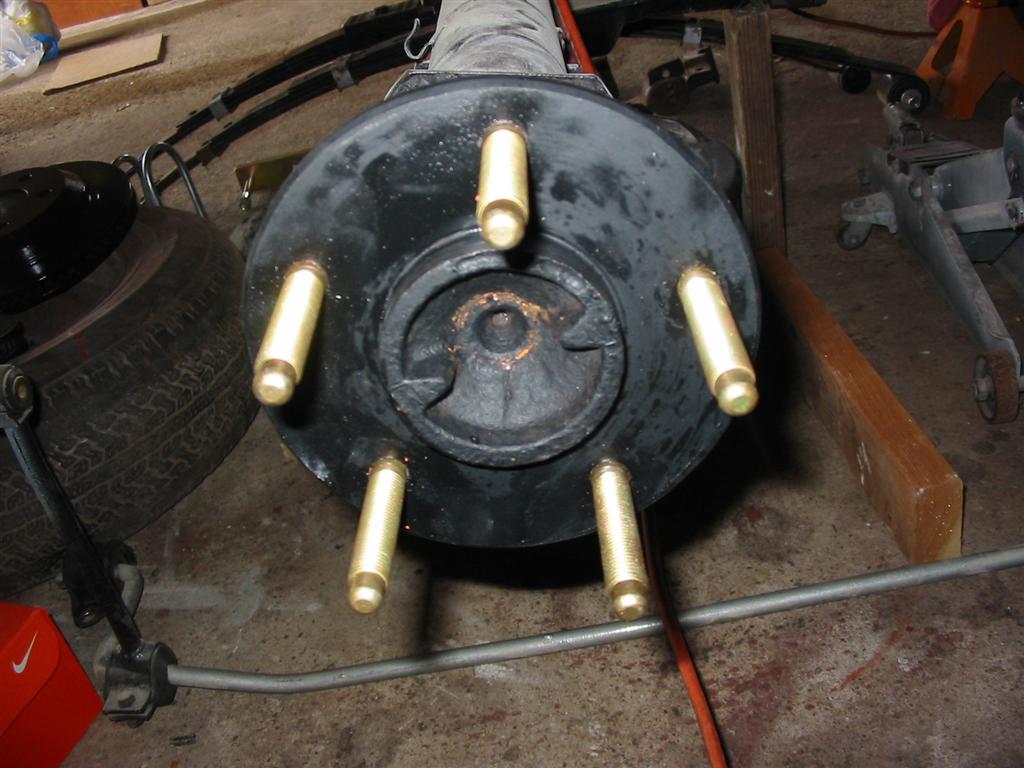
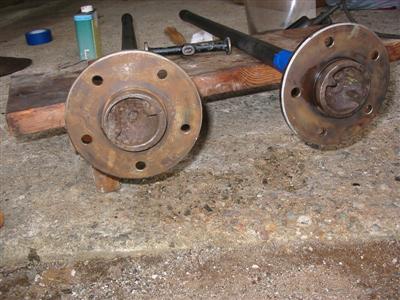
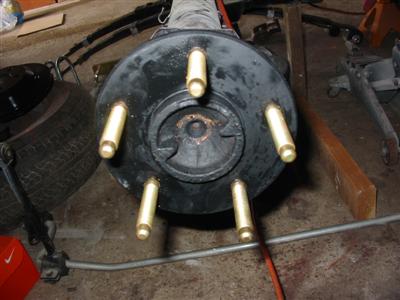
| Here are the axles with the studs removed. I removed the studs and clearanced the axle flange
edges with a grinder to make sure they fit in the rotors. I then painted the flange areas
with black Eastwood Rust Encapsulator. |
|

|
|

|
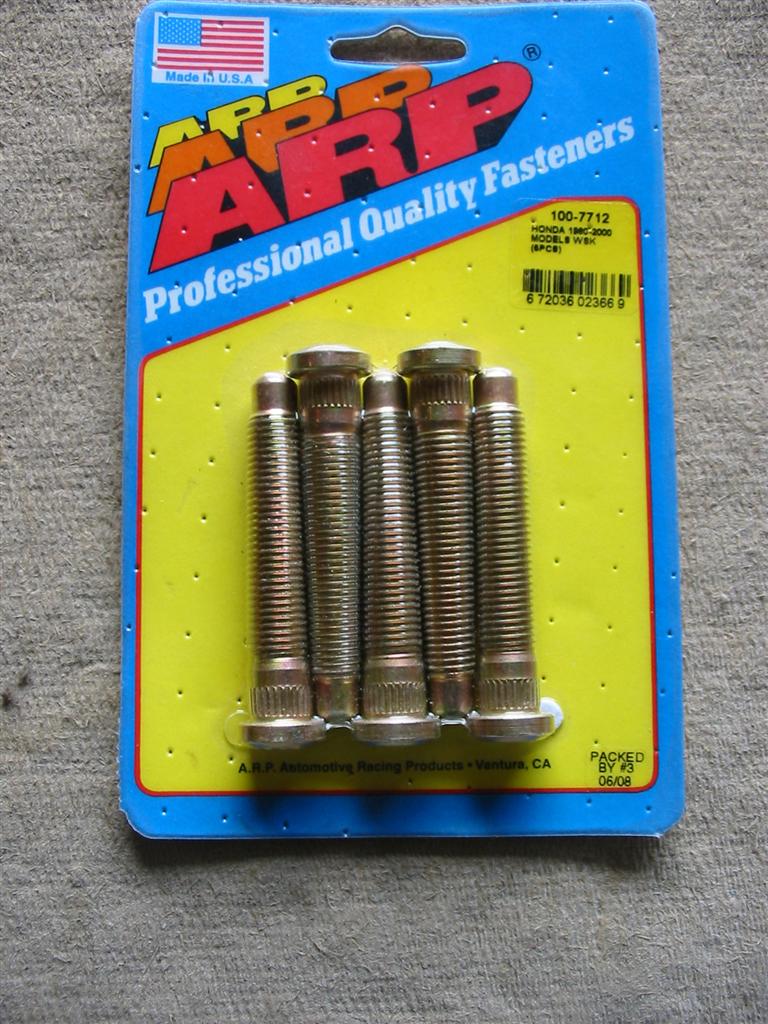
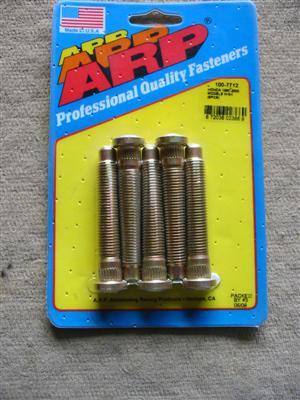
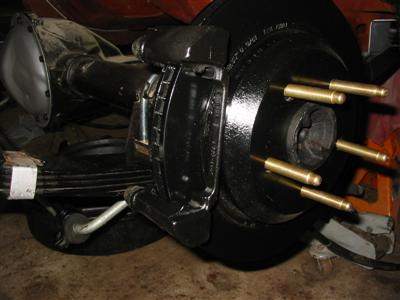
| The disc brakes required longer wheel studs. I went with ARP 100-7712 studs. These studs
have a thread size of 12mm x 1.50 and a knurl diameter of 0.485 in. I went with the metric
studs because they match my front studs of my wheel adaptors. The knurl diameter of 0.485 is
slightly larger than the original size and required me to drill out the holes a little bit. I
have before and after photos of the holes here. |
|
|
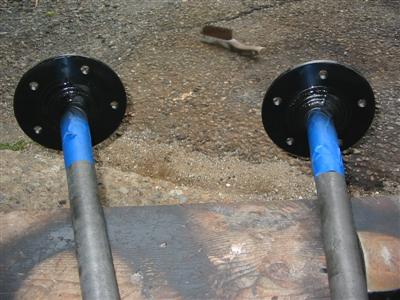
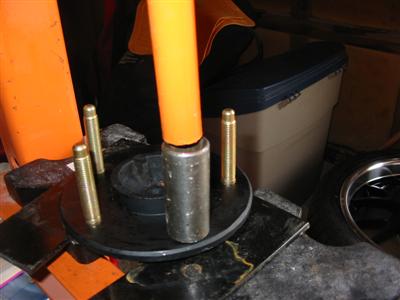
| I used a press and a socket to install the studs into the axle. |
|
|
|
|
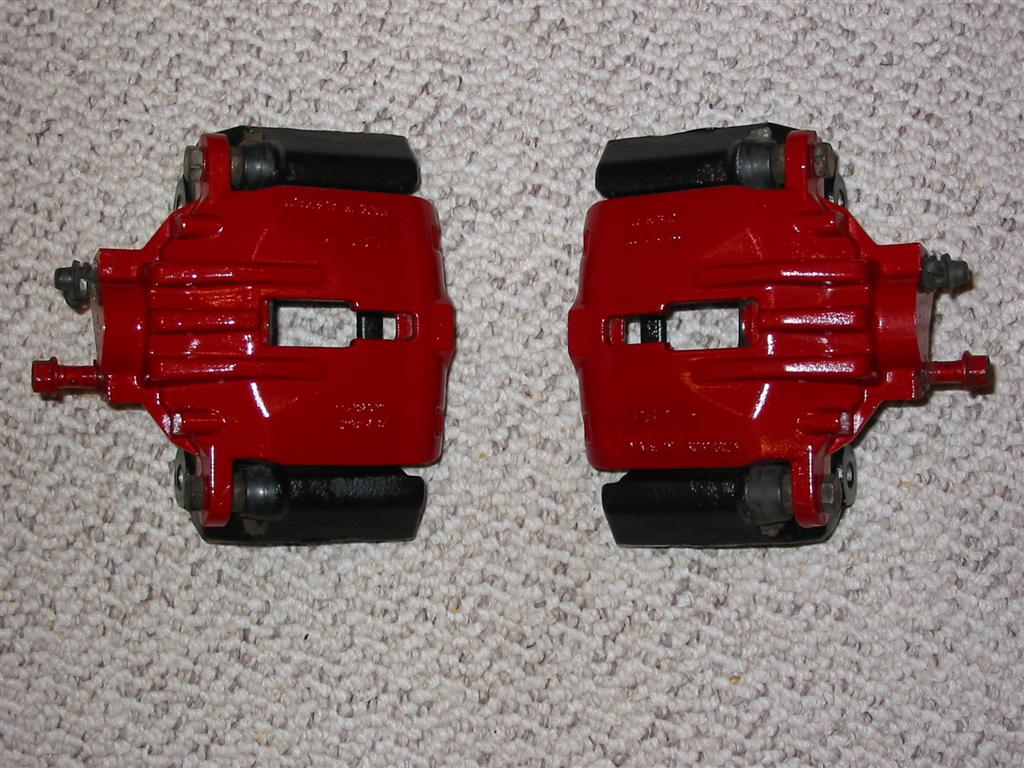
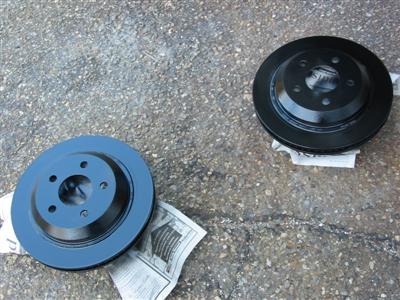
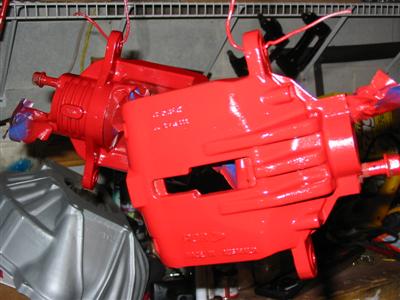
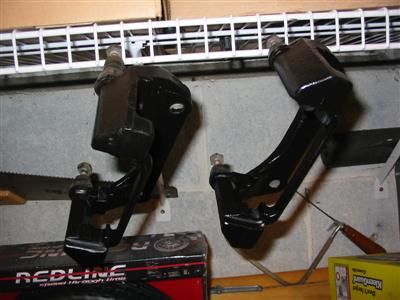
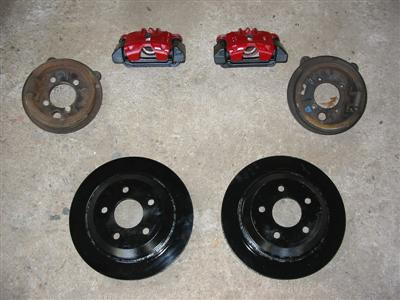
| I cleaned up and painted the rotors black with high temp paint. I painted the calipers red
with red caliper paint and the caliper mounts with black POR15 paint. |
|
|
|
|
|
|
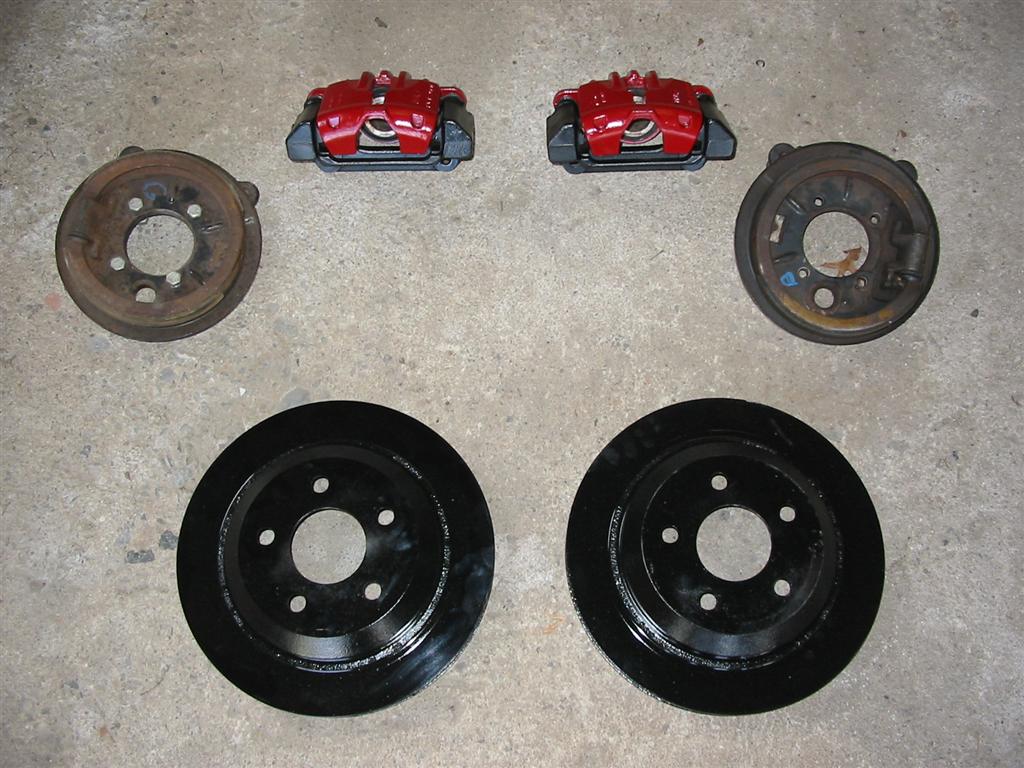
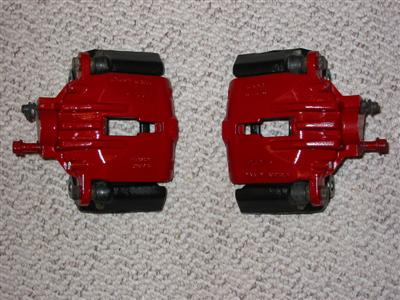
| Here are the main components of the rear brakes ready to go. |
|
|
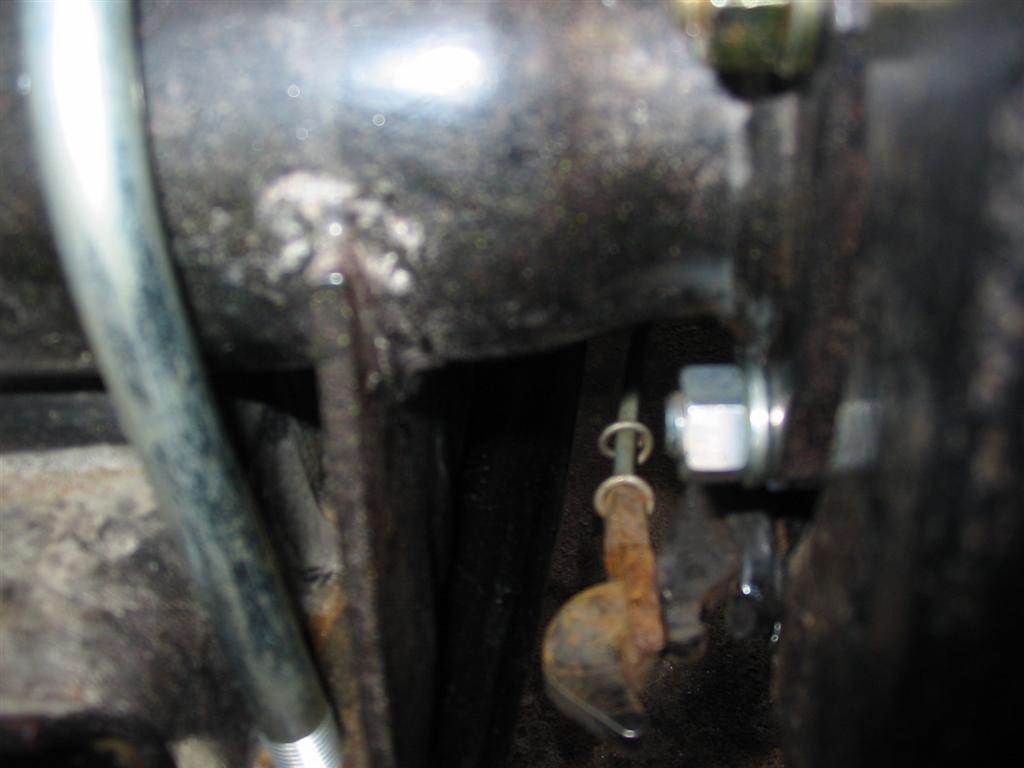
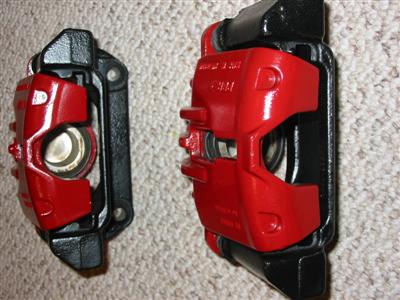
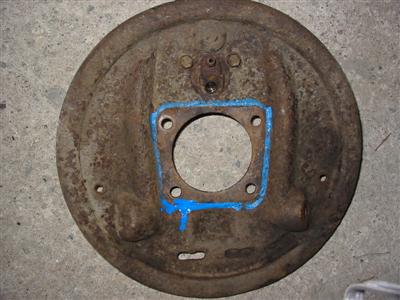
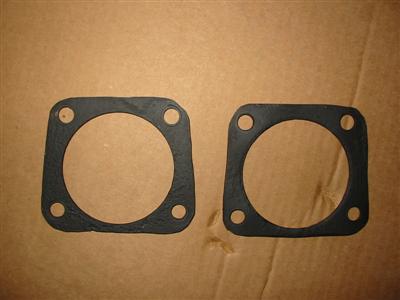
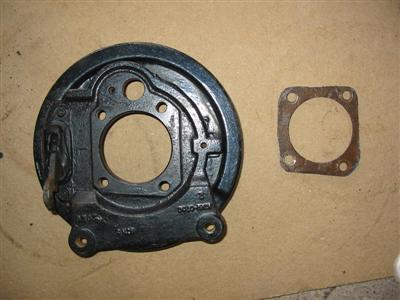
| During mockup I realized that the brake backing plate needed to be spaced away from the
axle slightly to center the caliper. I had read about this on the internet and saw that
people used the old drum brake backing plate for this. |
|
|
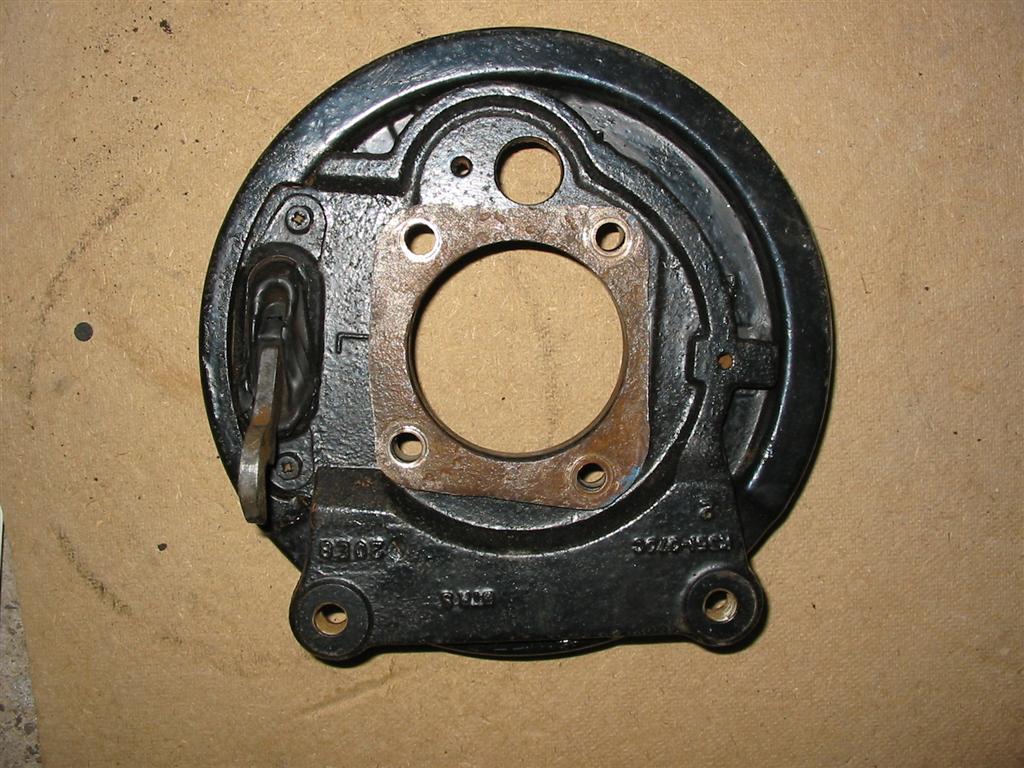
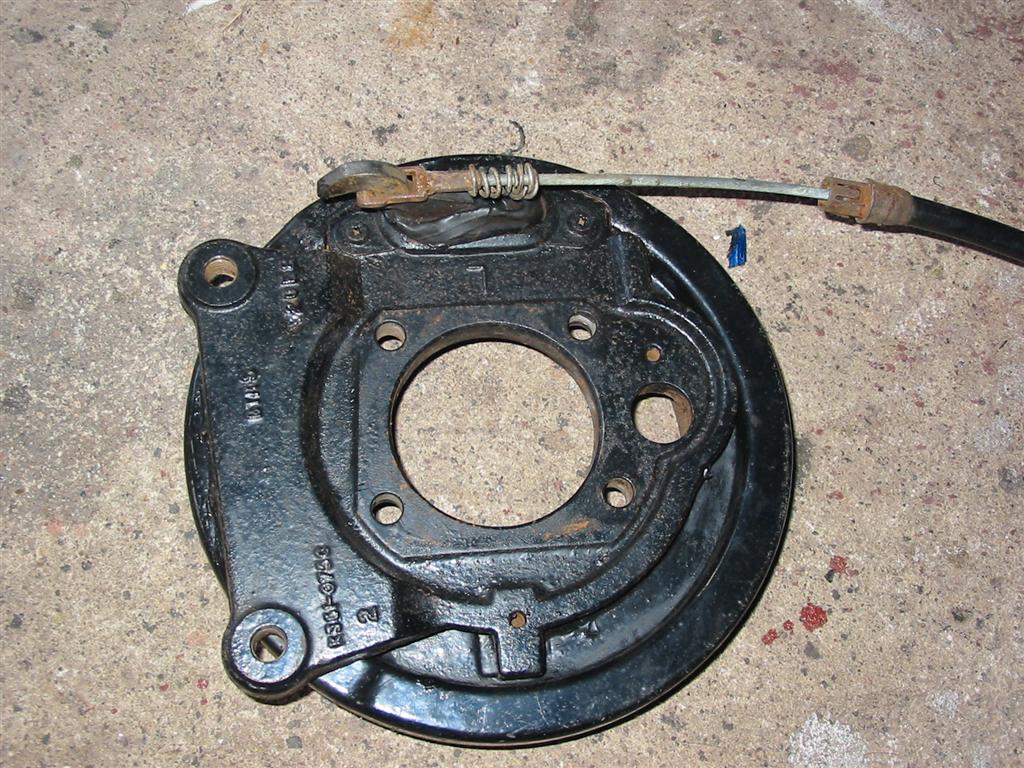
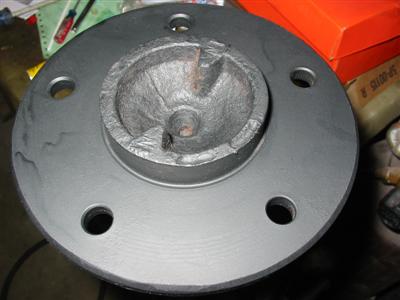
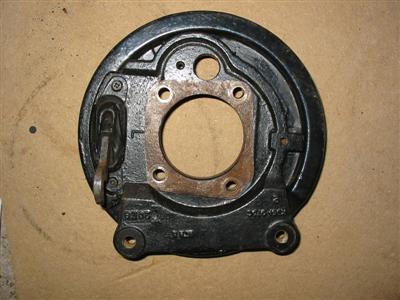
| Here is the back of the disc brake backing plate. |
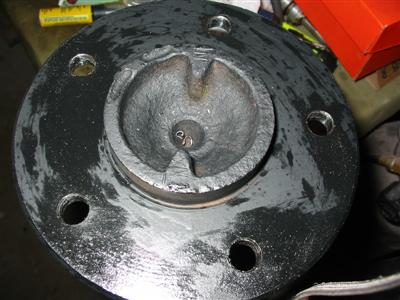
Here is the spacer with the backing plate. |
|
|
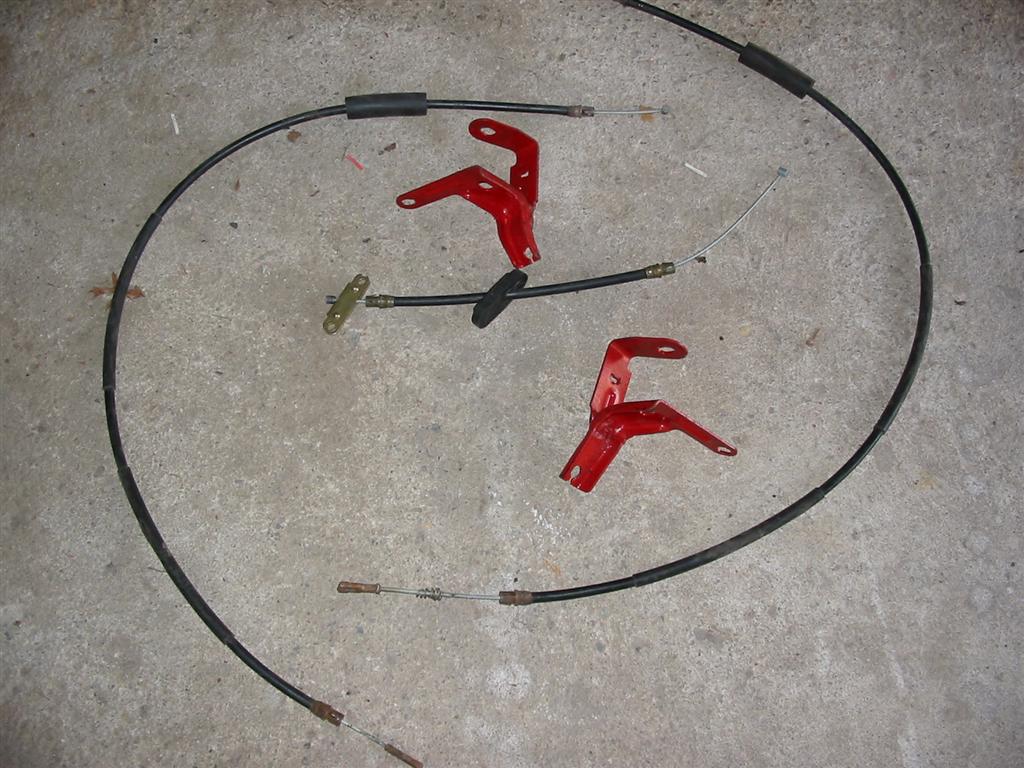
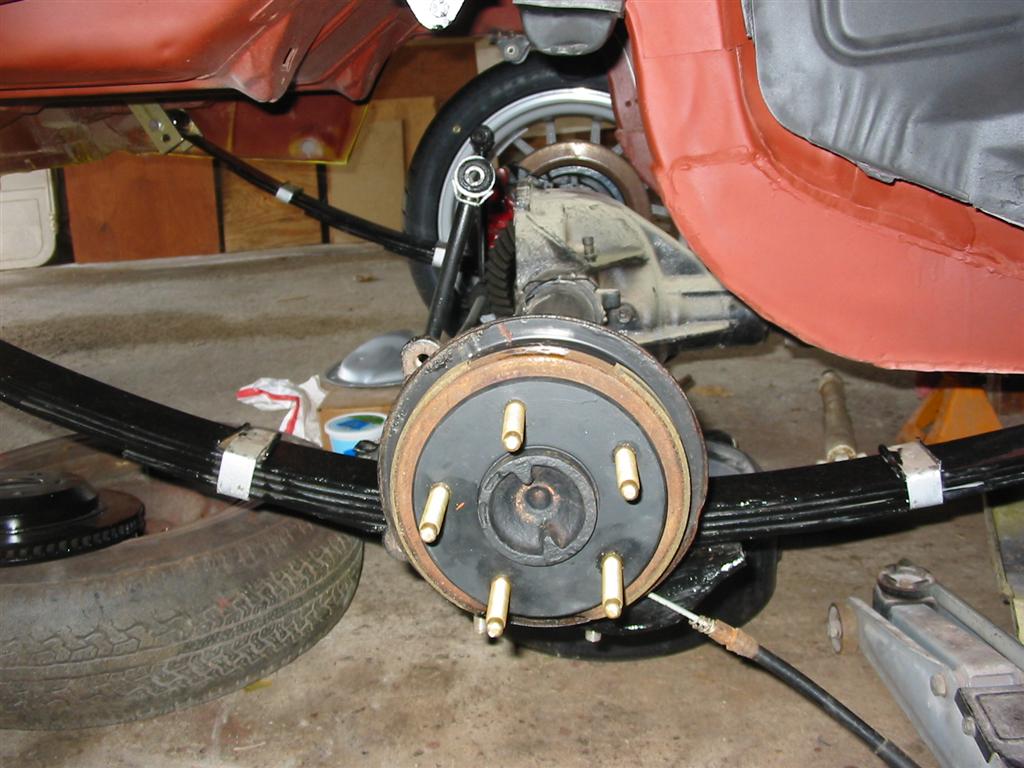
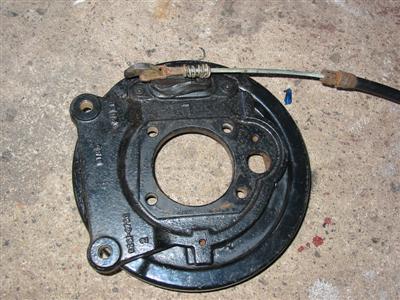
| Here are the parking brake cables. I used the ones off of the 98 Camaro. During mock up
I realized that the cable needs to be connected to the arm before the backing plate is
installed. This is due to clearance issues with the axle leaf pad mounts. |

|
|
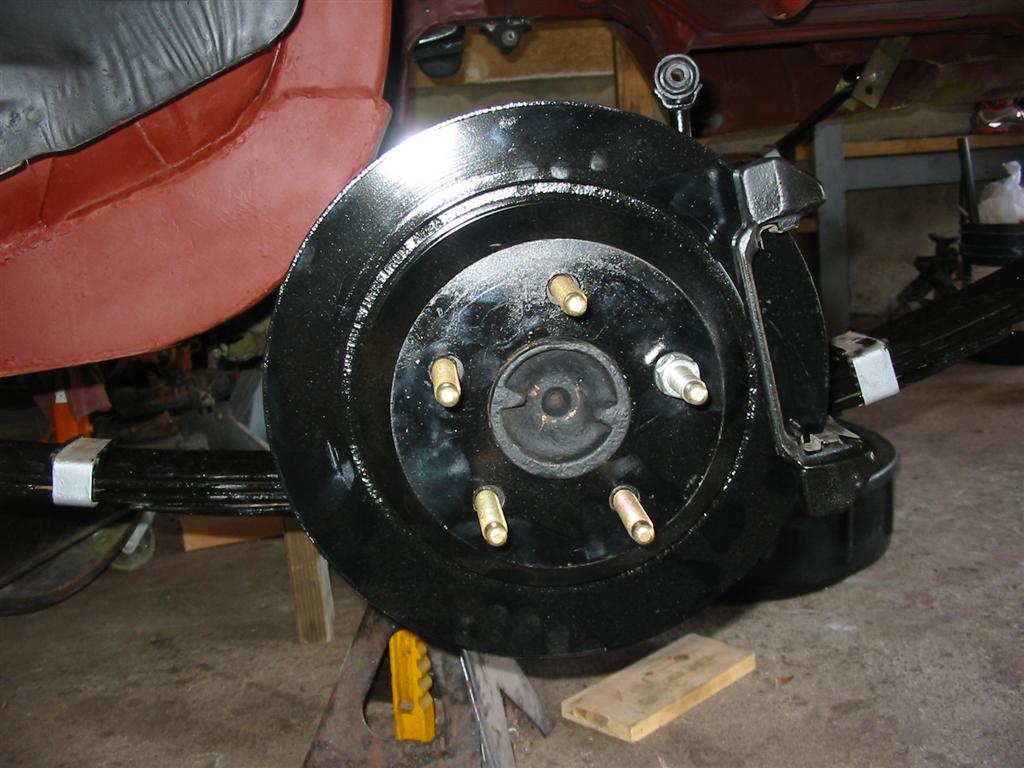
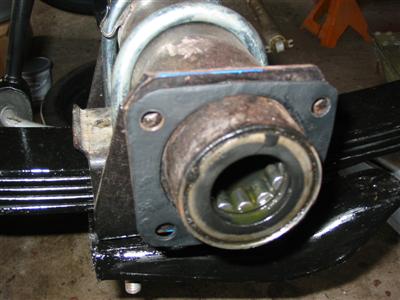
| The first step is to put the spacer I made on the axle. |
The next step was to put the backing plate on. I used grade 8 bolts to mount it. |
|
|
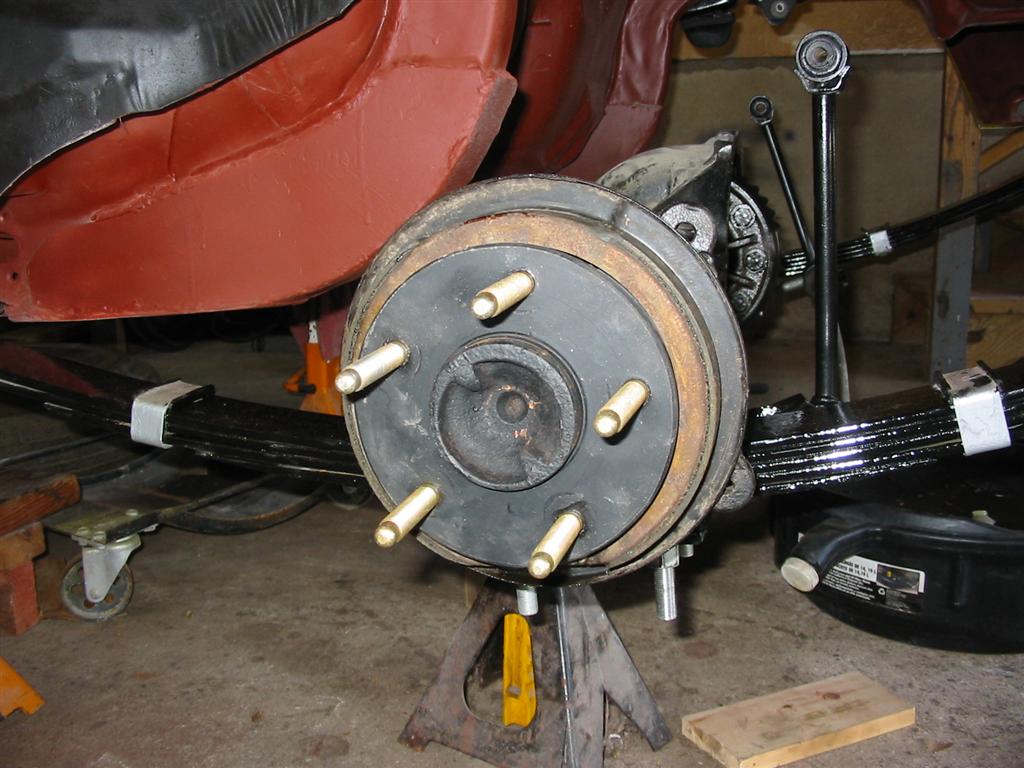
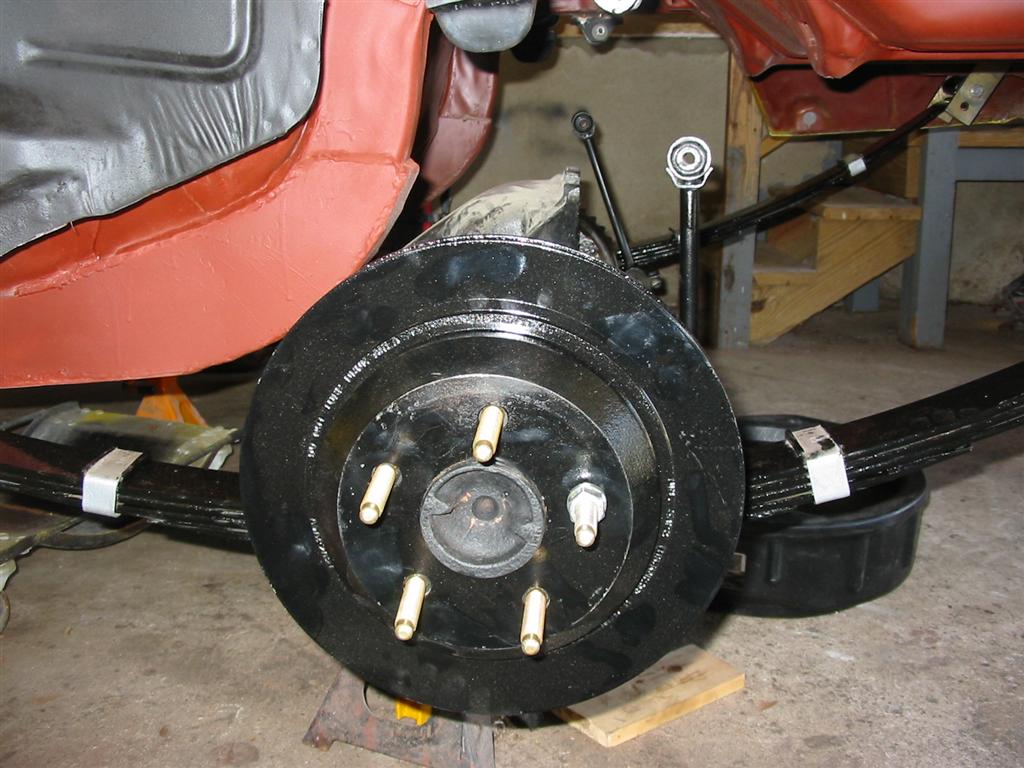
| Here is the back of the plate with the parking brake cable installed. |
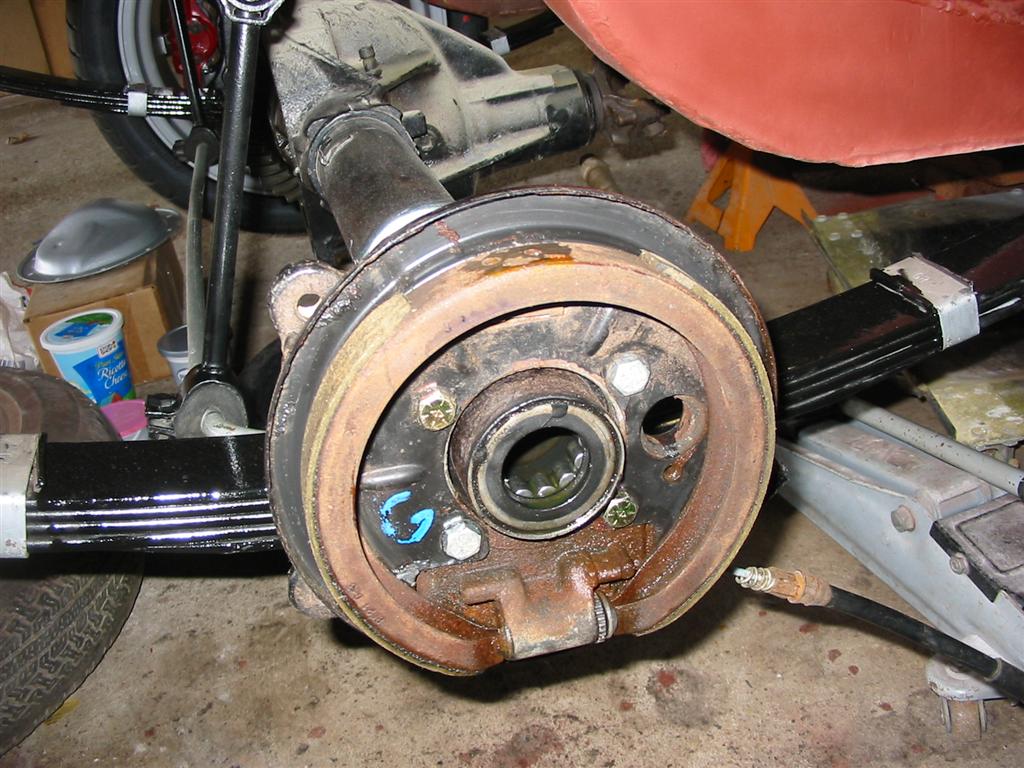
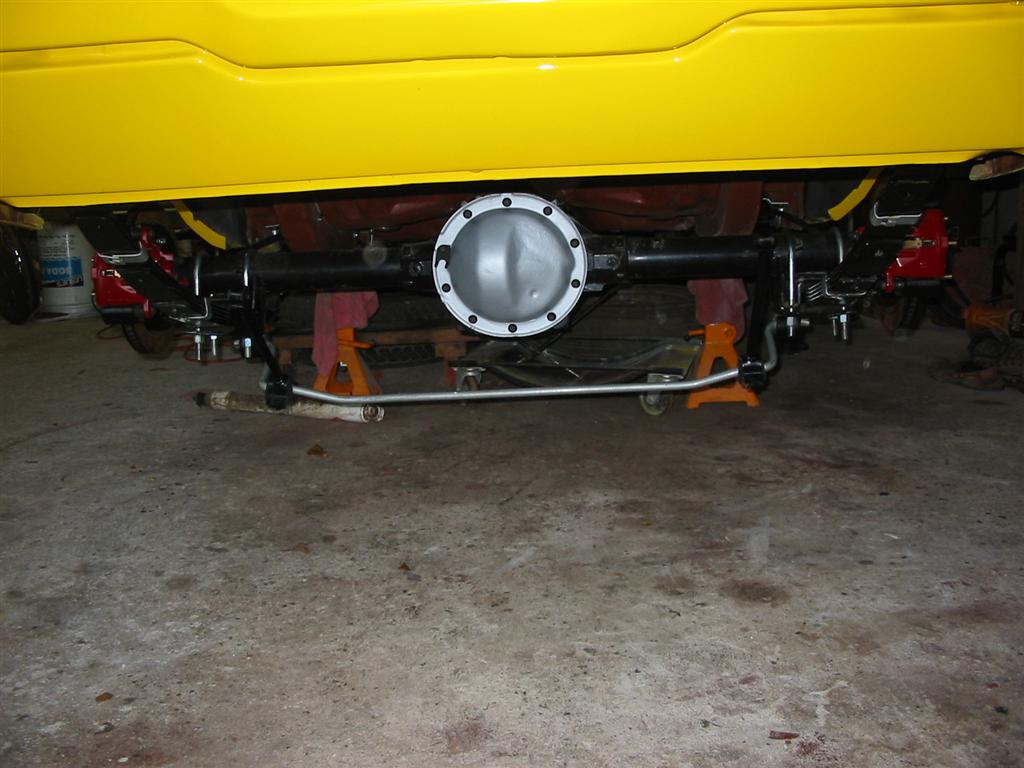
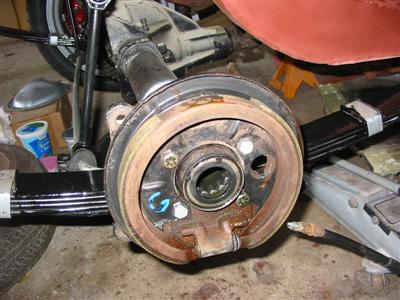
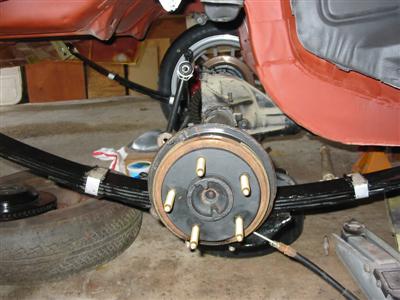
The axle can now be put back in. I have included pictures of both sides. |

|
|

|
|
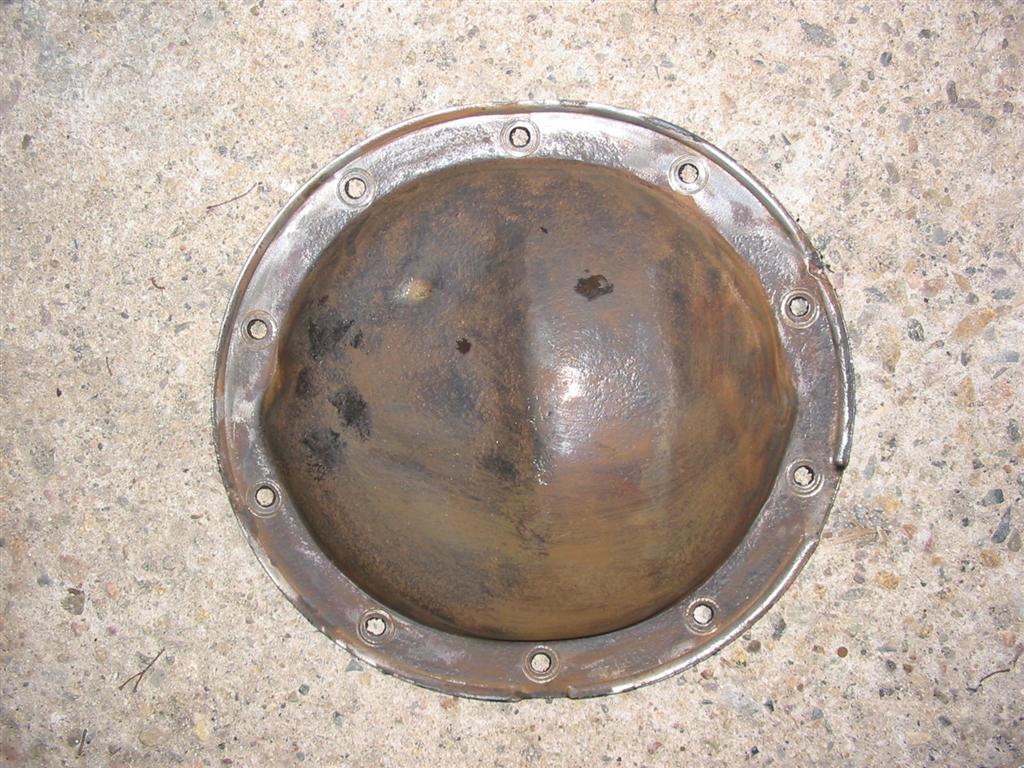
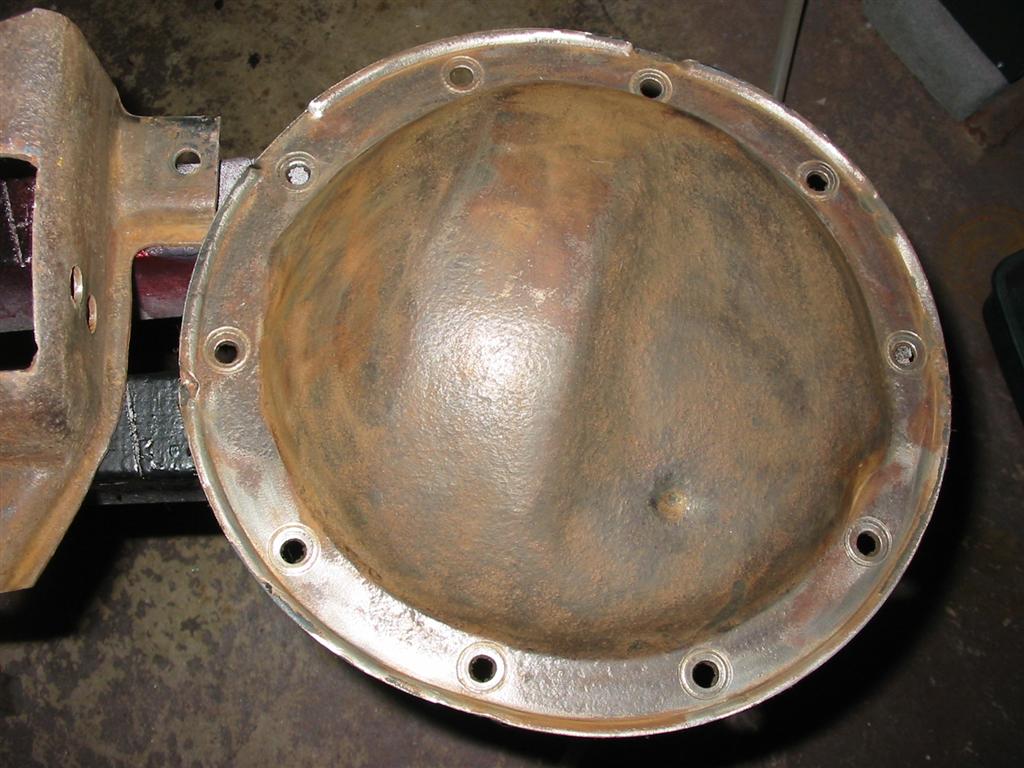
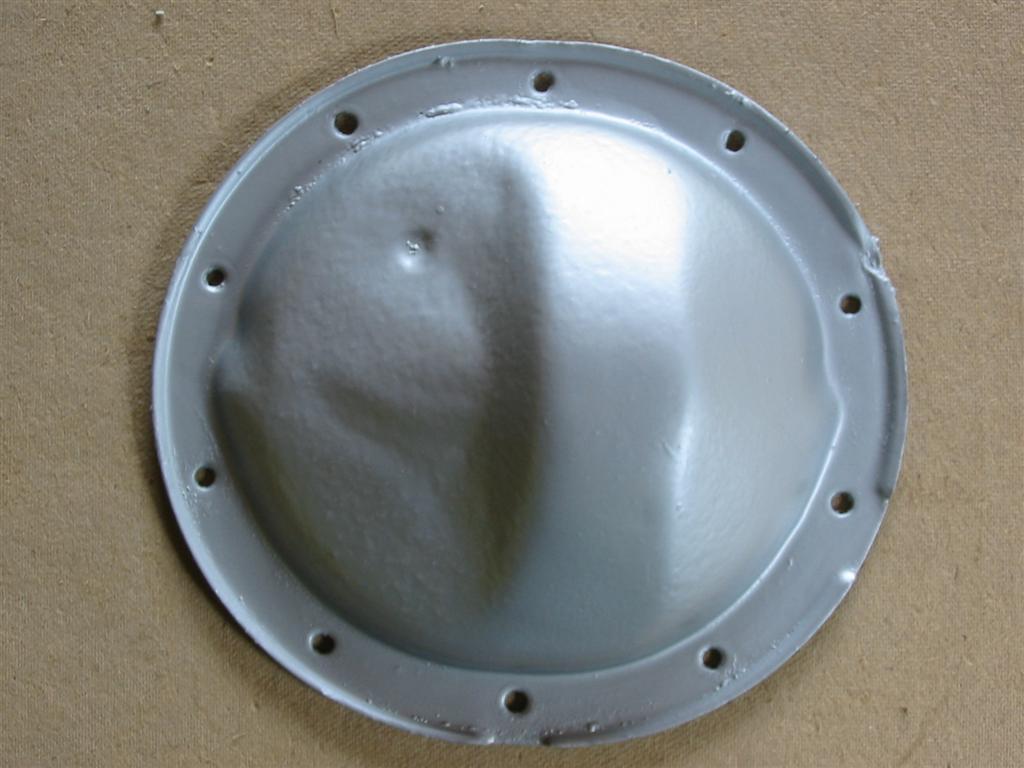
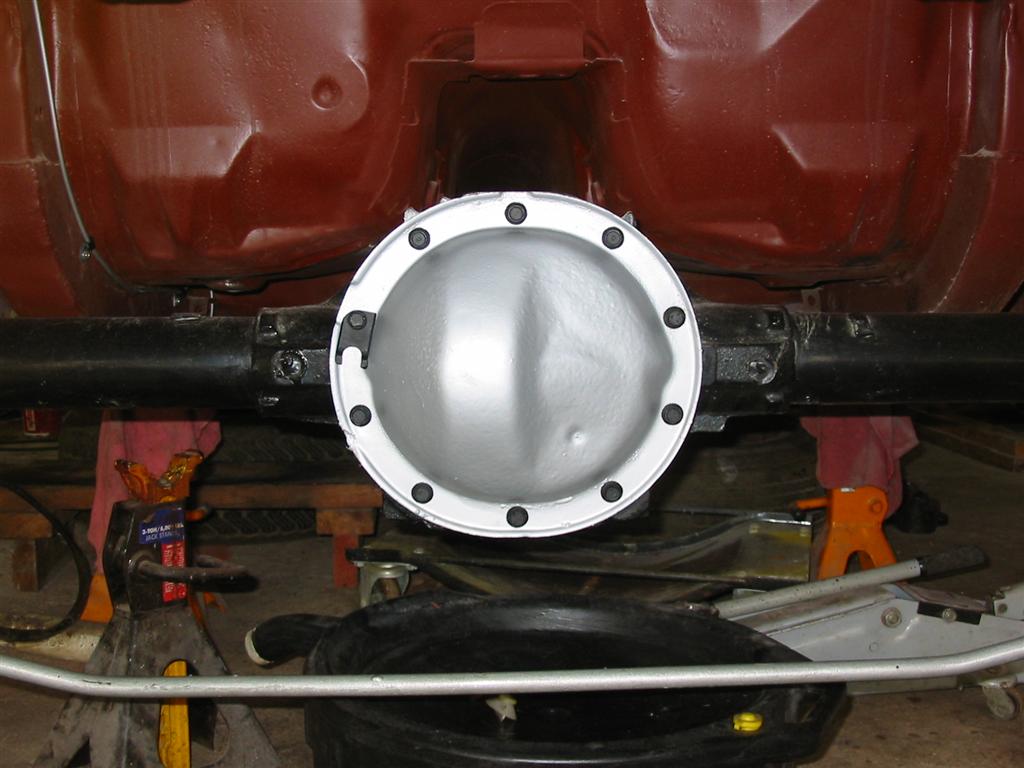
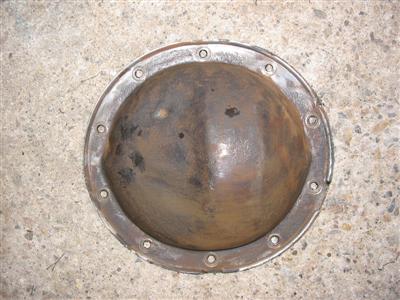
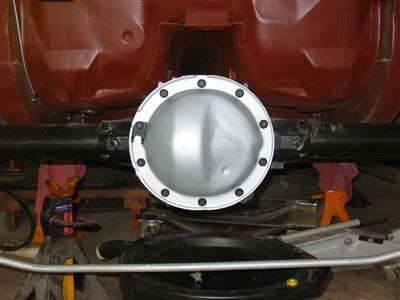
| While I had the axles out, I decided to clean and paint the rear end cover. I used
Silver POR15 as a base with Eastwoood Aluma Blast. |
|

|

|
|
|
|
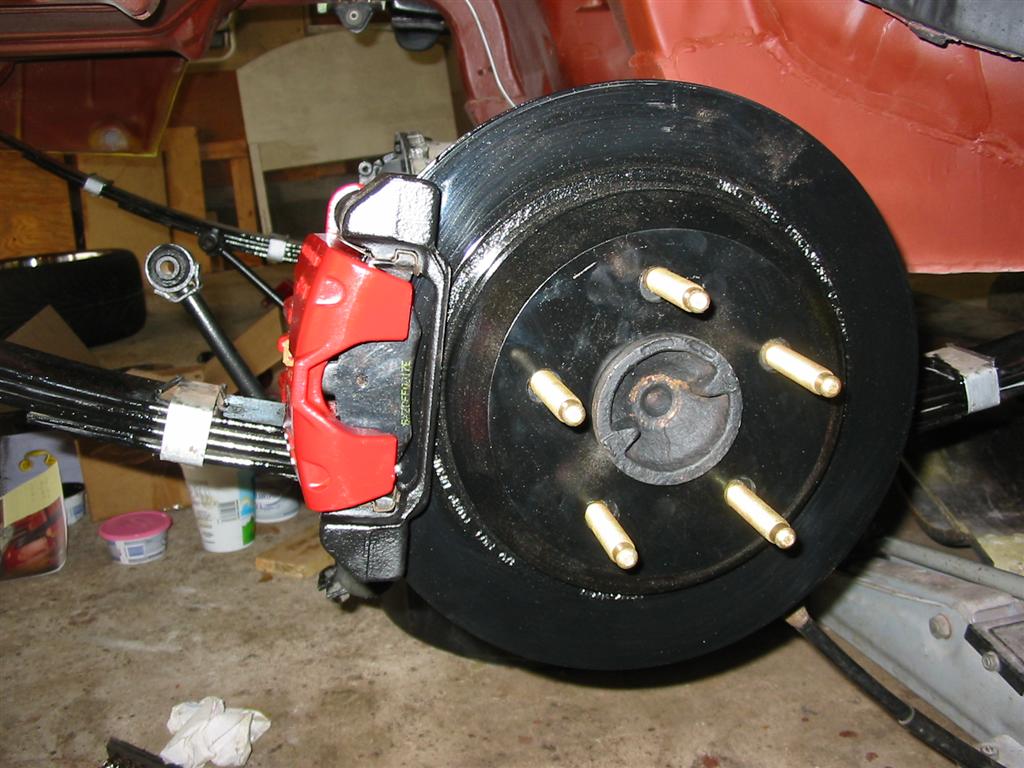
| The next step is to install the rotors. |
|

|
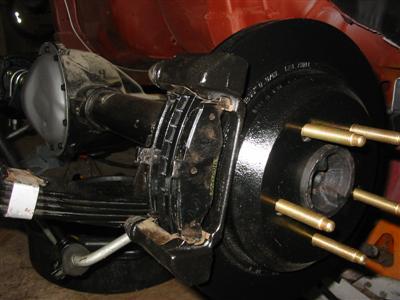
| This is followed by the caliper brakets and pads. |
|
|

|
|
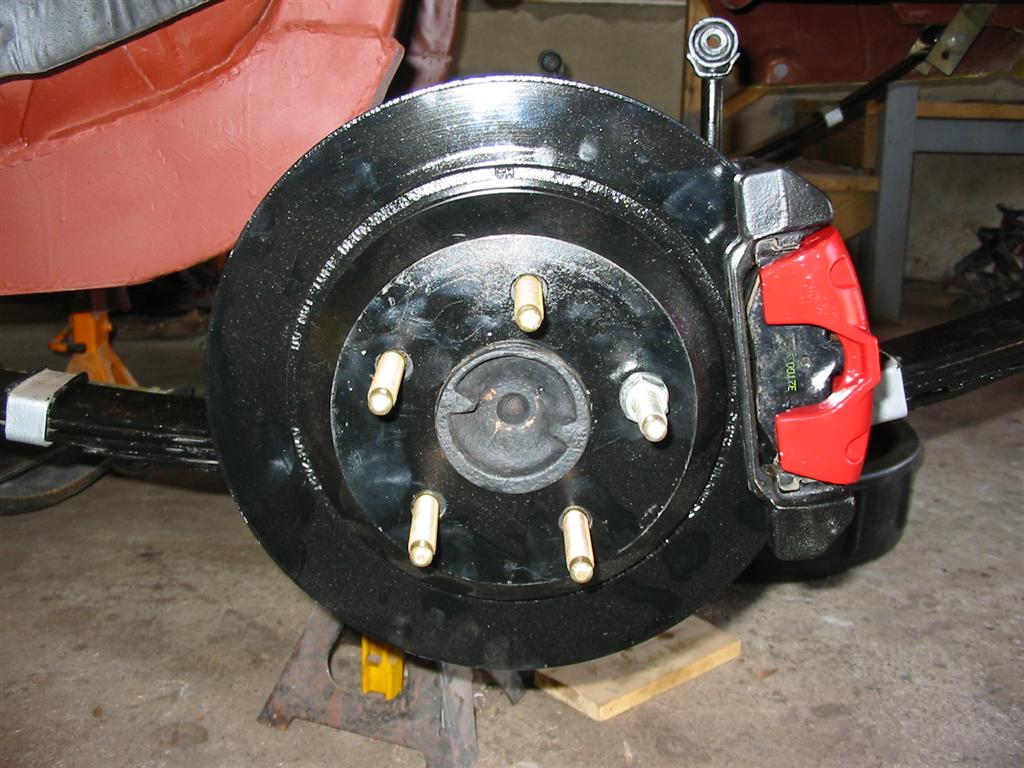
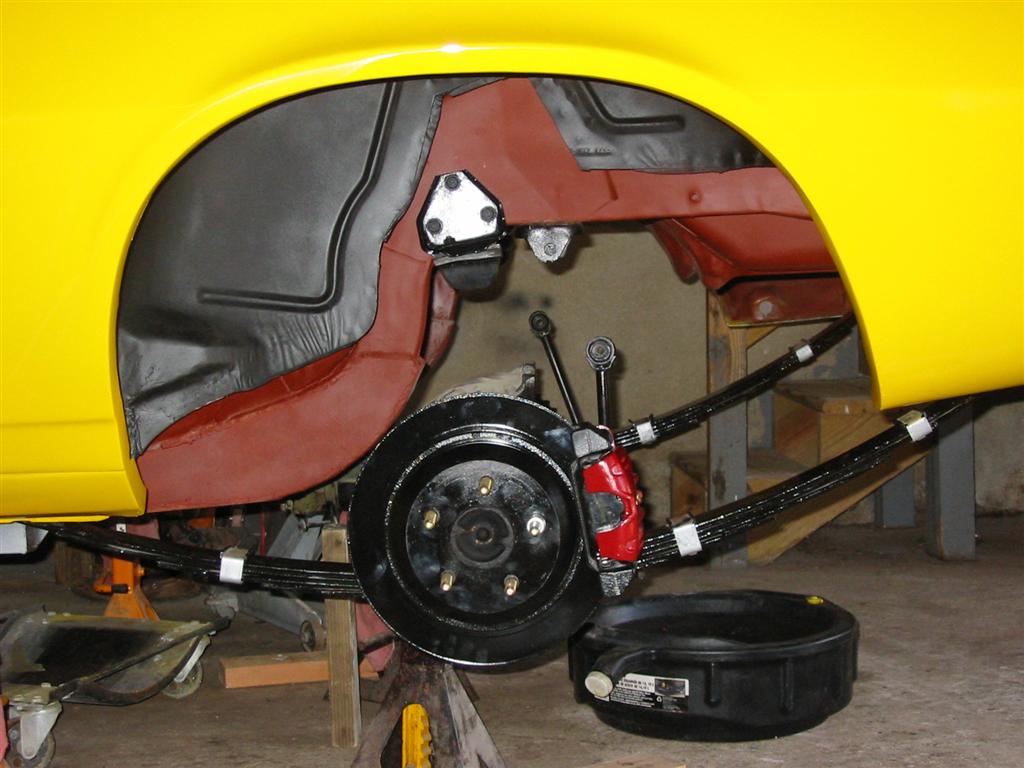
| Now the calipers get mounted. |

|

|

|

|
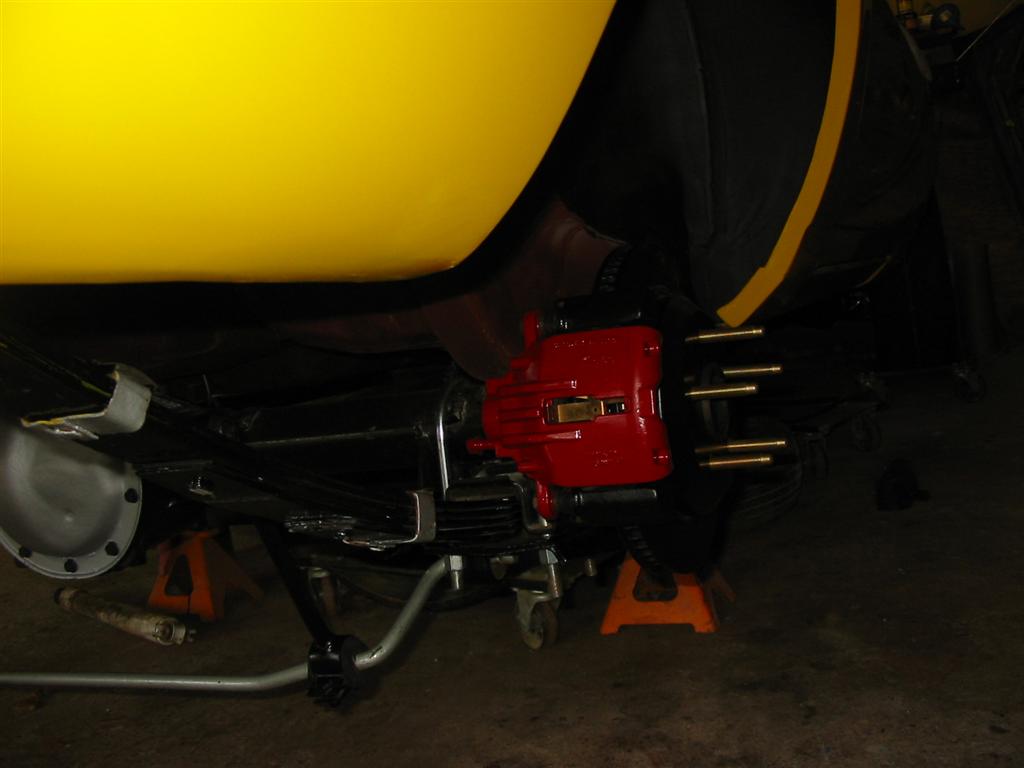
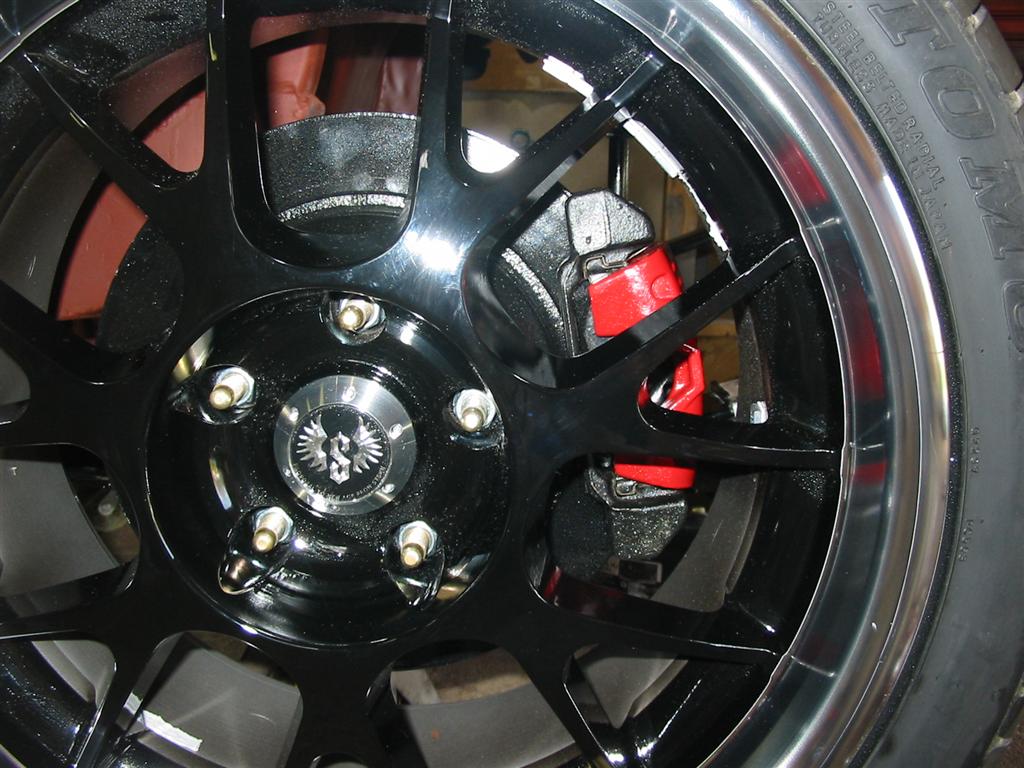
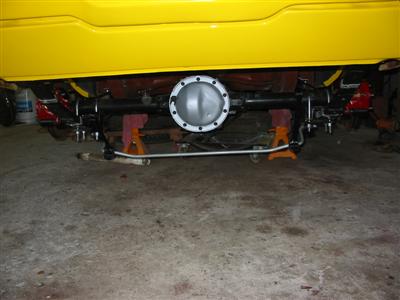
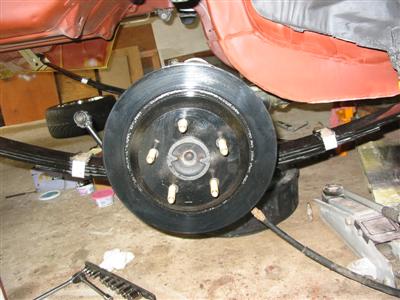
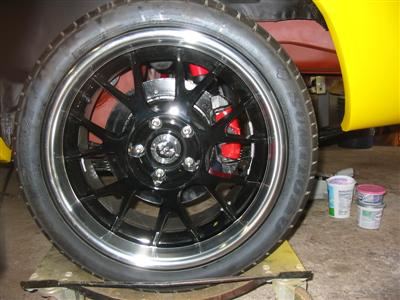
| Here are a few shots of the brakes with the wheels installed. |

|
|