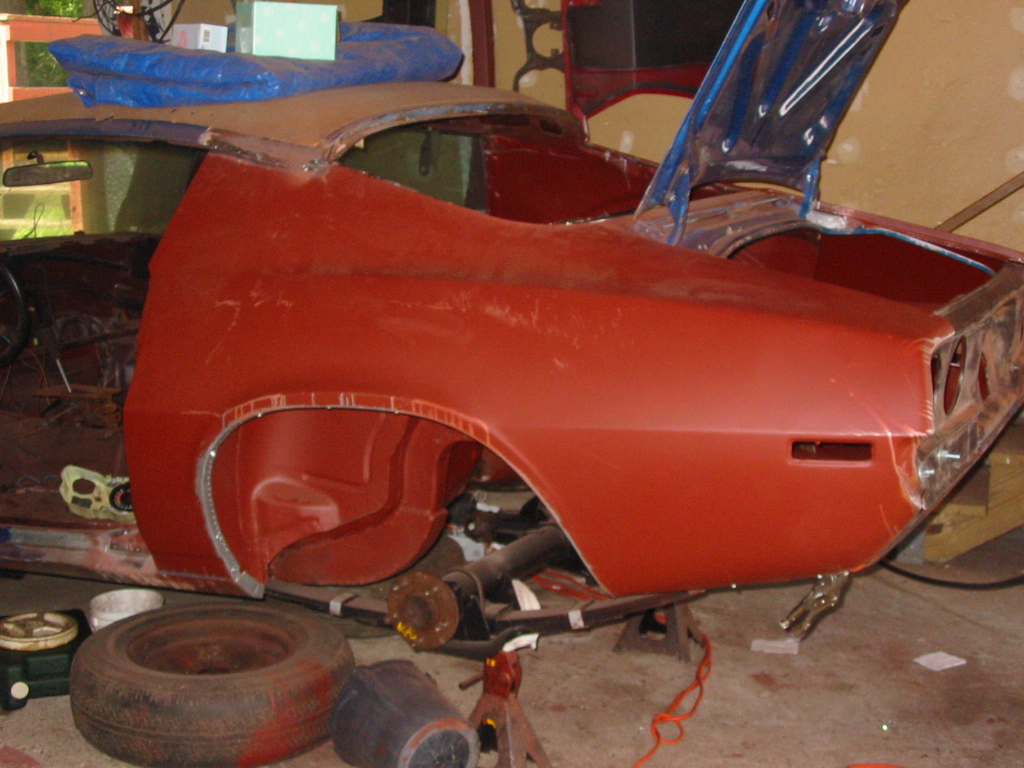
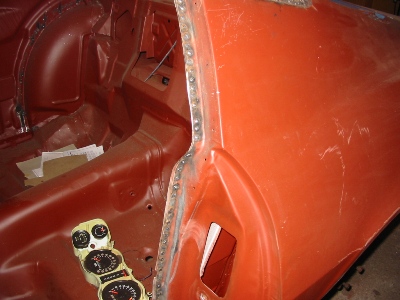
| Here is the Left Quarter Panel fitted and screwed into place. |
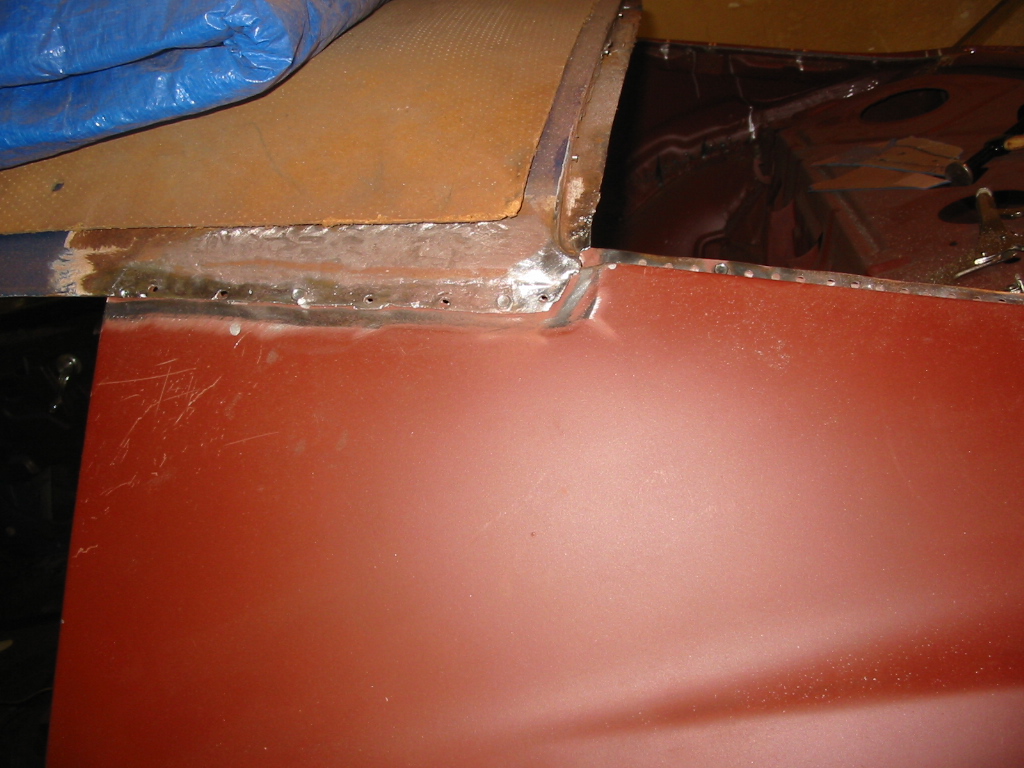
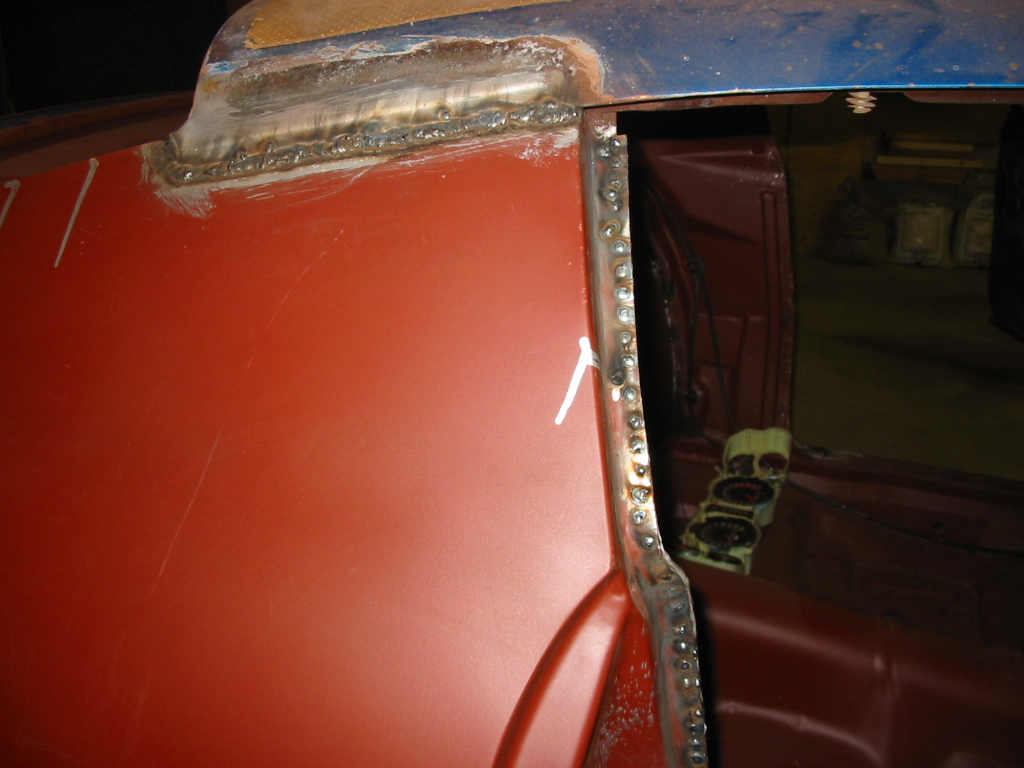
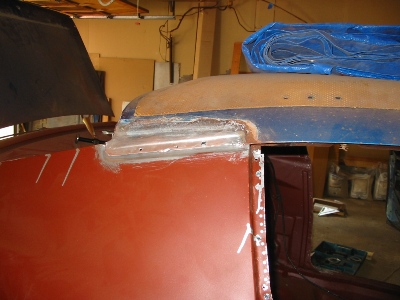
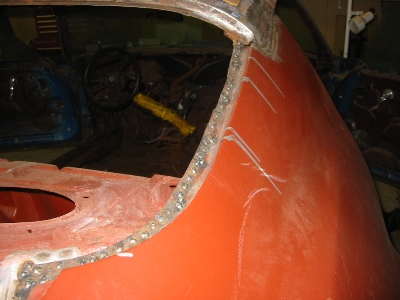
Here is the Left Quarter Panel where it meets with the roof. I will have a full bead on this seam
when done for strength reasons. This area tends to develop cracks and this full seam will keep that
from happening. |

|
|
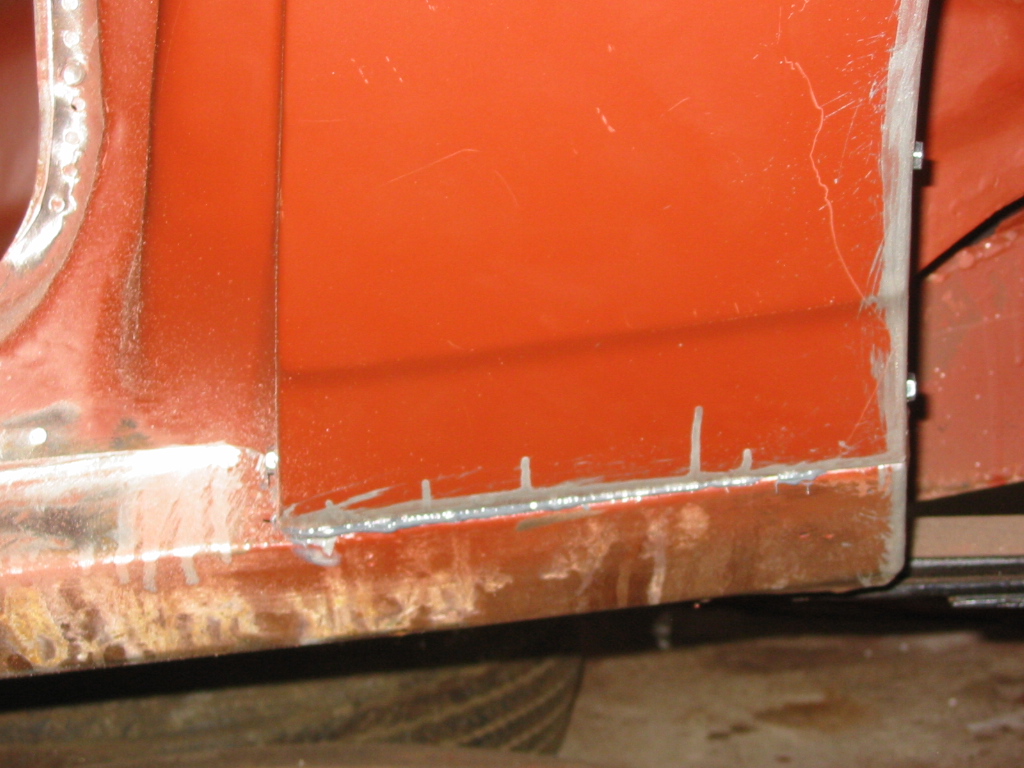
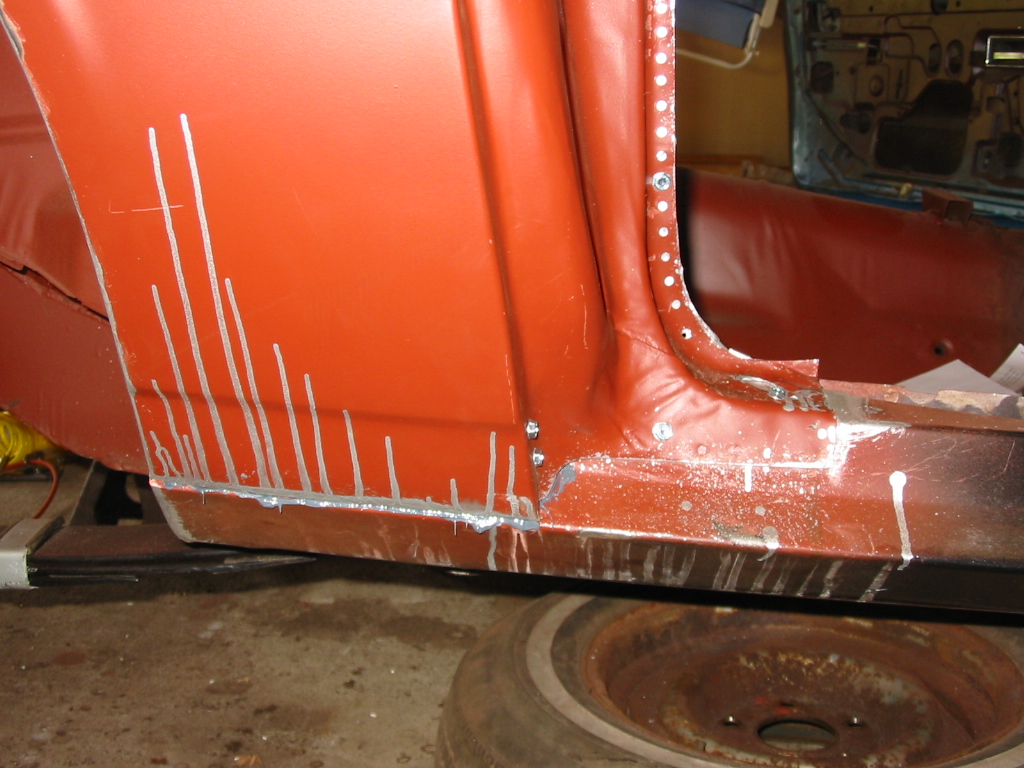
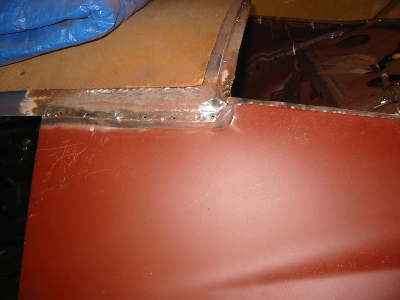
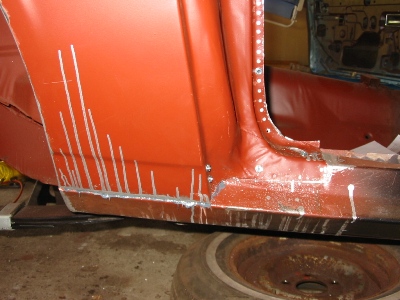
| Here is where the Left Quarter Panel meets the Rocker Panel. I used Eastwood's No Weld Panel Adhesive
to attach this area. This will hold up because it has welds in the Wheel well and the door frame to keep
it in place. |
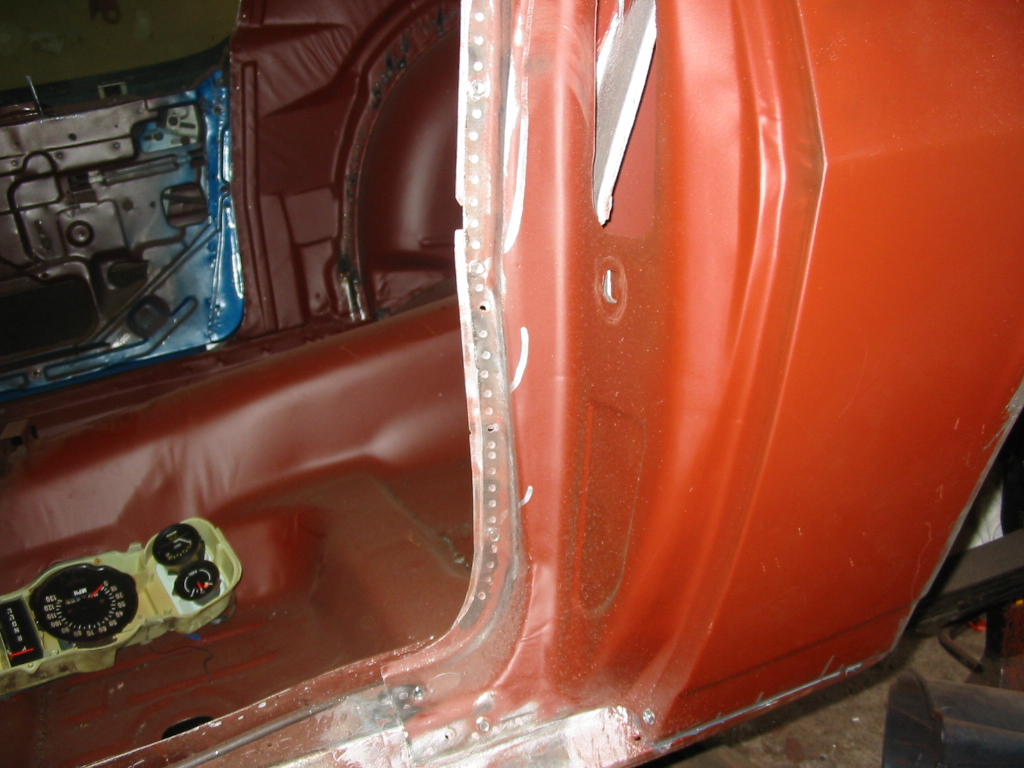
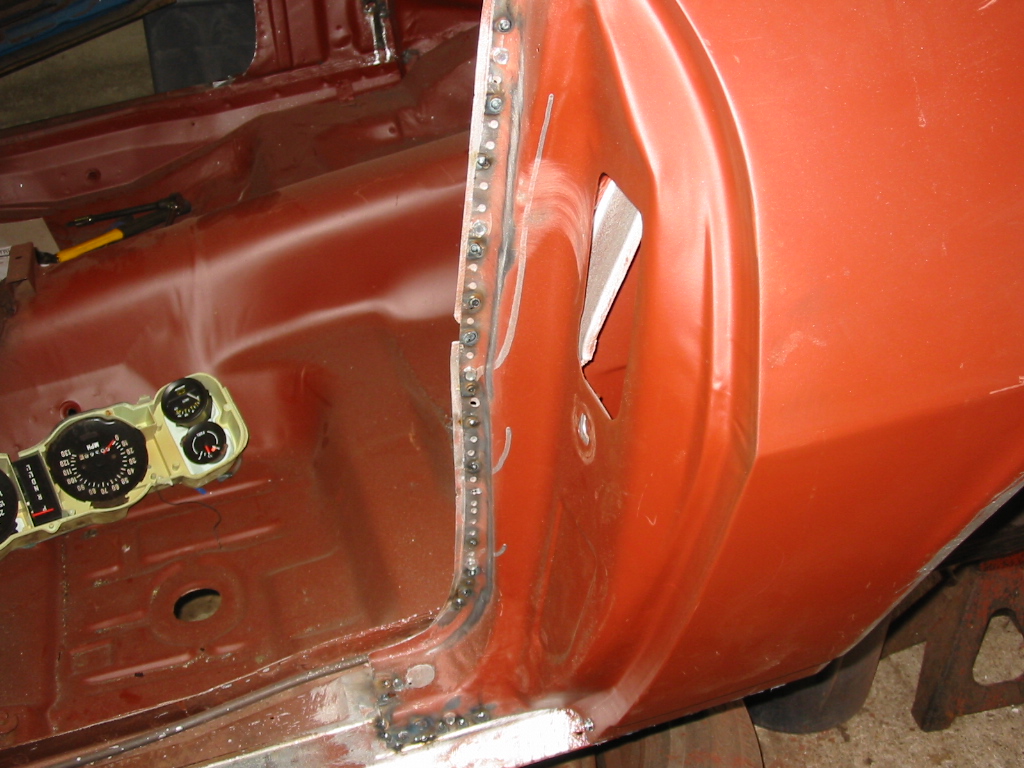
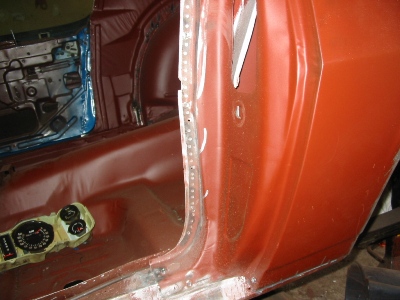
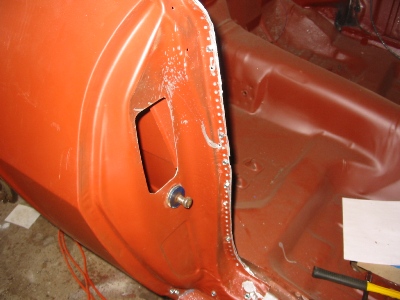
Here is where the Left Quarter Panel meets the door frame. This is temporarily screwed on. It will get welded with the rest of the Quarter panel. |

|
|
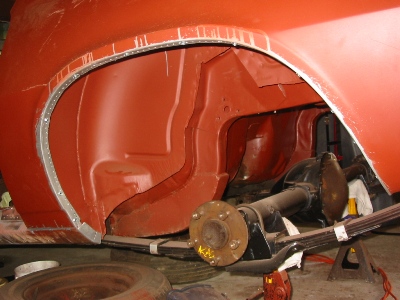
| The Left Quarter to Wheel well screwed together. |
|
|
|
| Right Quarter Panel to Roof screwed in. |
Right Quarter Panel to Rocker Panel glued together. |
|
|
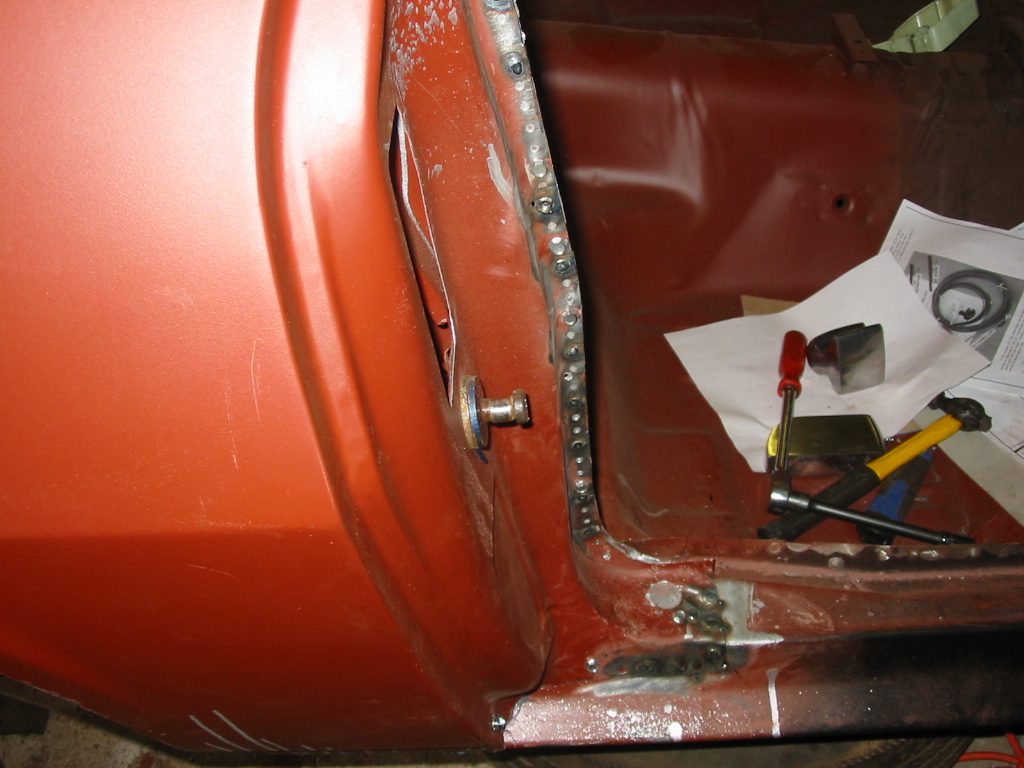
| Right Quarter Panel to Door frame screwed in. |
|
|
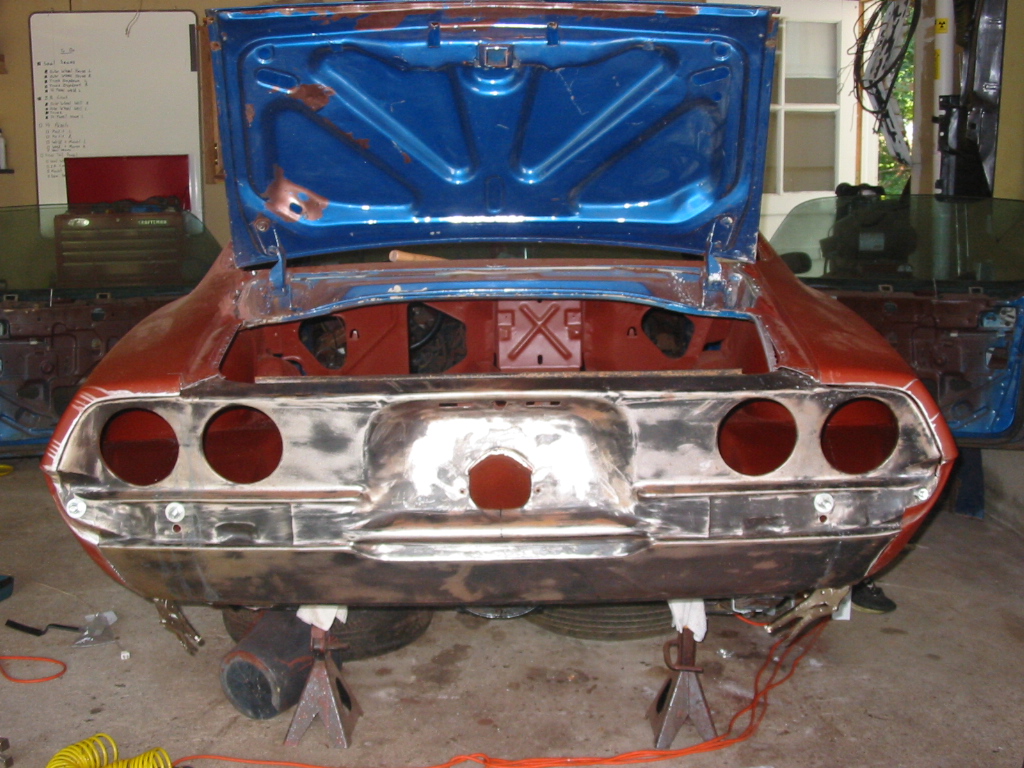
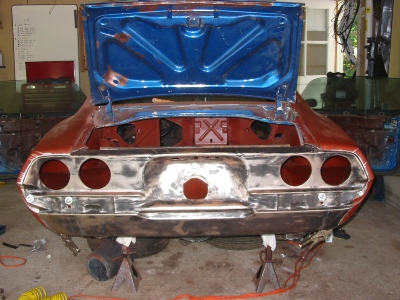
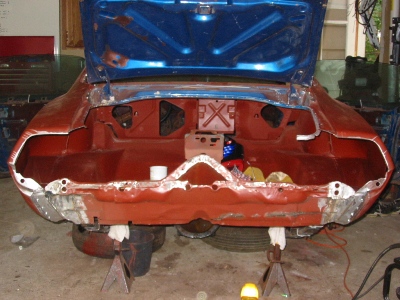
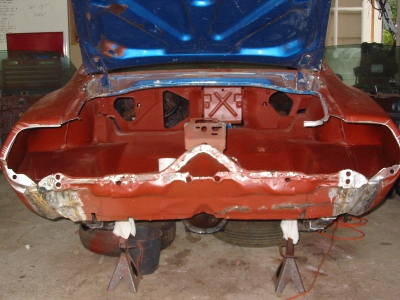
| When mounting the Quarter Panels I had the Tail Panel fitted into place to make sure everything
lines up properly. I then tacked the Quarter Panel to some points in the trunk and removed the Tail Panel.
Once I remove the Tail Panel I screwed the Quarter Panel to the Rear Inner Valance. |
|
|
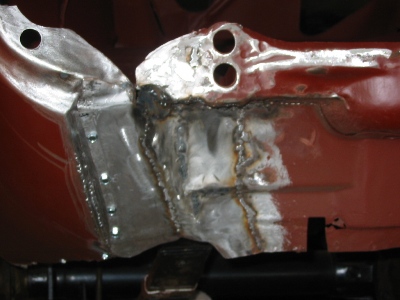
| Here is a close up of the Left Inner Valance screwed to the Quarter Panel. |
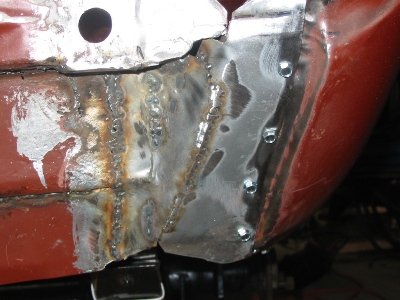
Here is a close up of the Right Inner Valance screwed to the Quarter Panel. |
|
|
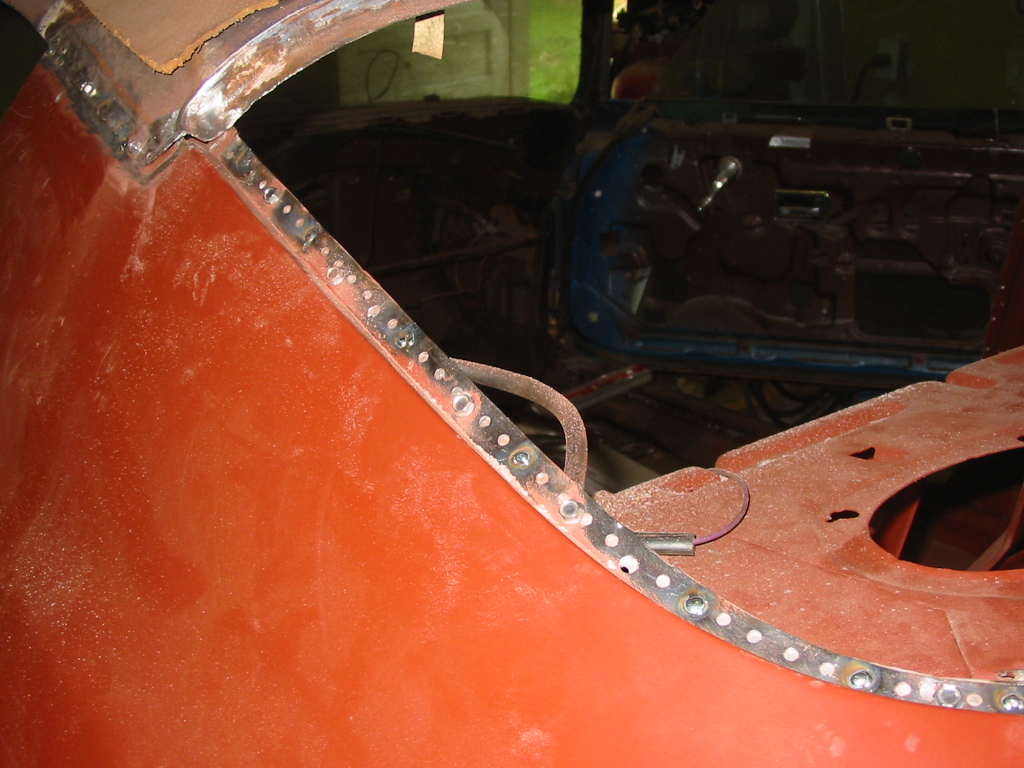
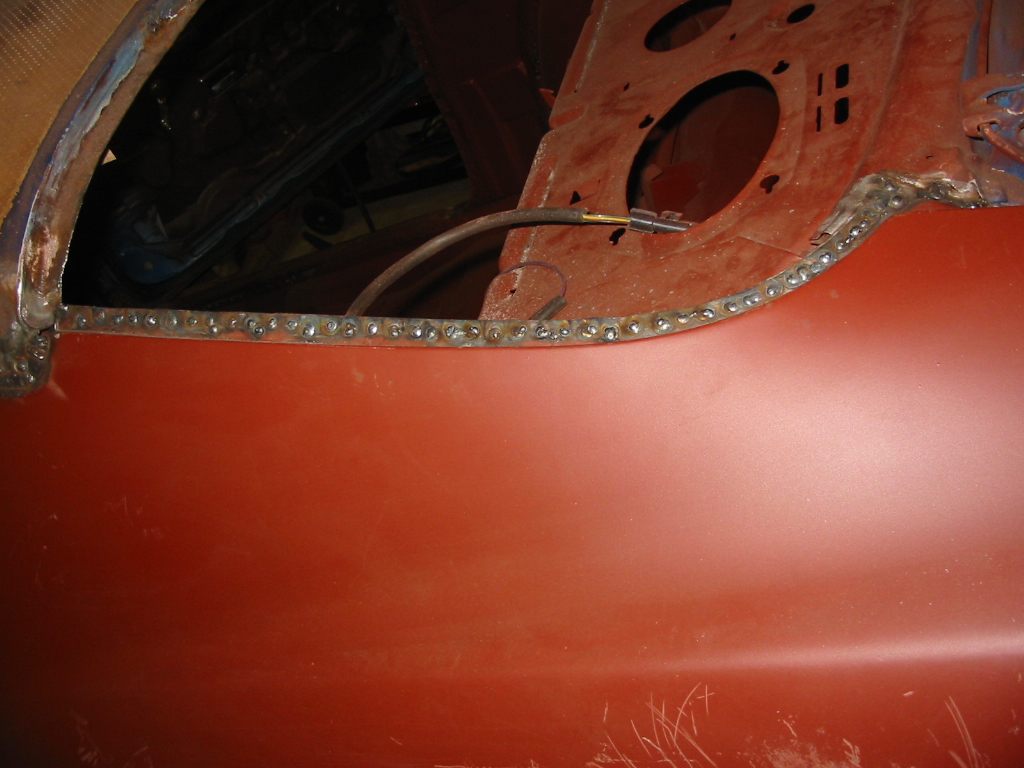
| Here is a picture of the first pass of plug welds where the Left Quarter Panel attaches around the rear glass. |
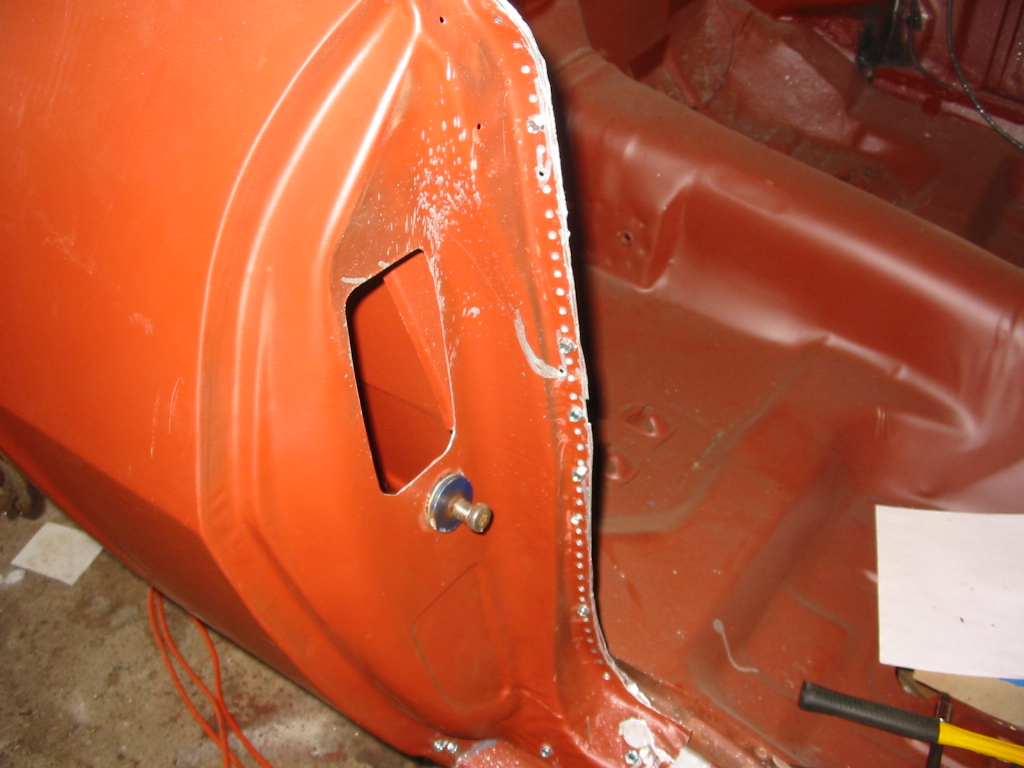
Here is a picture of the first pass of plug welds where the Left Quarter Panel attaches to the Door Frame. |

|

|
| Here is a picture of the first pass of plug welds where the Right Quarter Panel attaches to the Door Frame. |
Here is a picture of the first pass of plug welds where the Right Quarter Panel attaches around the rear glass. |

|

|
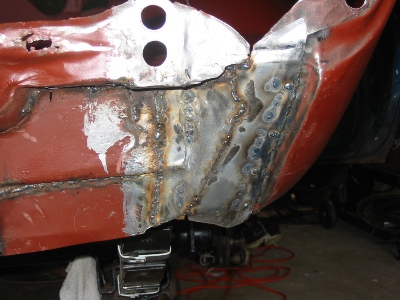
| Here is a close up of the Left Inner Valance welded to the Quarter Panel. |
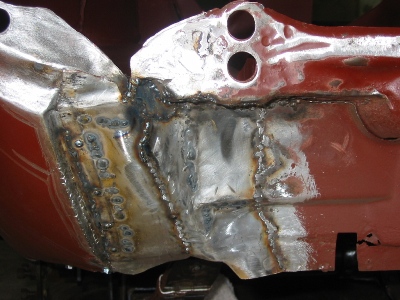
Here is a close up of the Right Inner Valance welded to the Quarter Panel. |
|
|
| Here is the Inner Valance welded to the Quarter Panels. |
|
|
|
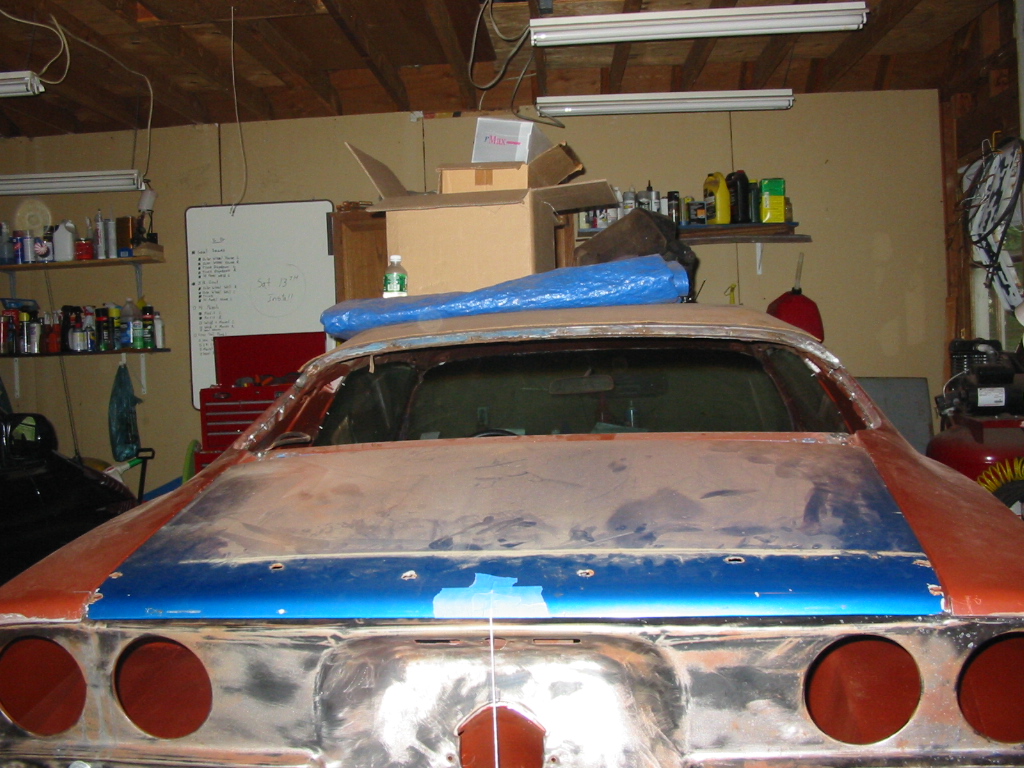
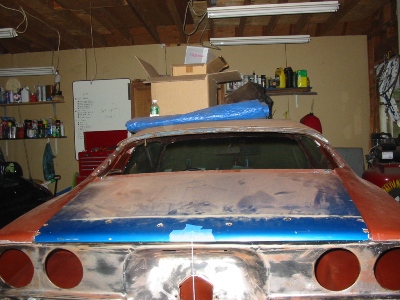
| I test mounted the Tail Panel and checked the gaps of the Trunk Lid one last time before welding up the Quarters for good. |
|
|
|
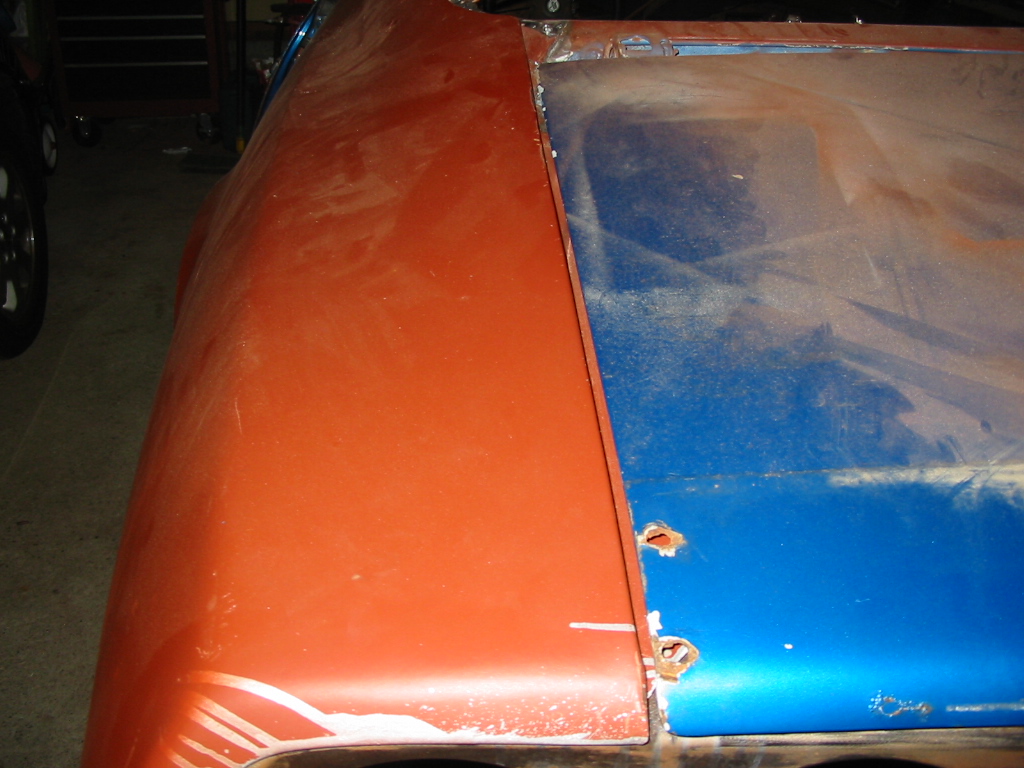
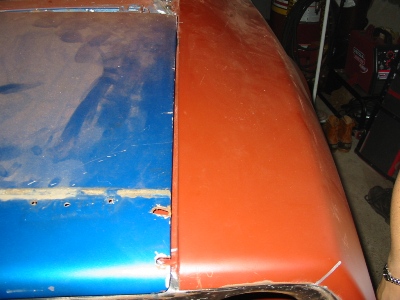
| Here is the Quarter Panel to Trunk lid seams. This seam is as wide as the thickness of a paint stirrer
and consistent from top to bottom. This is well within factory specs. I assume it will close up a little more with
primer and paint. |

|
|
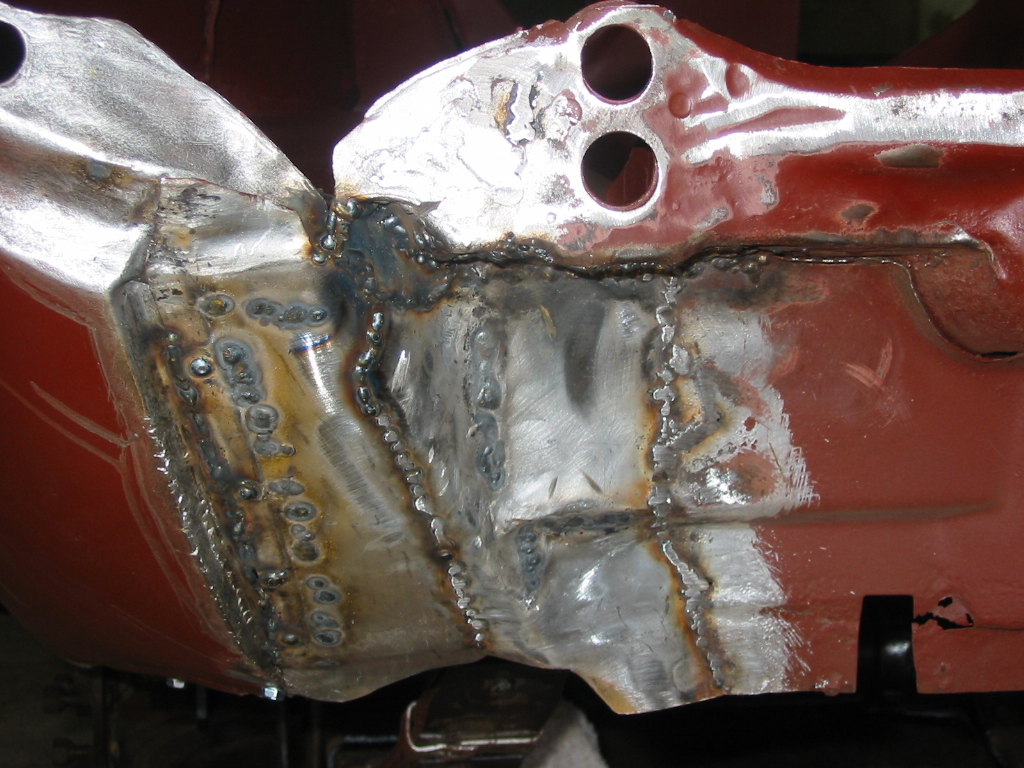
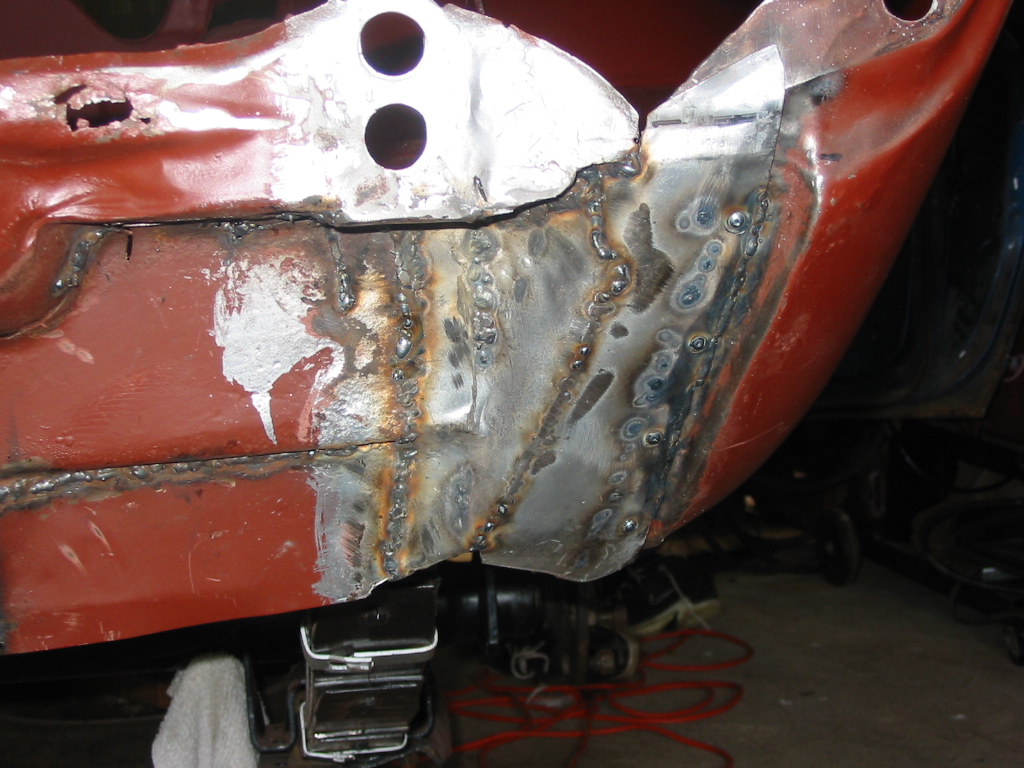
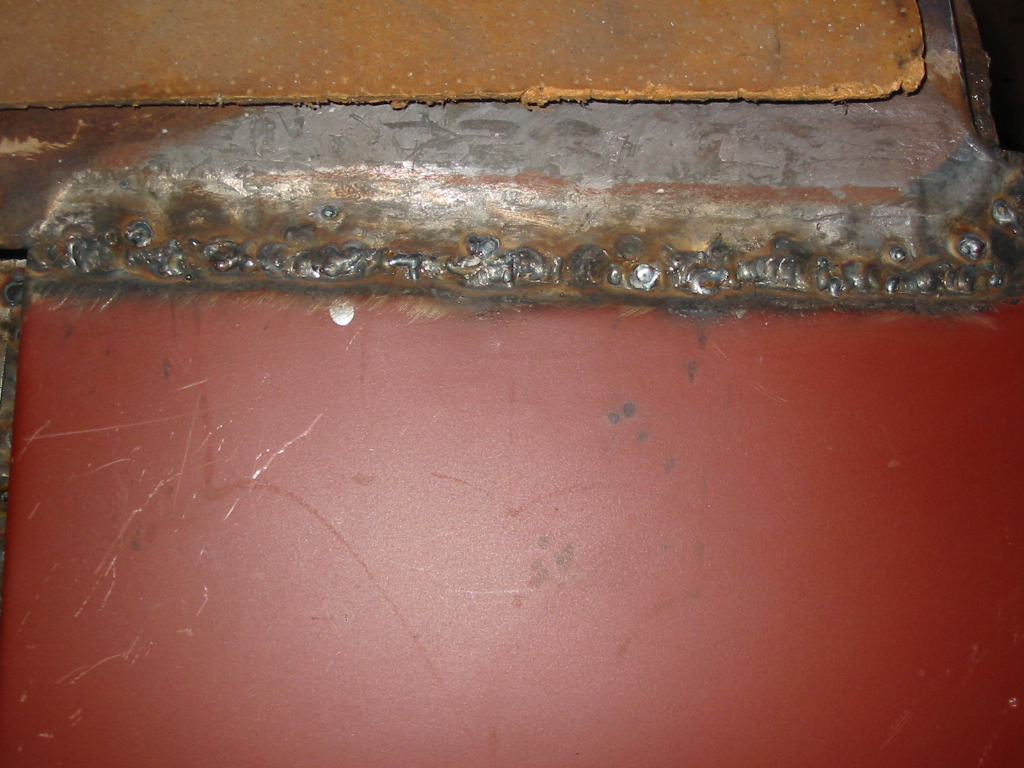
| Here are some pictures of the plug welded seams. I have to grind them down smooth to finish the job. |

|

|
|
|

|
|