|

LS6 Install Part 4 (October 4, 2014)
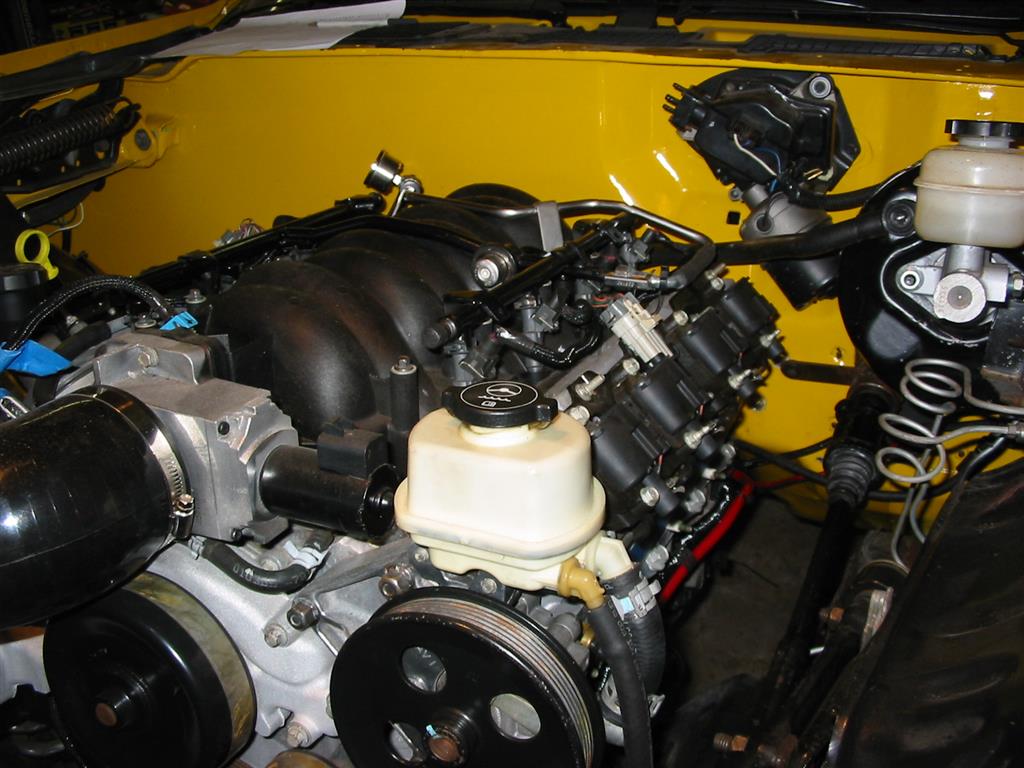
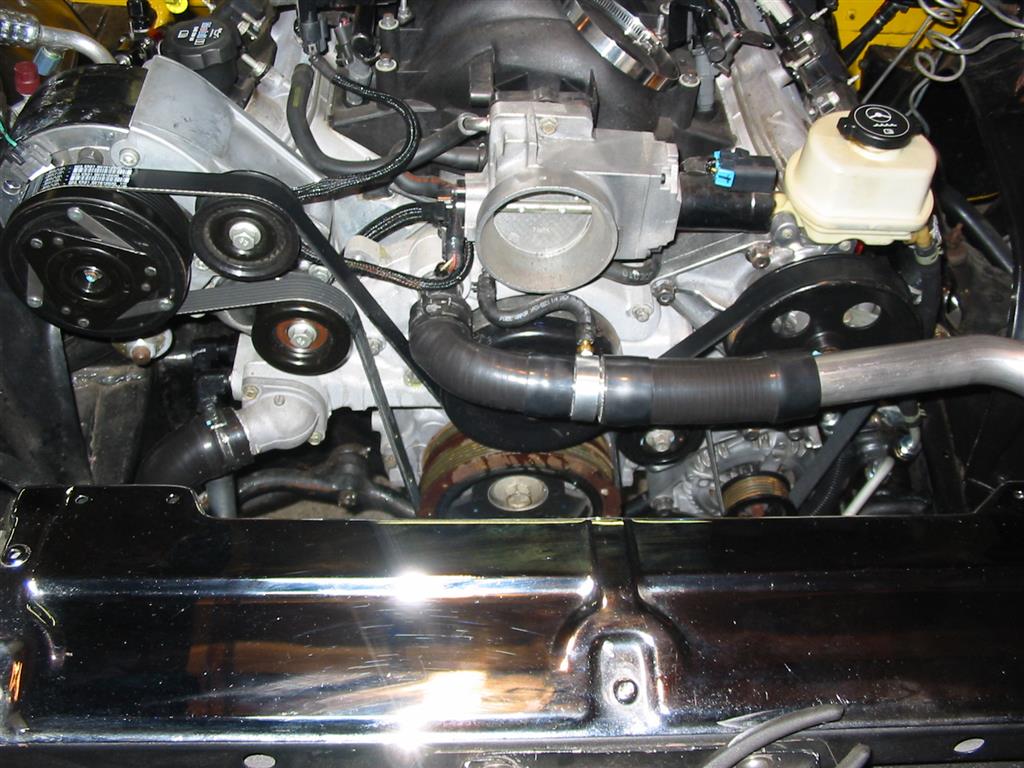
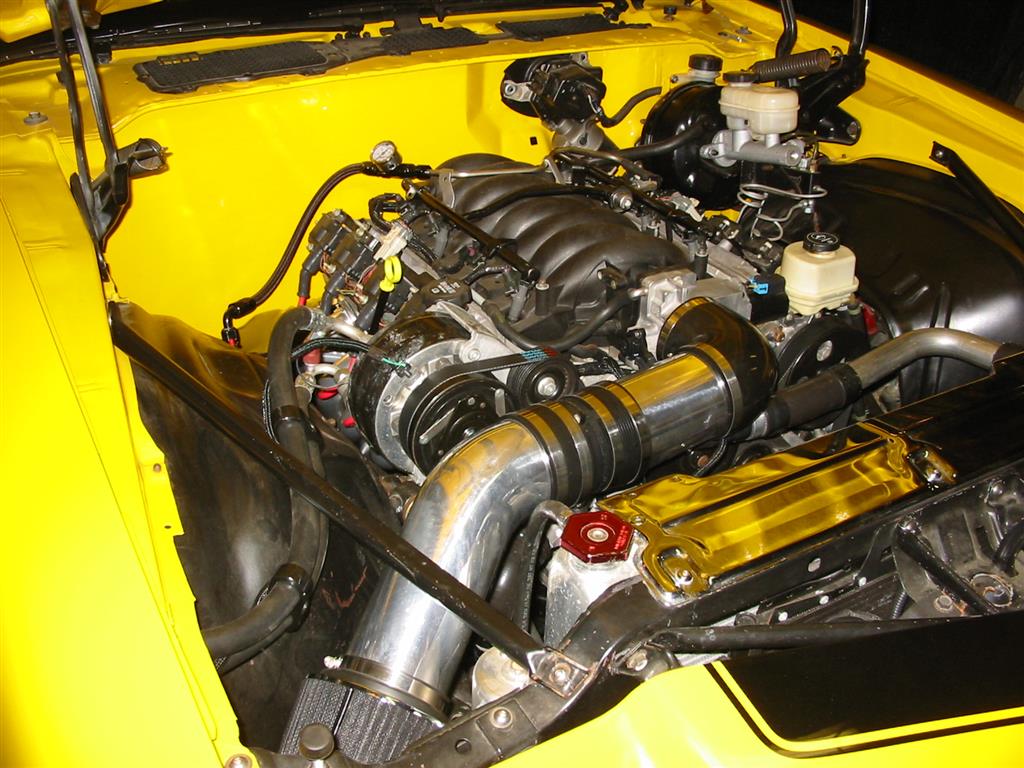
This page finishes the documentation of the installation of a LS6 Engine and T56 Transmission out of a 2005 Cadillac CTS-V. This is the final pieces of the conversion and covers the installation of the headers, engine accessories, coolant hoses and Firebird drop pitman arm and related components.Here are some final thoughts on the conversion. The car drives totally different now. The LS6 is a different animal than my 327 running either a carb, TPI or TPI/Holley Stealth Ram. The throttle response is great and a factory tune is dead on. Driving around and idling the car is almost always at 14.7 AFR. Doing the complete drop out from an existing car made things easier for me as a first timer. If I did it again, I may take the approach of buying everything in pieces and putting together what I want instead of adapting what came from the donor car. Replica Rolex Air King Watches
Quick Points.
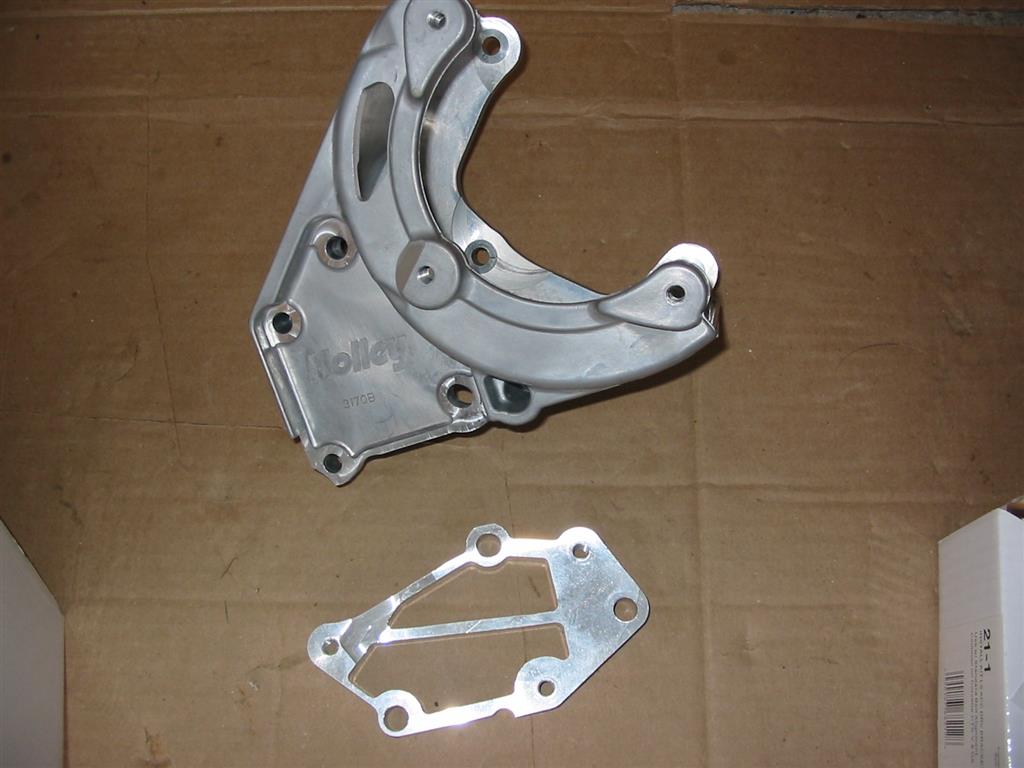
- Really like the Holley Accessory brackets. The A/C bracket matches the CTS-V bracket and looks factory.
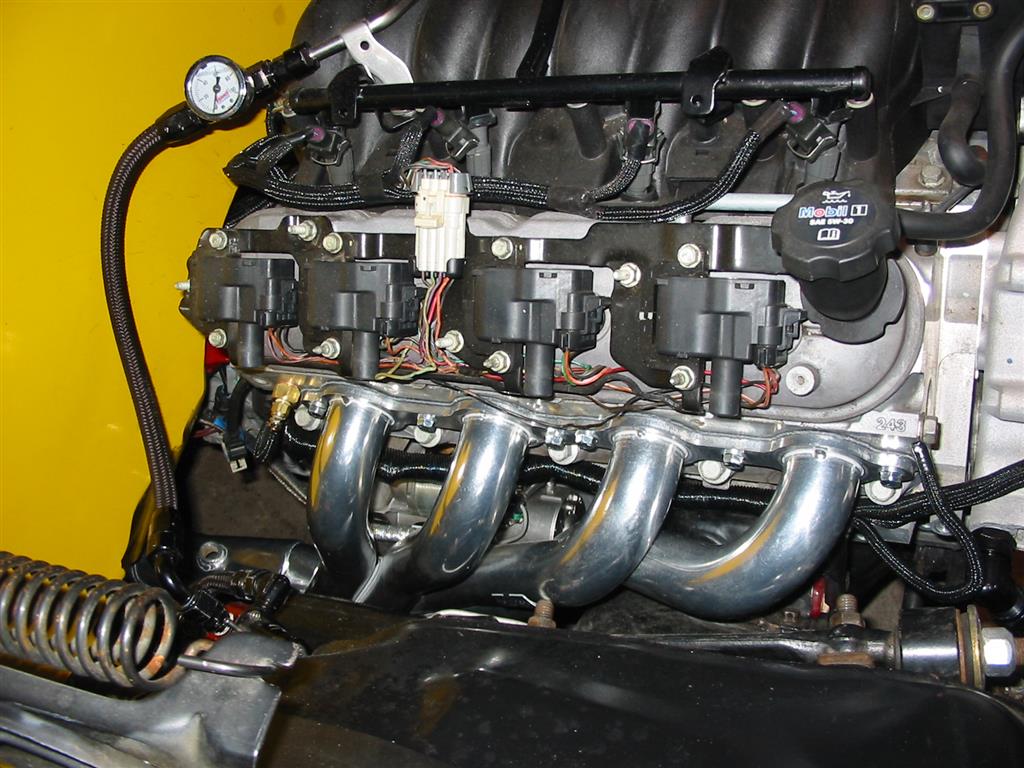
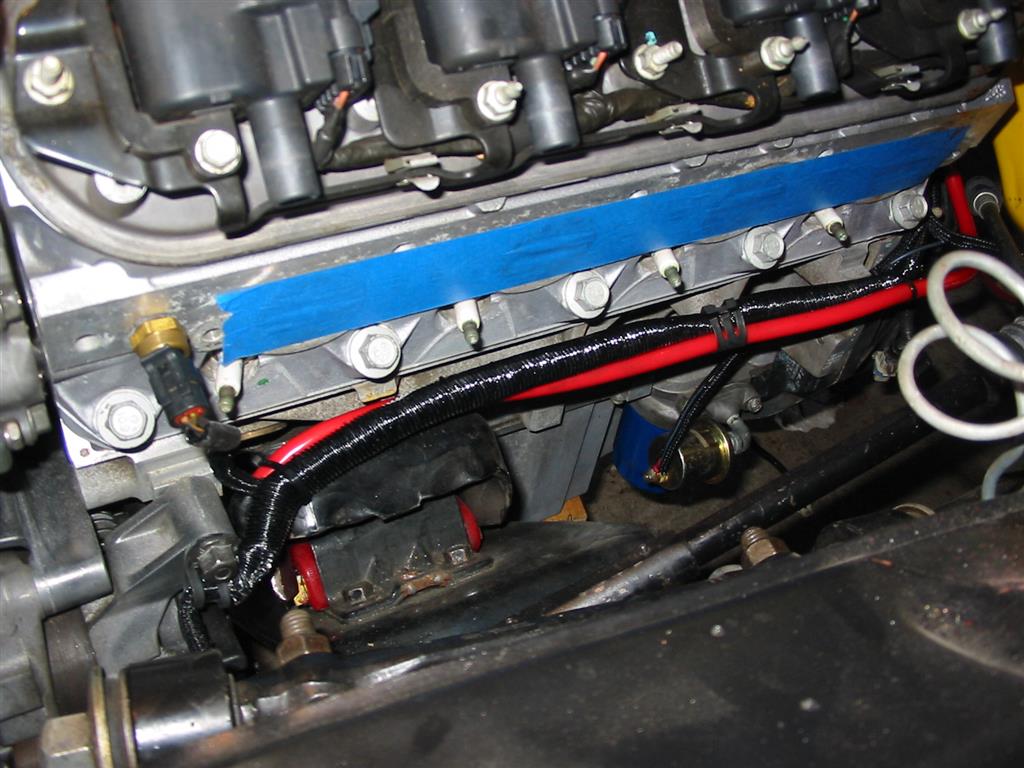
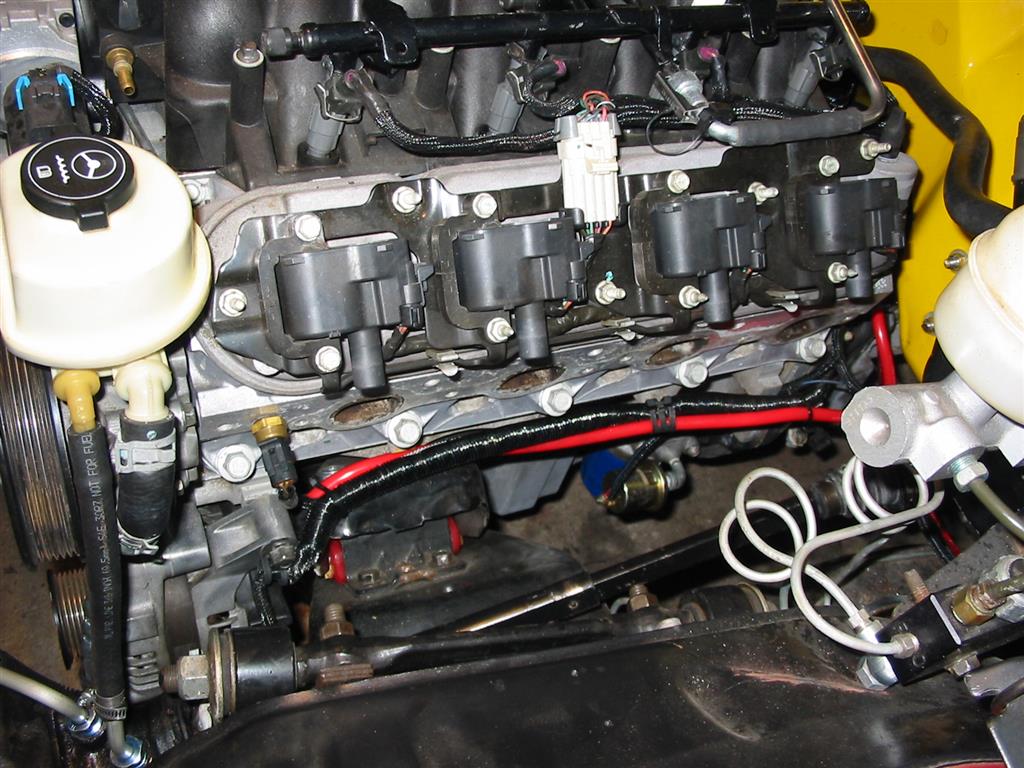
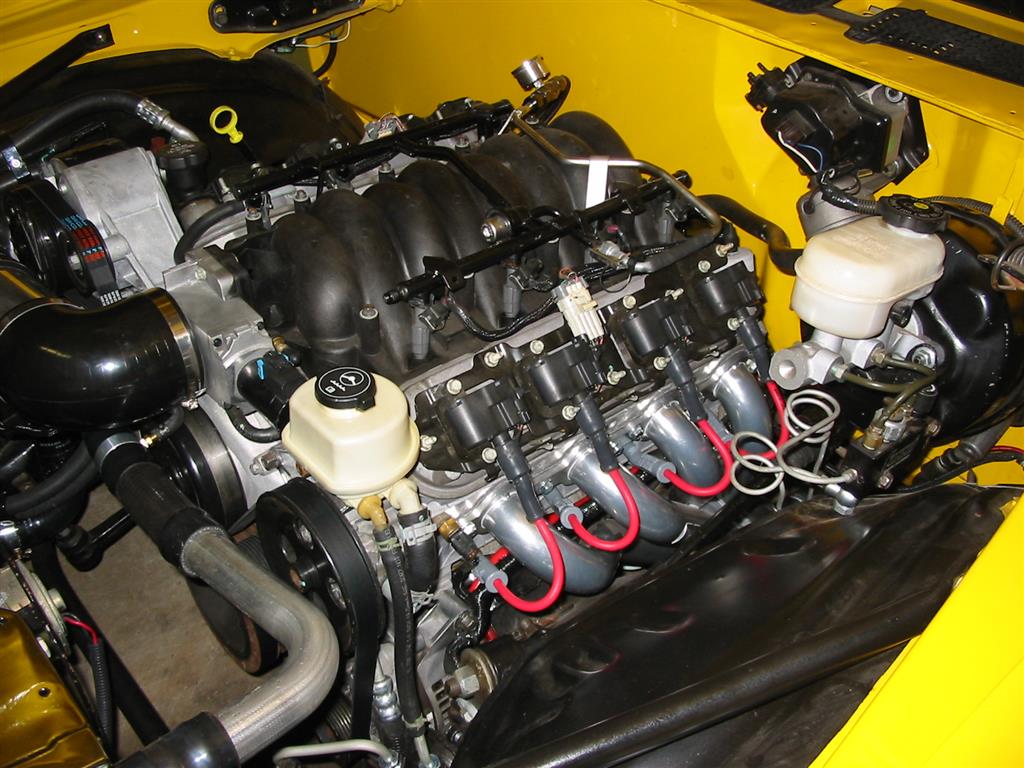
- The time spent customizing the harness is well worth it. The only visible wires are the injector and coil wires. This winter I may rewire the coils to move the plug to the rear of the heads. I really hate how that big white plug in the middle of the coil harness looks.
- If I was starting from scratch and the car interior wasn't complete, I would go with a F-Body or Magnum T56 and just cut the floor and mount the console and hand brake back a few inches.
- The CTS-V shifter isn't the best. I may work on adapting a Mustang Shelby shifter and offset the whole shifter mechanism instead of the stick this winter.
- I am not happy with the 3 inches of ground clearance I have right now with the Dynatech headers. I can raise the car some using the lower mounts of the the Pro-Touring F-Body rear shackles that I have and raise my coil overs in the front to gain some clearance but not much more. I don't know why they designed them like this. I have nearly 2 inches clearance between the tops of the headers and the floor.
- Love the hydraulic clutch over the old linkage. All the time spent with adapting the CTS-V slave cylinder was well worth the time.
Status photos as of 10/06/2014:
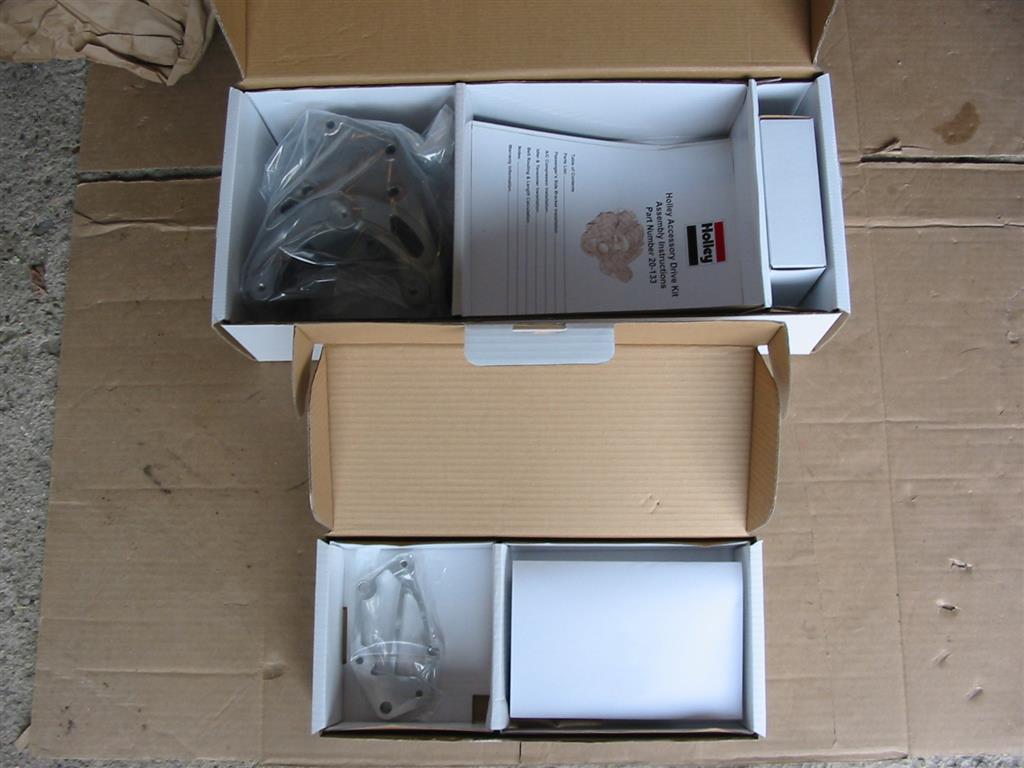
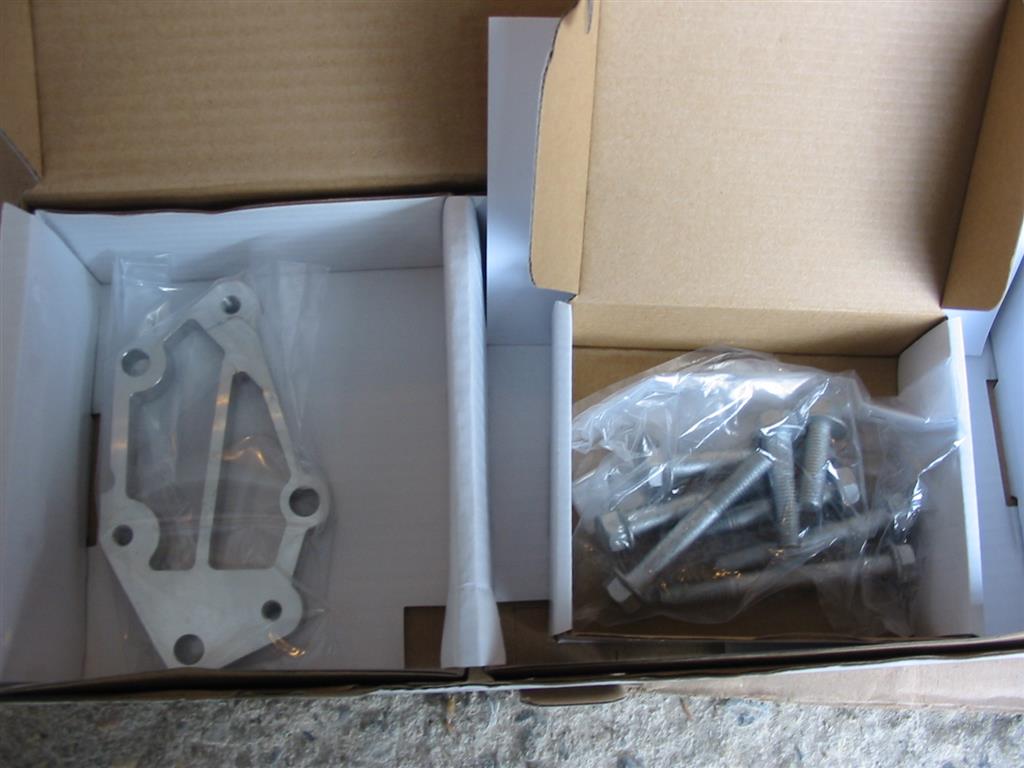
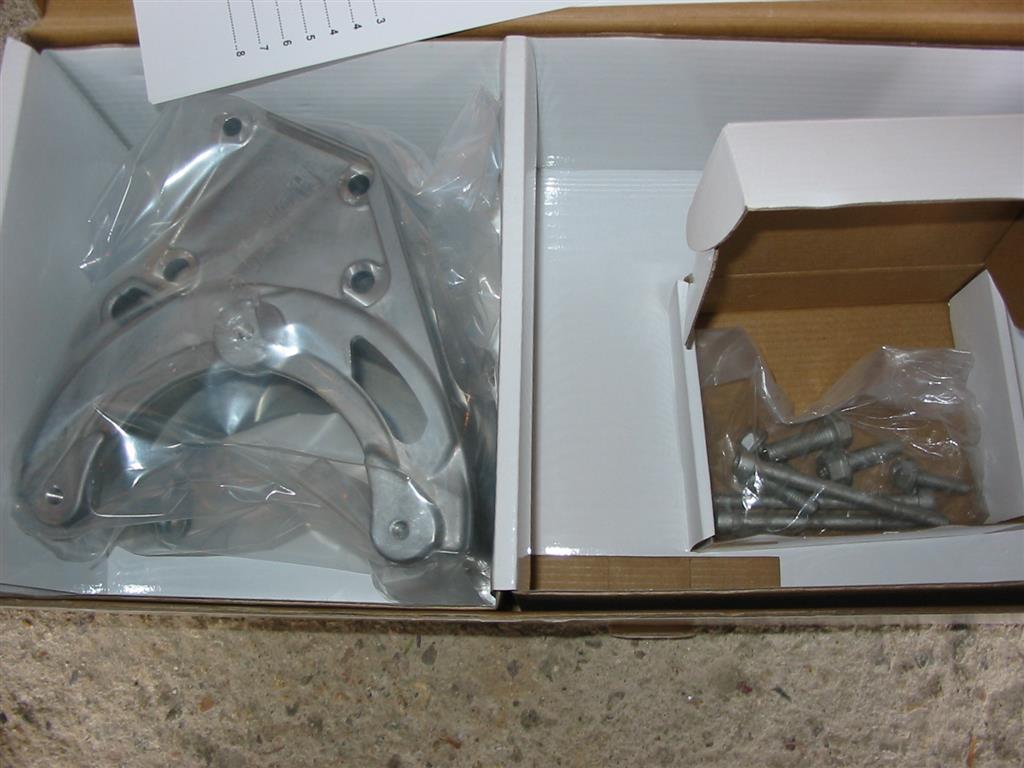
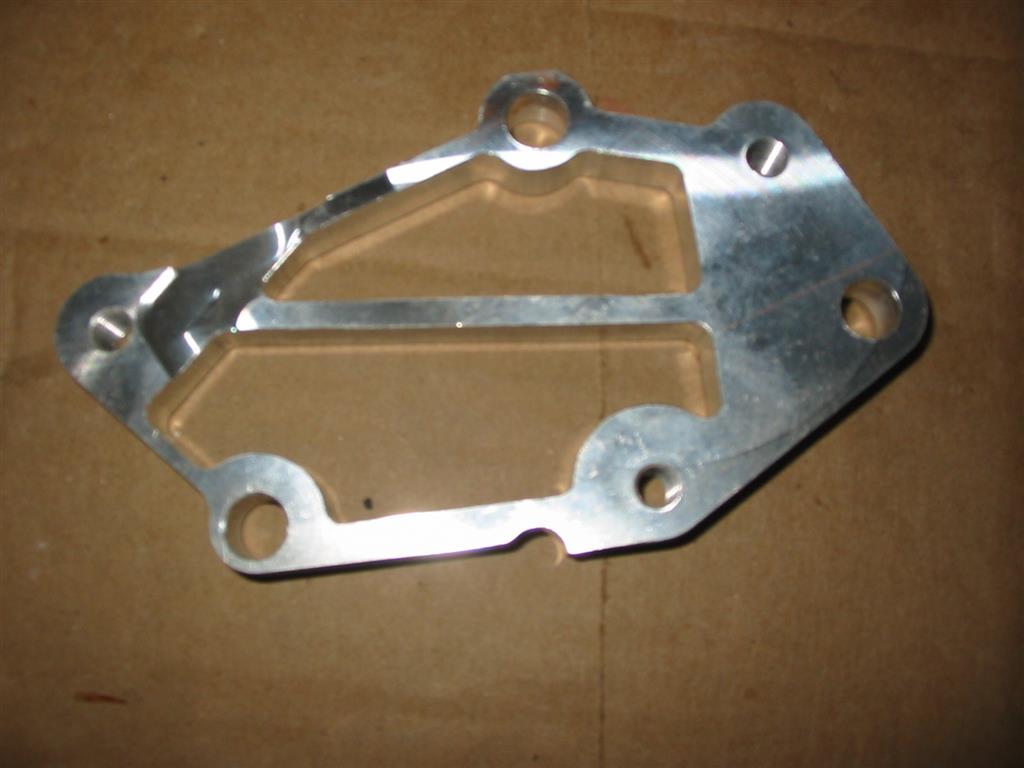
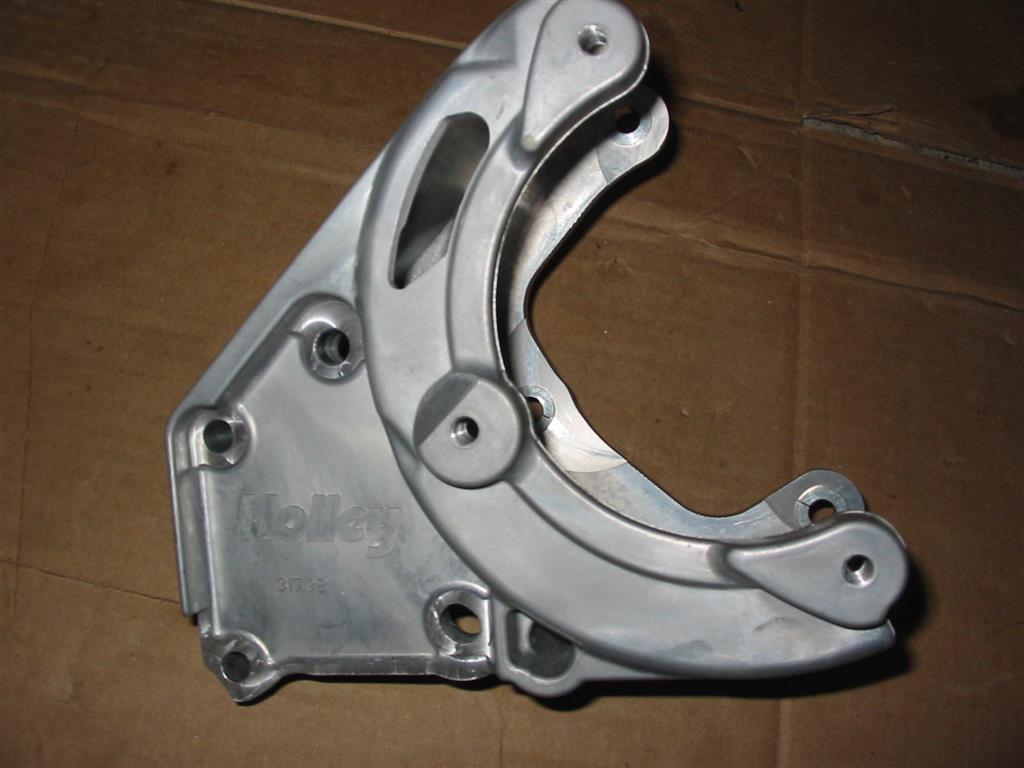
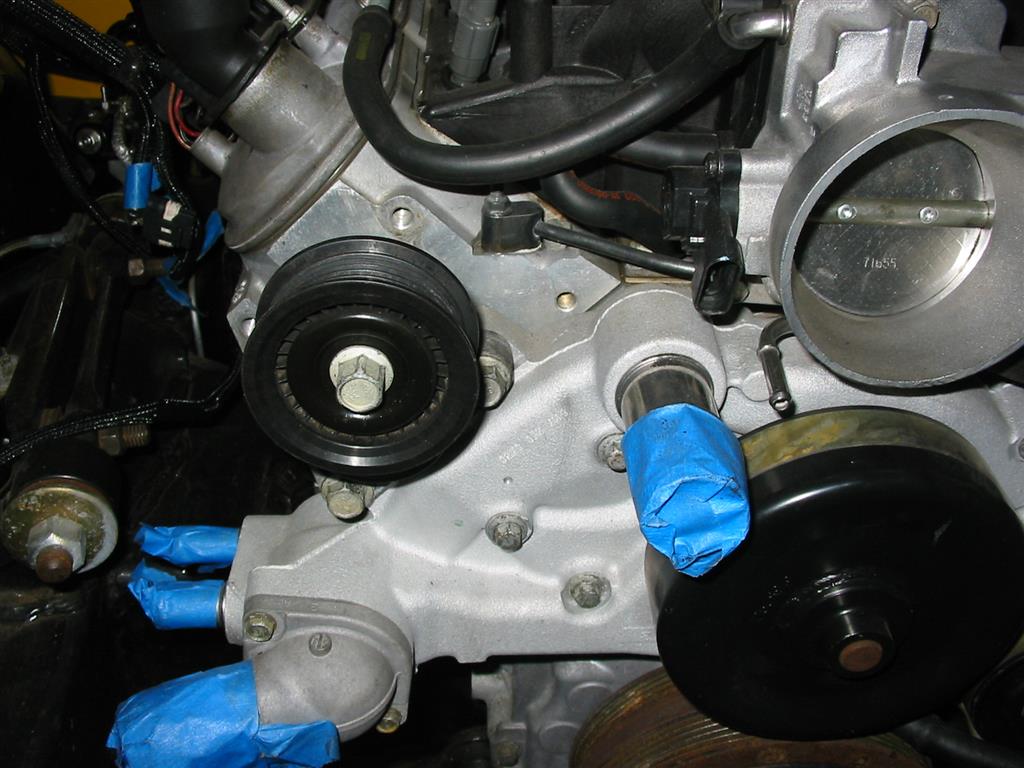
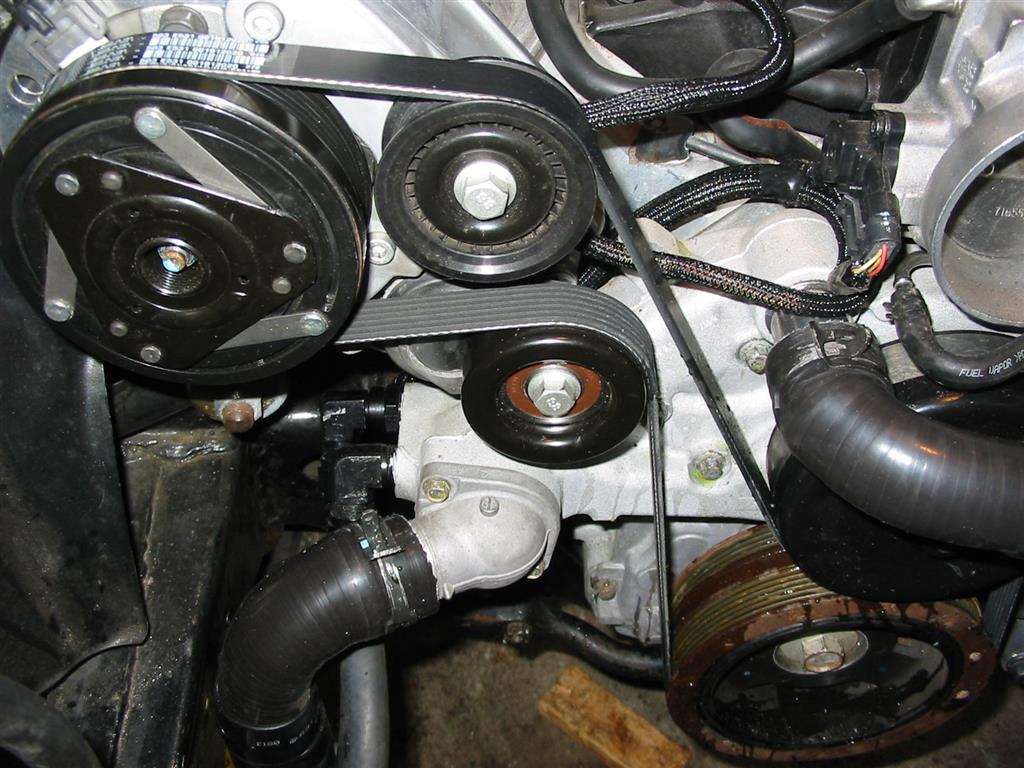
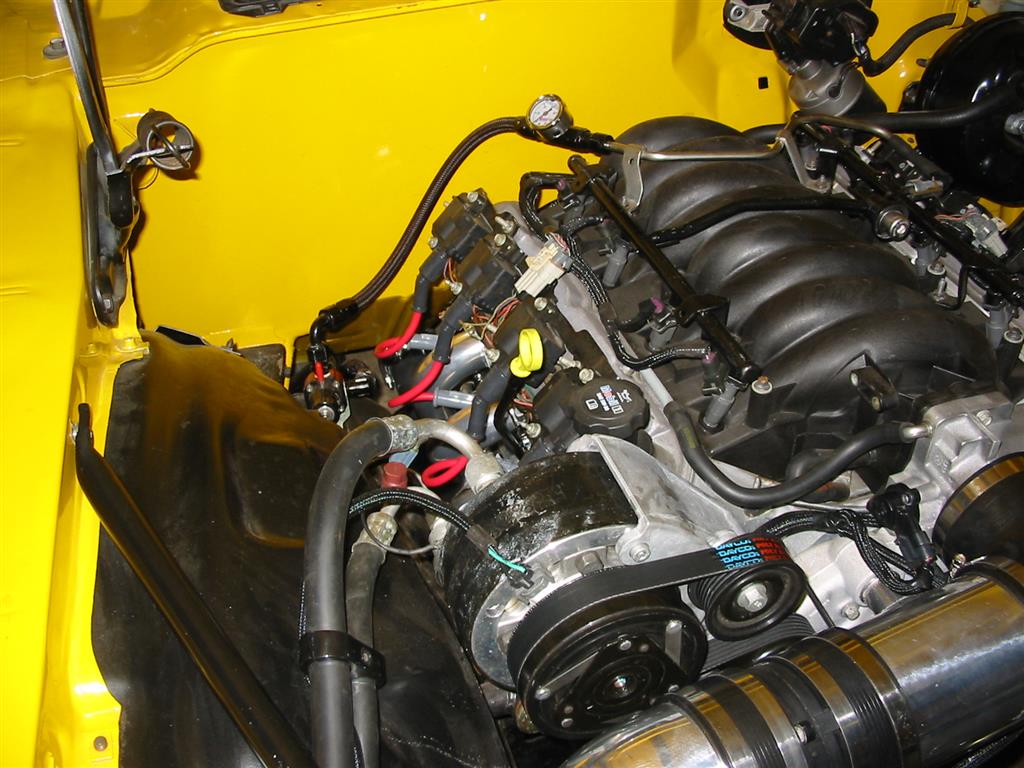
| For the engine accessories I used a combination of the factory accessory brackets and a Holley bracket. I used the factory brackets for the driver side mounting of the alternator and power steering pump. The Holley bracket is used to mount the R4 AC compressor high up on the passenger side of the engine. I was lucky and the compressor was positioned in the exact same place as the previous GM serpentine bracket that I had. I didn't need to unhook the AC lines so the system stayed charged. Here are the Holley A/C brackets. | ||
|
|
|
|
|
|
|
|
|

|
||
| This is the before shot of the passenger side factory brackets. The idler pulley will be reused. | This is what the Holley AC bracket looks look installed. | |
|
|
|

|
|
|
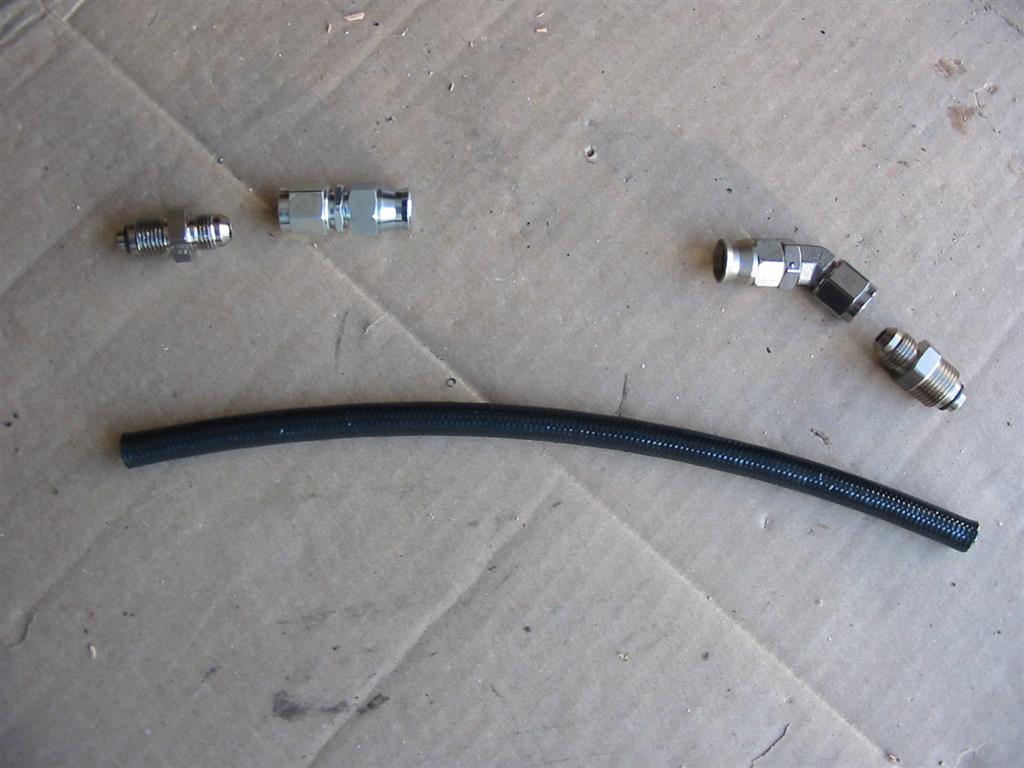
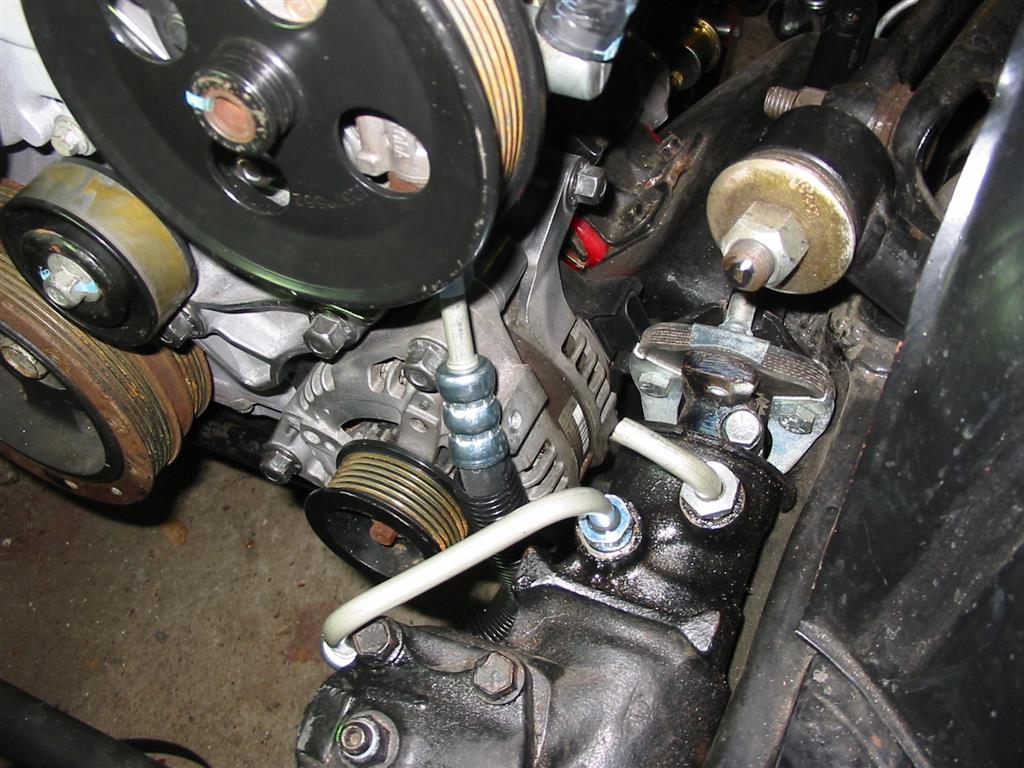
| I then needed to find a way to hook up the LS power steering pump to the power steering box. I had previously installed a power steering box out of an 80s IROC Camaro so the box has metric fittings already. The original ideal was to install braided power steering lines. However; the adapter for the AN lines wouldn't clear the back of the power steering pump pulley. Here are pictures of that failed attempt. | ||
|
|
|
|
||
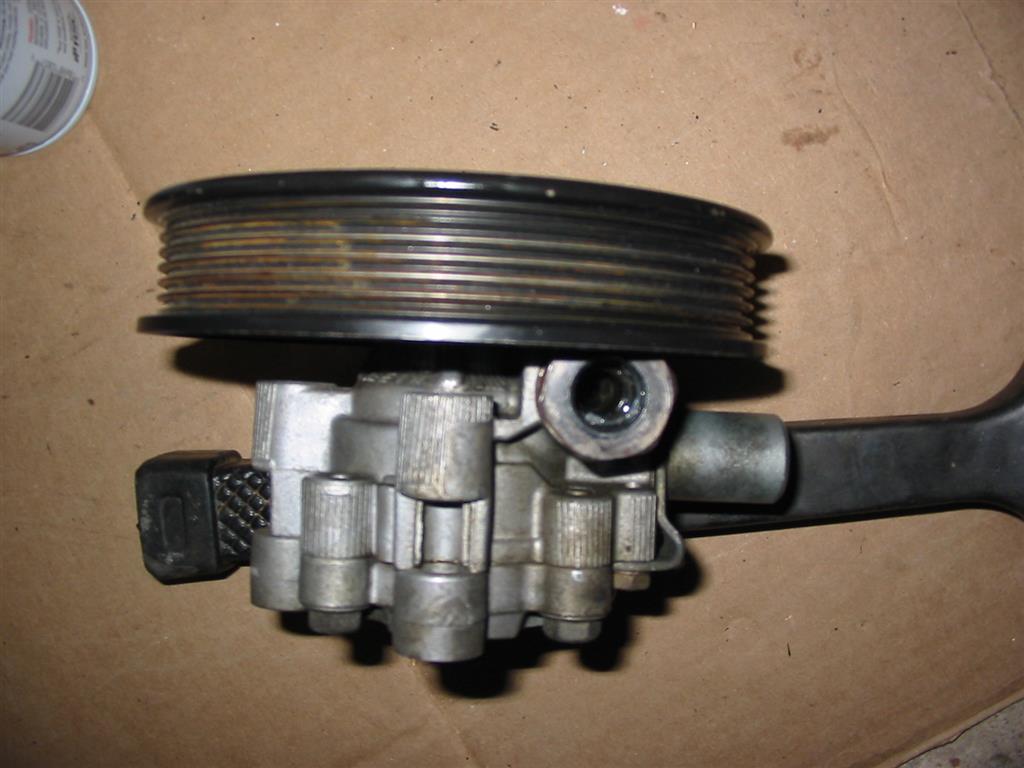
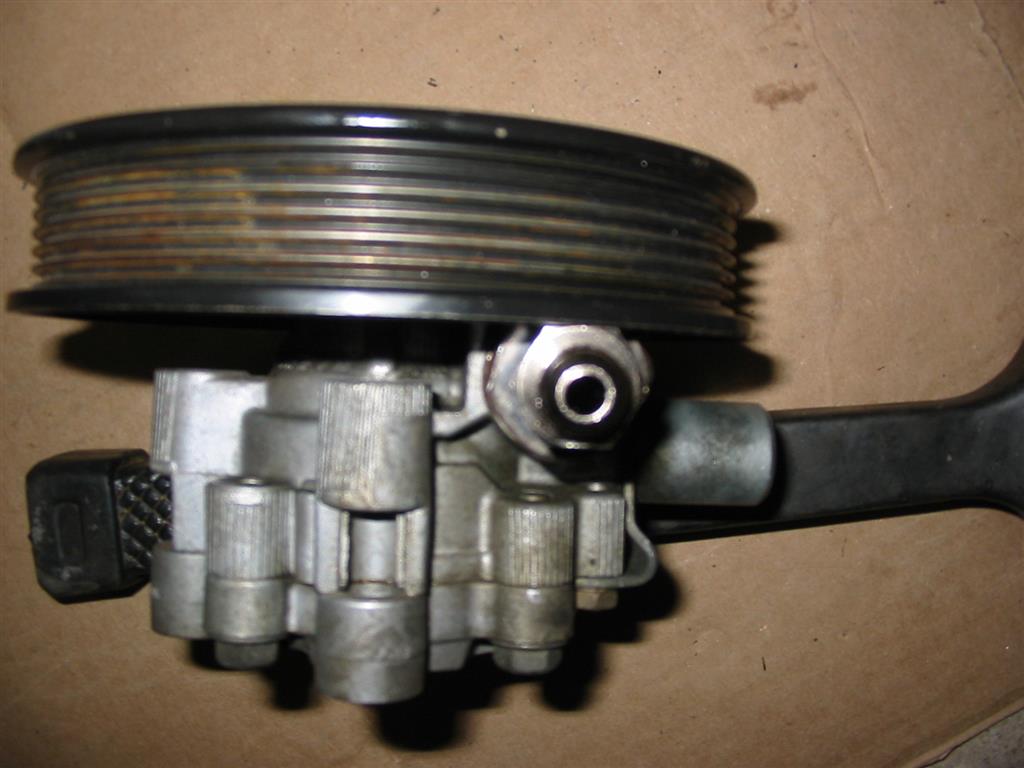
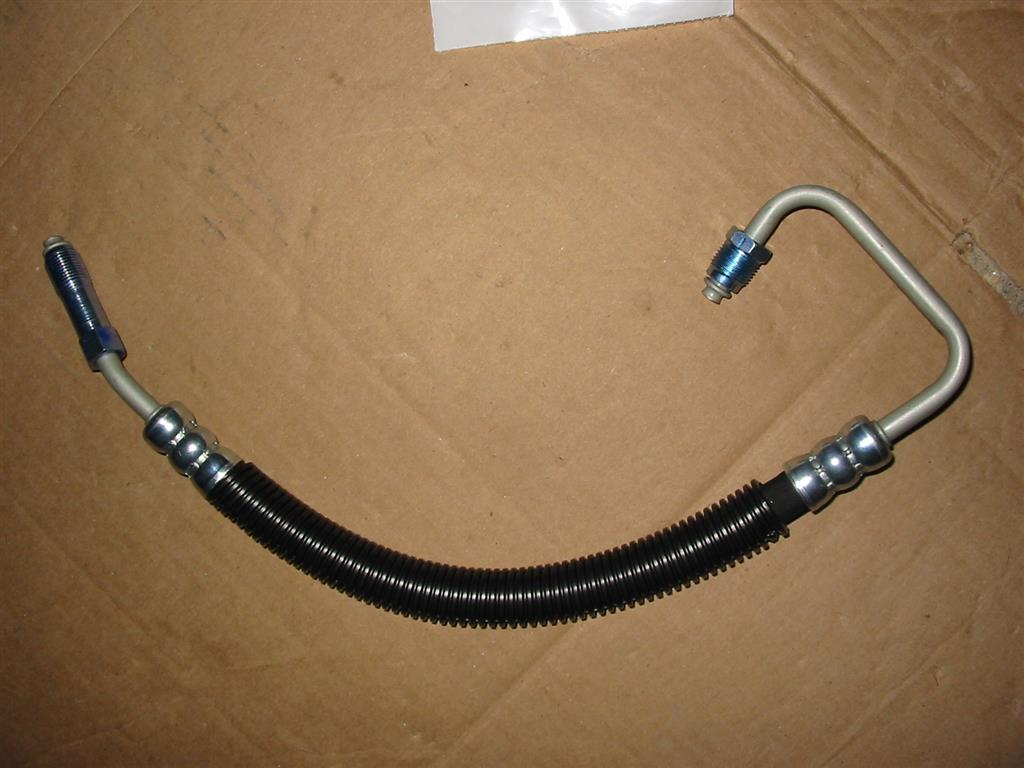
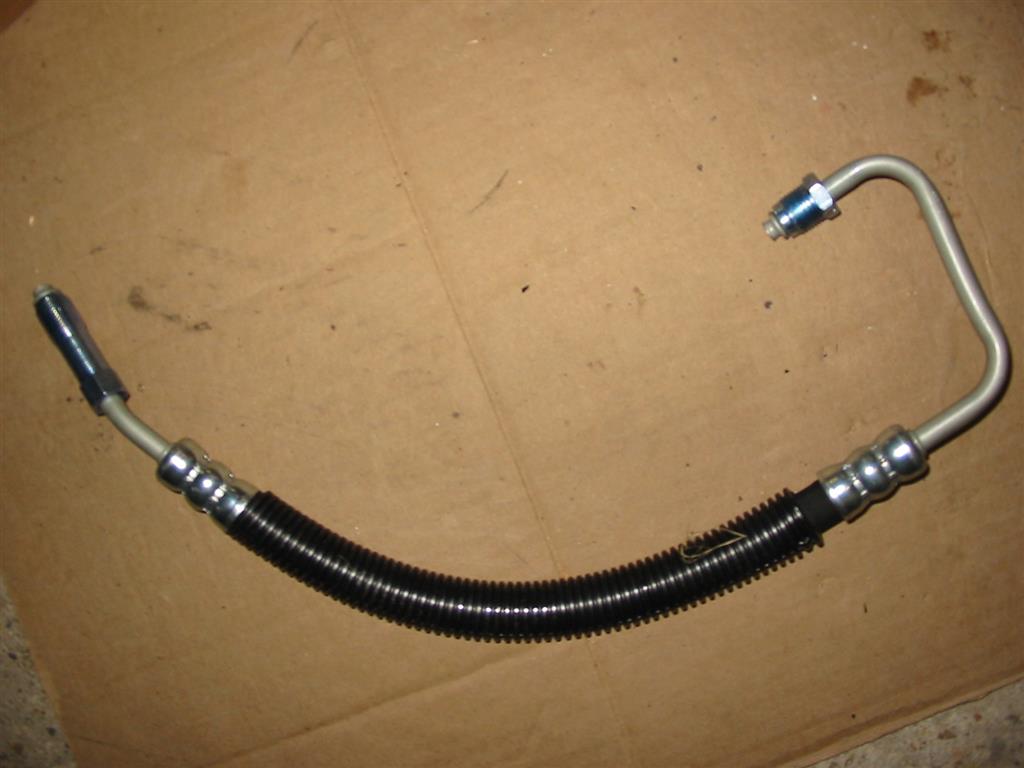
| The solution for my power steering pressure line was a line from a C5 Corvette. It took minimal bending to make the line fit. | ||
|
|
|
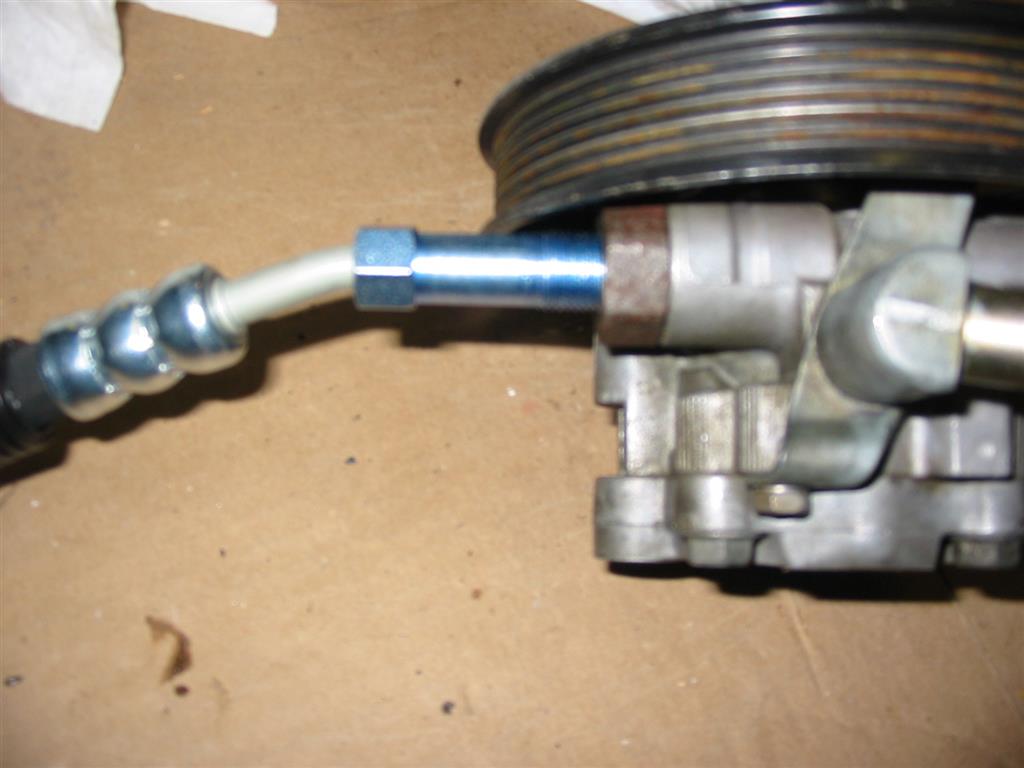
| Here is the line installed. Notice the length of the fitting that mounts the line to the pump. This allows the nut to clear the pulley. | ||
|
|
|

|
||
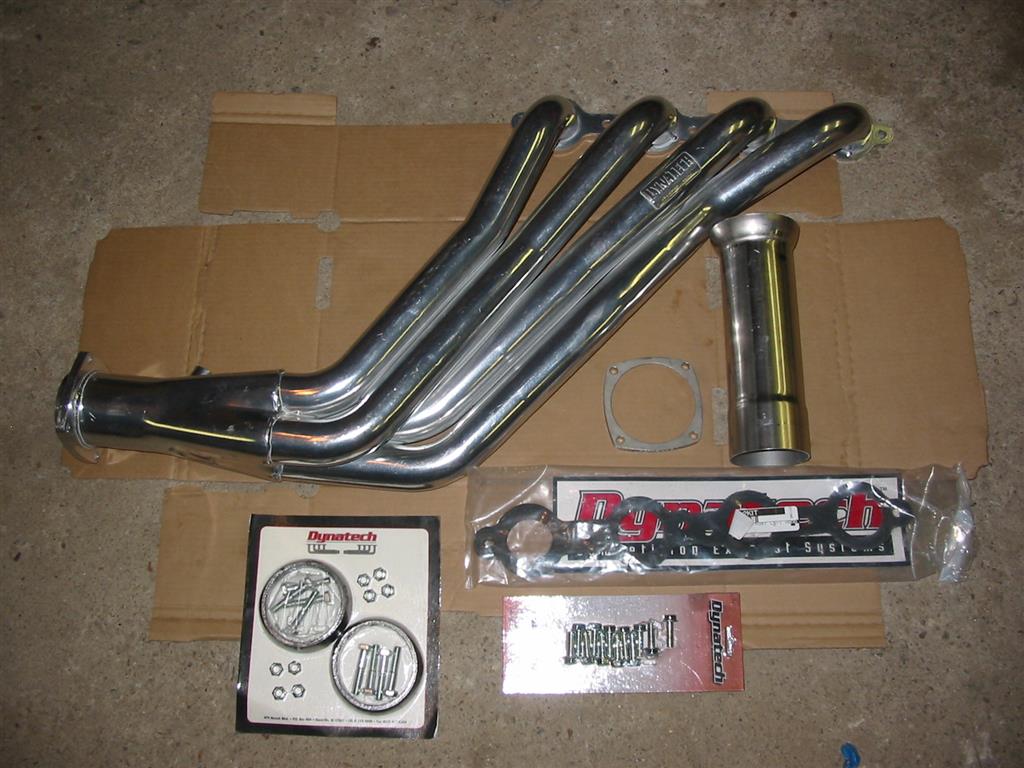
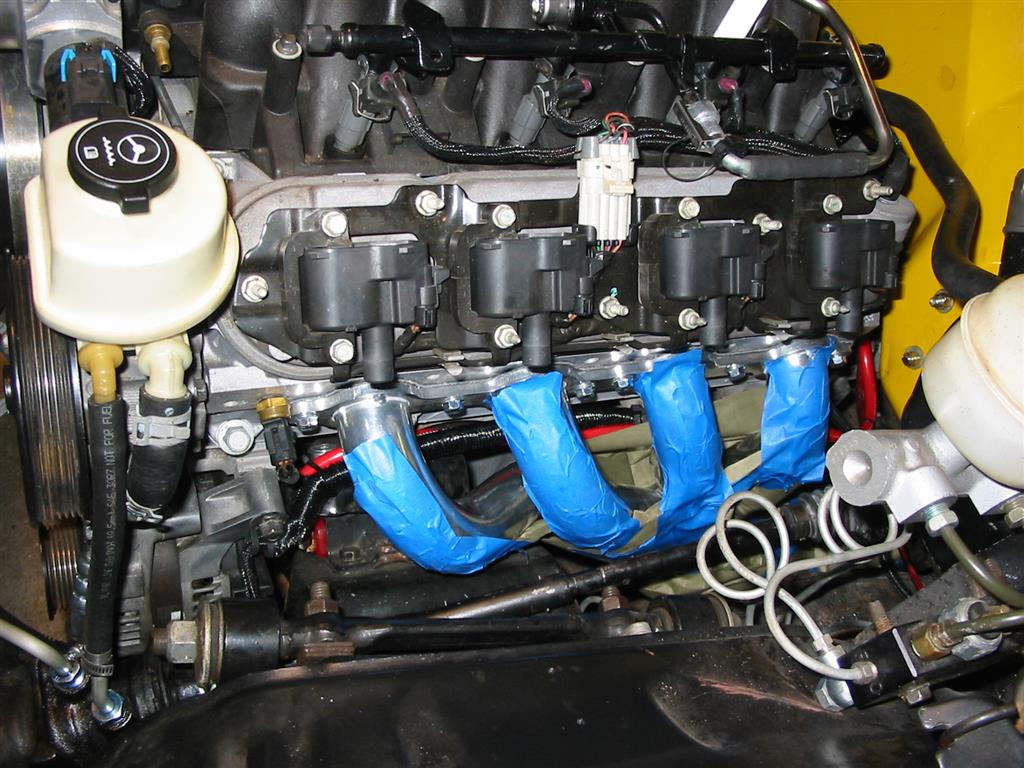
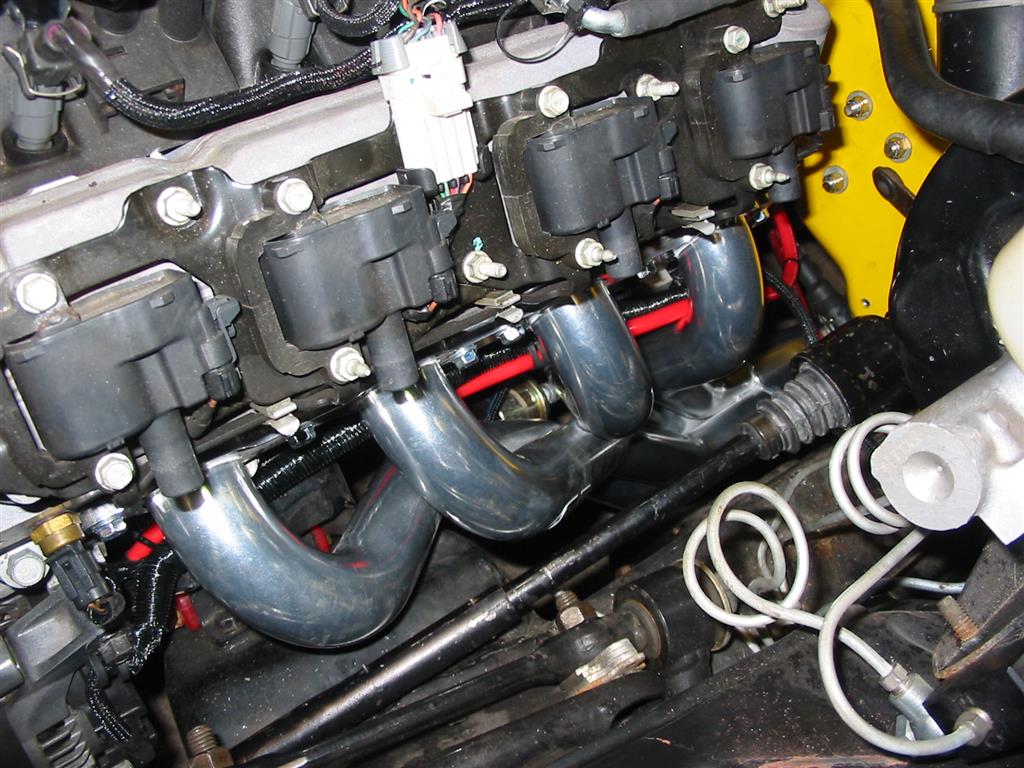
| Here are the Dynatech ceramic coated headers. These come with everything needed to install them into the car. The headers have 1-7/8" Primary Tubes and 3 inch collectors. They were very easy to install and they look great but hang very low. | ||
|
||
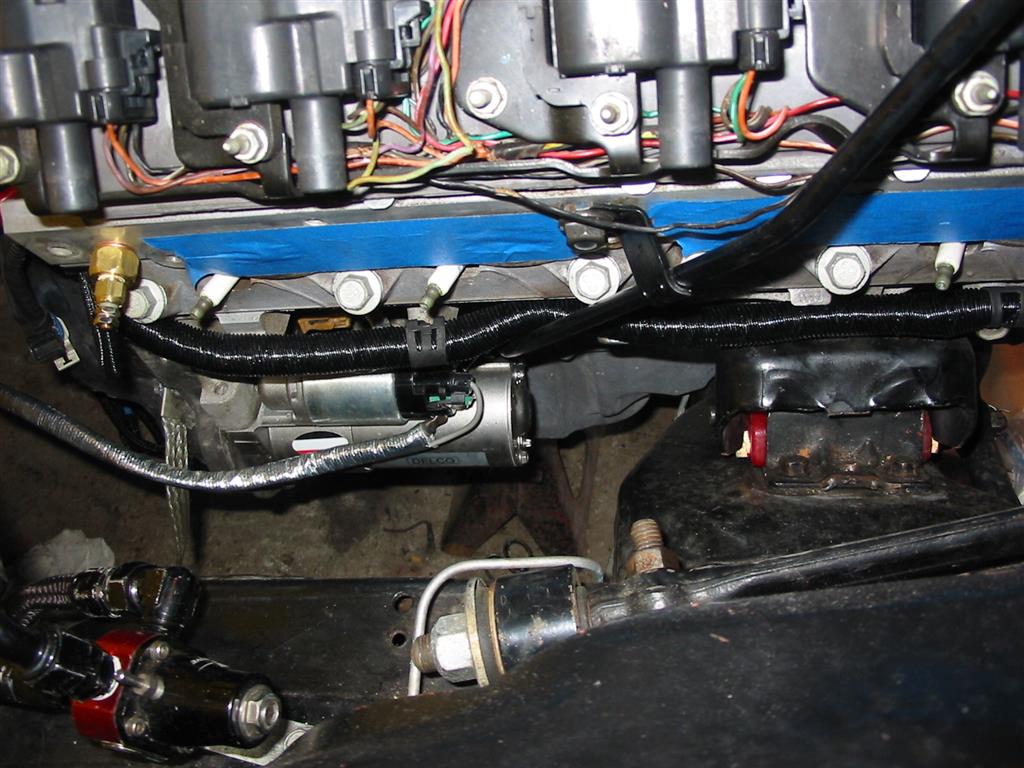
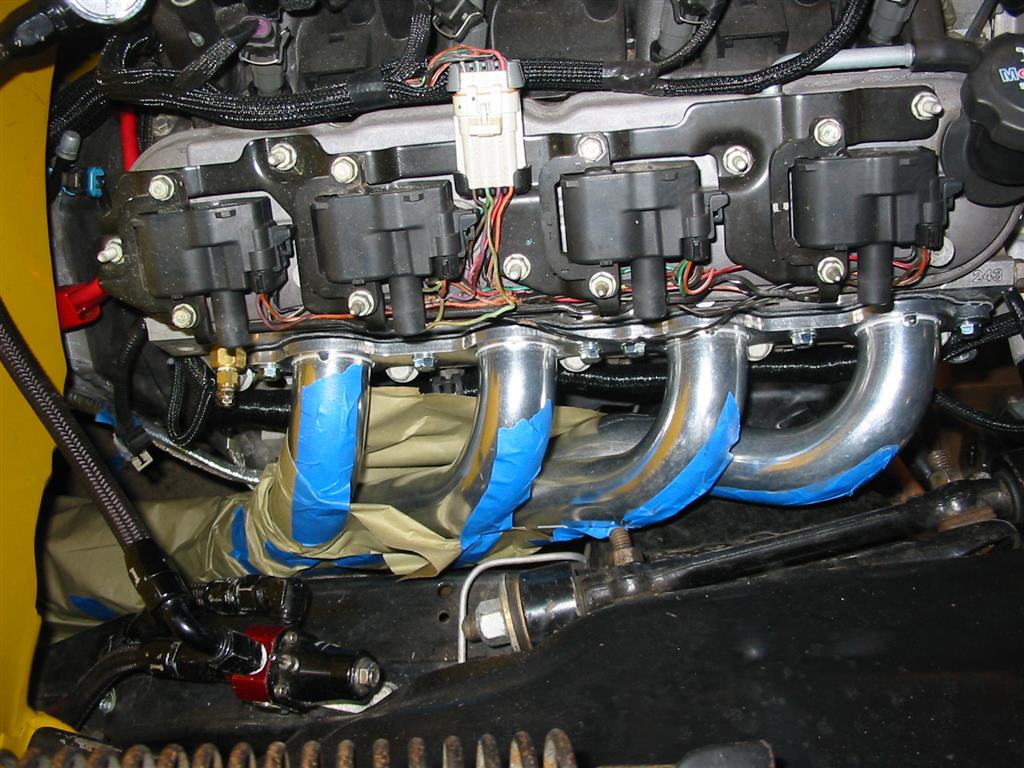
| Here is the installation of the passenger side header. Behind the header is the engine harness covered with a high heater cover. | ||
|
|
|
|
|
|
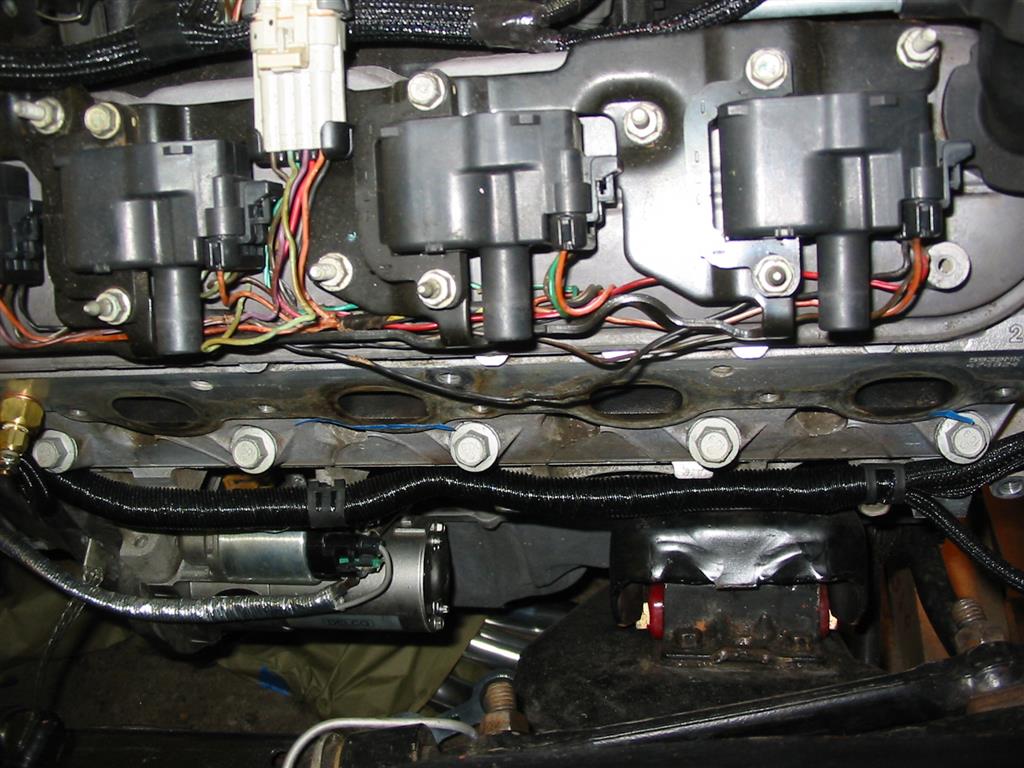
| Here is the installation of the drivers side headers. | ||
|
|
|
|
|
|
|
|
|
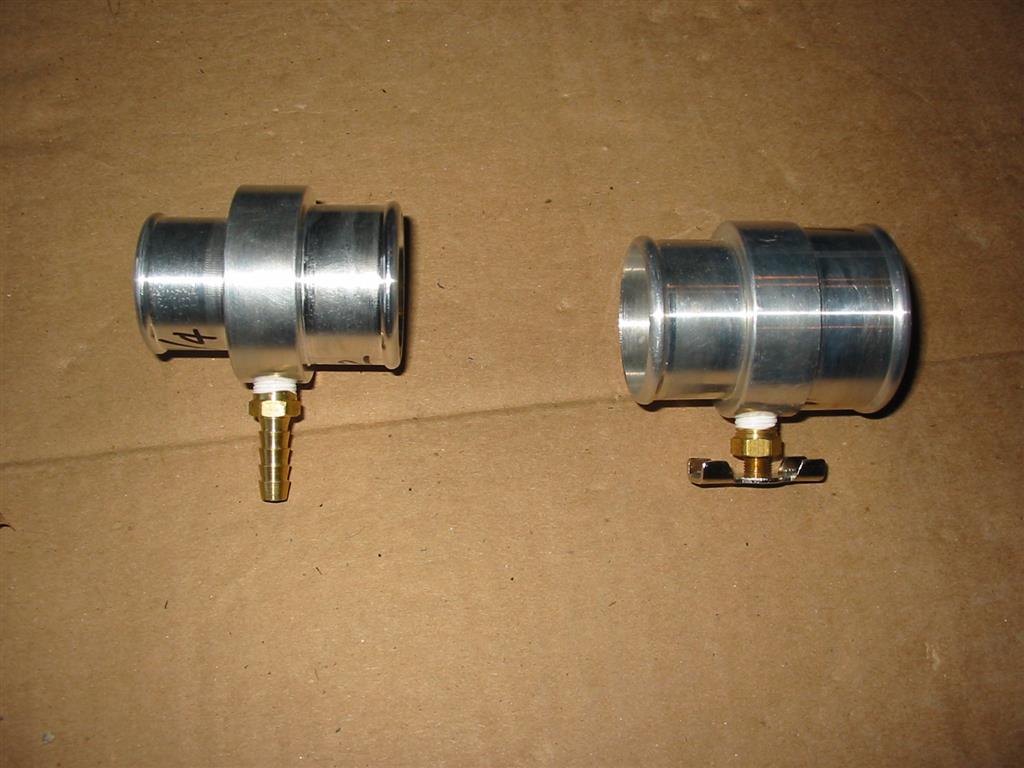
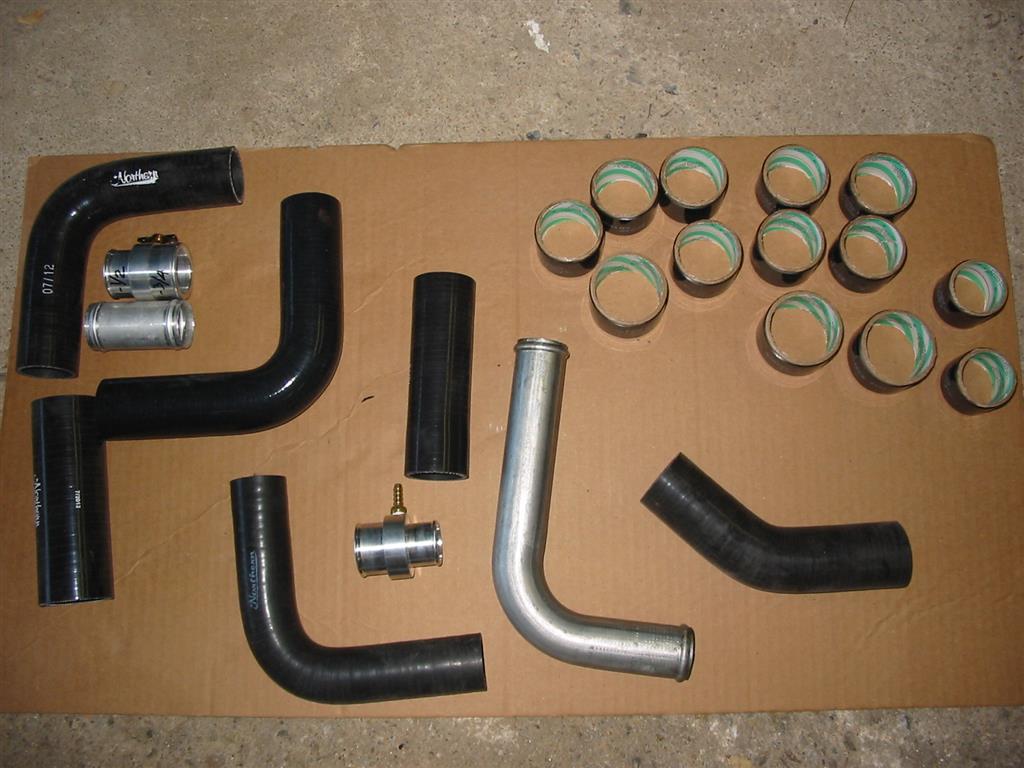
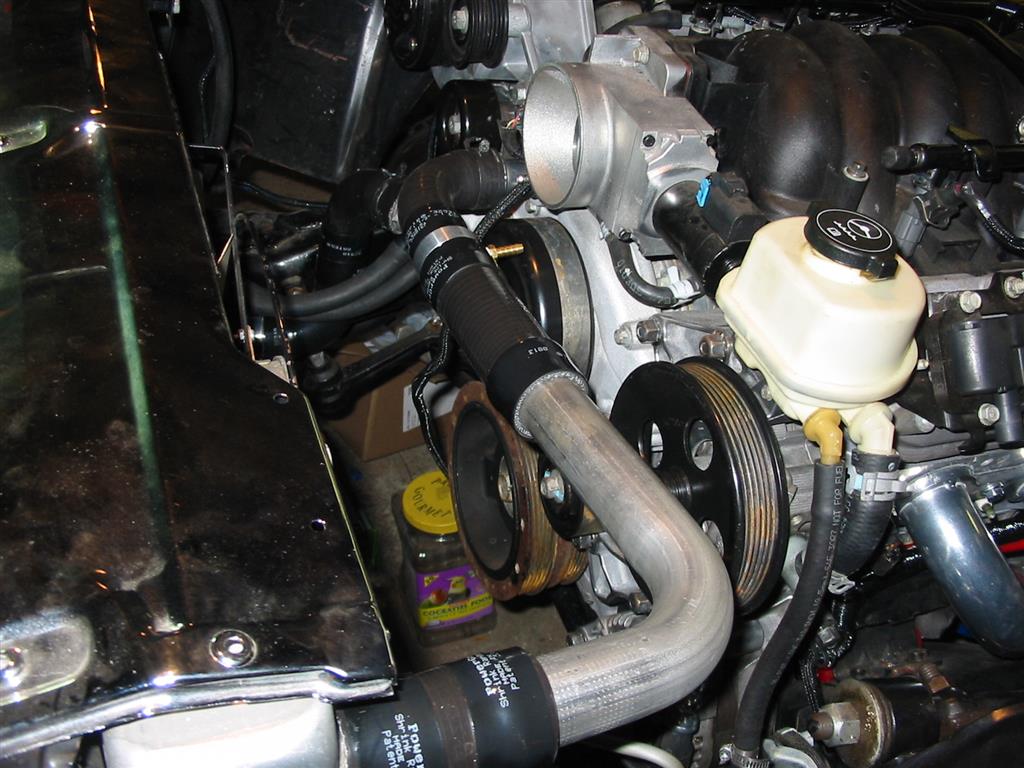
| These are some adapters the I purchased from jagsthatrun.com for the radiator hoses. The LS uses 1 1/4 and 1 1/2 radiator hoses. My radiator uses the traditional 1 1/2 and 1 3/4 hoses. The top hose adapter 1 1/4 to 1 1/2 has a fitting for the steam vent. The bottom hose adapter 1 1/2 to 1 3/4 has a drain installed in it since my radiator does not have a drain. I also purchased several pieces of 1 3/4, 1 1/2 and 1 1/4 silicone hose, steel pipe and Gates PowerGrip hose clamps. | ||
|
|
|
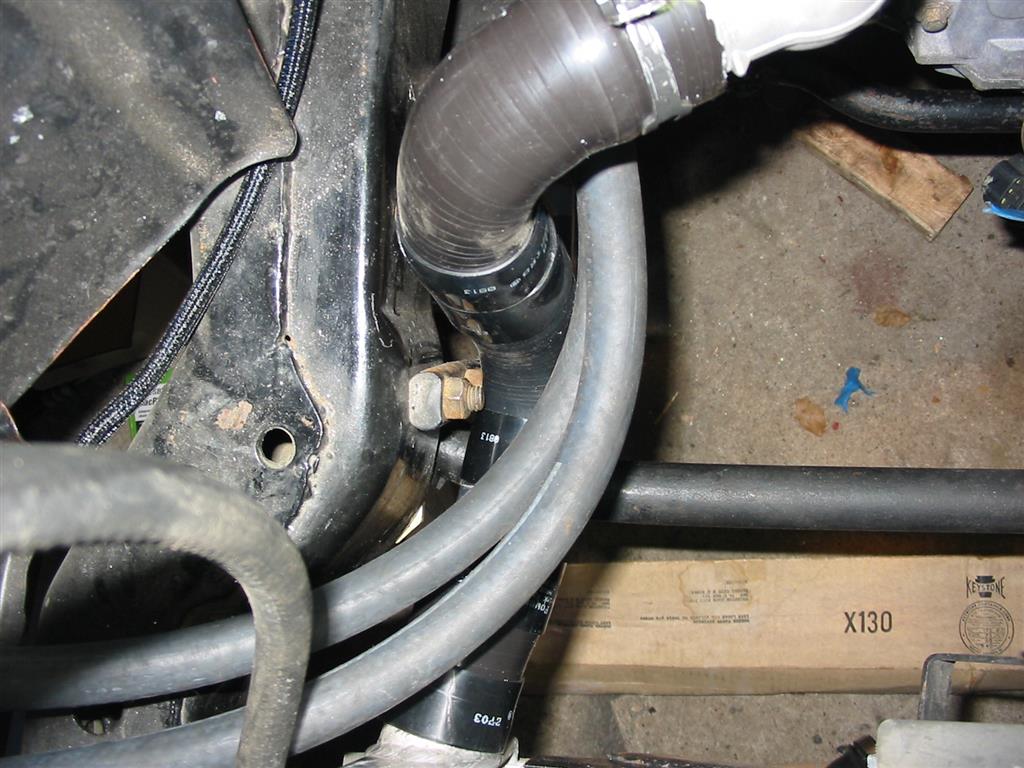
| The lower hose was built using 1 3/4 inch silicone hose at the radiator, 2 90 degree 1 1/2 inch silicone hoses and a 1 1/2 inch short metal tube to connect the 90 silicone hoses. I used the PowerGrip hose clamps on all connections except for the connection at the thermostat. At the thermostat I used the factory clamp. | ||
|
|
|
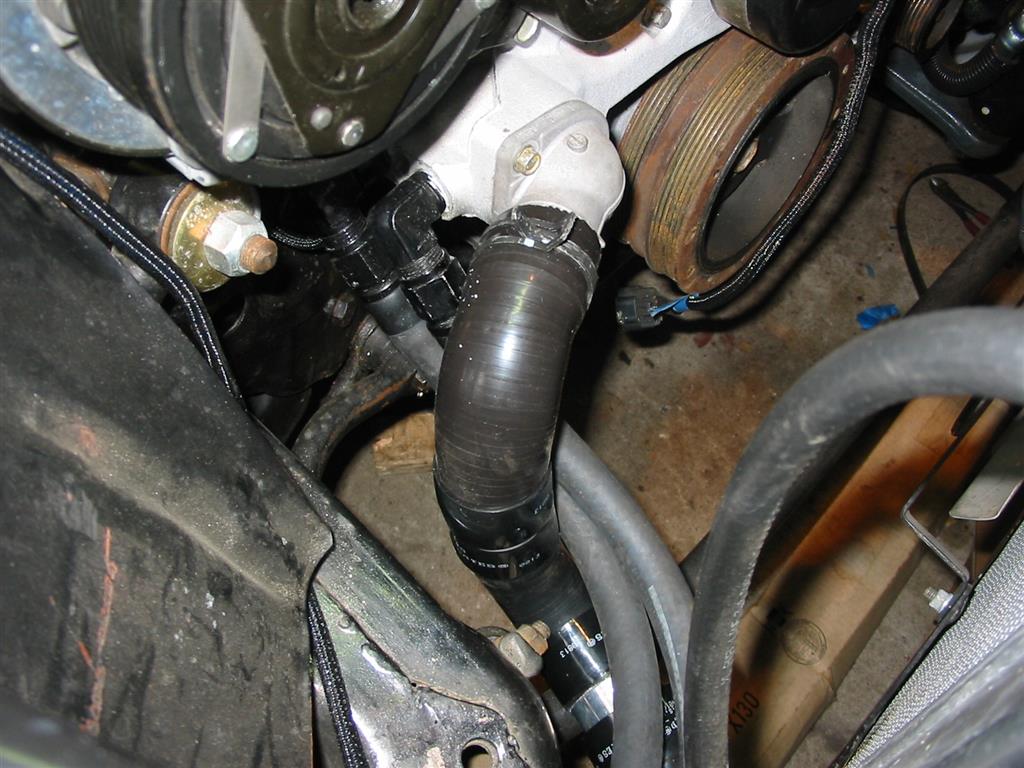
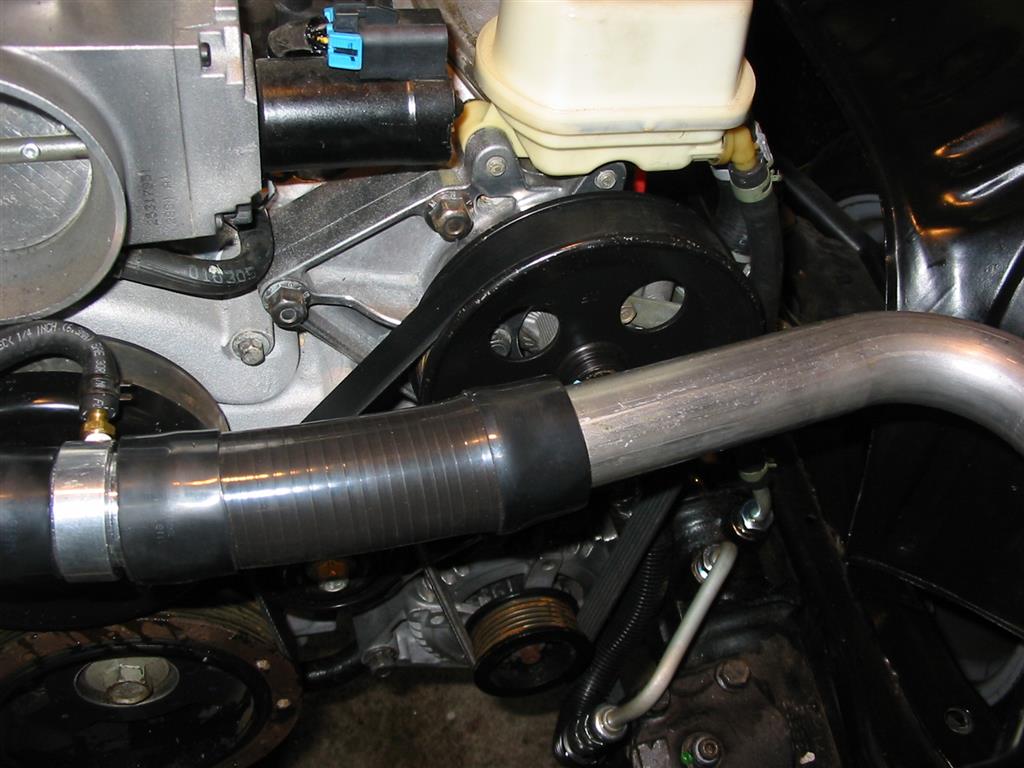
| The upper hose was built using 1 1/2 inch silicone hose at the radiator, I 90 degree 1 1/2 inch metal tube, 1 1/2 inch silicone hose, and a 1 1/4 inch 90 degree silicon hose. I used the PowerGrip hose clamps on all connections except for the connection at the water pump. | ||
|
|
|
|
|
|
|
||
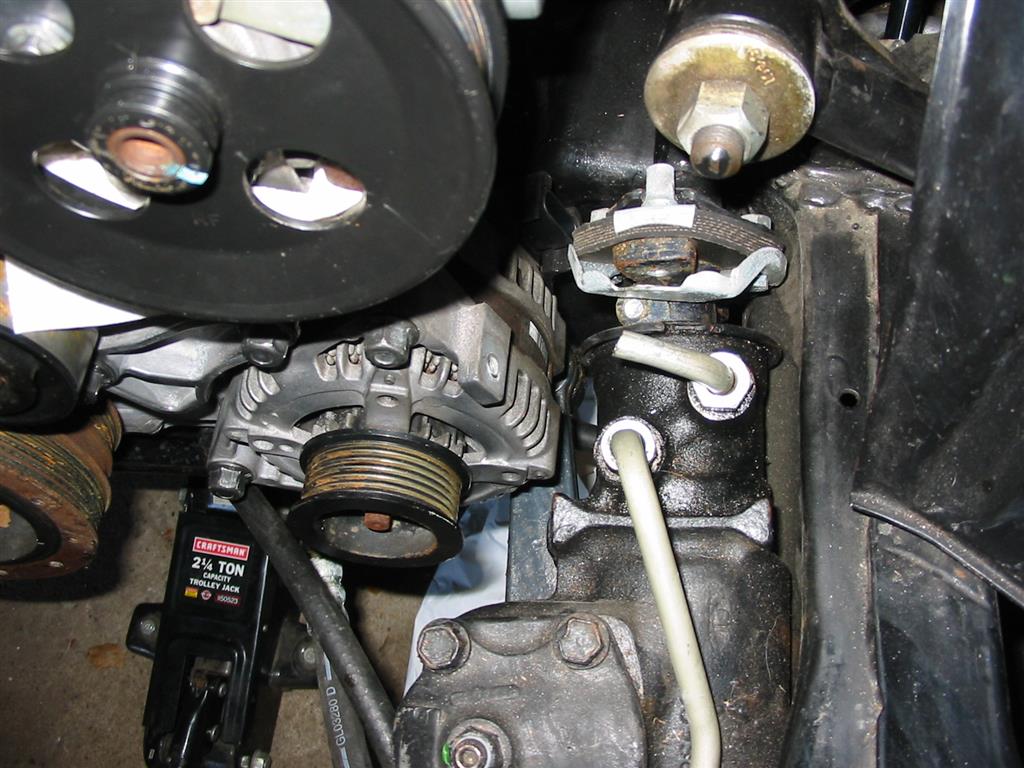
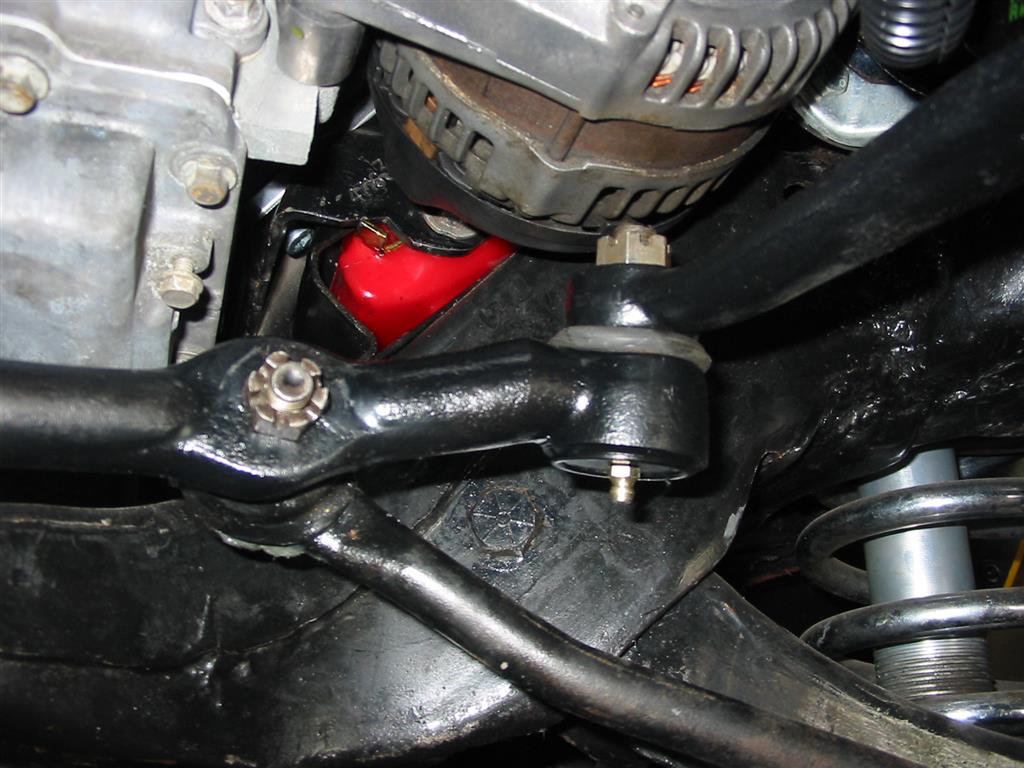
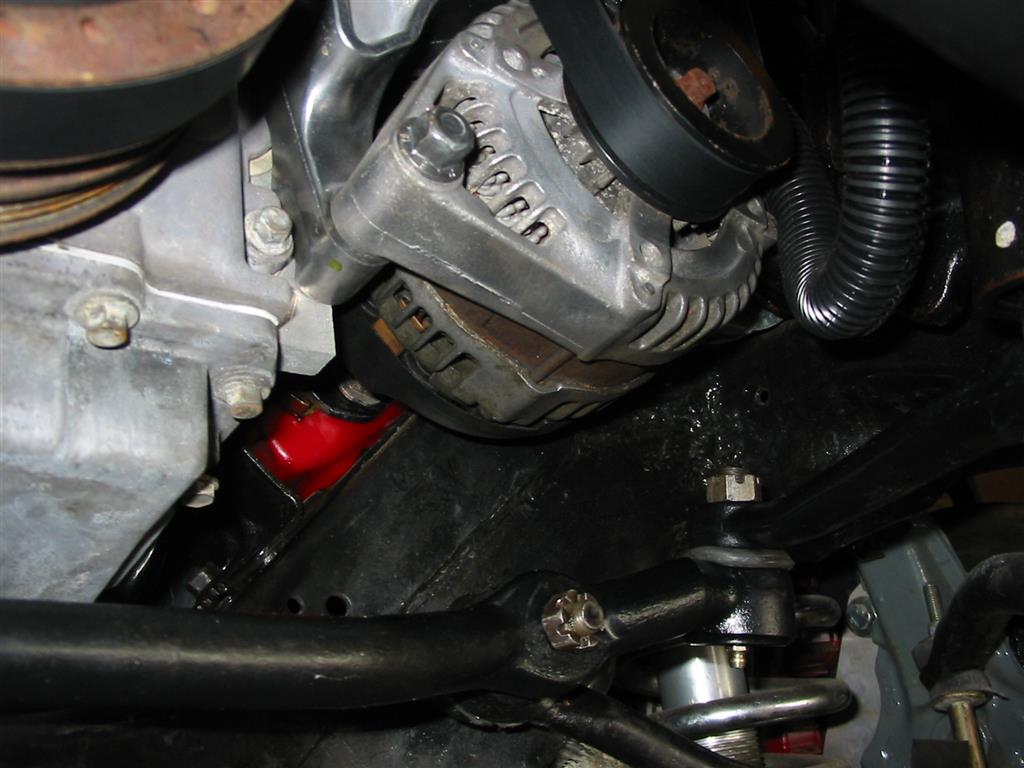
| The alternator is mounted low on the Cadillac accessory drive system. The factory Camaro pitman arm hits the alternator when turning the wheel. | ||
|
|
|
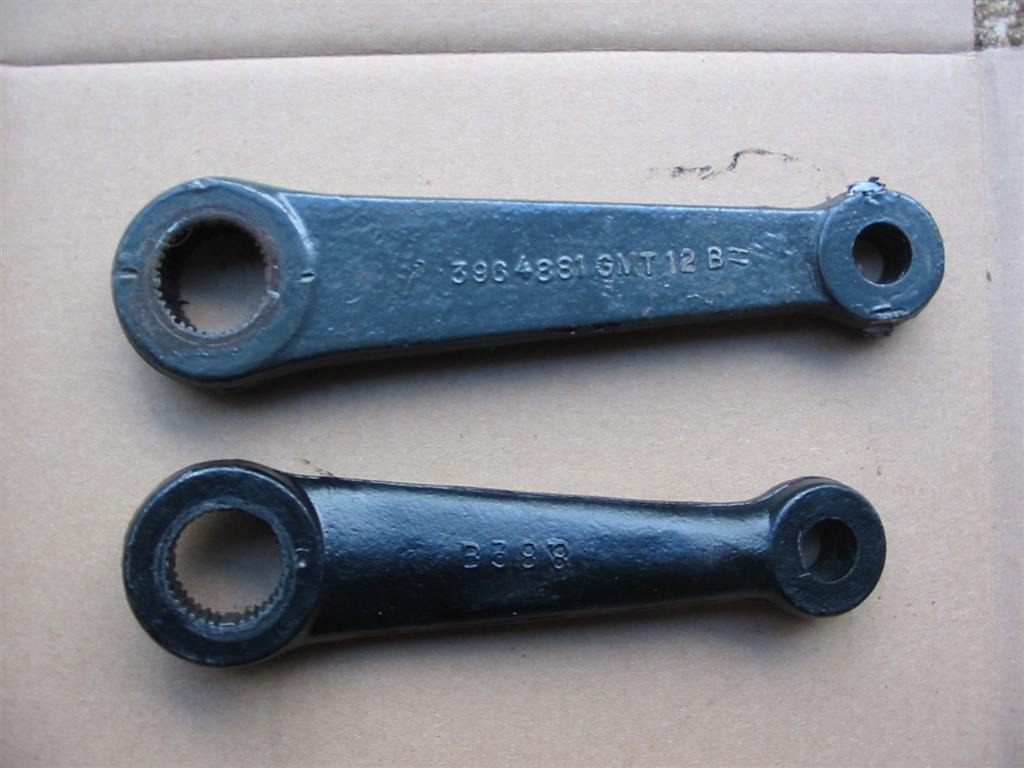
| The later second generation Firebirds uses a drop pitman arm. Below is a pitman arm from a 79 Trans Am and my factory arm. The bottom arm is from the Firebird. | ||
|
|
|
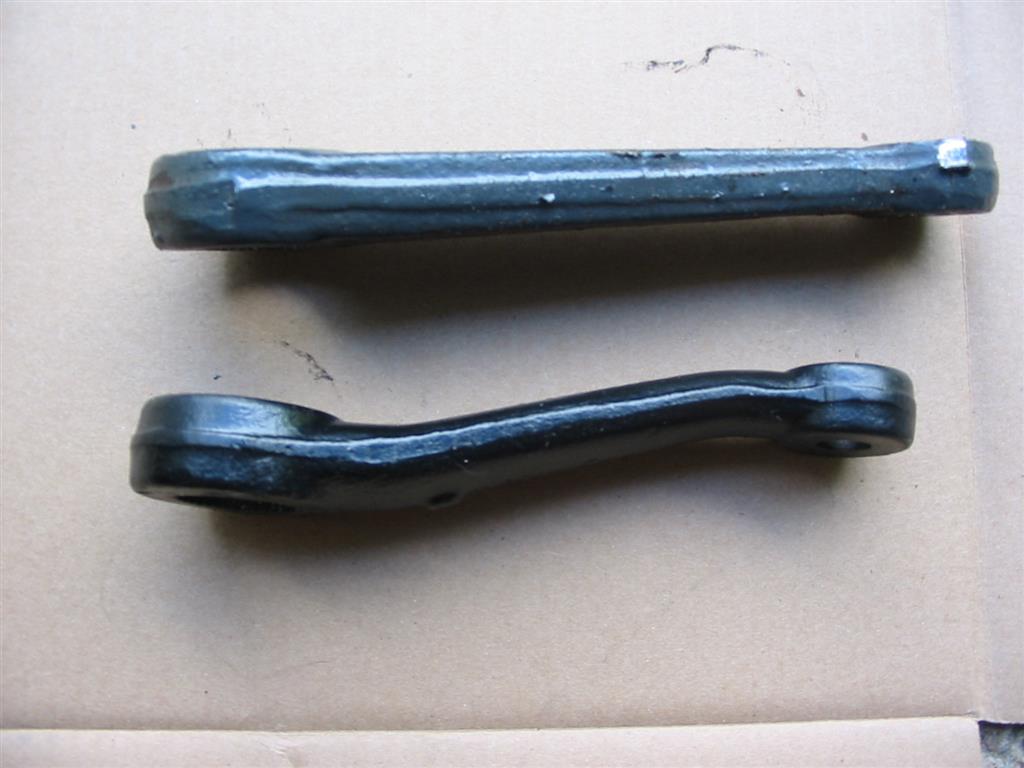
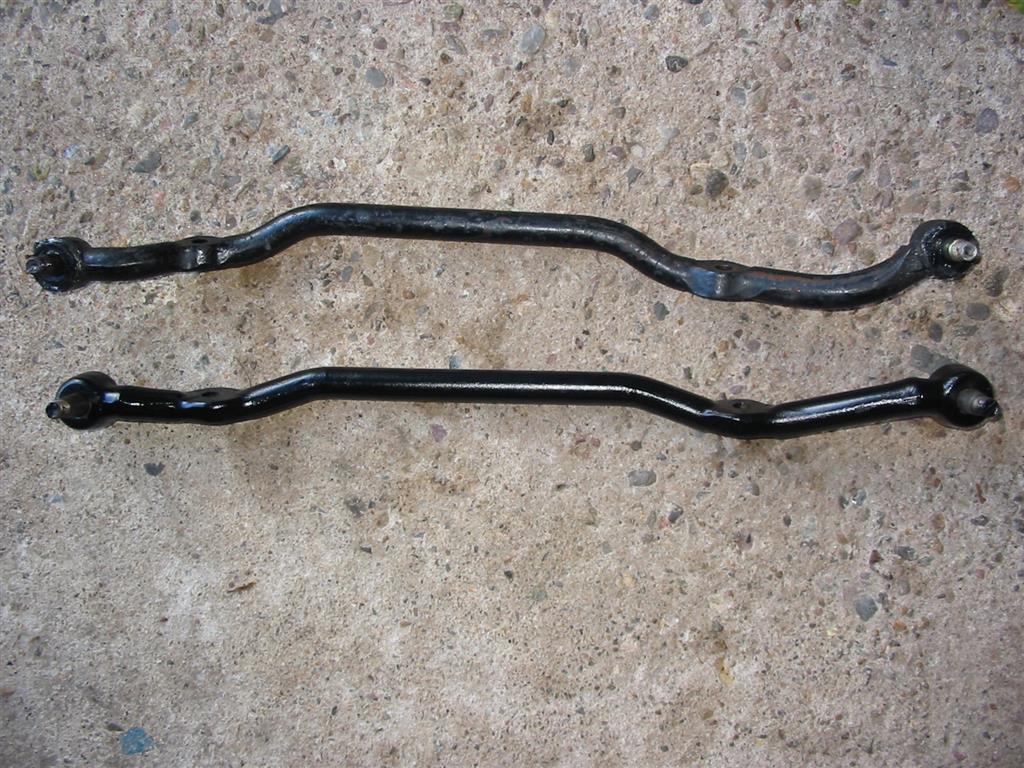
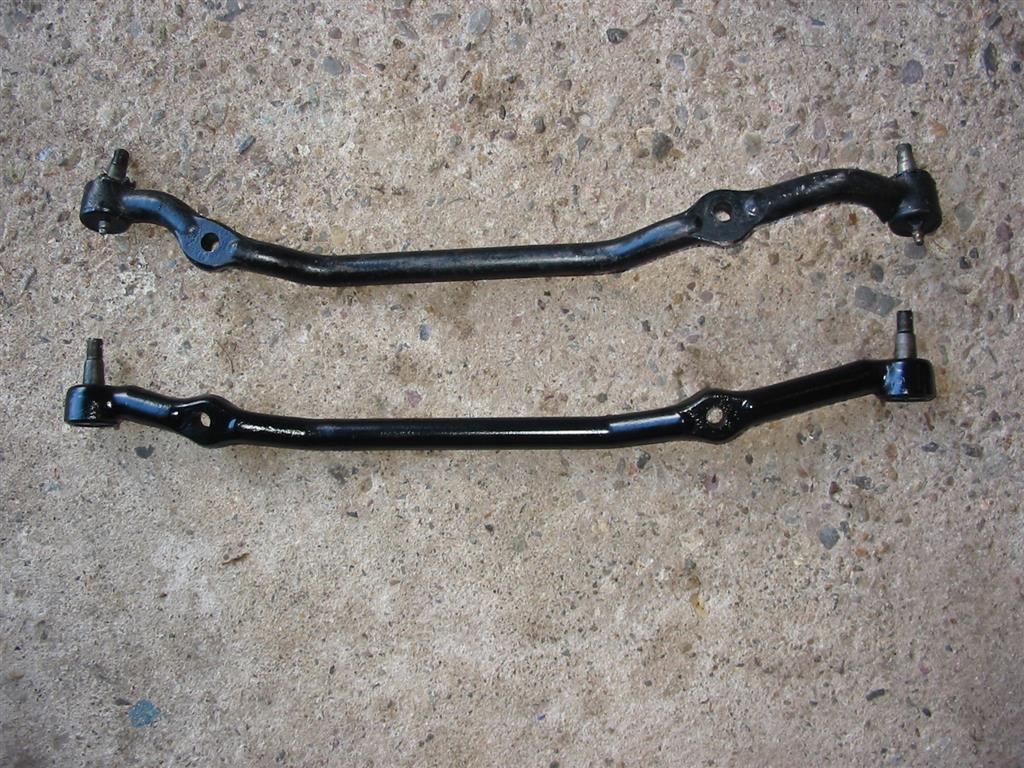
| To use the Firebird pitman arm, I needed to also buy the matching Firebird Drag Link. Below are pictures of the Firebird Drag Link and the factory Drag Link. The new Firebird draglink is on the bottom. | ||
|
|
|
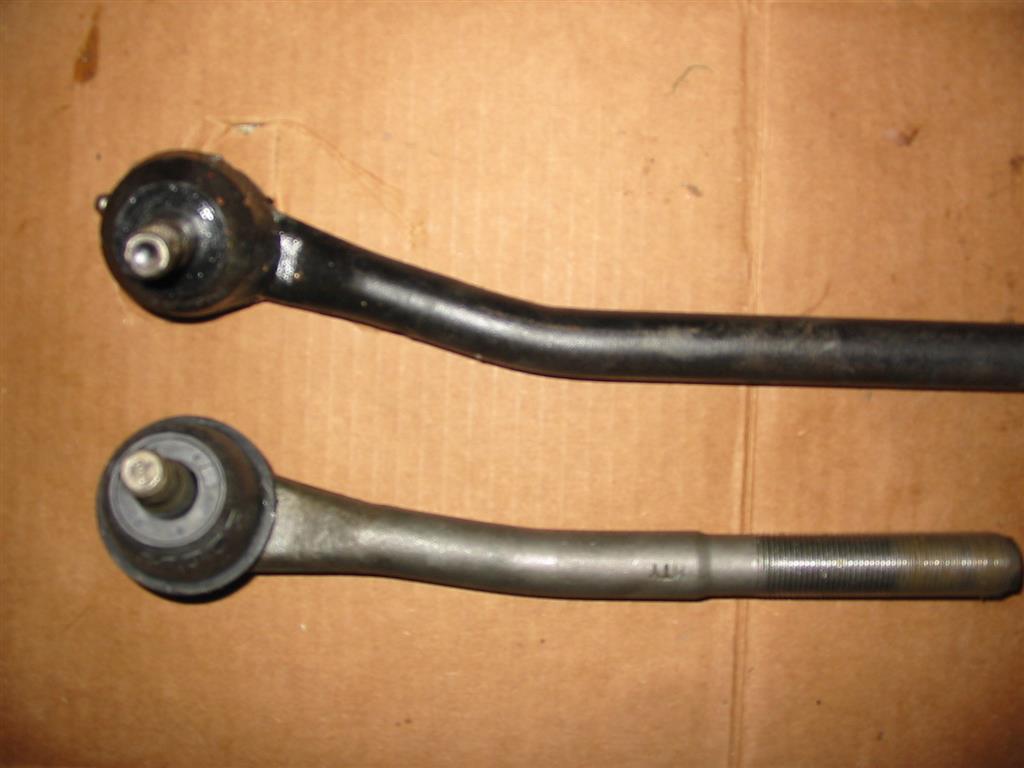
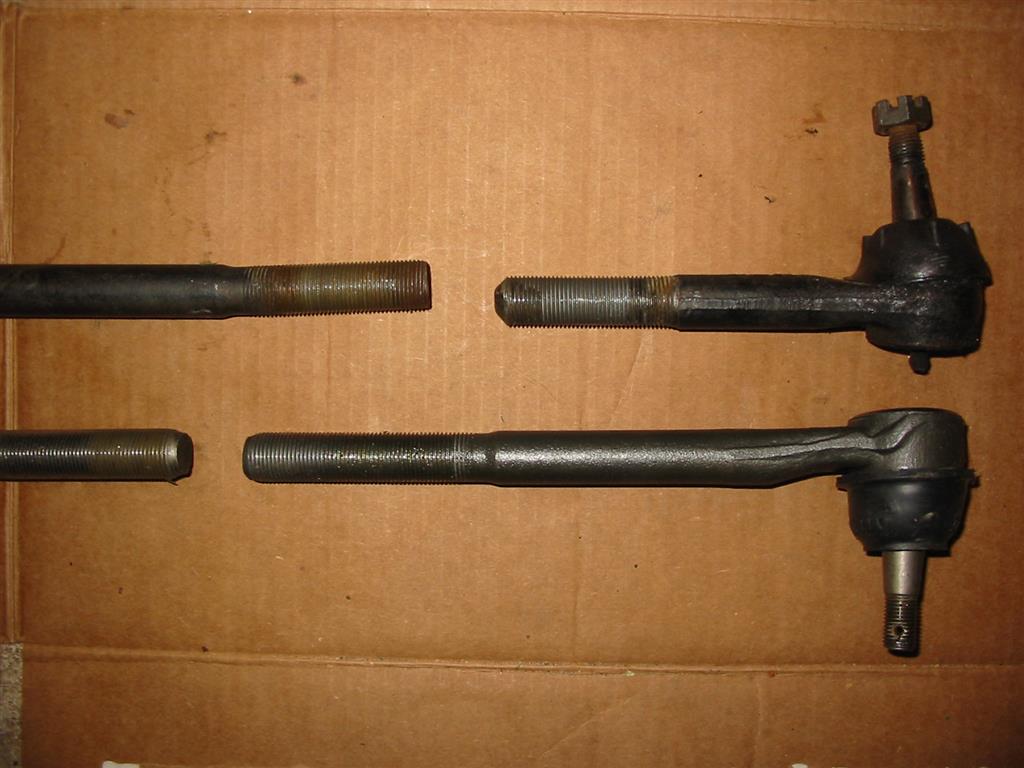
| Lastly, I decided to replace the inner and outer tie rod ends. The later Firebird tie rod ends are different than the Camaro tie rod ends. Below are a comparison of the inner tie rod ends. The lower tie rod is the Firebird tie rod end. | ||

|
|
|
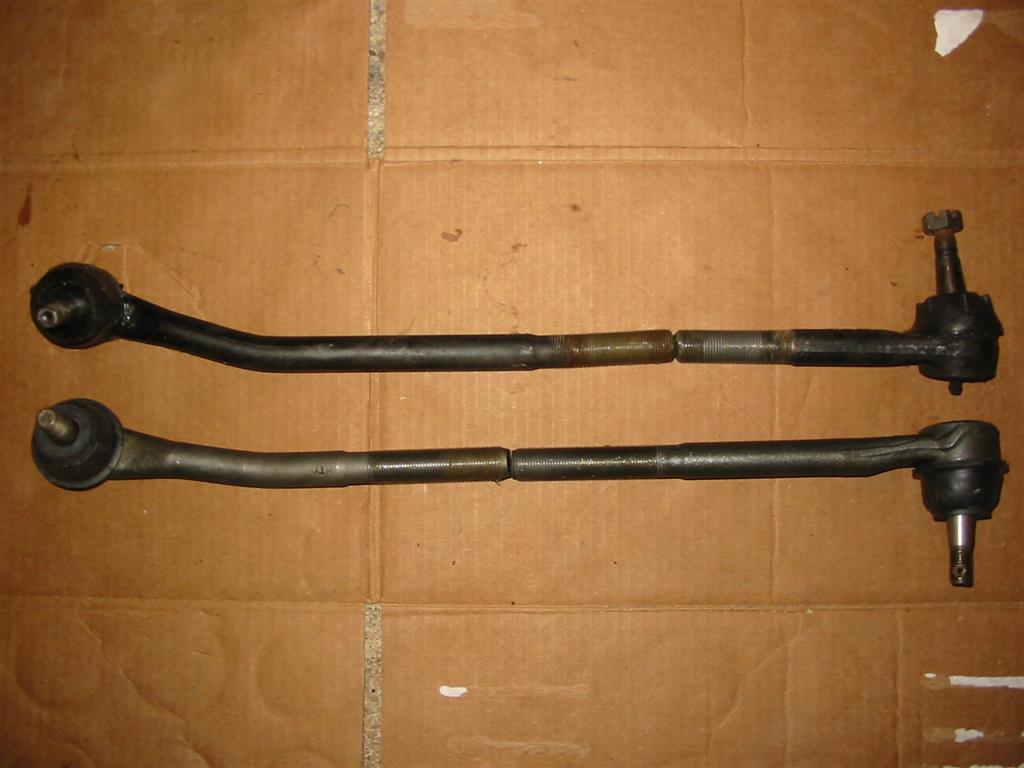
| Here are the tie rods as they would be installed into the car. The lower tie rods are the new Firebird tie rods. | ||
|
|
|
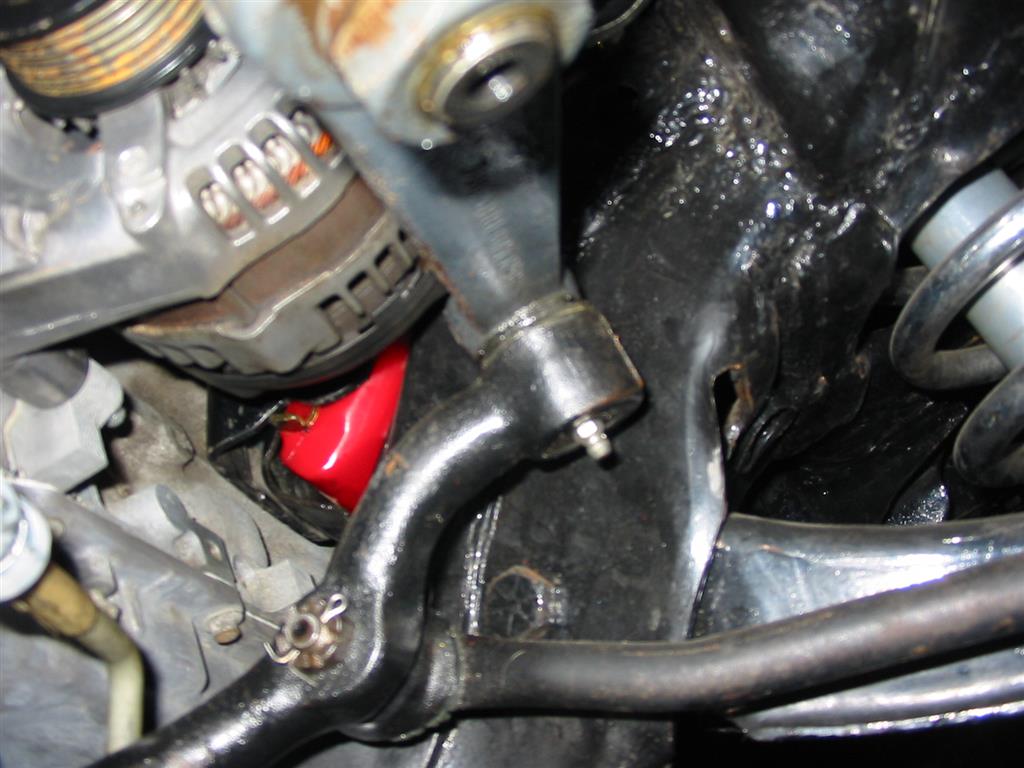
| Here is the drop pitman arm and linkage installed. There is now plenty of clearance between the pitman arm and the alternator. | ||
|
|
|
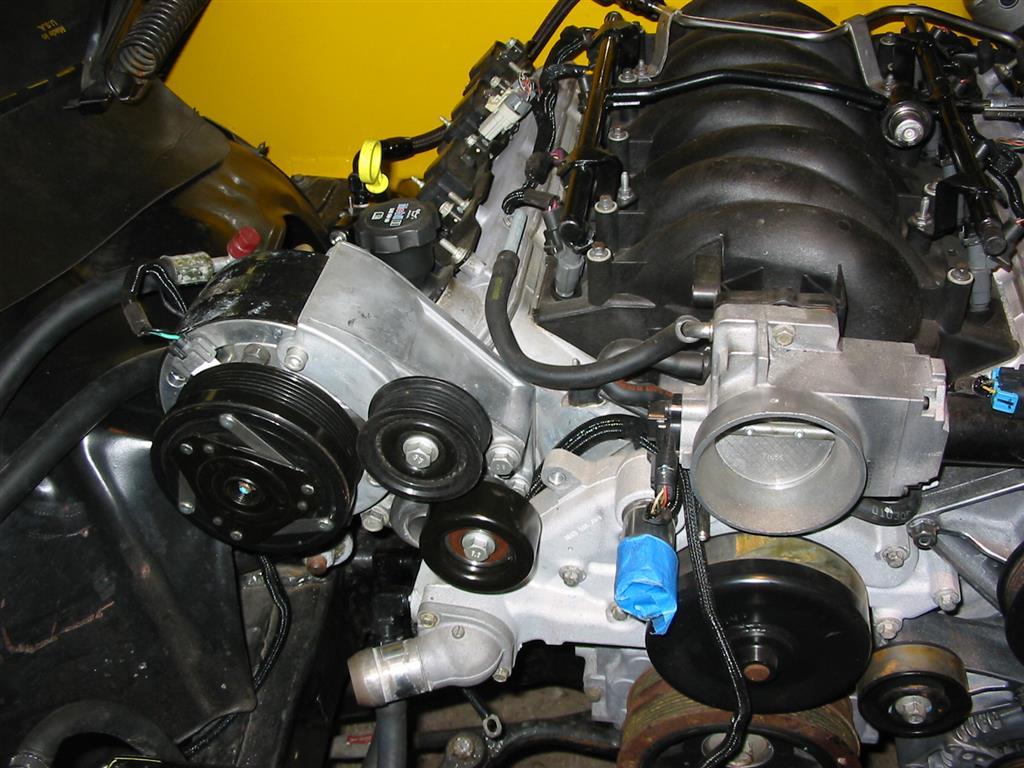
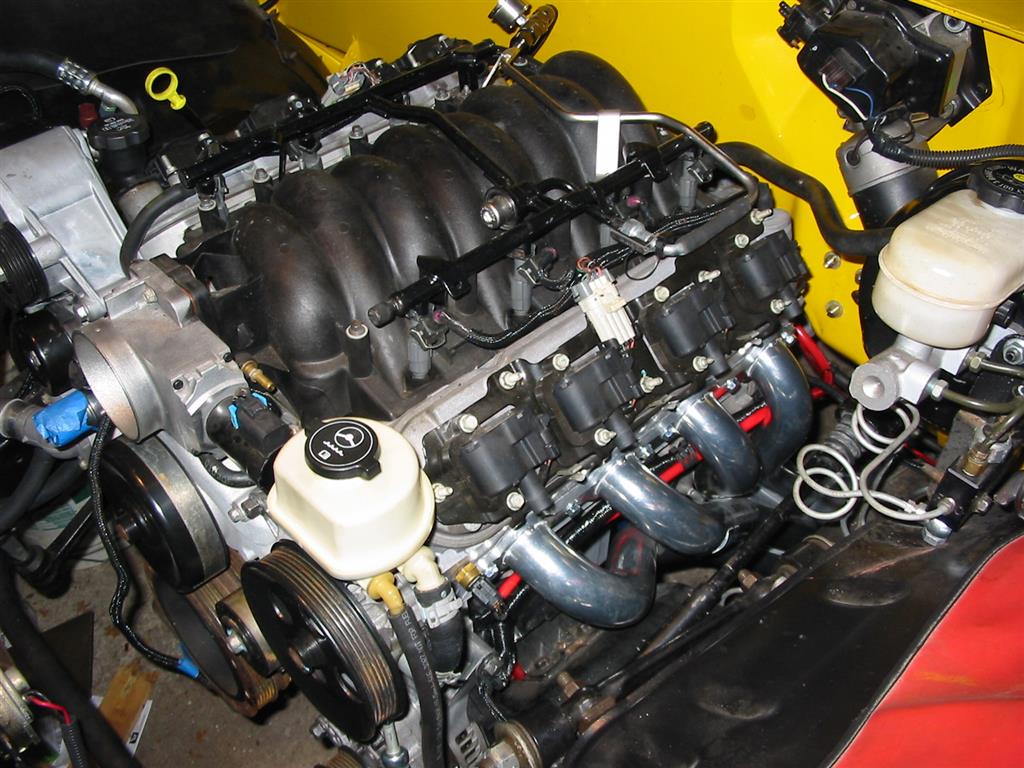
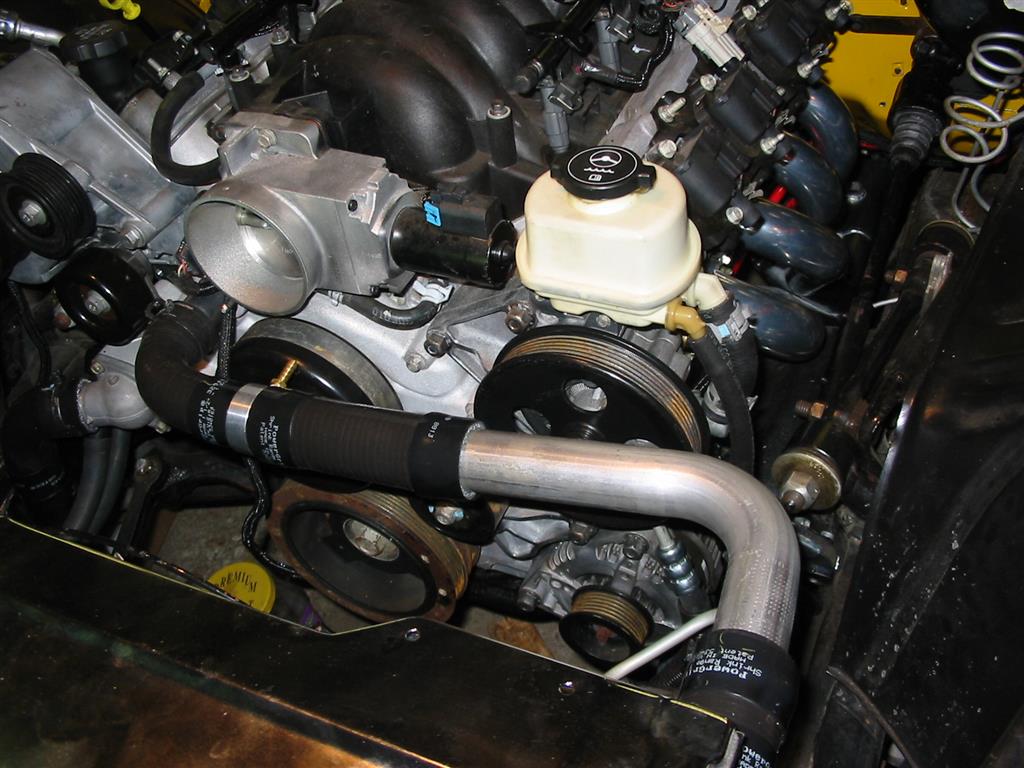
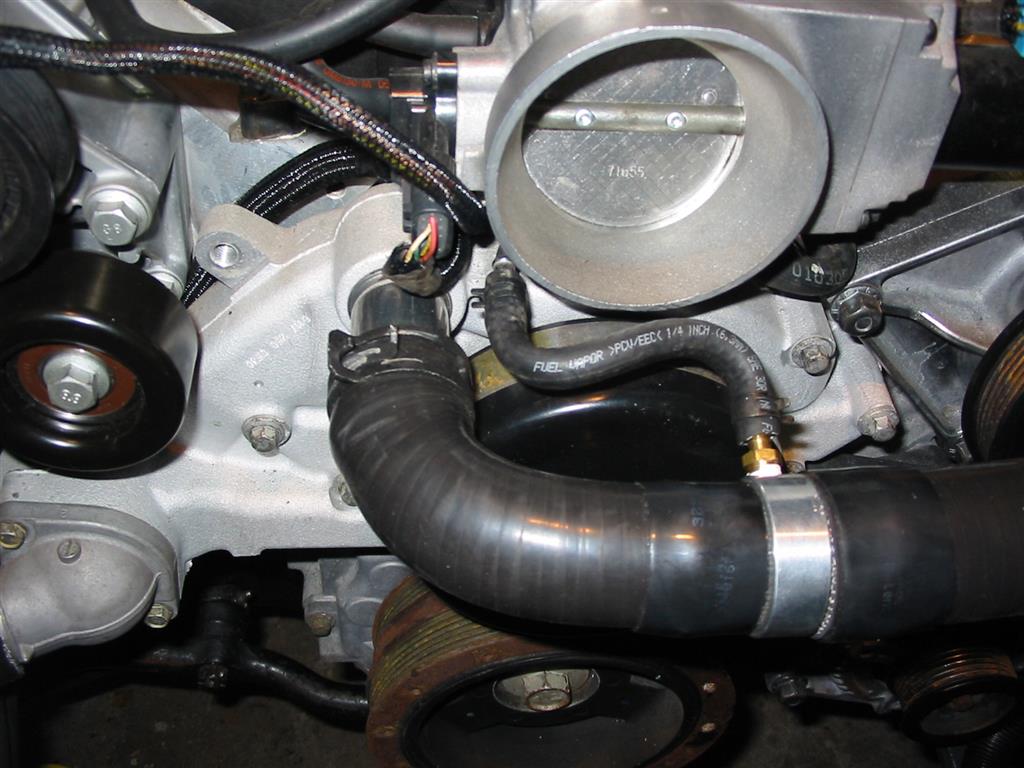
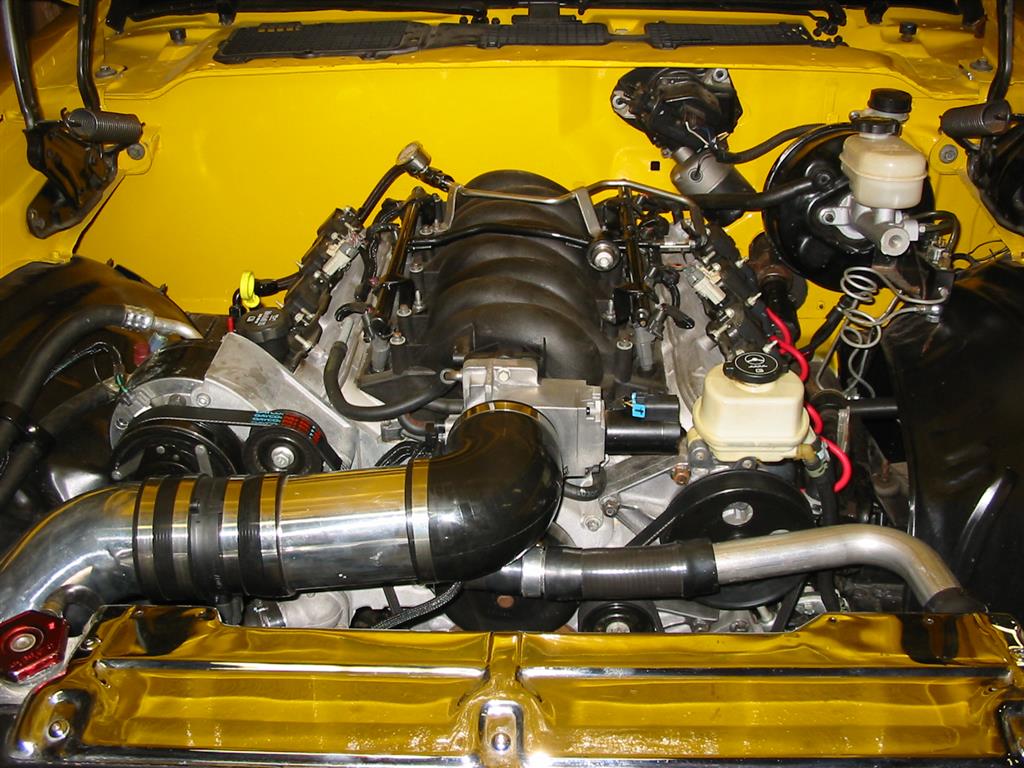
| Here is the finished product. For the last step I installed MSD wires and NGK plugs. The engine fits great, runs great and looks almost factory. For the air intake I used various Spectre tubes and silicone hoses. At the throttle body I used a 4 inch diameter 90 degree hose. After the 90 degree hose I used a 4 inch diameter tube attached to the MAF sensor using a 4 inch silicone coupler. After the MAF I used a 4 inch Elbow 45 degree Air Intake Tube with a 7 inch leg extension. For an air filter I used a 10 1/2 inch tall 6 inch cone filter. | ||
|
|
|
|
|
|