|

C5 Braking Components(November 6, 2008)
This page documents the car's front braking system. I have upgraded the standard brakes in the front to C5 (1997-2004) Corvette brakes. These brakes are a significant upgrade to the standard Camaro front disc brakes. The new rotors have a diameter of nearly 13 inches compared to 11 inches for the original brakes. Also, the calipers are larger with 2 pistons compared to the factory 1 piston design and the Corvette ones are even lighter.I also needed to upgrade my power brake booster and master cylinder to match my new calipers. After some research, I decided to run the C5 booster and master cylinder. I took some fabrication, but I felt this was the cheapest solution after I was able to pick up these parts on eBay used for very little money. Also, using factory components makes it easy to replace them in the future when they wear out.
Status photos as of 11/6/2008:
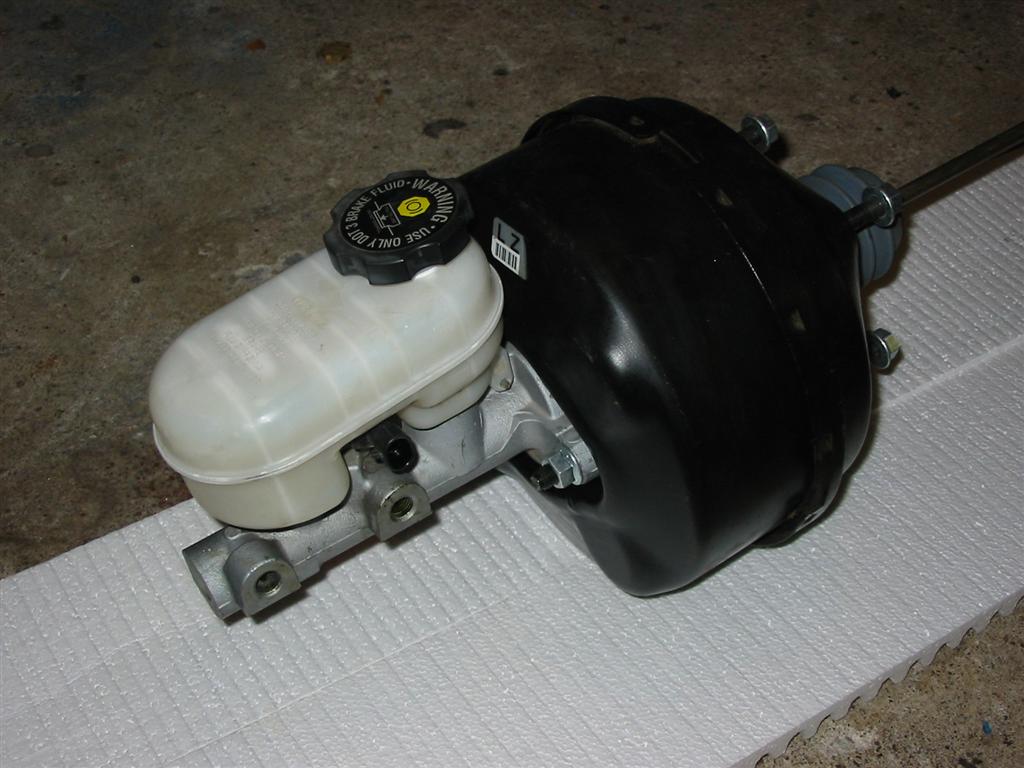
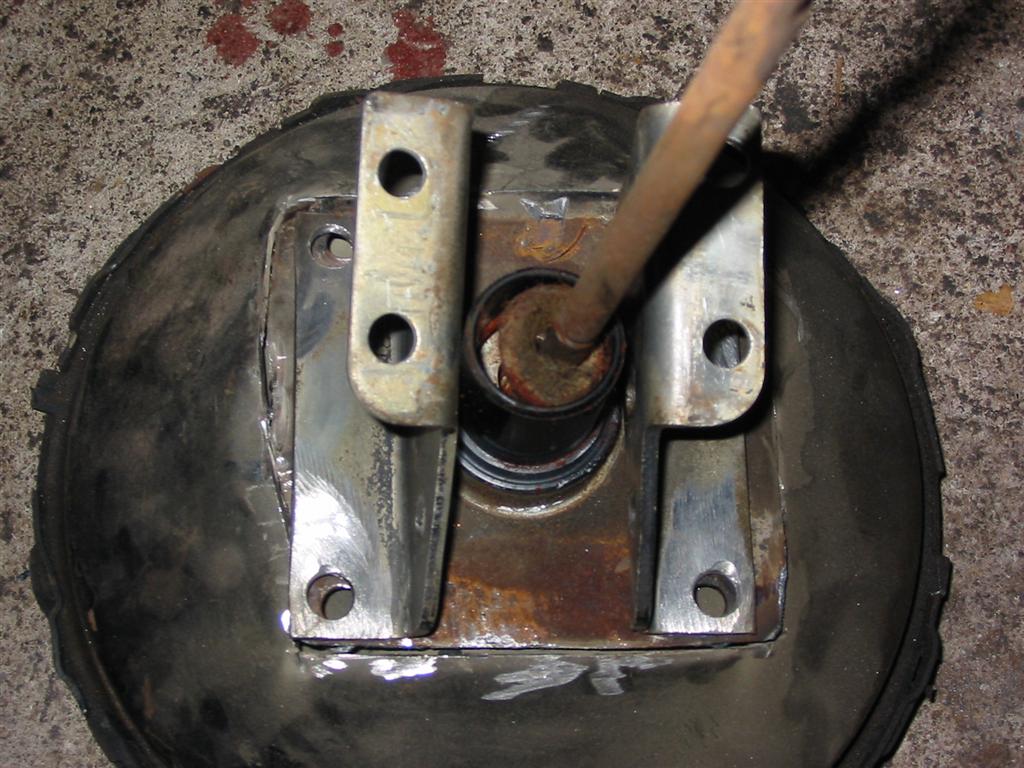
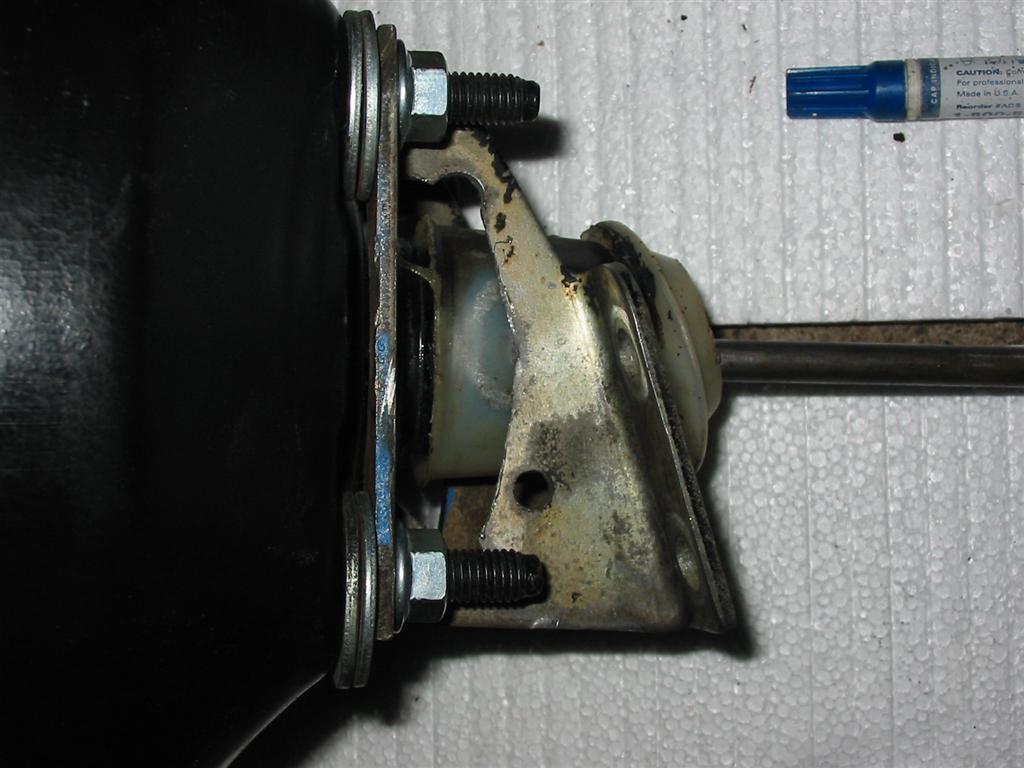
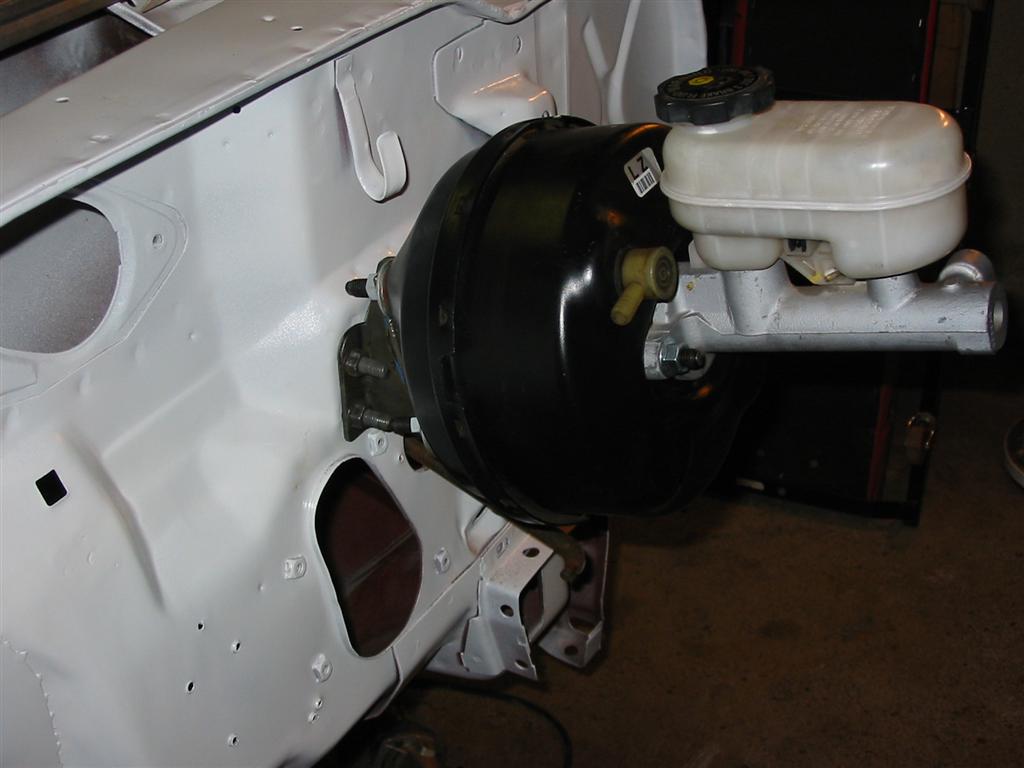
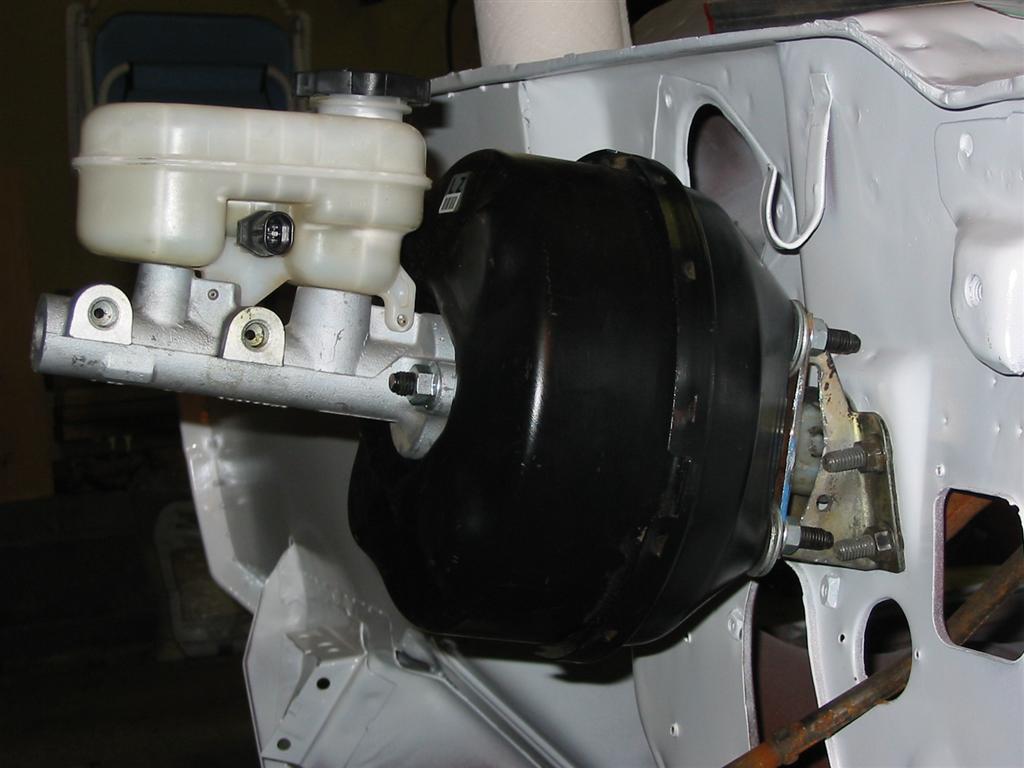
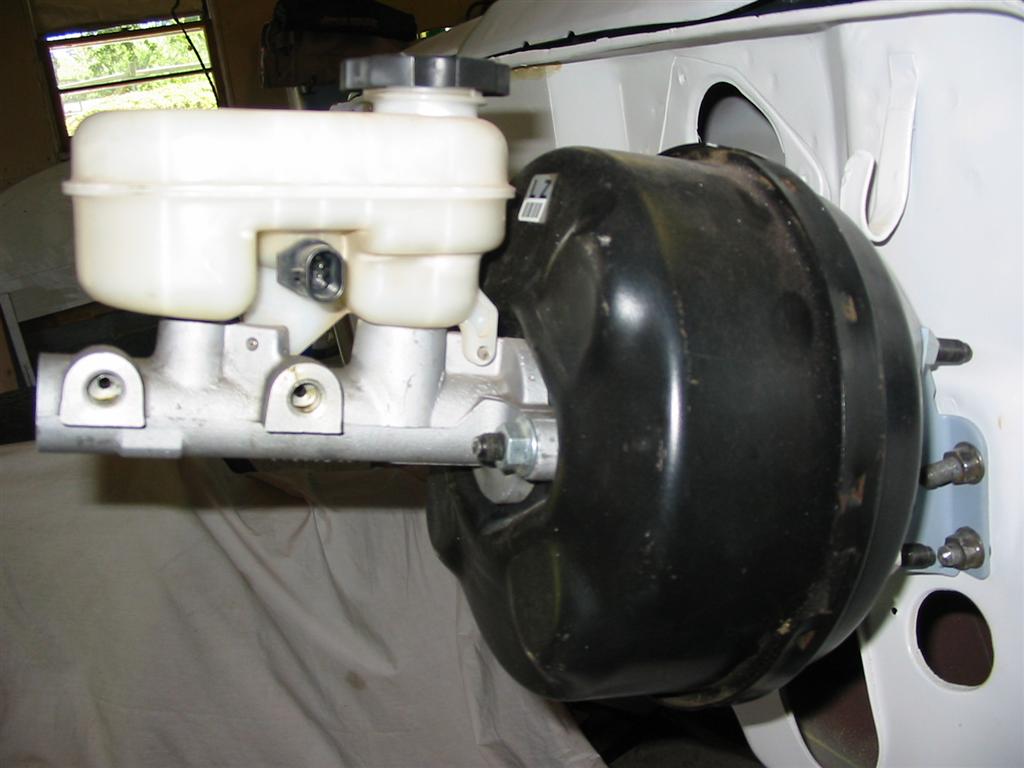
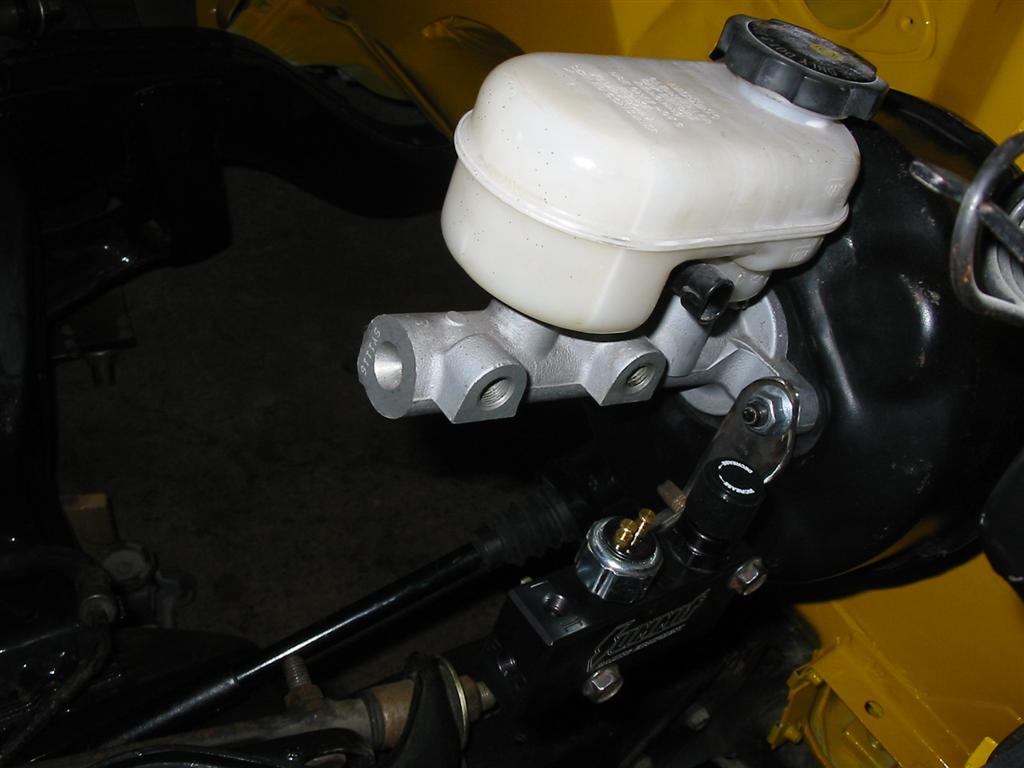
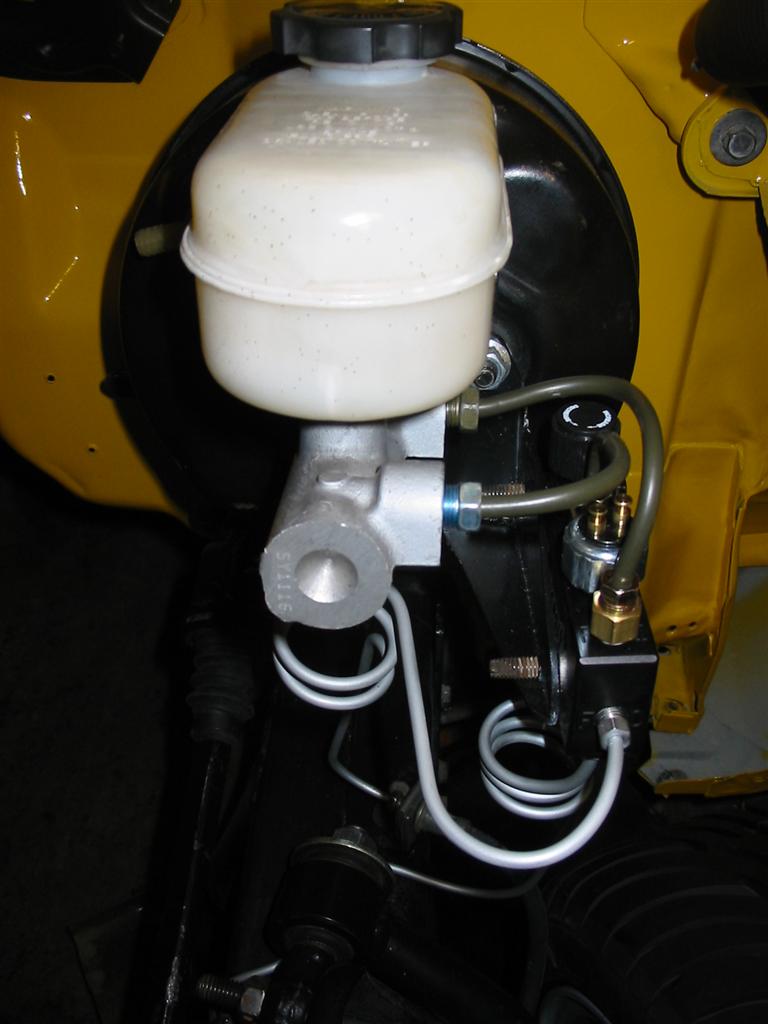
| Here is the C5 booster and master cylinder. I picked them up on eBay for less than what the core charge would be on buying rebuilt ones. | This is the back of the C5 booster. This boot was too wide to use with the bracket I fabricated. I wound up using the factory boot from the 73 booster. |
|

|
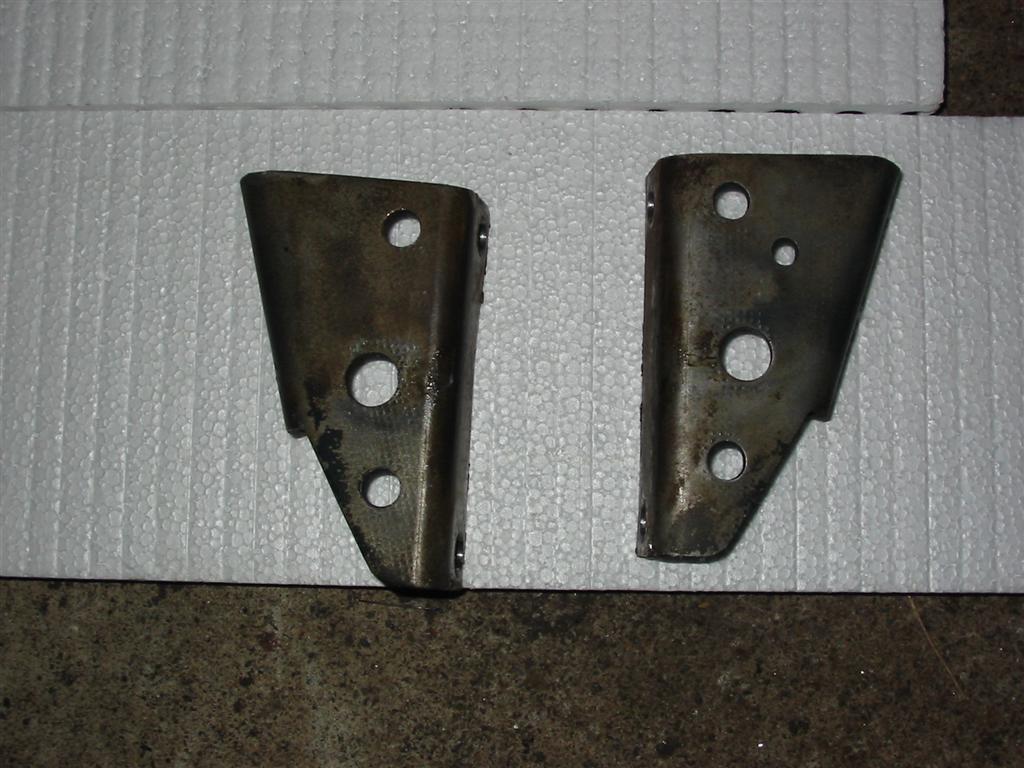
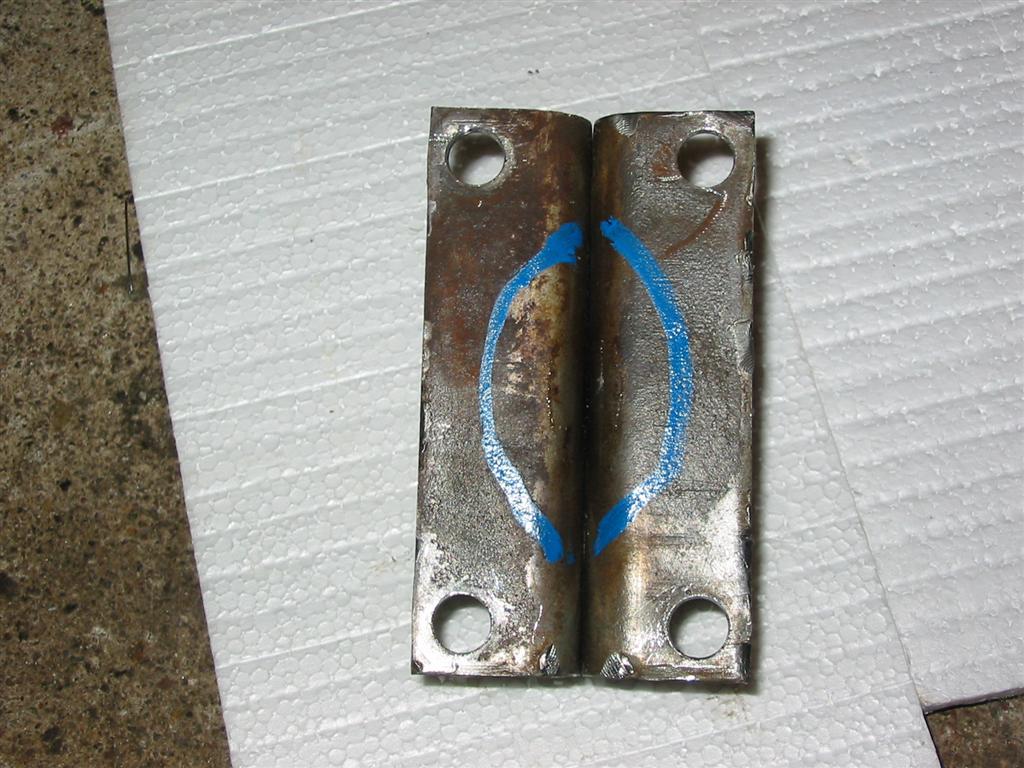
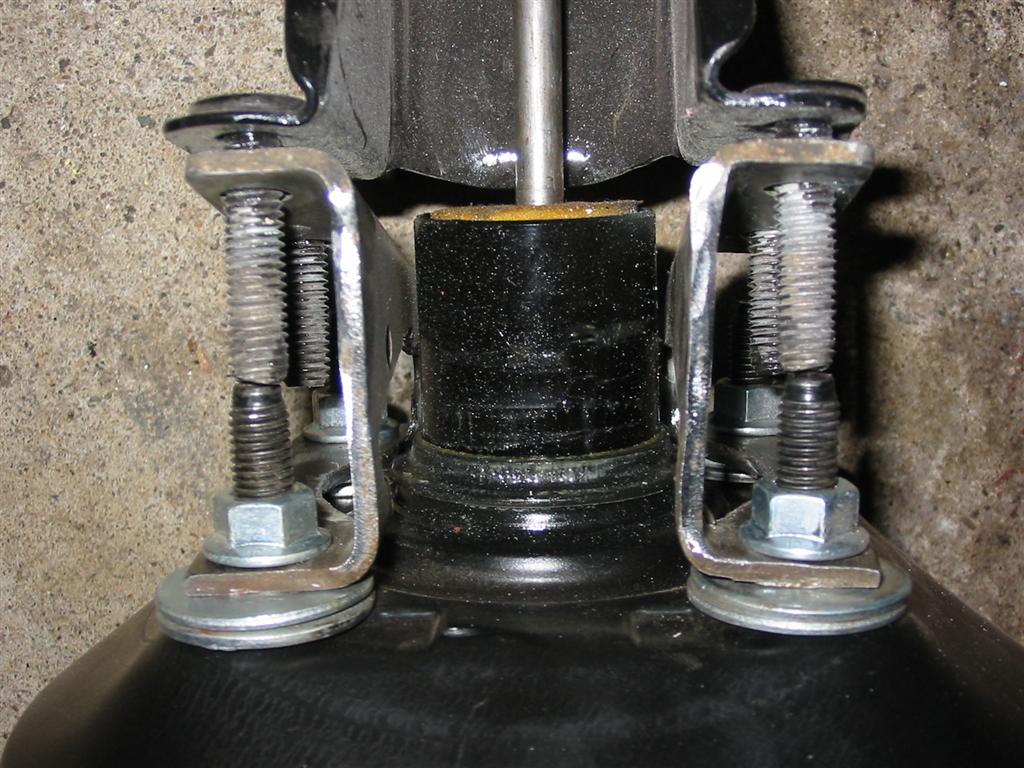
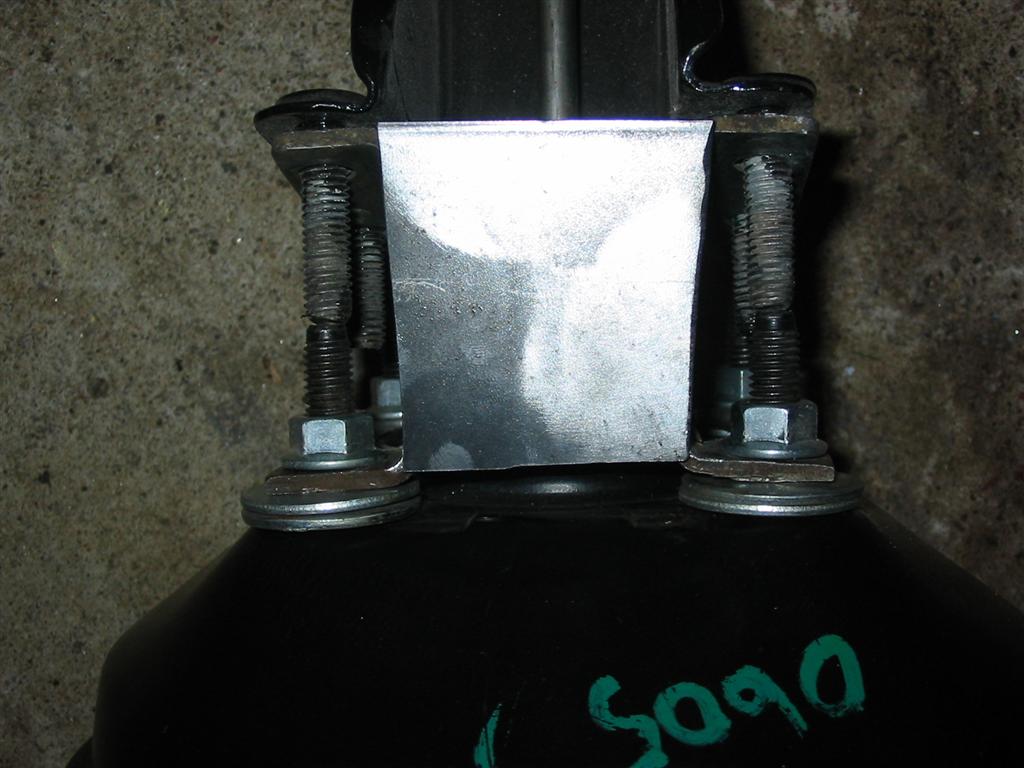
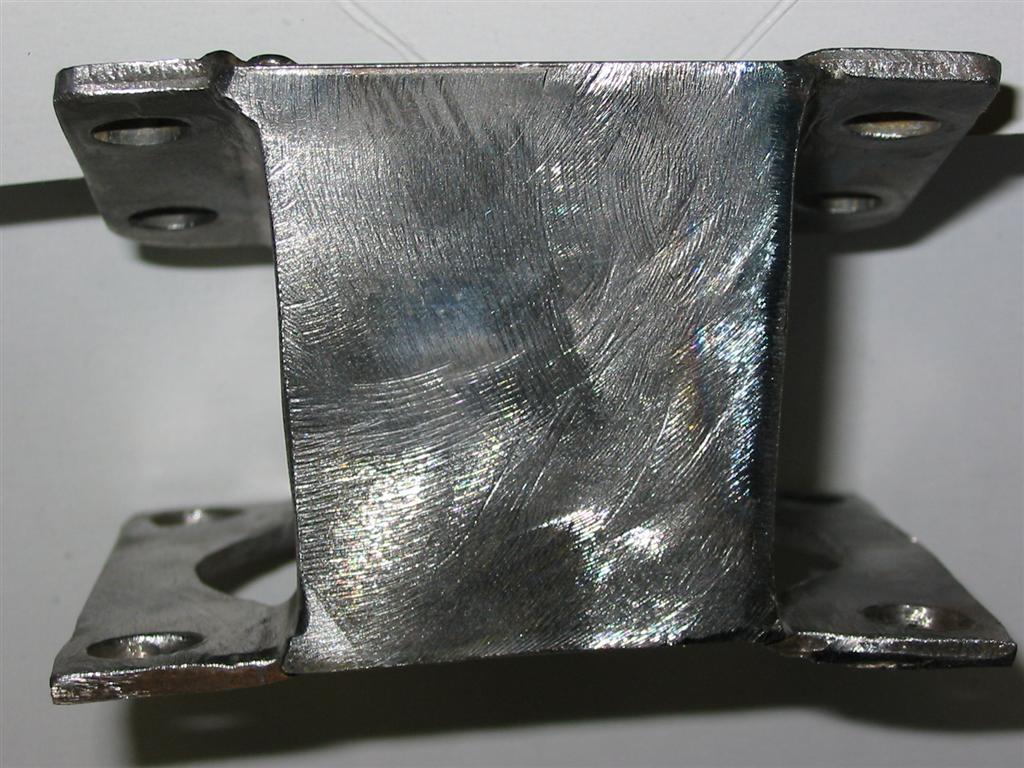
| I had to remove the factory brackets off of the 73 booster and use them to mount the C5 booster. These took some work to fit on the C5 Booster. The blue mark represents what needed to be cut out. | |
|
|
|
|
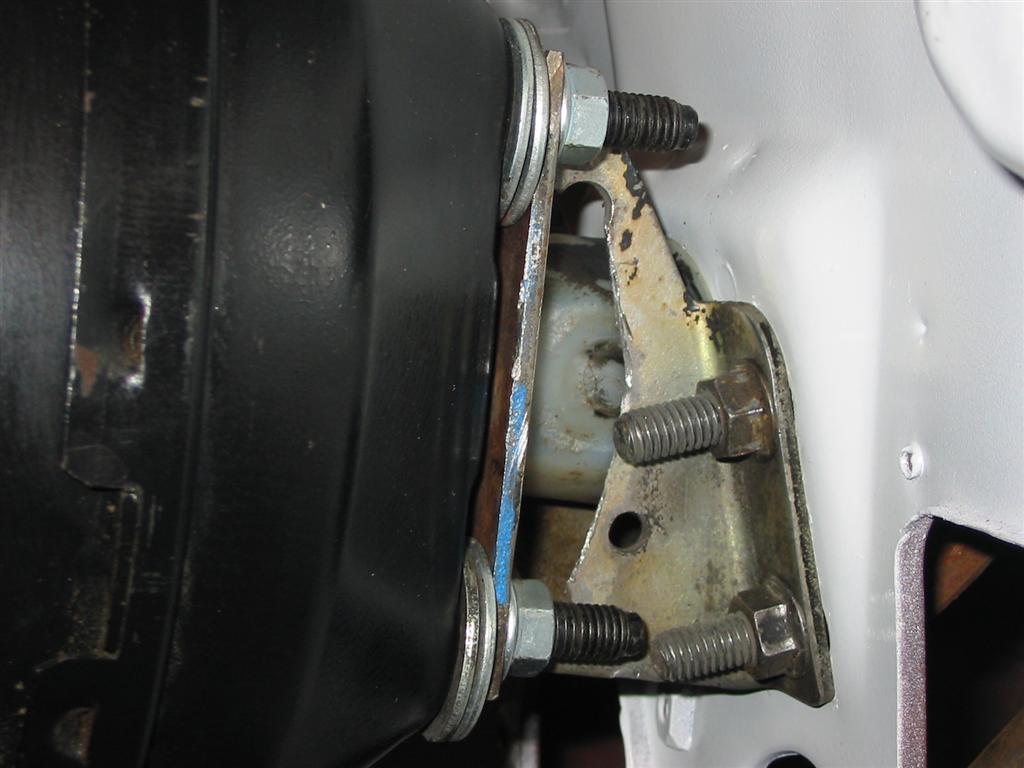
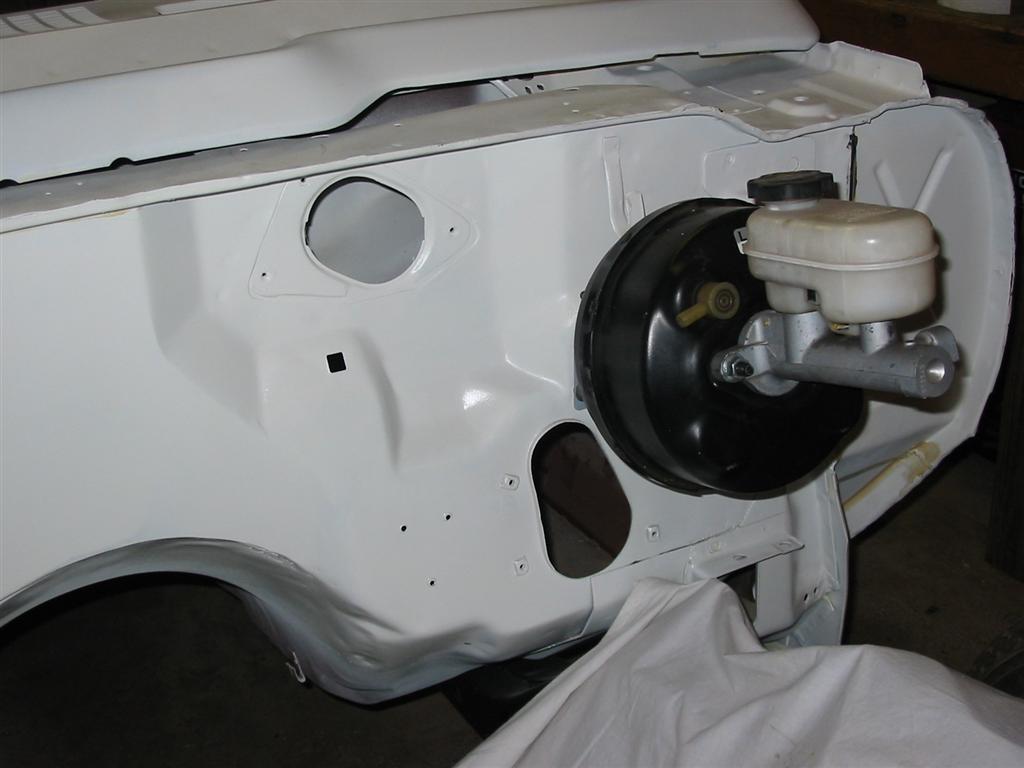
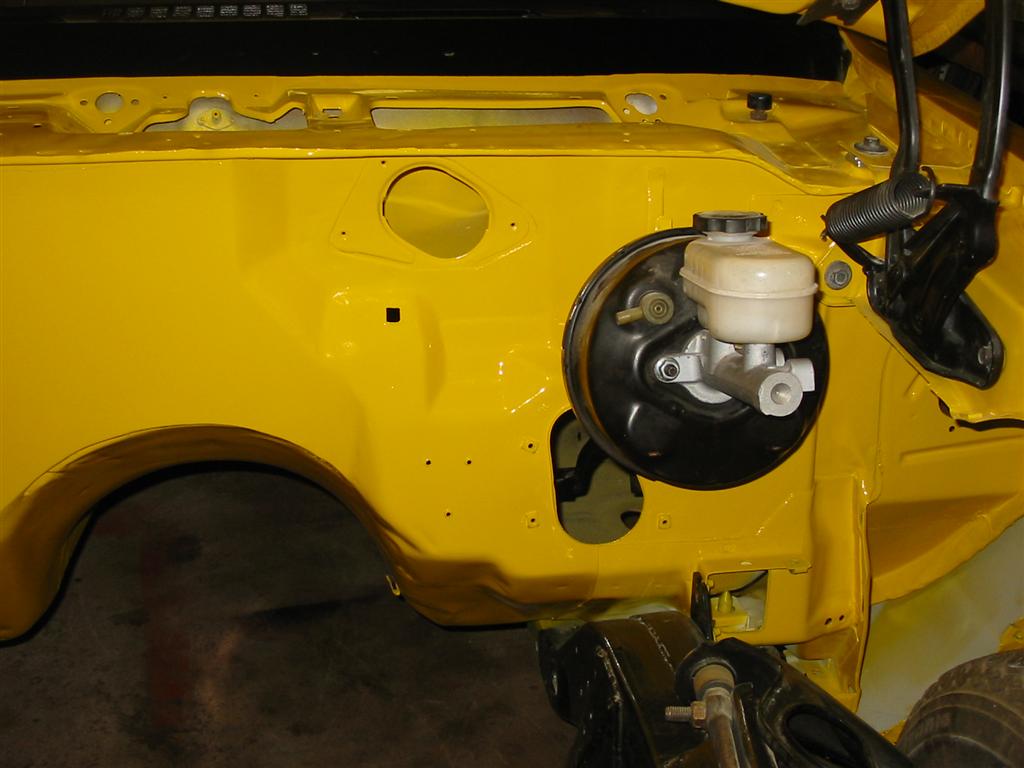
| Here are some early shots of the C5 booster mounted with the modified brackets. | |
|
|
|
|
|
|
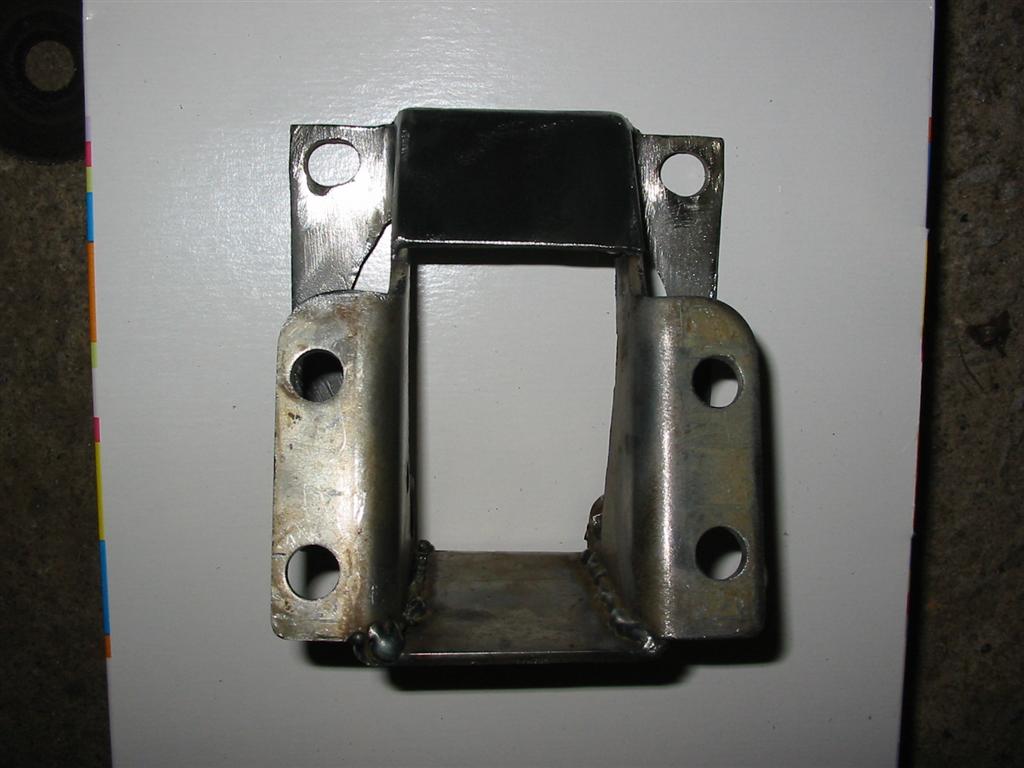
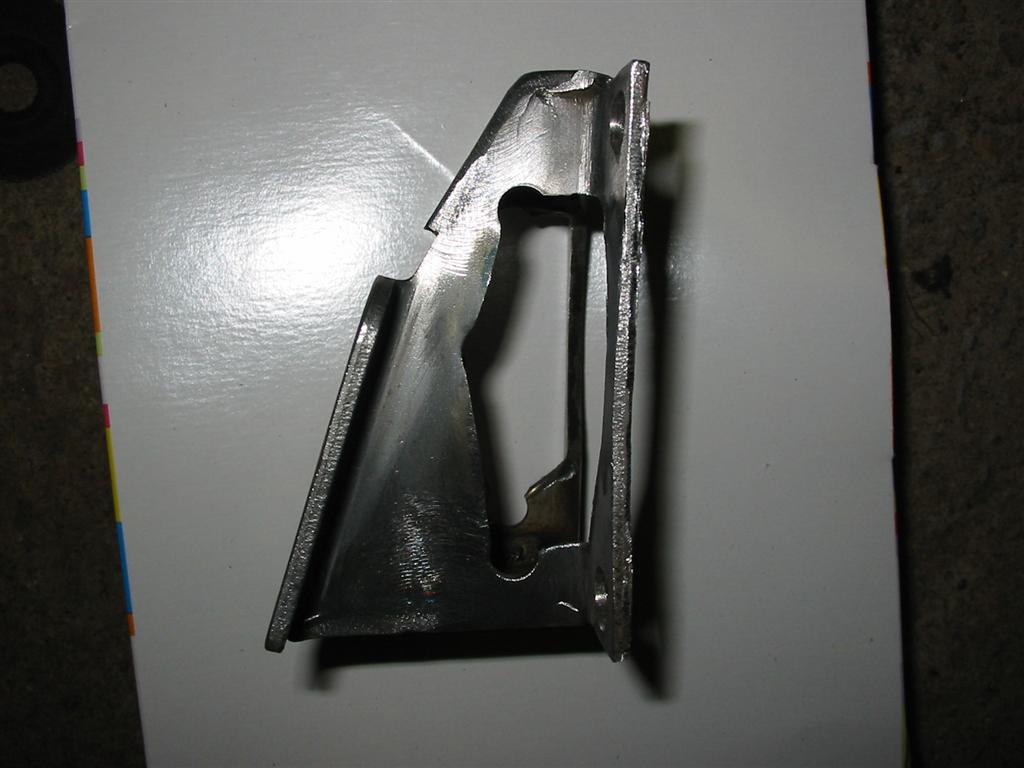
| I decided to weld supports to the top and bottom of the brackets to make them stronger. | |
|
|
|
|
| Test fitting after modifying the bracket | |
|
|
|
|
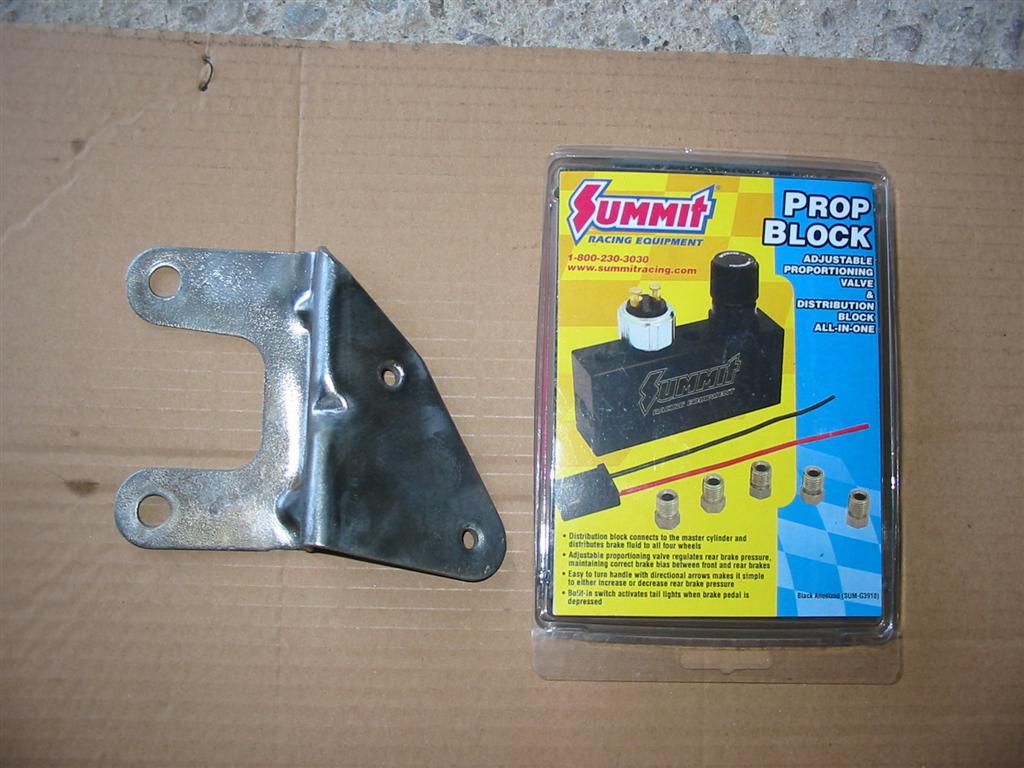
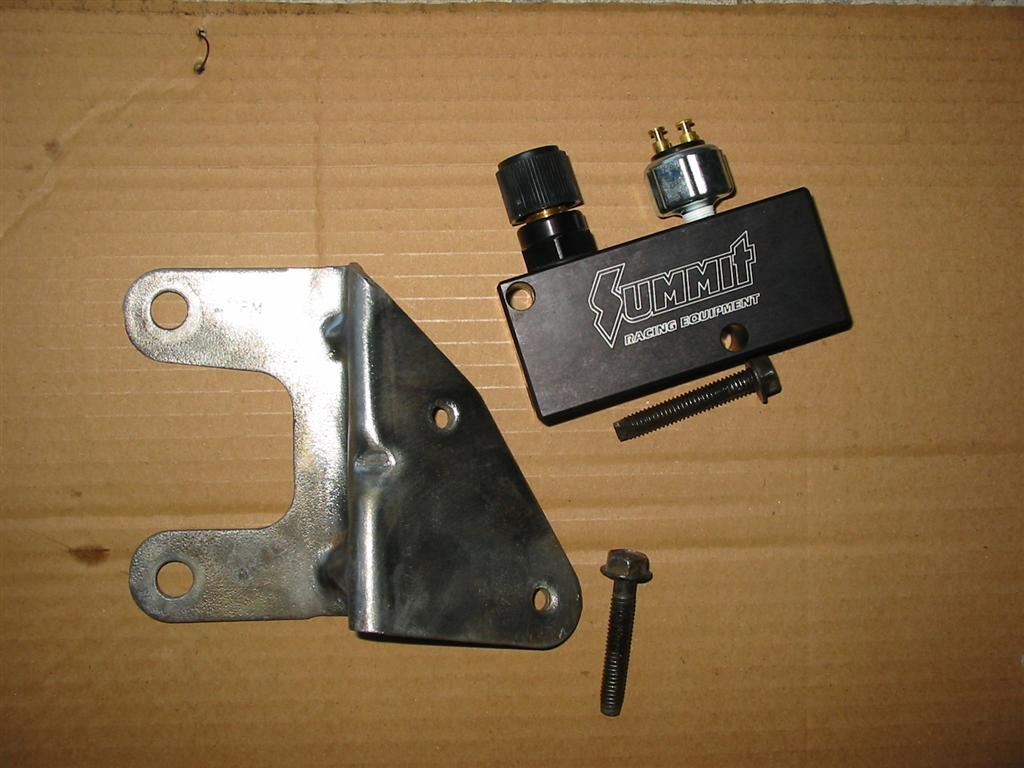
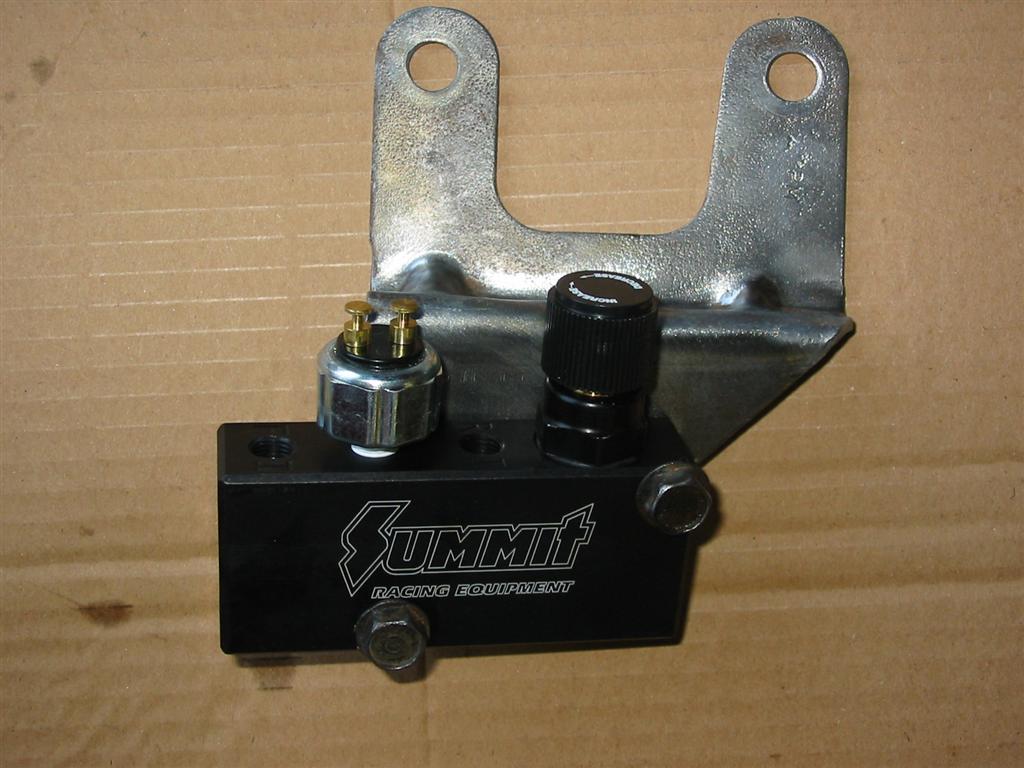
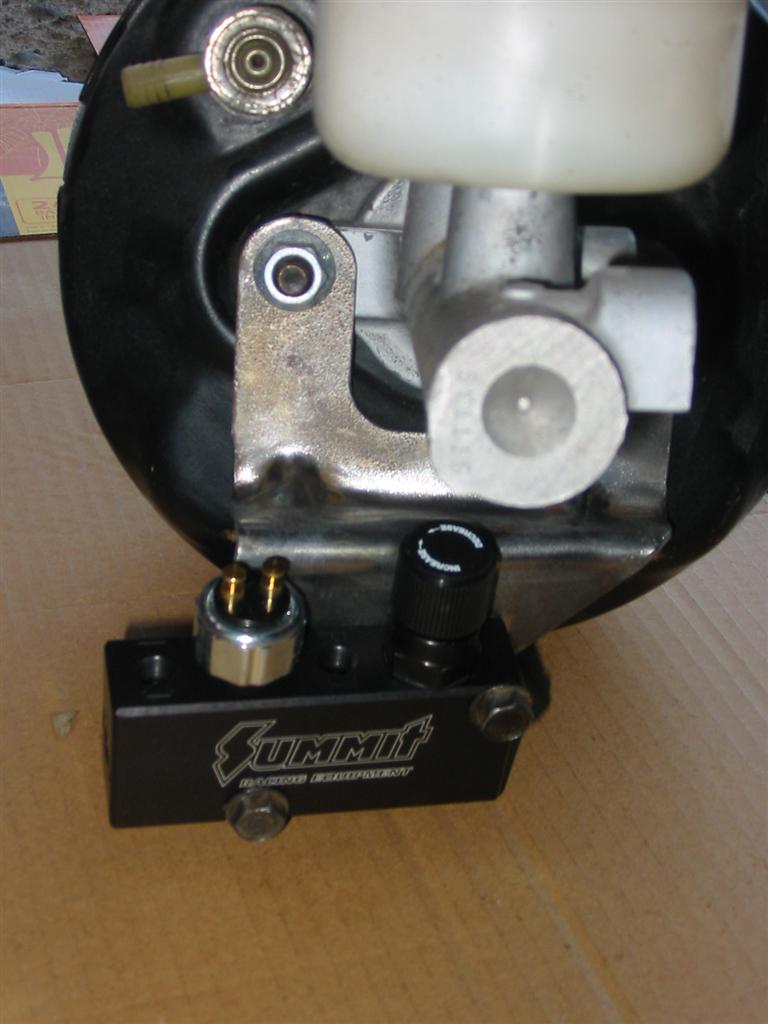
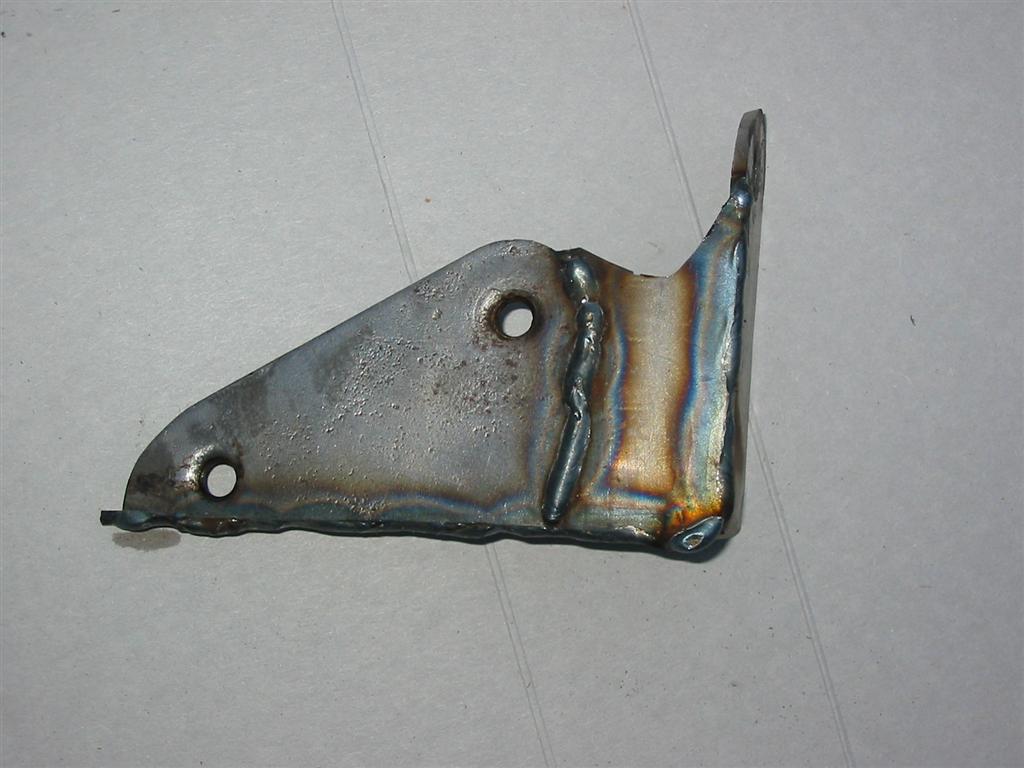
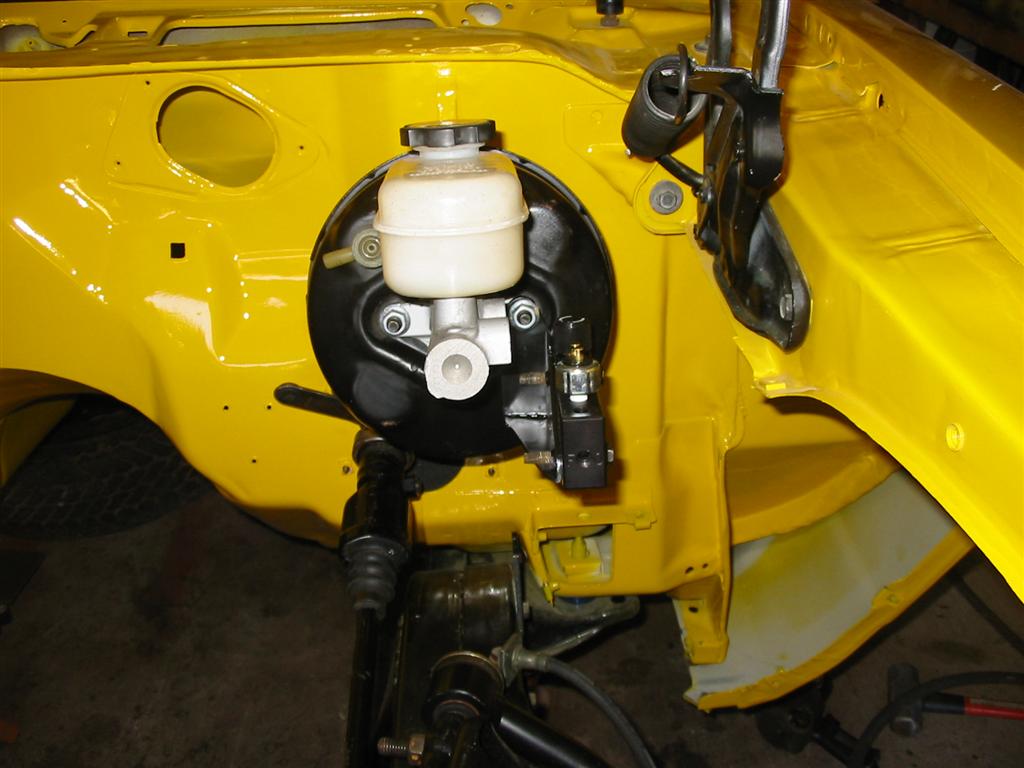
| Another item that was needed in the braking system was a new proportioning valve and distribution block. I went with a Summit Prop Block. The Prop Block is an adjustable proportioning valve and distribution block. I could have gone with an adjustable proportioning valve hooked into the rear brake line and a t-fitting for the front line and it may have worked just as well. I went with this solution because it looks cleaner. I did have to modify the stock proportioning valve bracket shown in the pictures, because I wanted to mount it parallel to the master cylinder. I did not want to mount it as show in the pictures below. | |
|
|
|
|
|
|
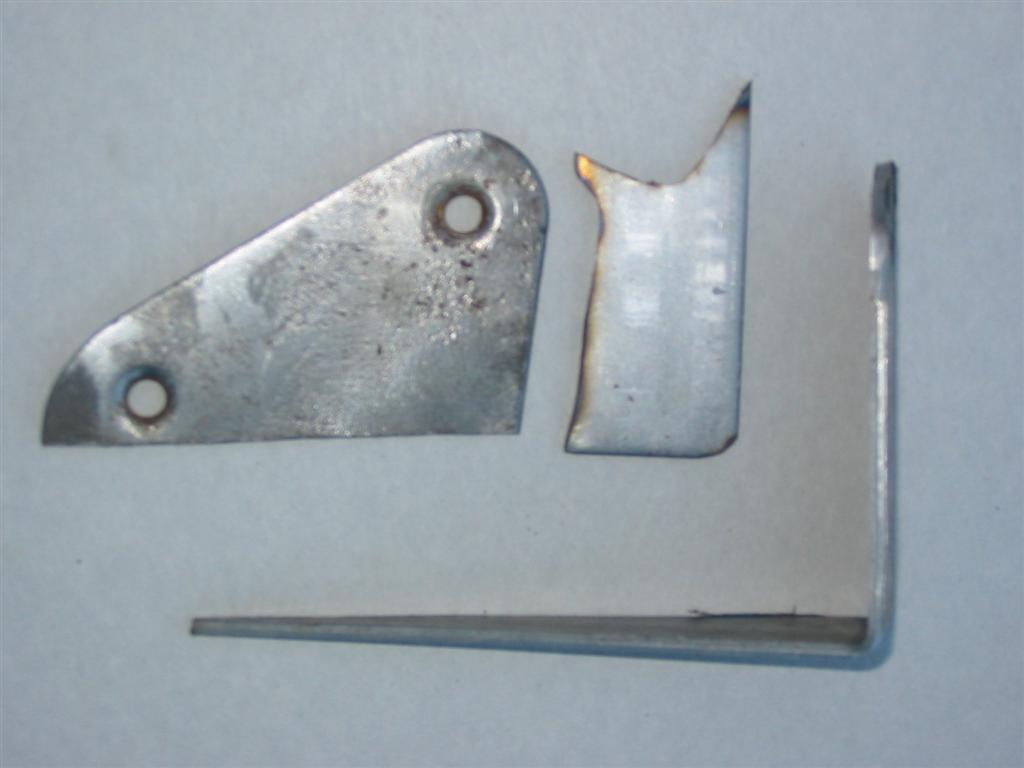
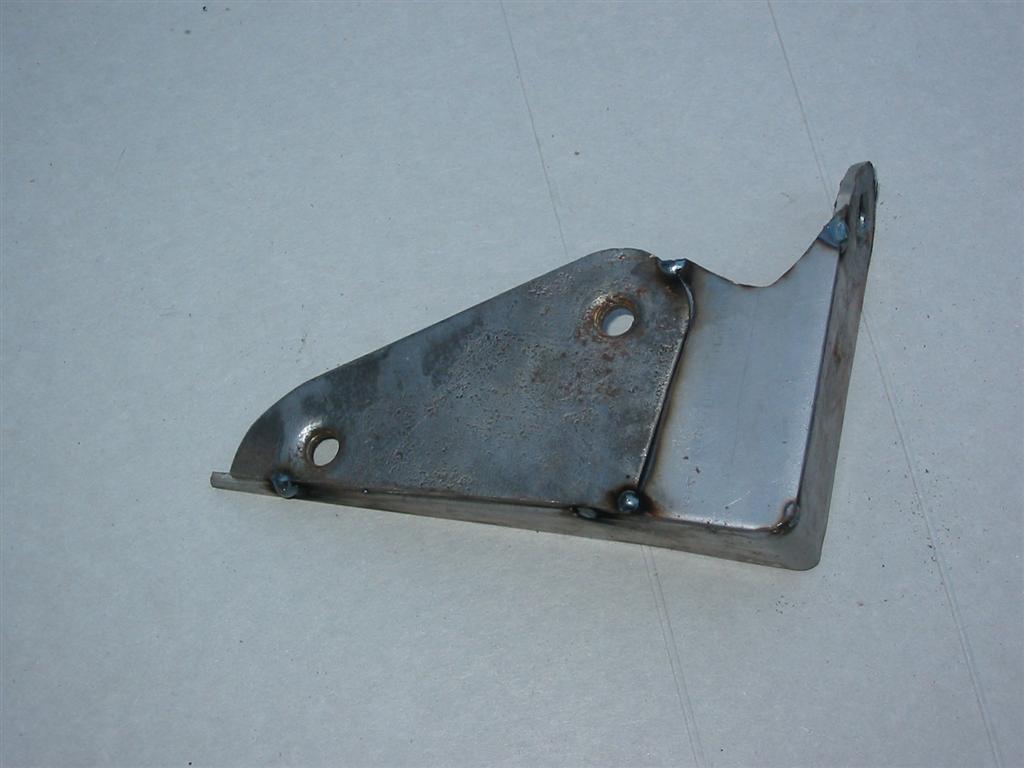
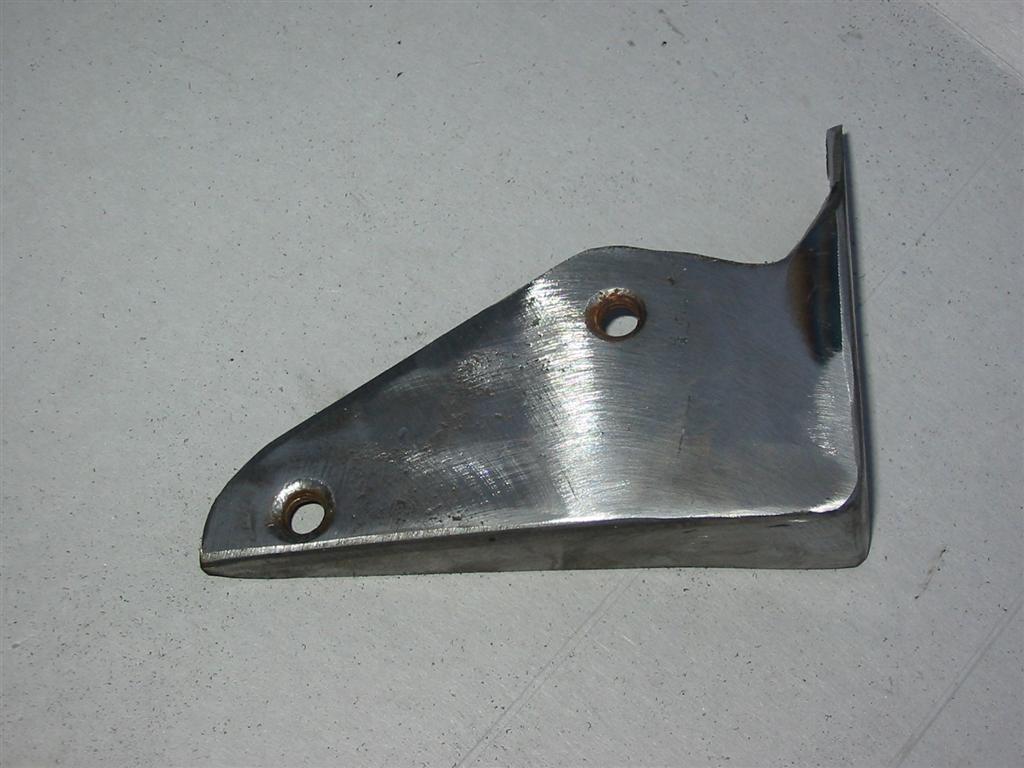
| Here are pictures of the bracket I built to support the prop block. I cut up the original bracket and used addition steel and welded it all together. | |
|
|
|
|
|
|
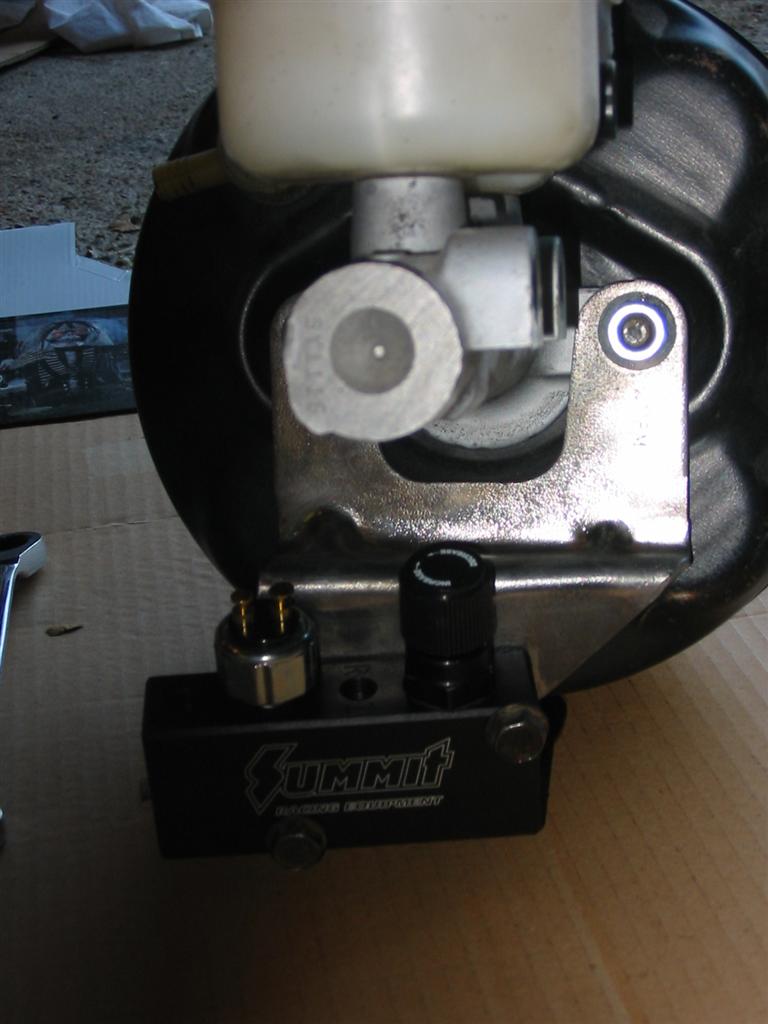
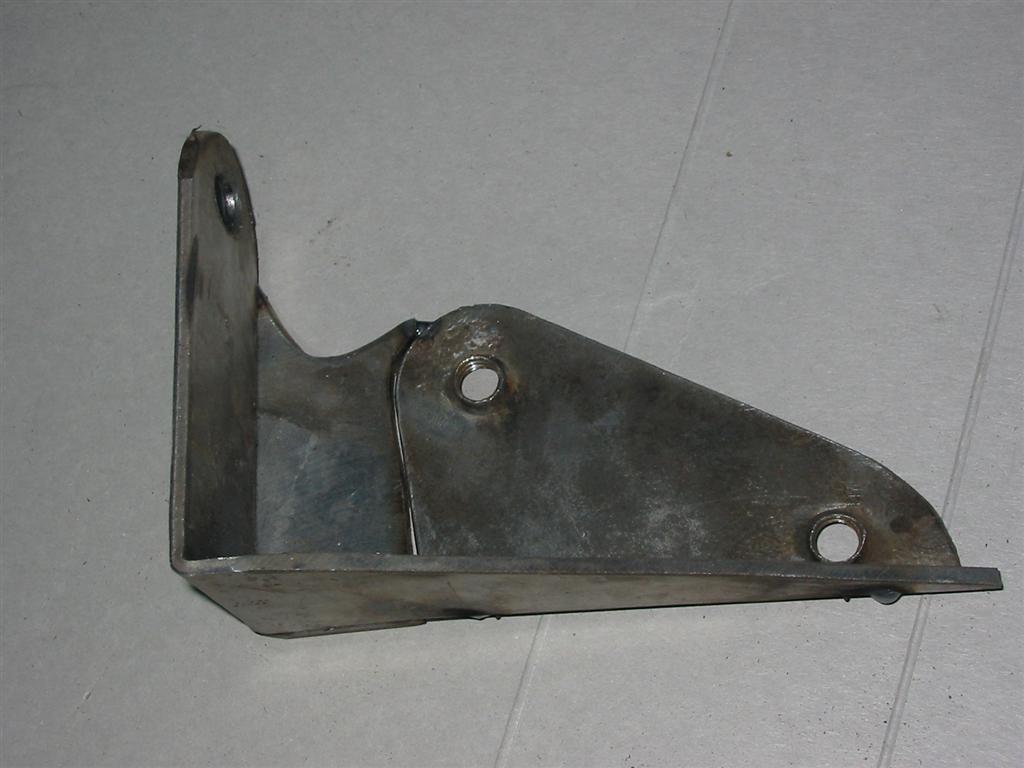
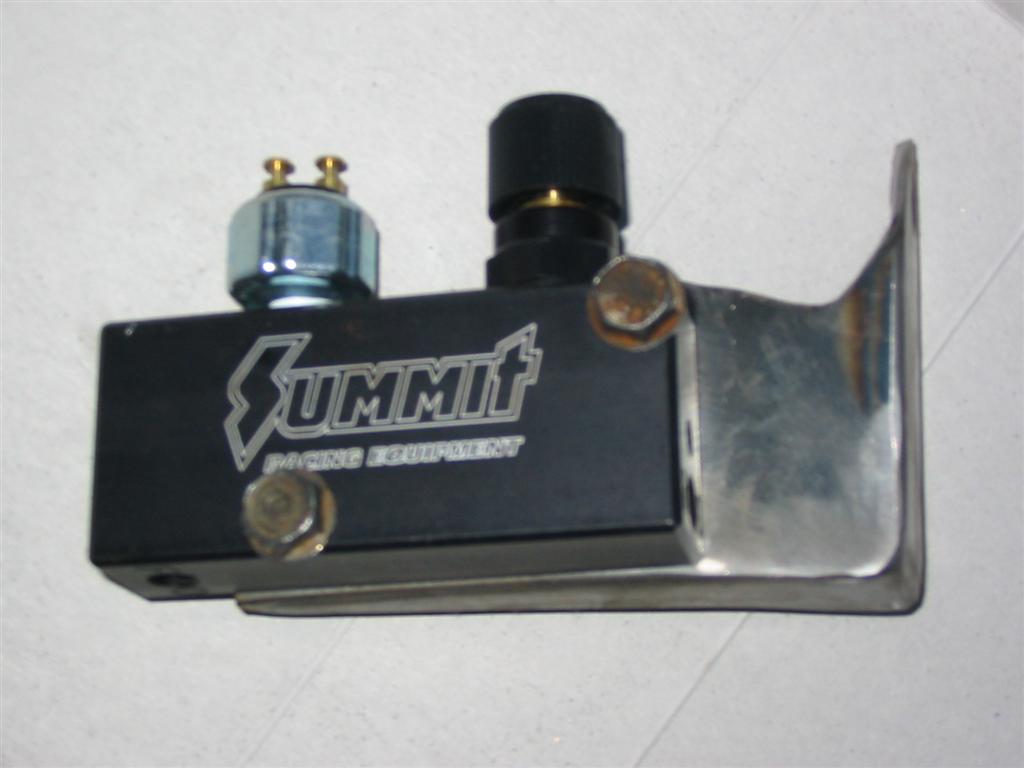
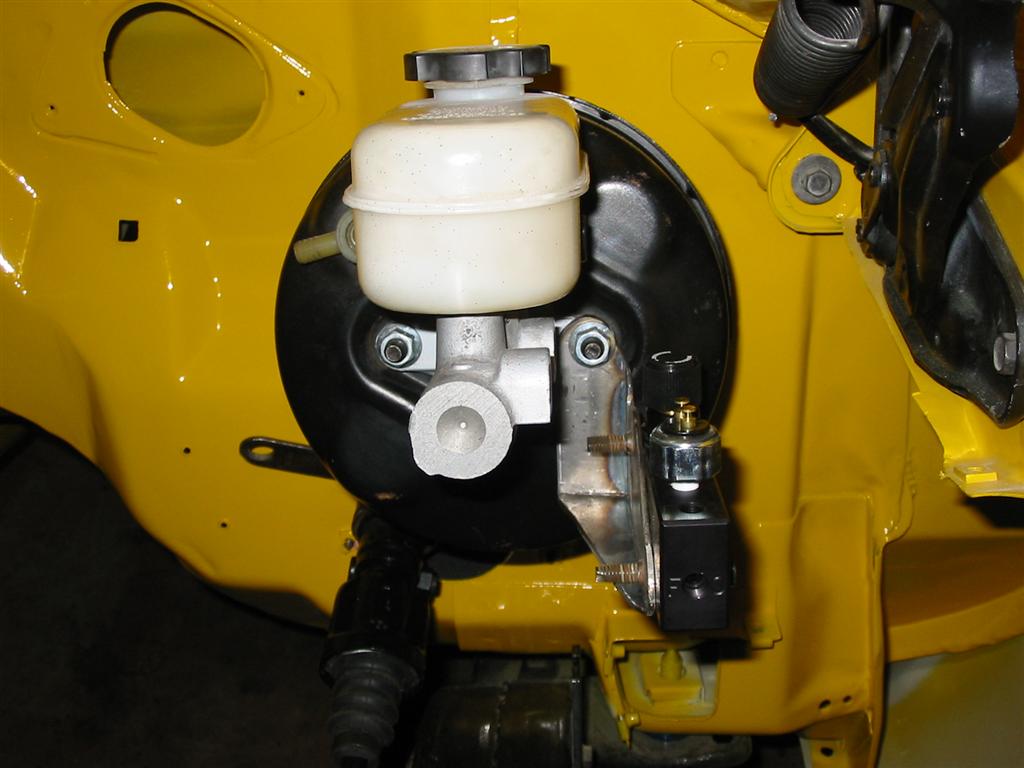
| Here is the completed Prop Block bracket test fitted to the booster. | |
|
|
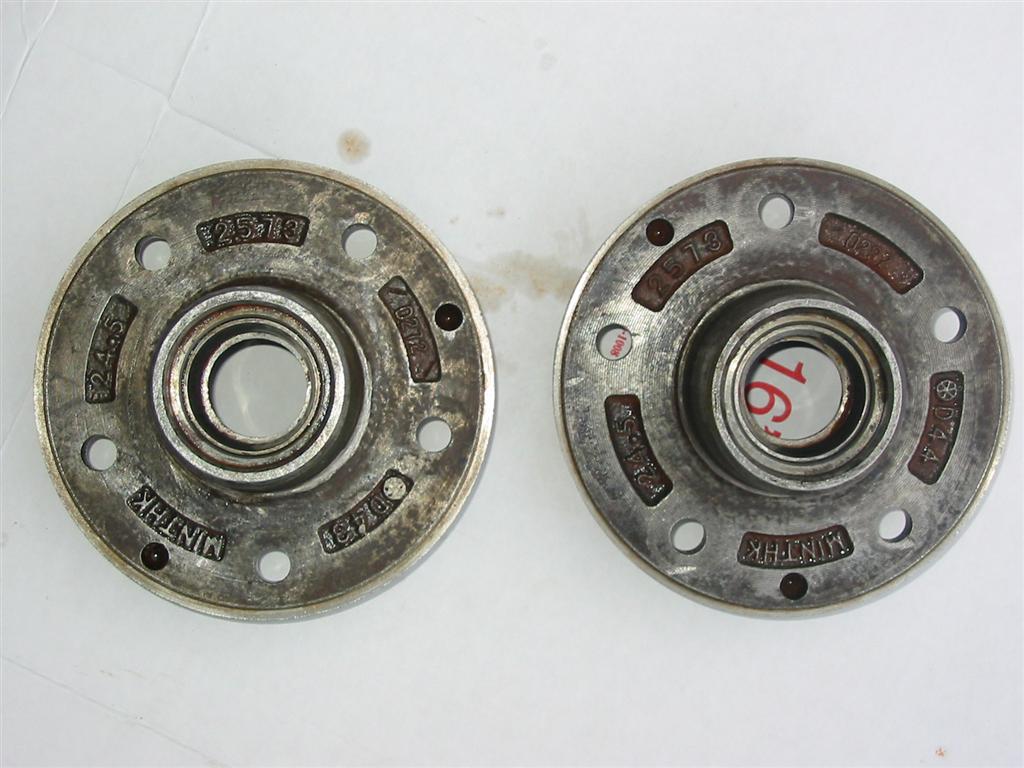
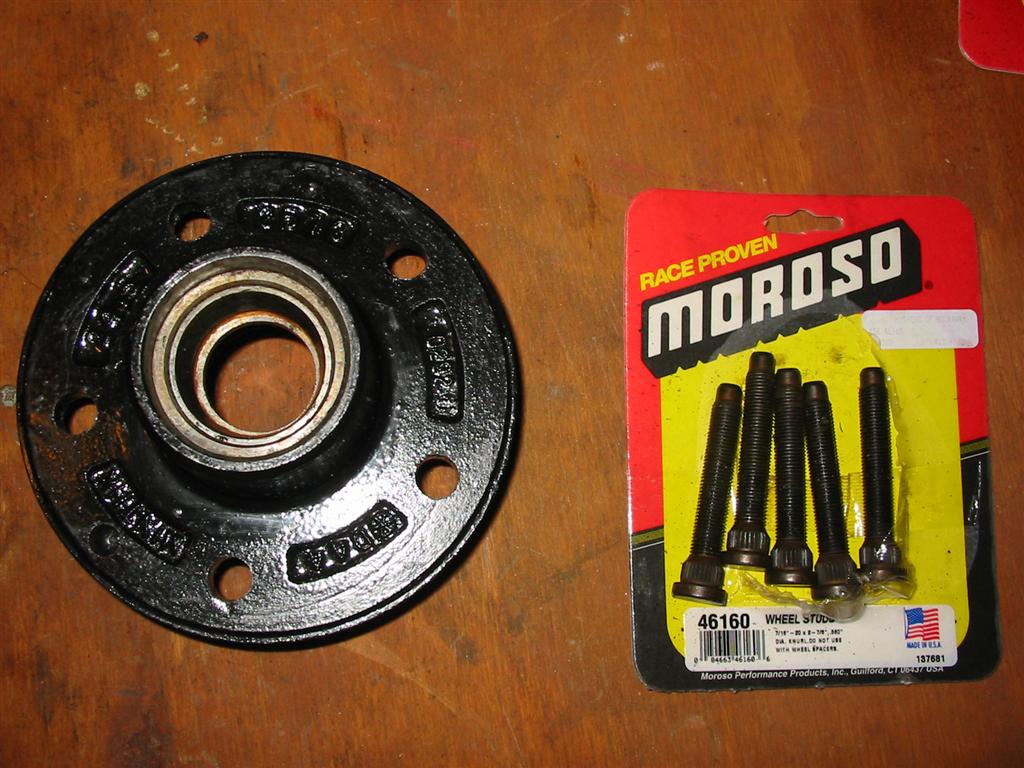
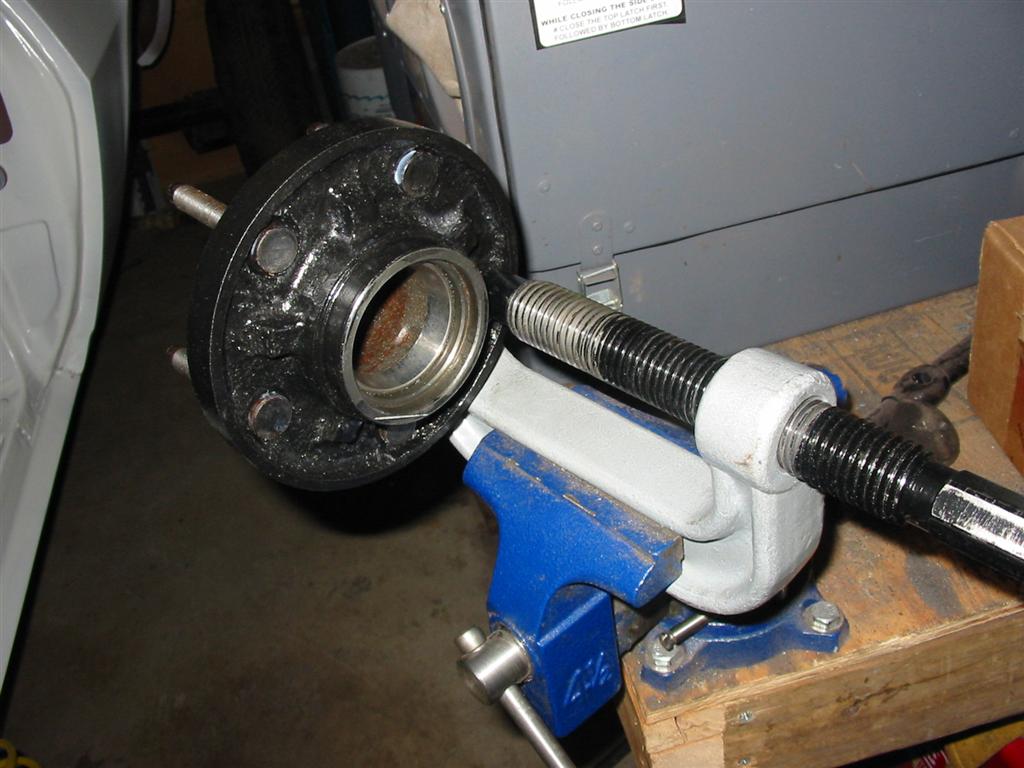
| The modern C5 brake rotors are different than the original Camaro rotors. The original Camaro rotors utilized an all in one design with an integrated hub. The modern braking systems have a separate hub and rotor design. This allows you to change the rotors without removing the hubs. For the kit I purchased, a hub is made by cutting the rotor portion off of a third generation rotor/hub assembly. After I cut the rotor portion off I installed Moroso wheel studs. | |
|
|
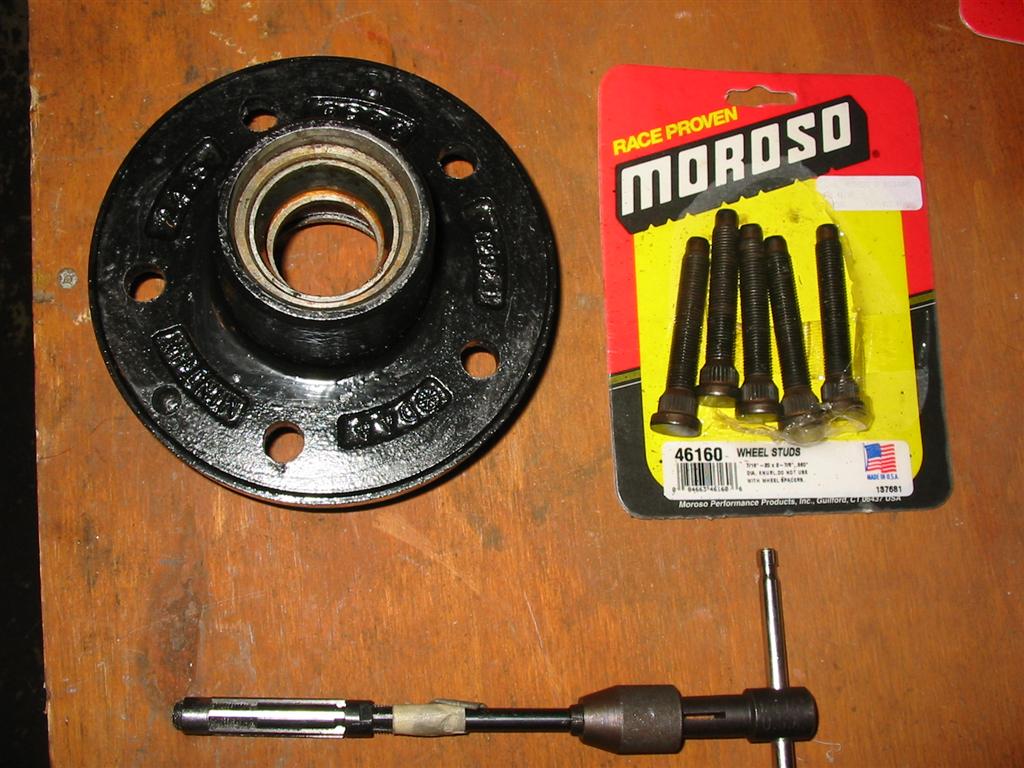
| Unfortunately, nobody makes a direct fit non metric stud that fits in the 3rd gen rotor. I had to buy a stud with a knurl that was a little bit bigger than the current hole and ream it out. I then pressed the studs in using a ball joint press. | |
|
|
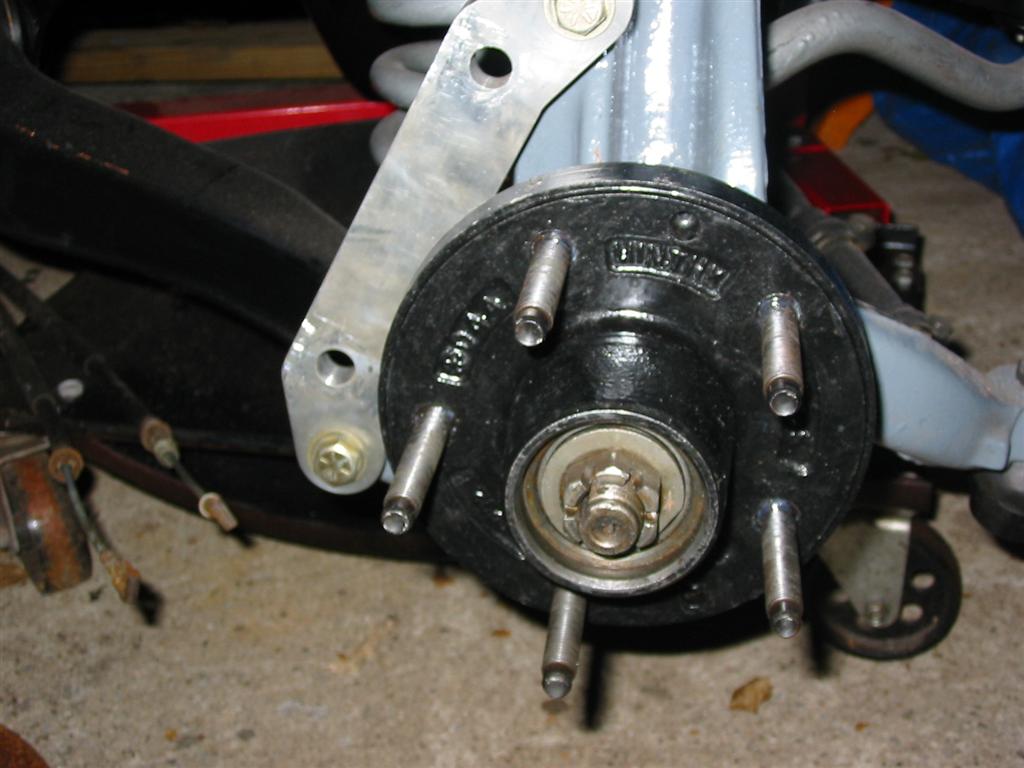
| Here is the completed hub with a coat of POR-15. | I then installed new third generation Camaro inner bearings/races and second generation outer bearings/races and test fit the hub. If you do this conversion, be sure to measure your outer spindle diameter before ordering outer bearings. At some point, GM upgraded the outer spindle diameter to a larger size. If you have the larger diameter, the third gen outter bearing/race will work too. |

|
|
| I then mocked up the whole assembly before the final installation. | |
|

|
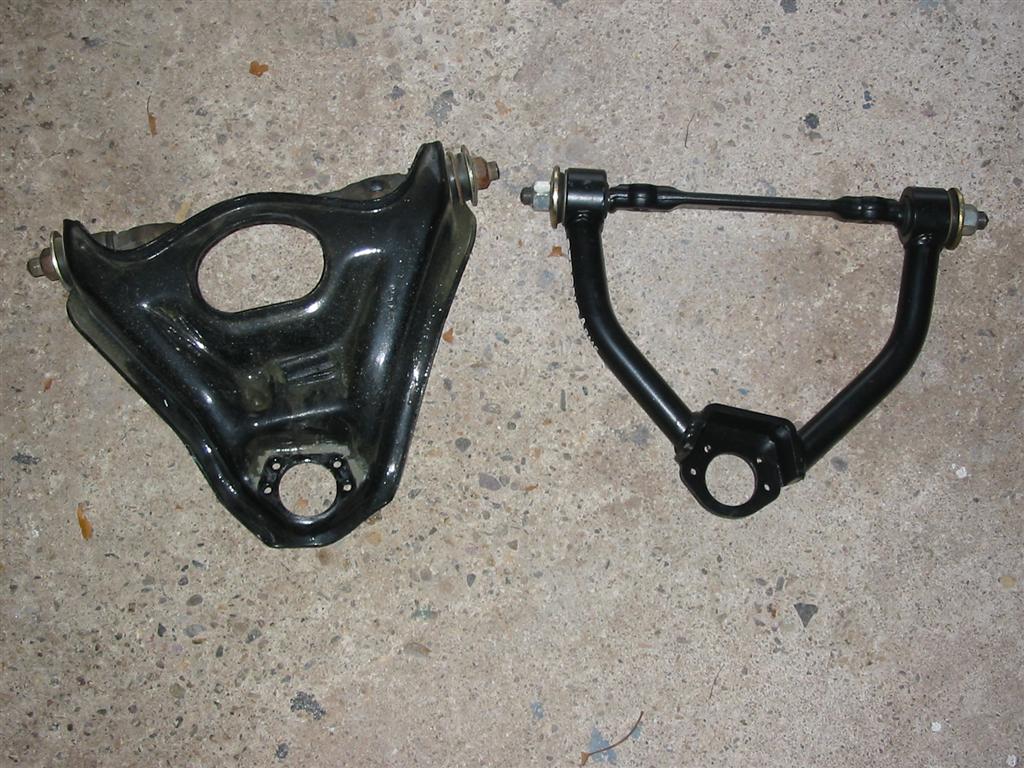
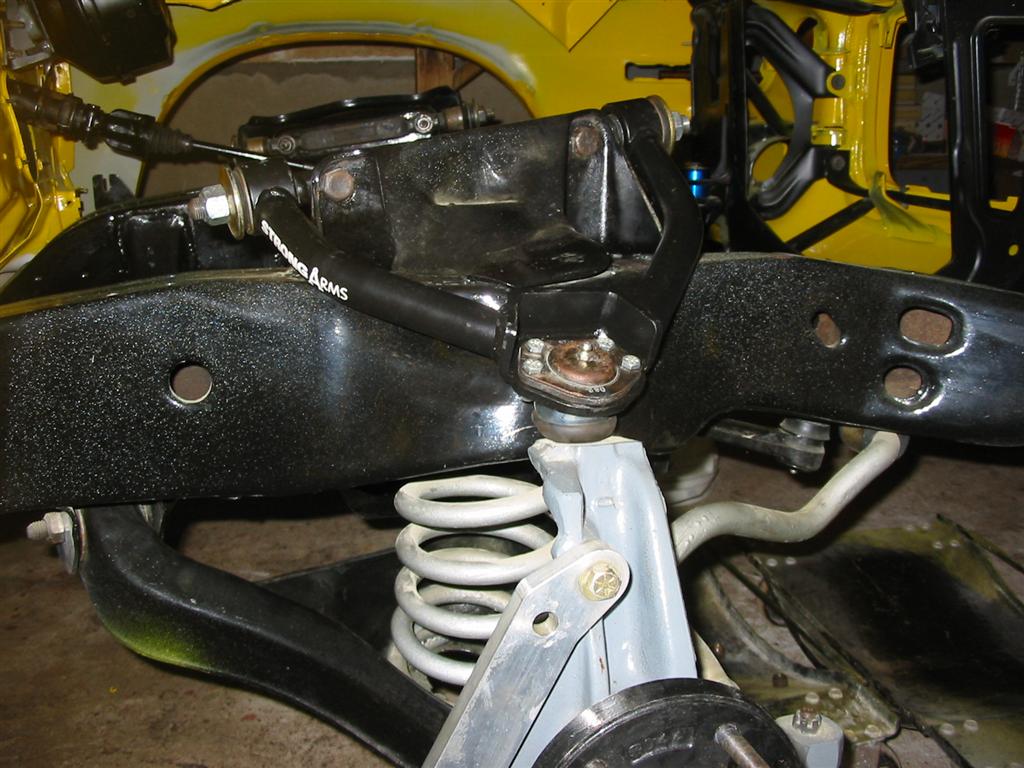
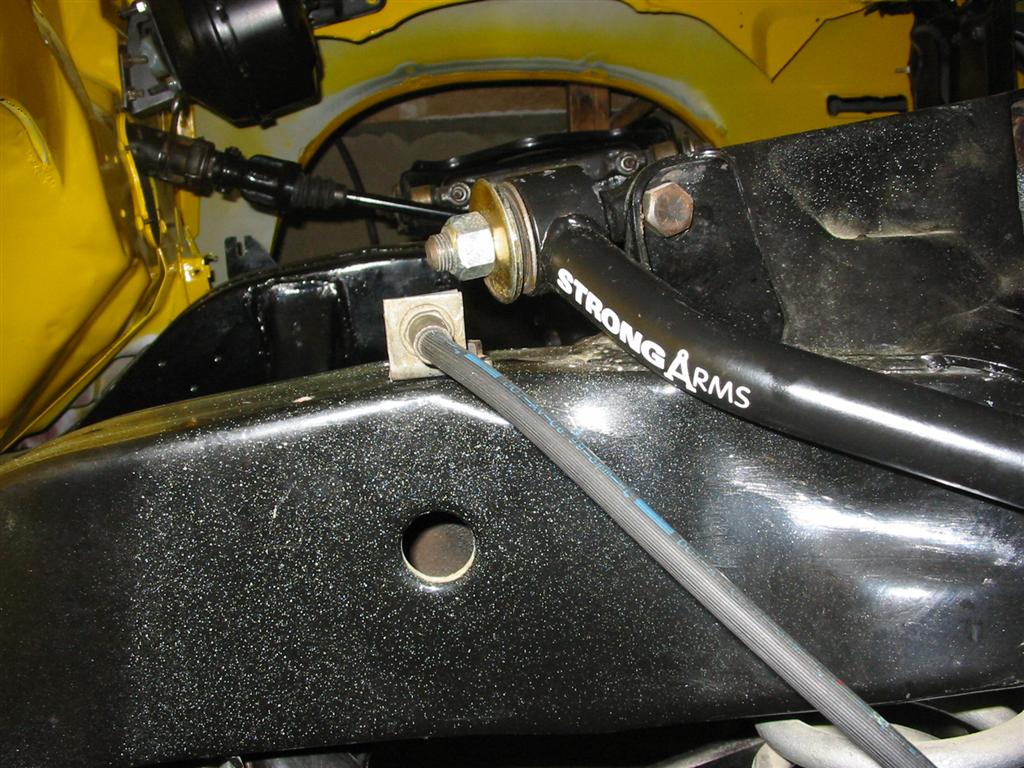
| While I was in here doing the brakes, I installed my Air Ride Strong Arm tubular control arms. I don't think they weighed that much less than the factory units, but I picked them up cheap and decided to use them. | |
|
|
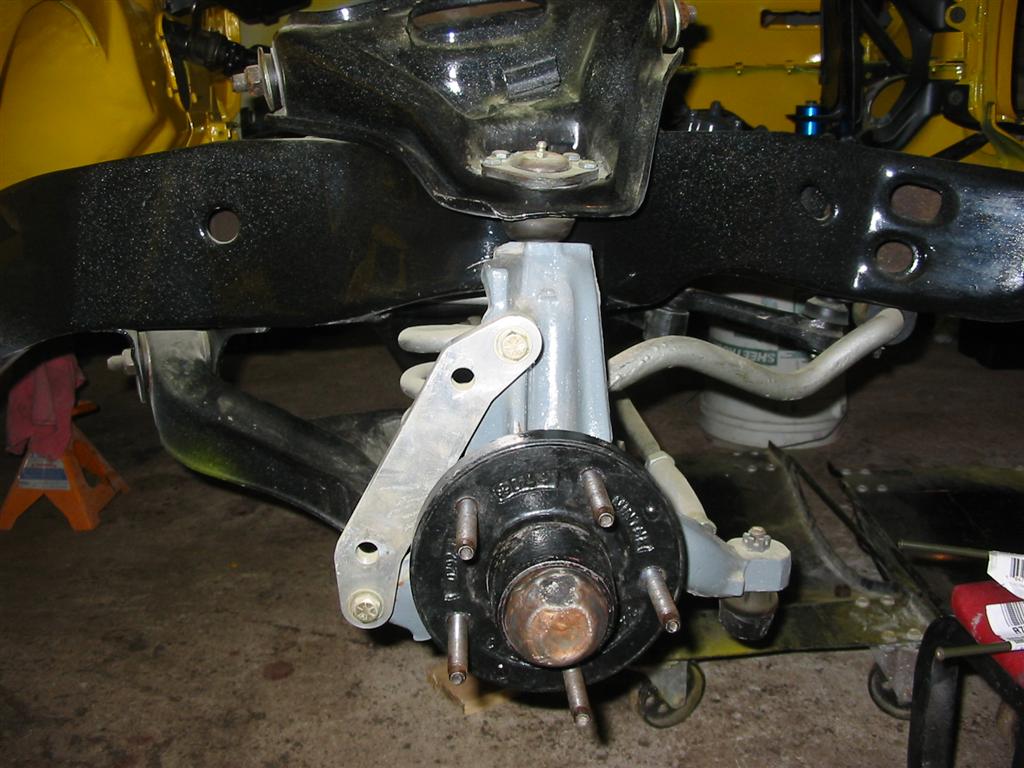
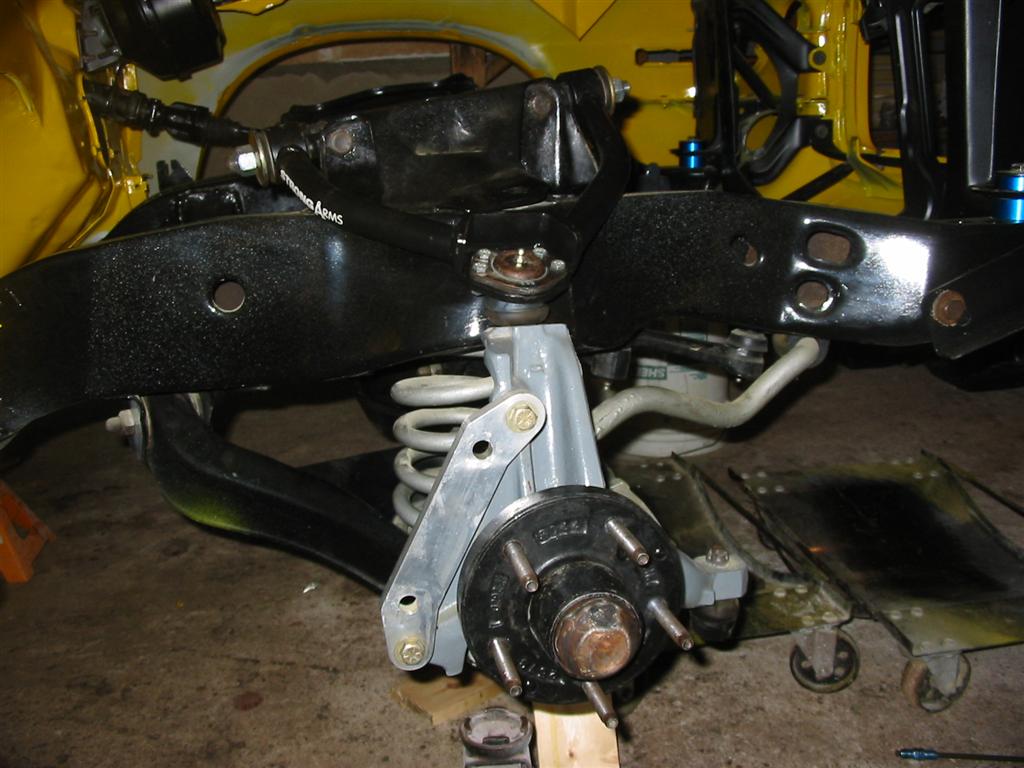
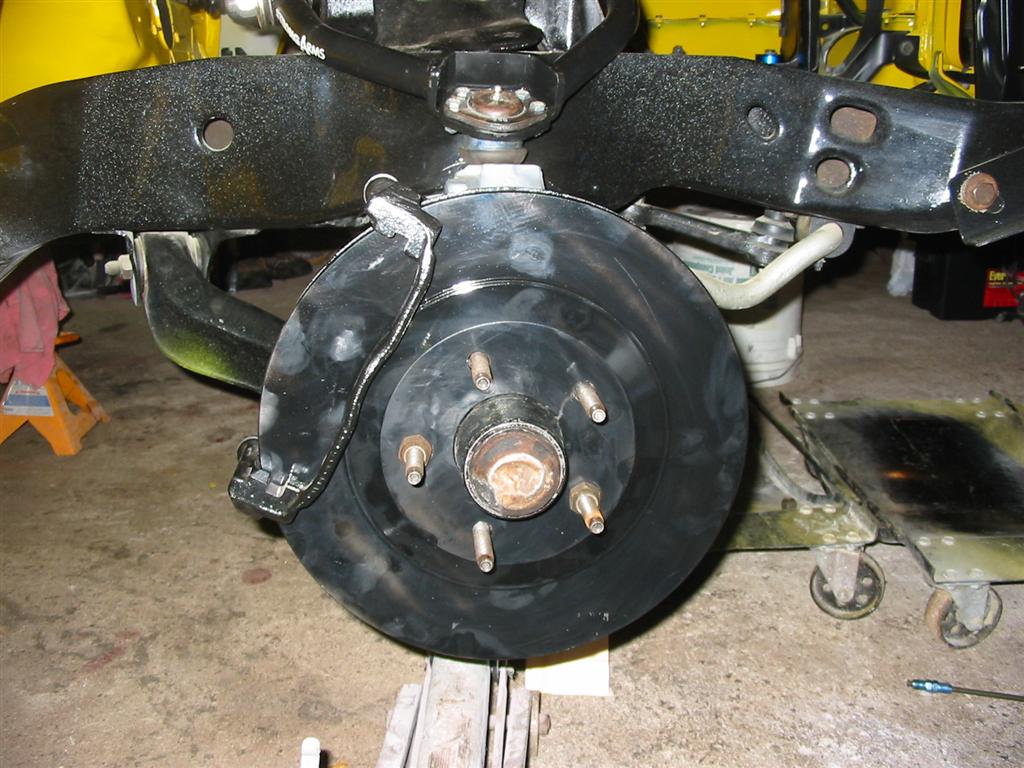
| Here are some shots of the caliper adaptor bracket installed and the hub installed. | |
|
|
|
|
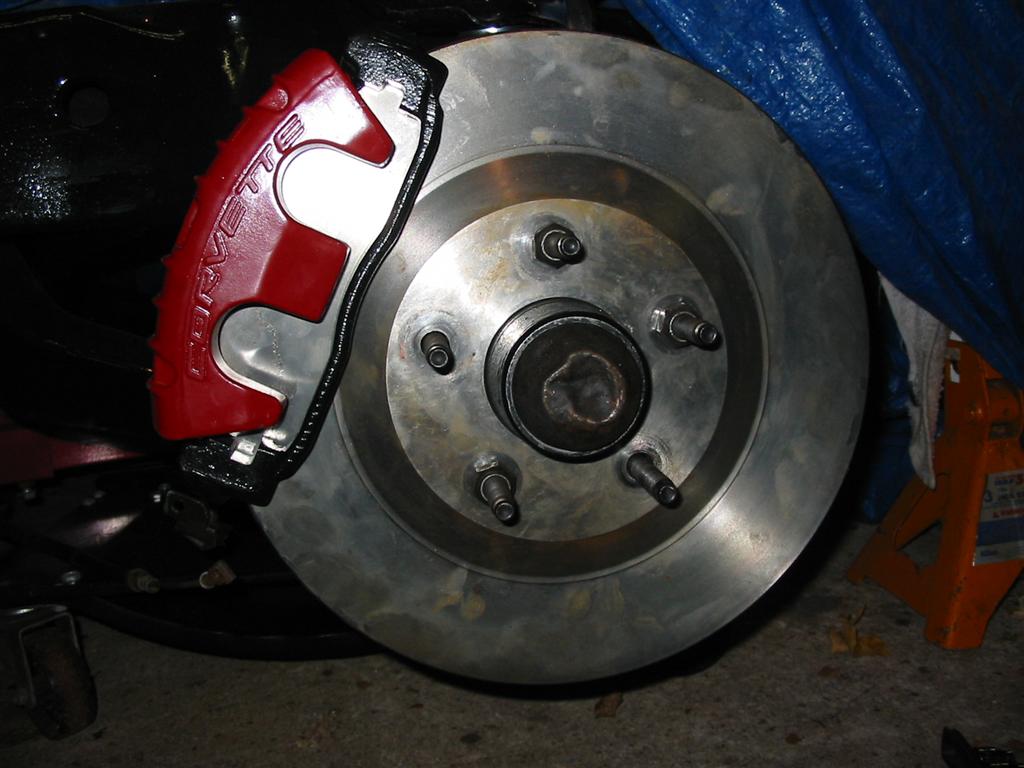
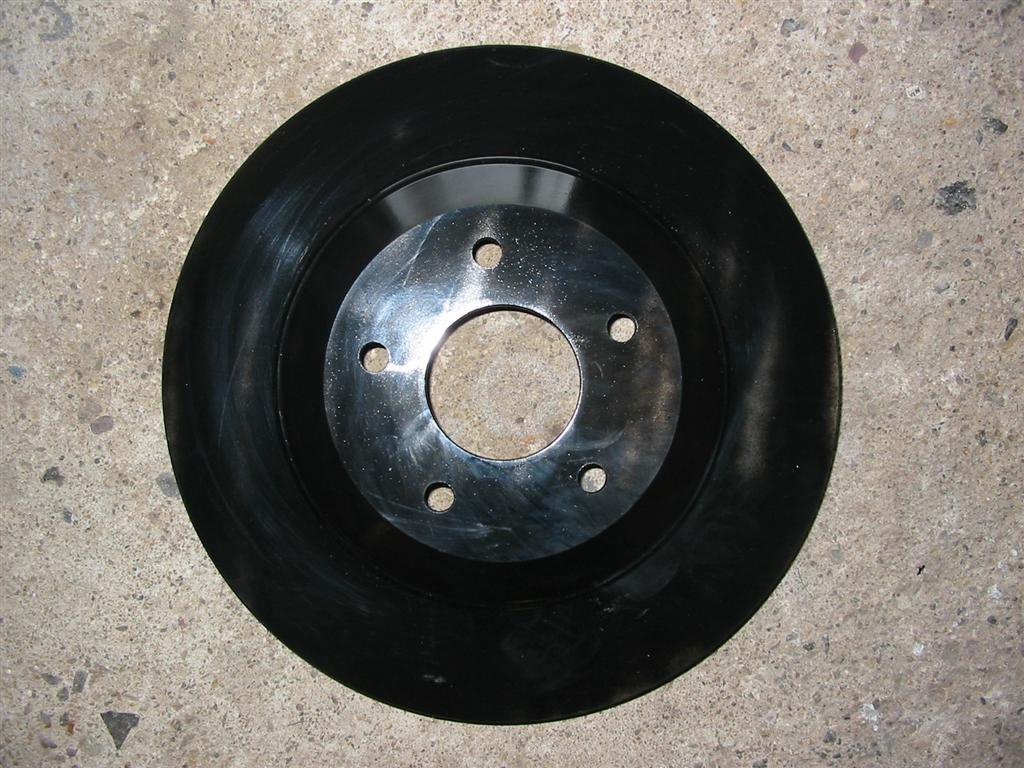
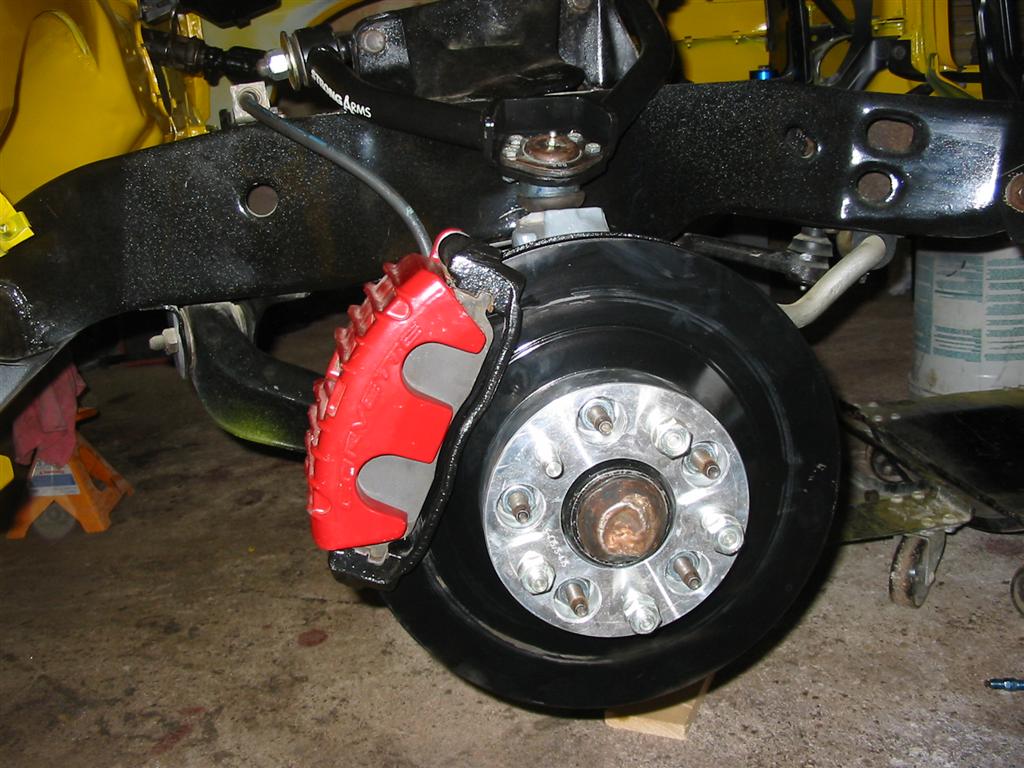
| Here is the new rotor. I cleaned the rotor up and painted it gloss black. The rotor surface paint will be removed, the first few times that I hit the brakes. I used high temp engine paint. | Here is the rotor and brake caliper abutment installed. |
|
|
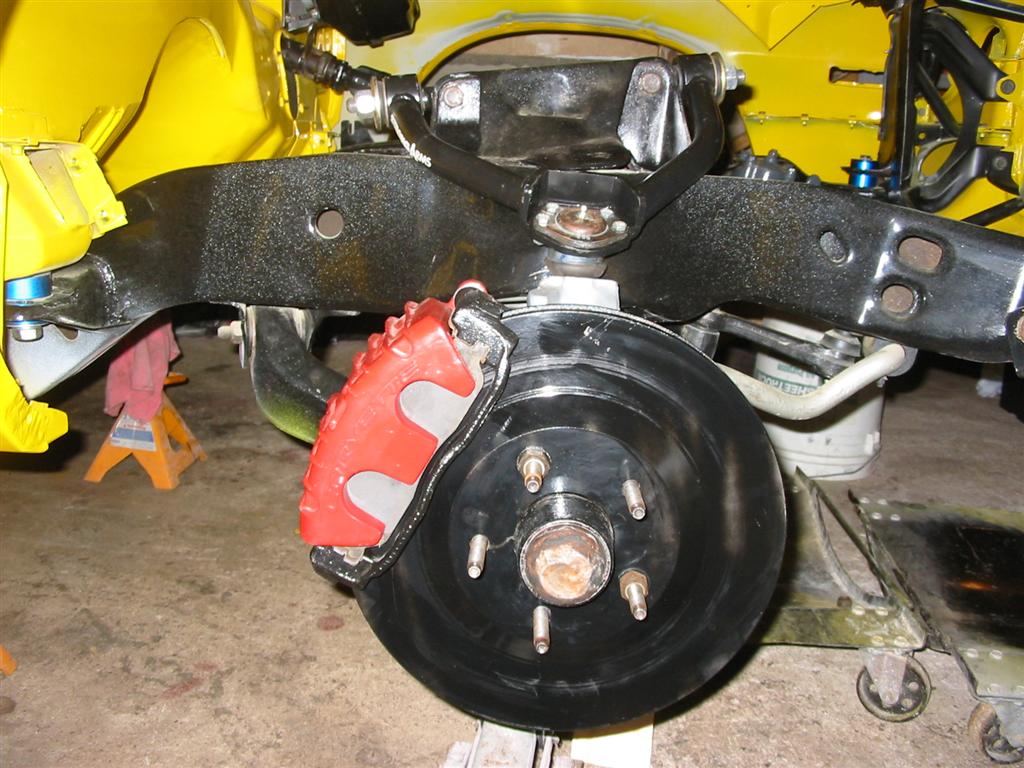
| Here is the caliper and pads installed. | Here is the caliper soft line installed. I was able to use the stock C5 bracket and mounted it to the frame using a hole that I drilled out and tapped. |
|
|
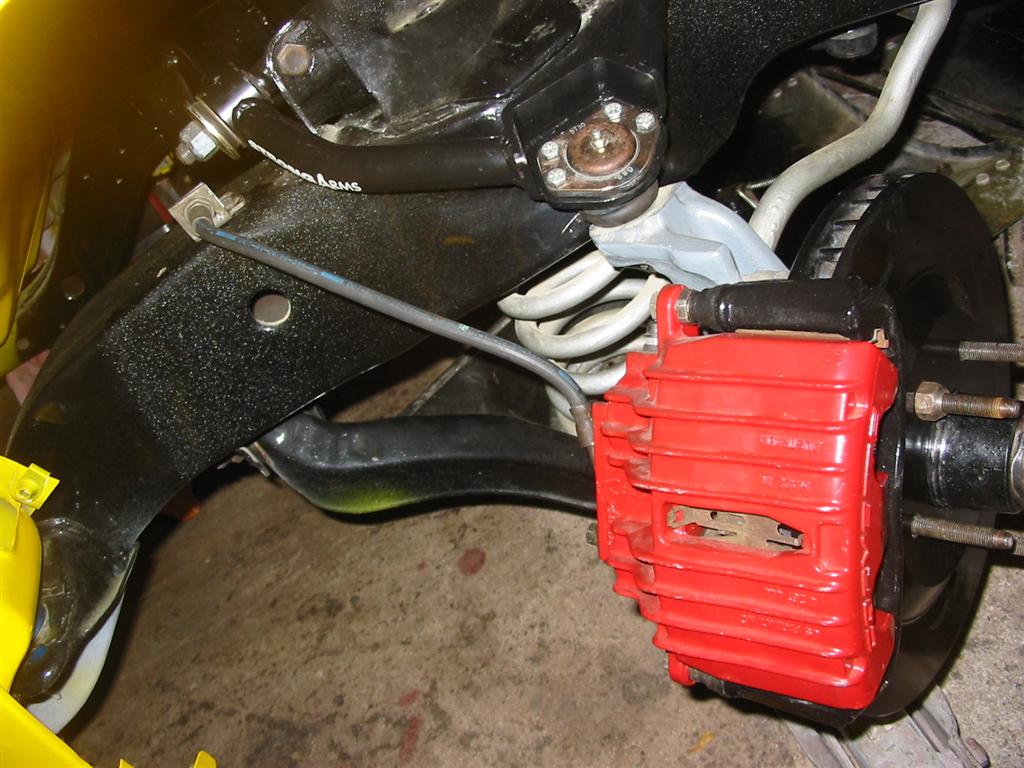
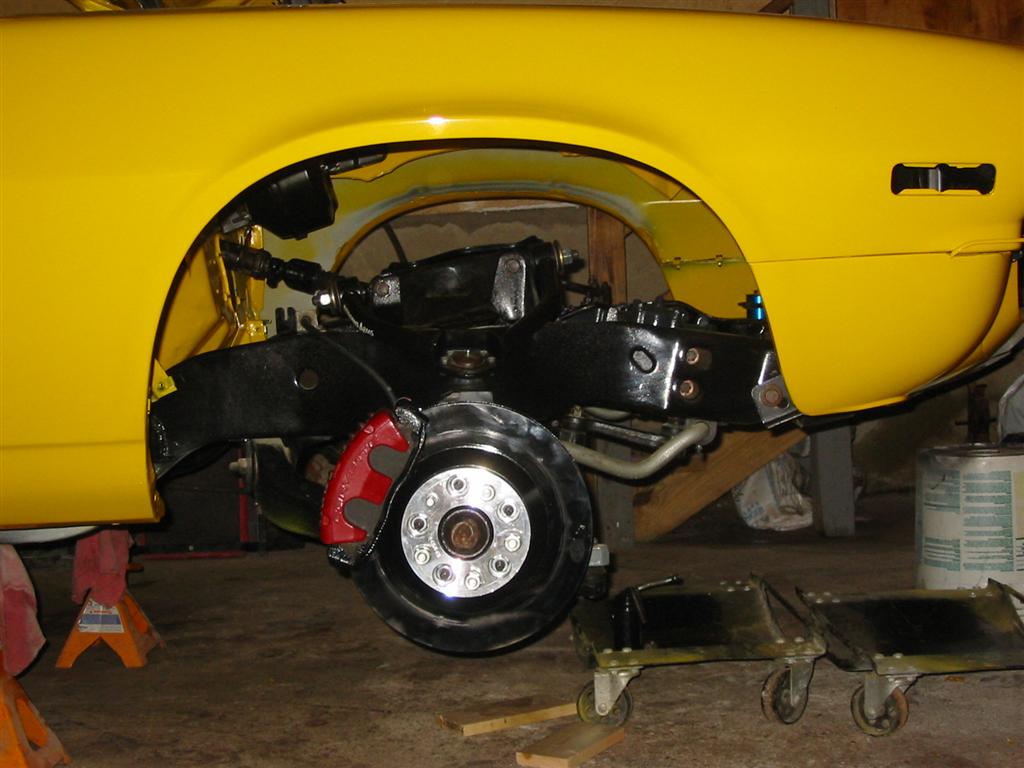
| Here are a few more shots of the completed install. When looking at these pictures, keep in mind that caliper is at the farthest end of the suspension travel. That is as tight as the line could ever get. This travel would only occur if I was able to lift the front wheels off the ground. | |
|
|
|
|
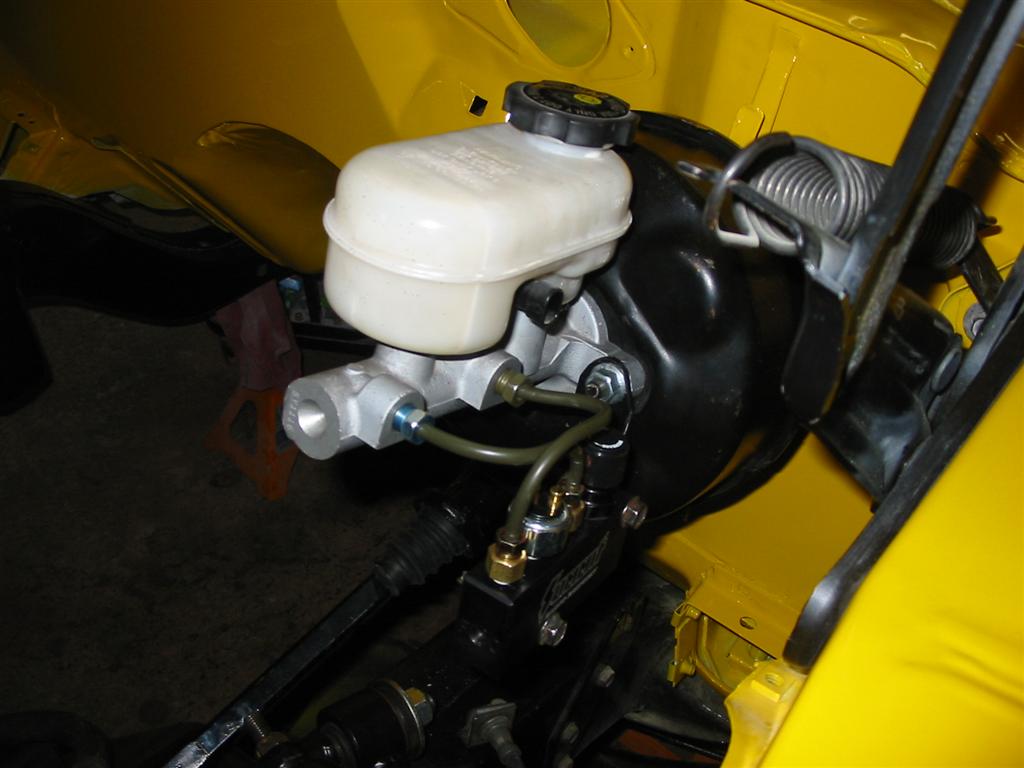
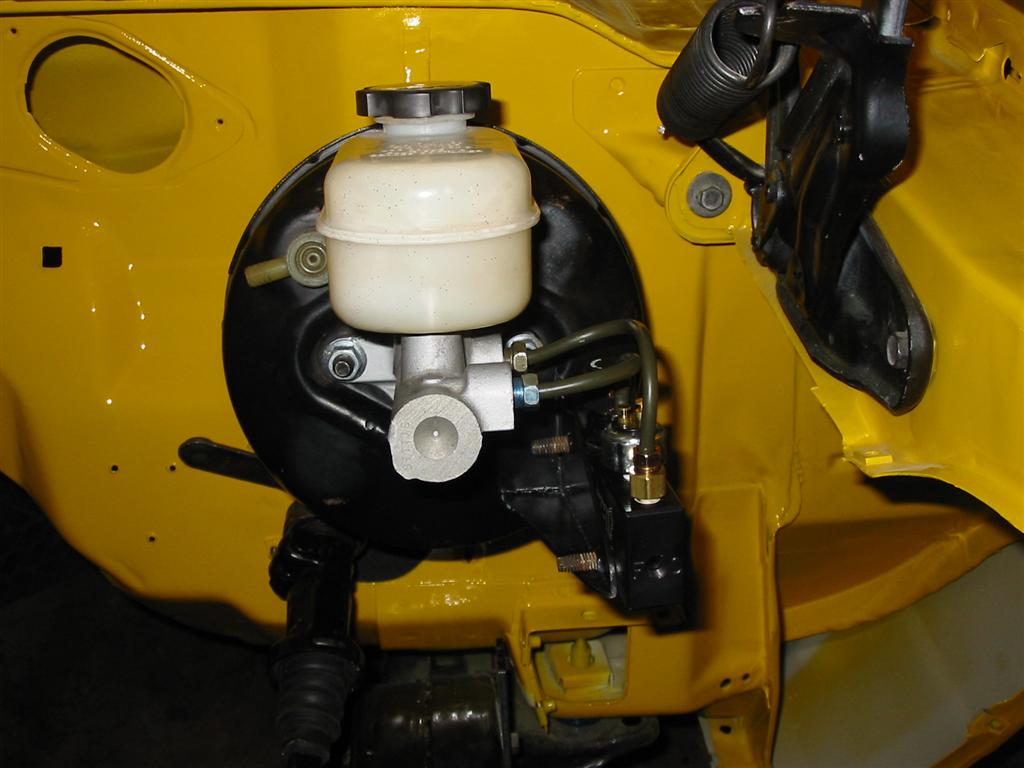
| Here is the prop block mounted on the painted bracket that I made. | |

|
|
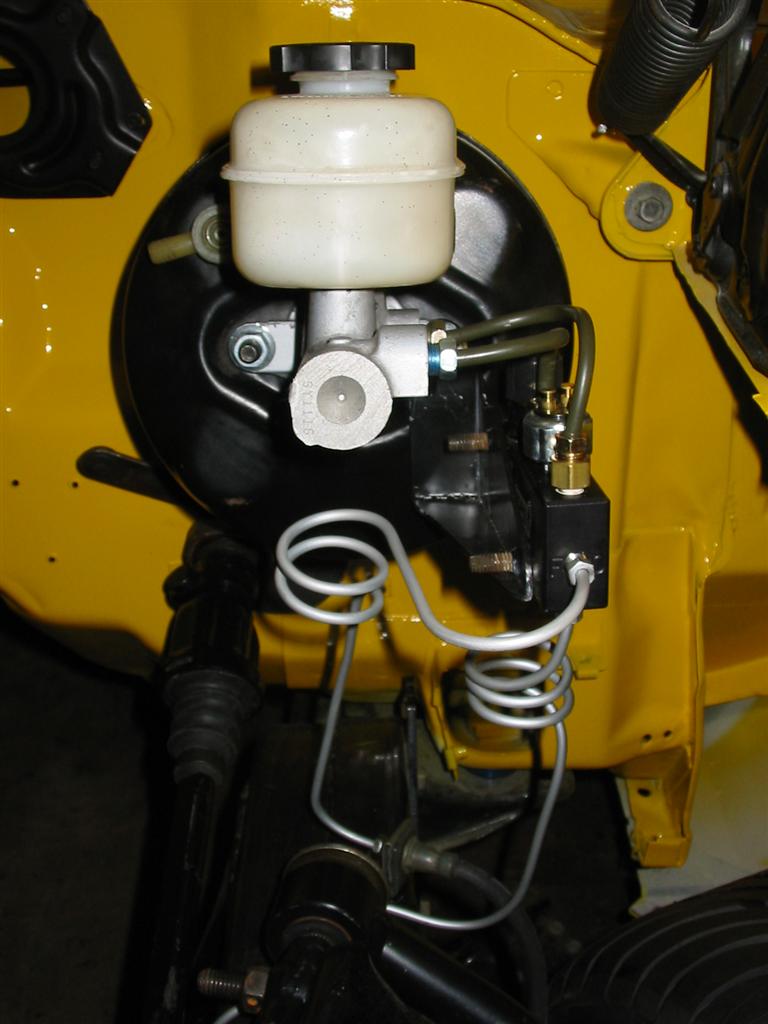
| Here is the prop block with the lines installed. Making these lines was a bit tricky. First the master cylinder fittings have different thread pitches on the front hole and rear hole. The front fitting uses a 12x1.0 mm thread pitch and the rear fitting is a 12x1.5 mm thread pitch and they both use a bubble flare fitting. Also, the rear fitting on the master cylinder is for the front brakes and the front fitting is for the rear brakes. I bought a pair of napa lines specifically for the C5 Corvette. These lines are 6 mm and come with bubble flared ends with 12x1.0 mm thread pitch tube nuts. So, I cut the lines in half and used the line as is for the front fitting into the master cylinder and put a 1/4" line tube nut (7/16"-24 Inverted fitting) and double flared the line for the prop block side. I then needed a 7/16"-24 inverted fitting to a 3/8"-24 inverted fitting adaptor on the Prop Block side. For the rear master cylinder fitting the prop block connection was done the same way as the front fitting. I just swapped out the 12x1.0 mm thread pitch tube nut that came with the line to a 12x1.5 mm thread pitch tube nut. | |
|
|
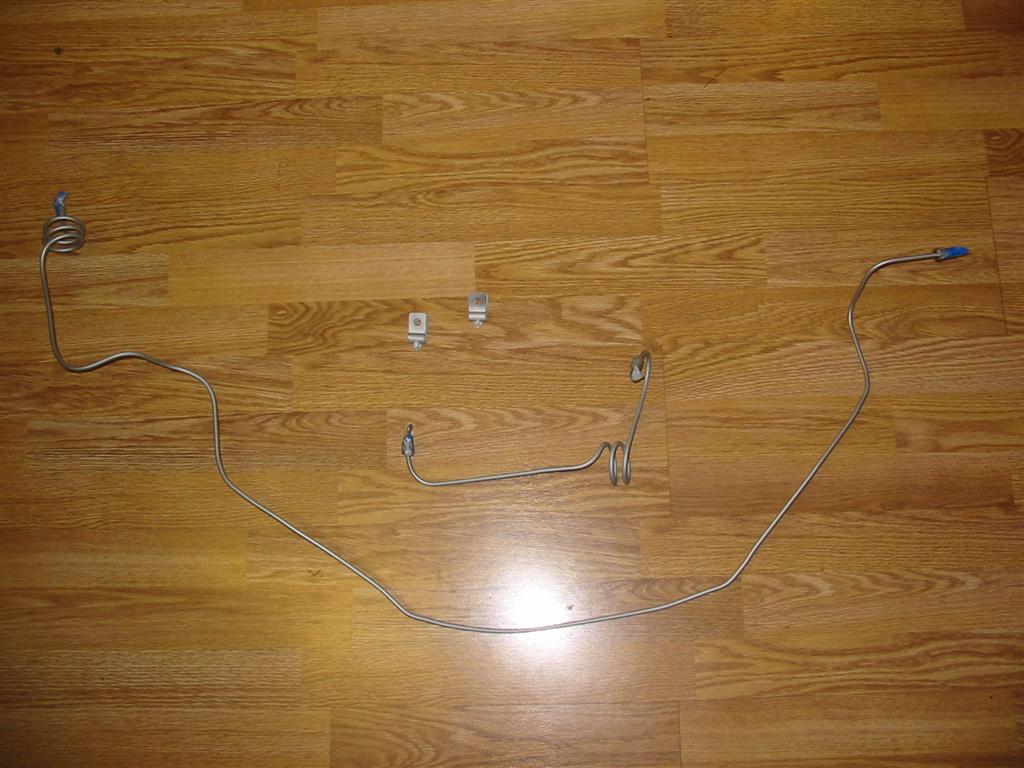
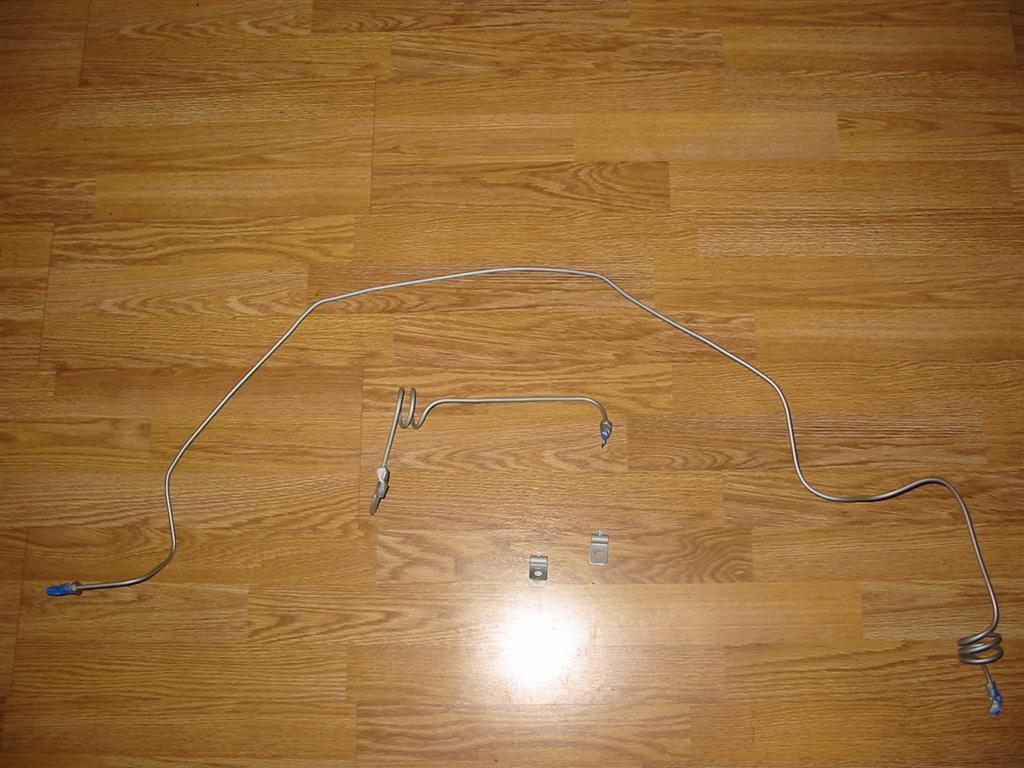
| Here are the hardlines that I bent up for the front brakes. The lines started out as 3/16" lines with bubble flares on the ends. The bubble flare end mounts into the caliper rubber lines. I then installed 3/16" tube nuts with a 3/8"-24 inverted fitting that came with the prop valve. I then coated the lines with rustoleum satin nickel paint. | |
|
|
| Here are all the front brake lines installed. I reused the existing mounting points on the subframe crossmember to hold the lines in place. I wrapped the lines in rubber hose on the areas that are held in place by the clamps. | |

|
|

|
|

|
|