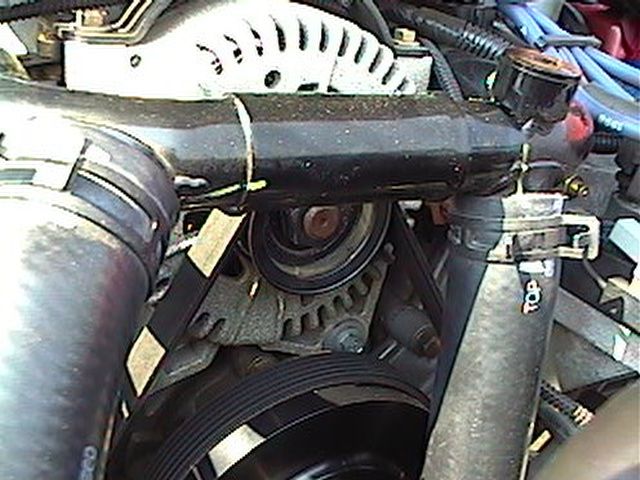
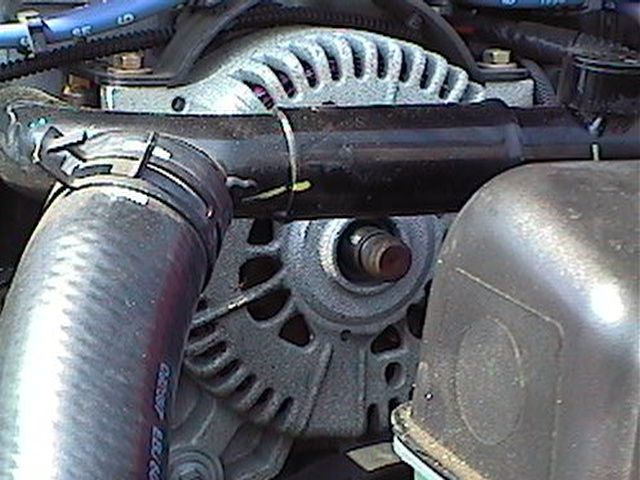
| Alternator | Harmonic Balancer(Crank) | Water Pump |
|
|
|
|
| Tensioner Guard |
|
| Alternator | Crank and Waterpump |
|
|
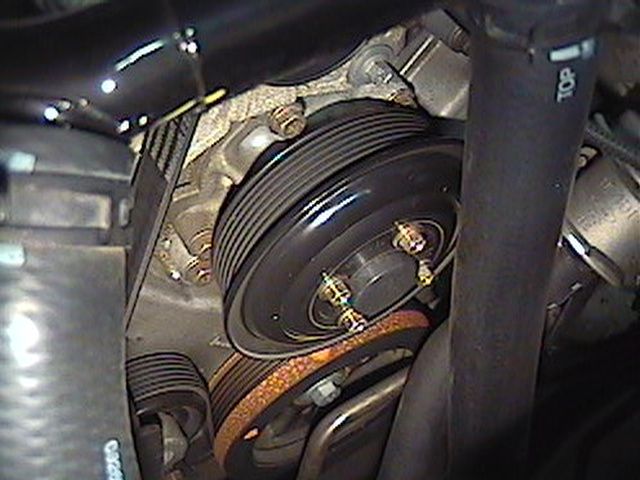
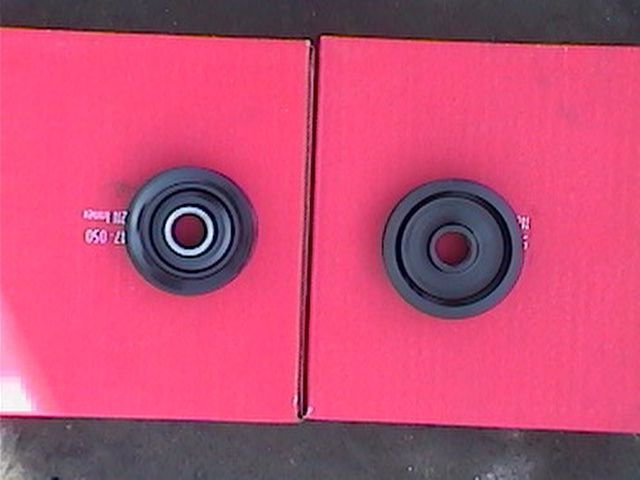
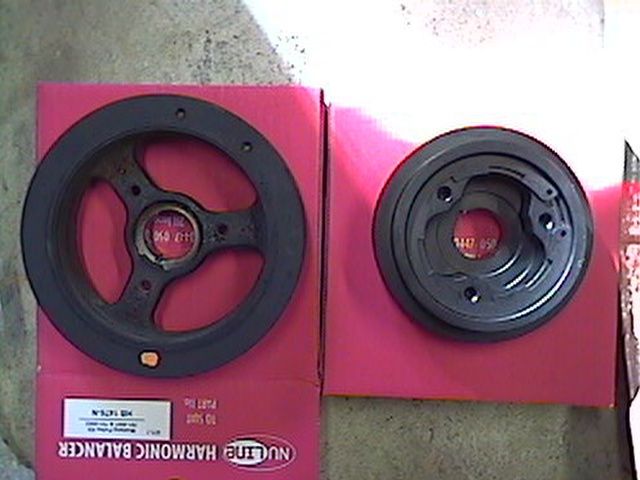
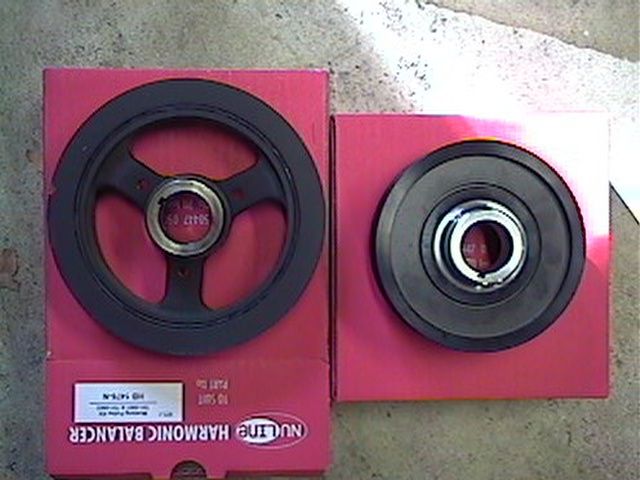
| Alternator Pulley | Waterpump Pulley | Crank Pulley Front and Back |
|
|
|
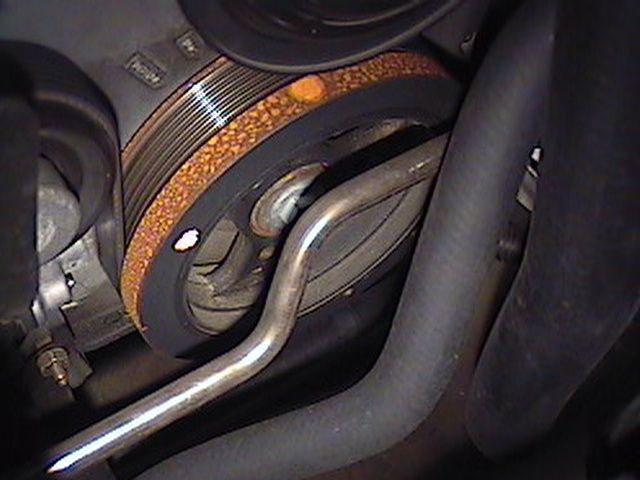
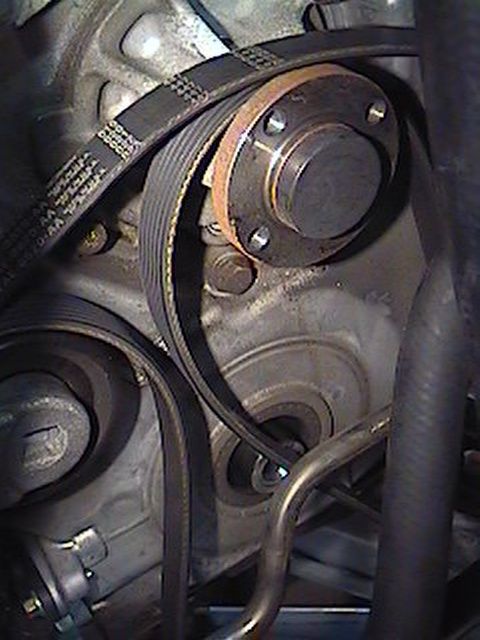
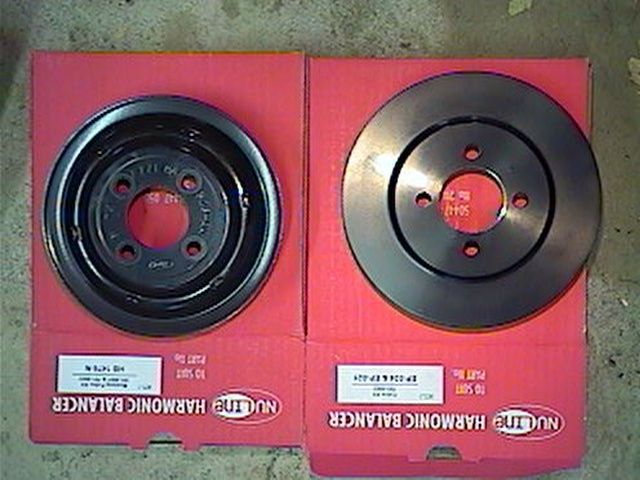
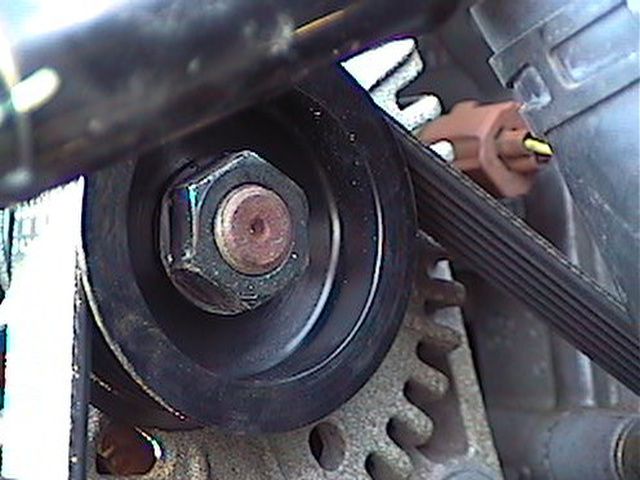
| Crank Pulley |
|
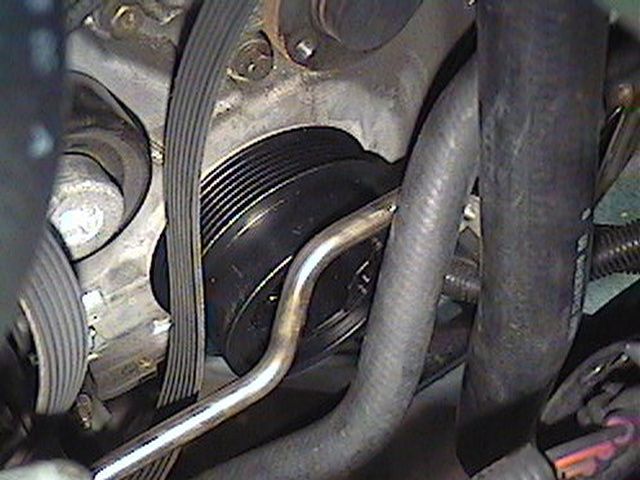
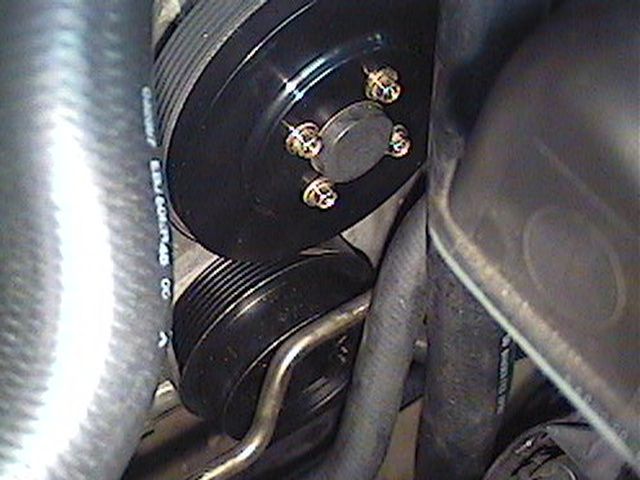
| Waterpump Pulley |
|
| Alternator Pulley |
|
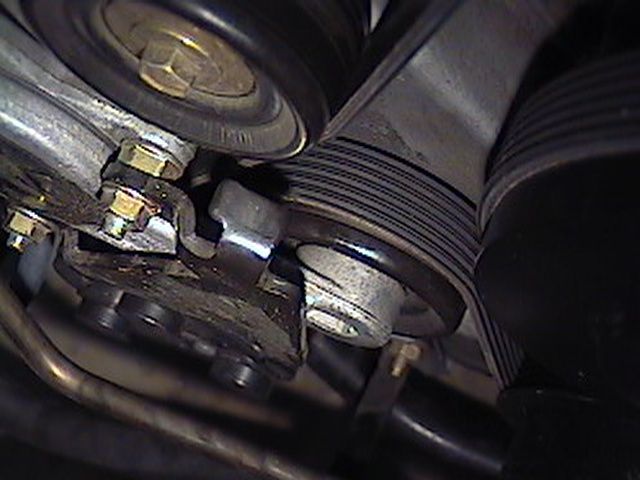
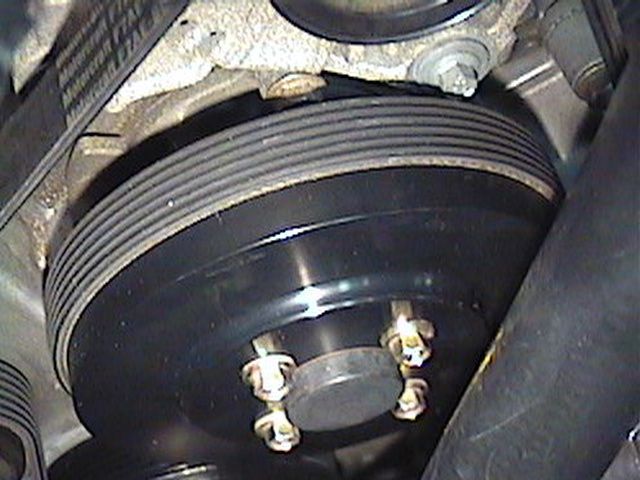
| Completed Install |
|