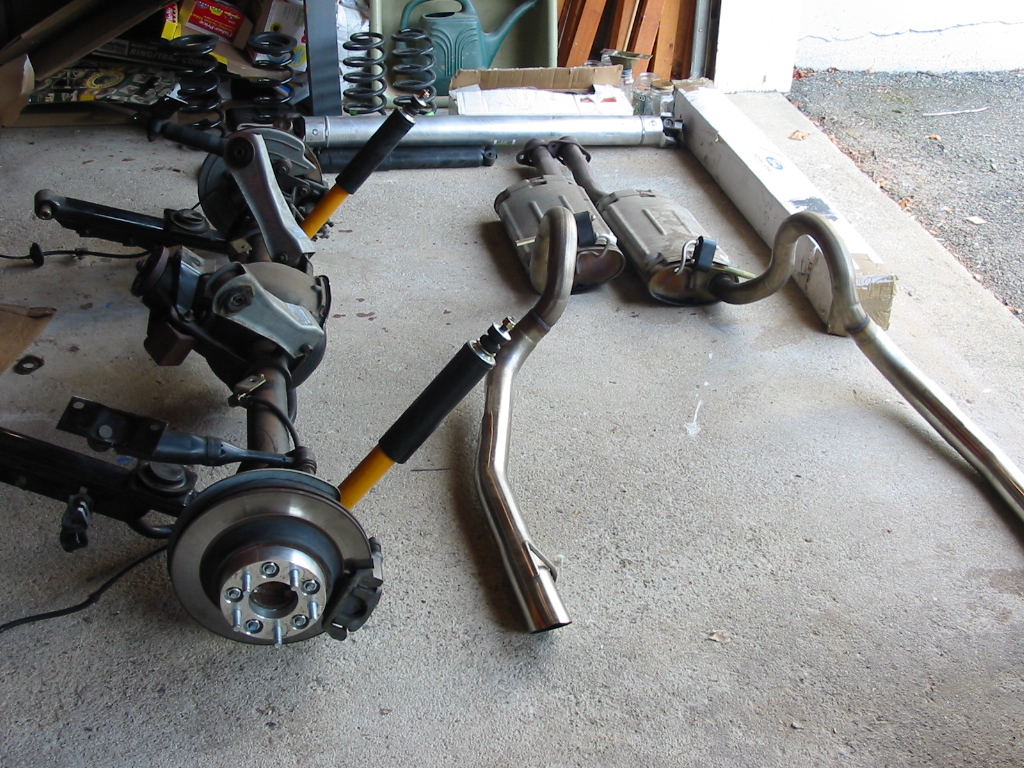
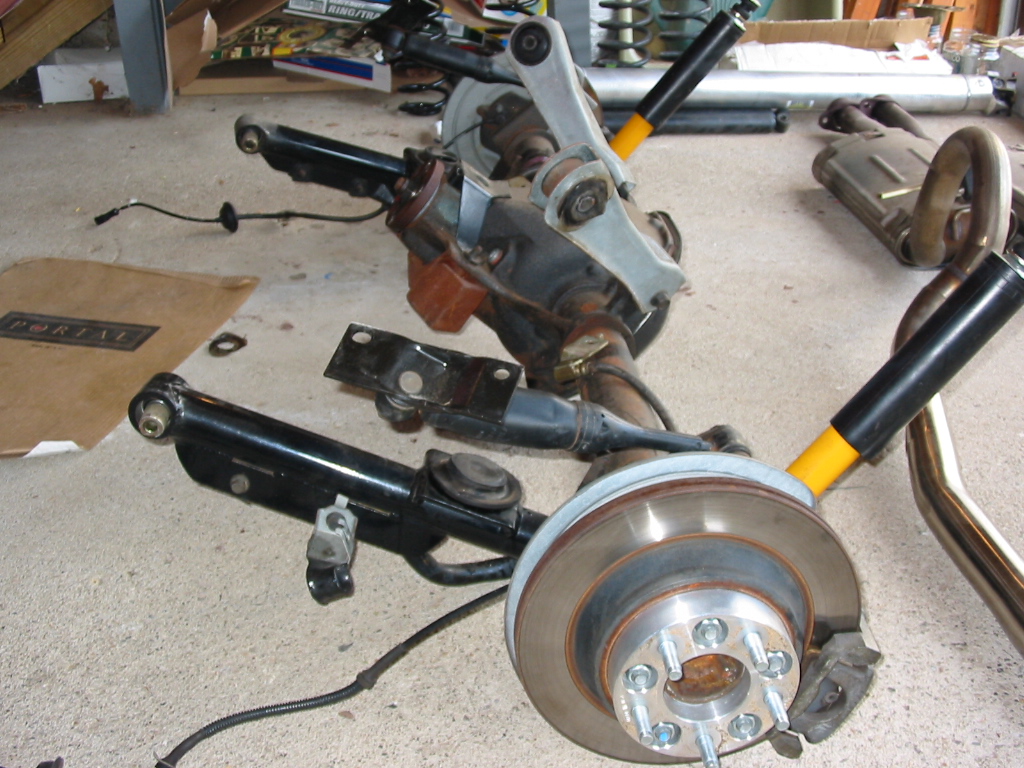
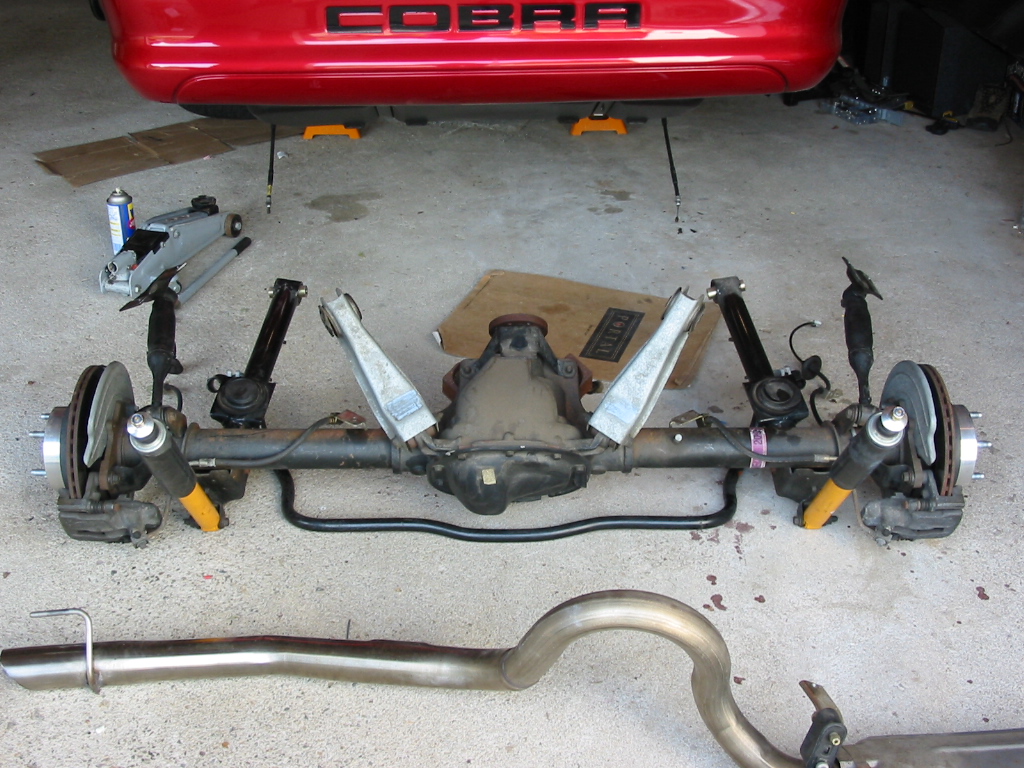

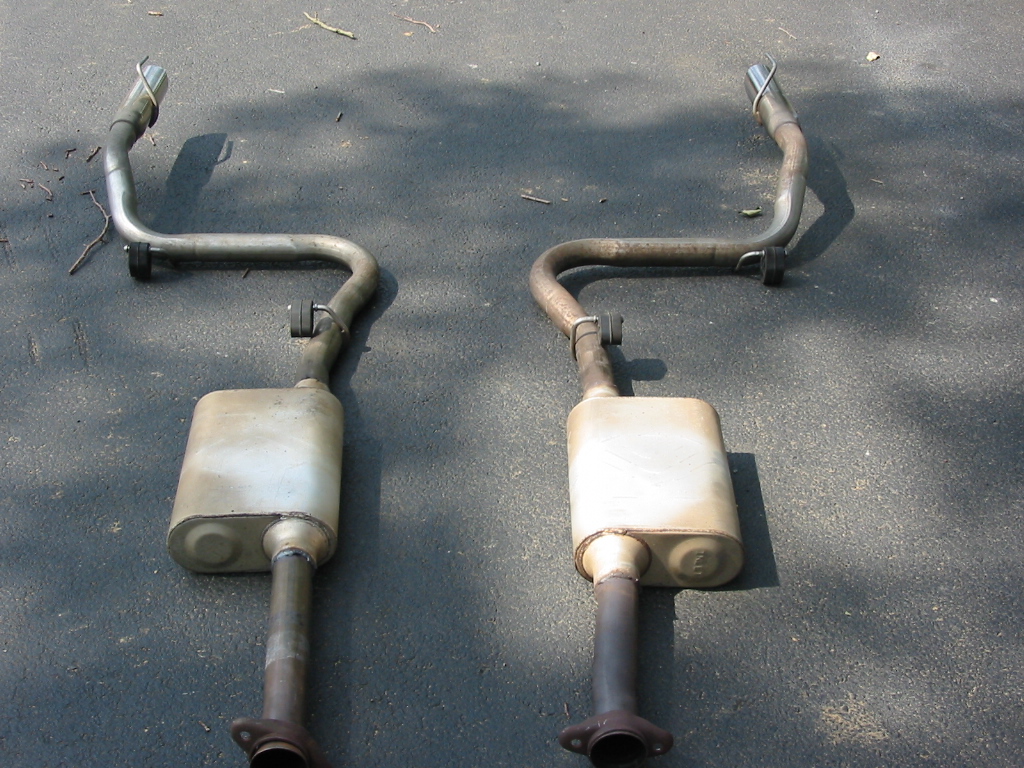
| Old Rear with old Exhaust | Old Rear (side view) | Old Rear (back view) |
|
|
|
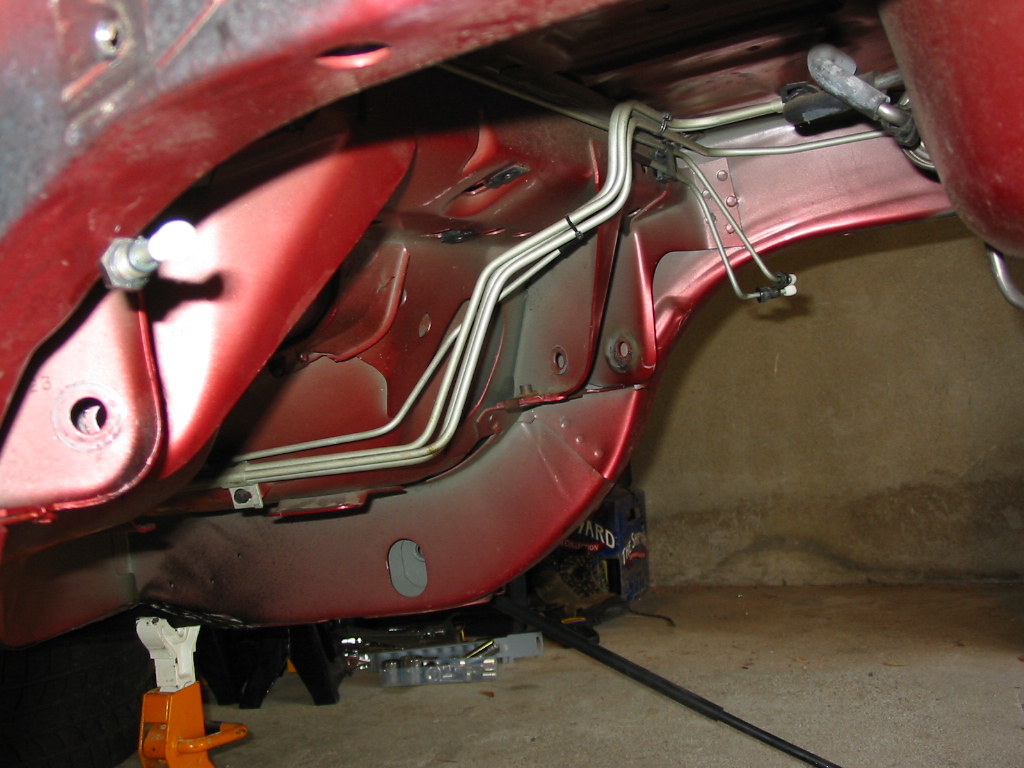
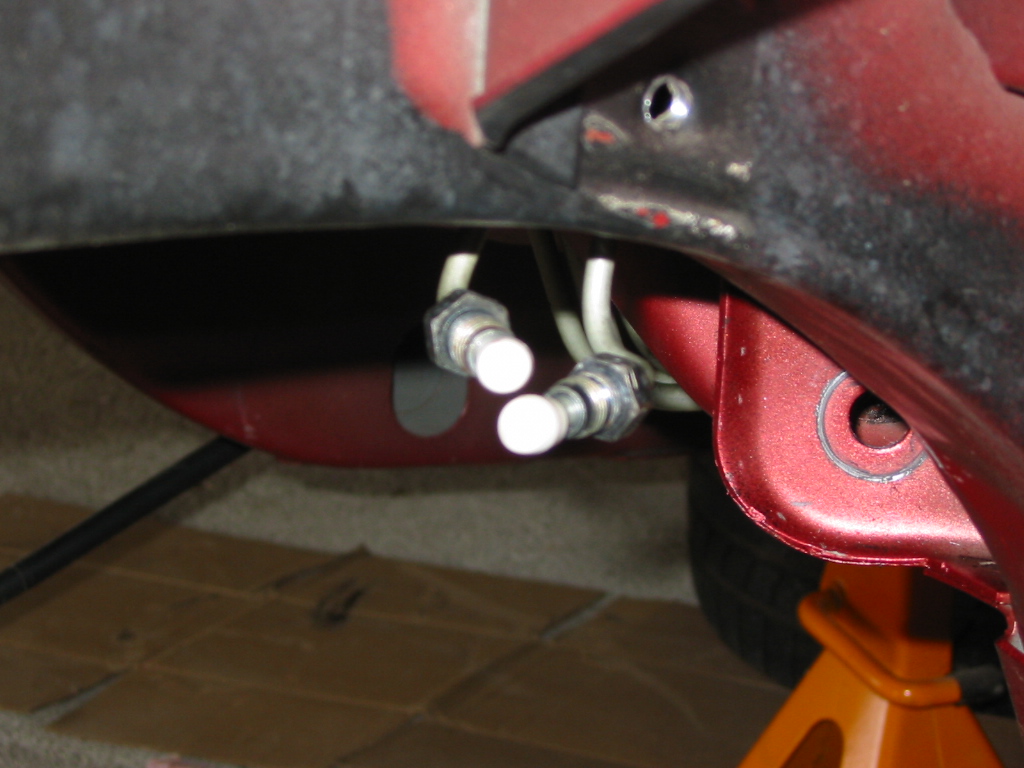
| Shot of Driver's side without solid rear | Passenger side | |
|
|
|
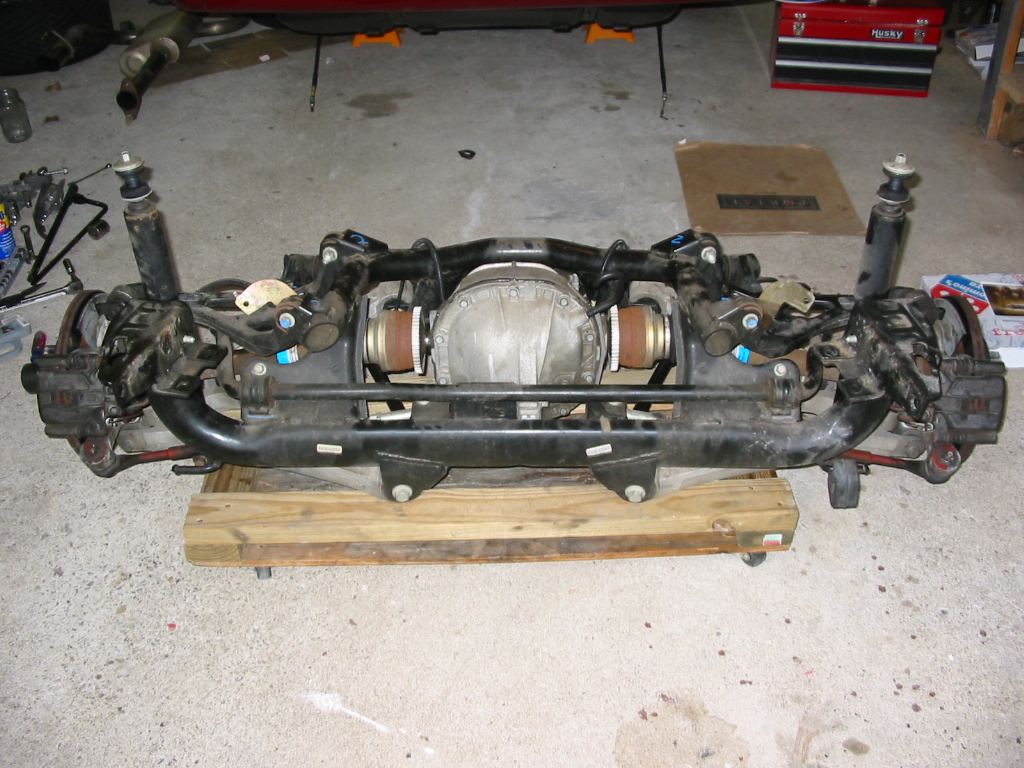
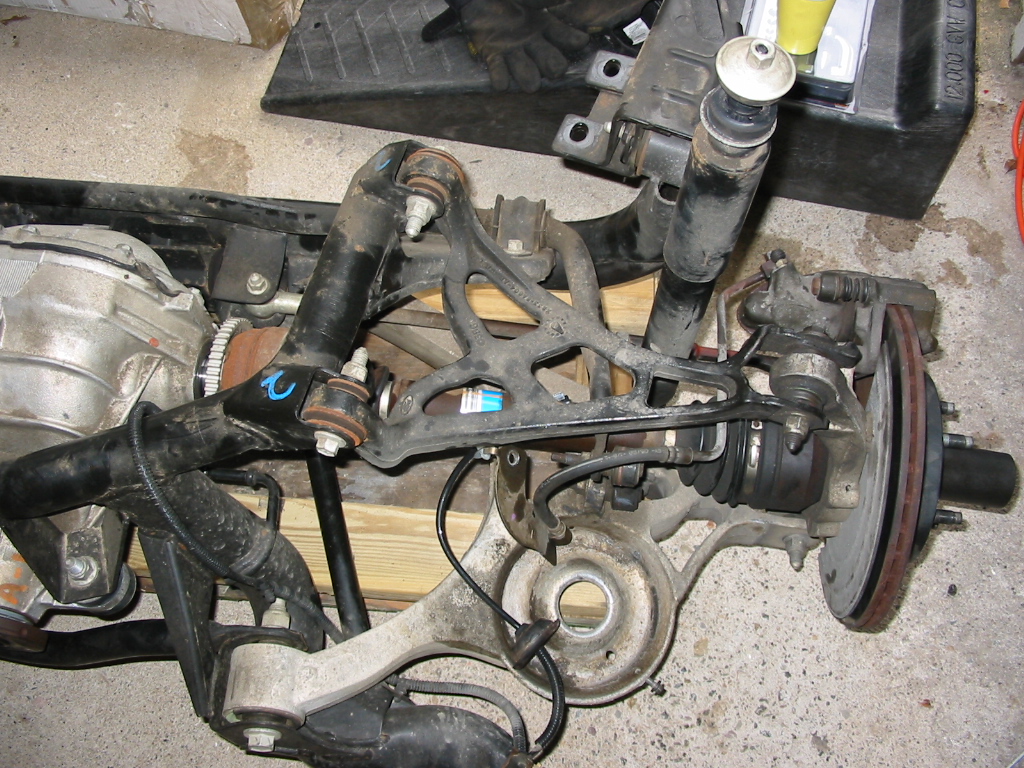
| IRS (back view) | IRS (front view) | |
 |
 |
|
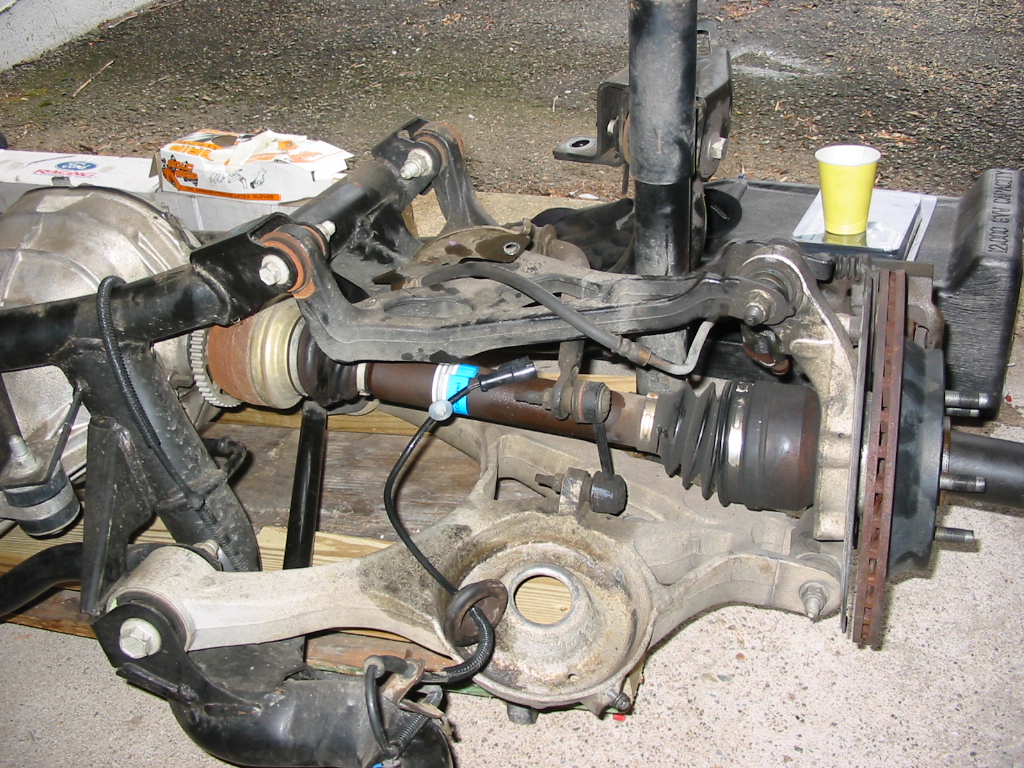
| Close up drivers side | Close up passenger side | |
 |
 |
 |
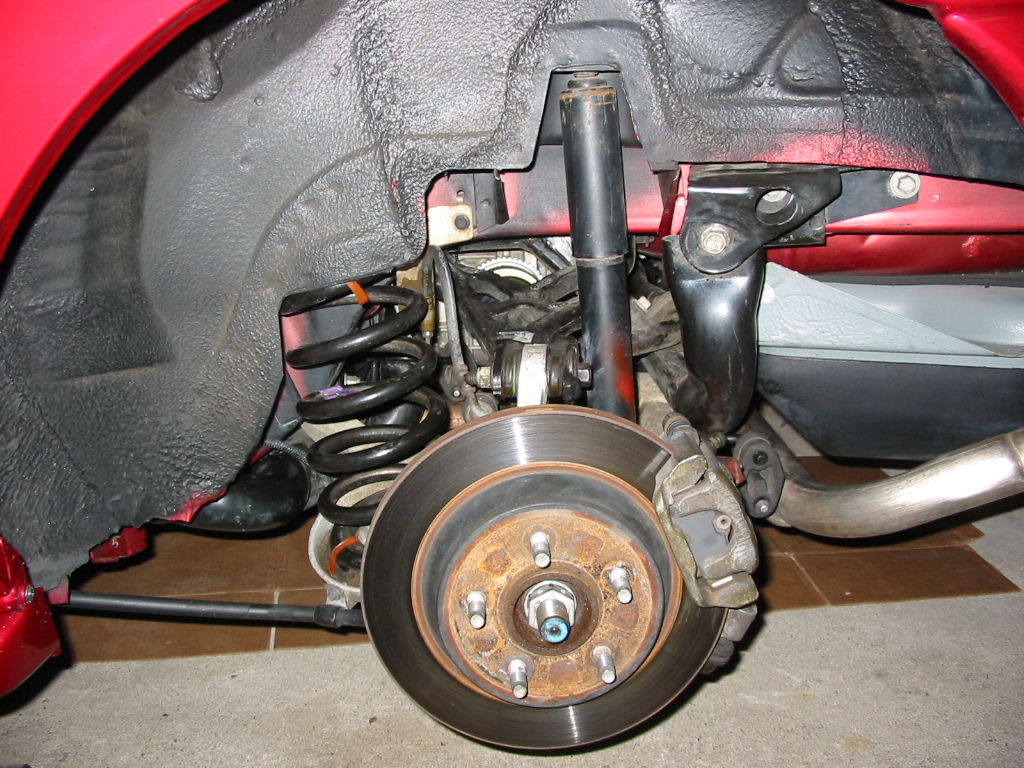
| Drivers side Installed | Drivers side rear bracket |
 |
 |
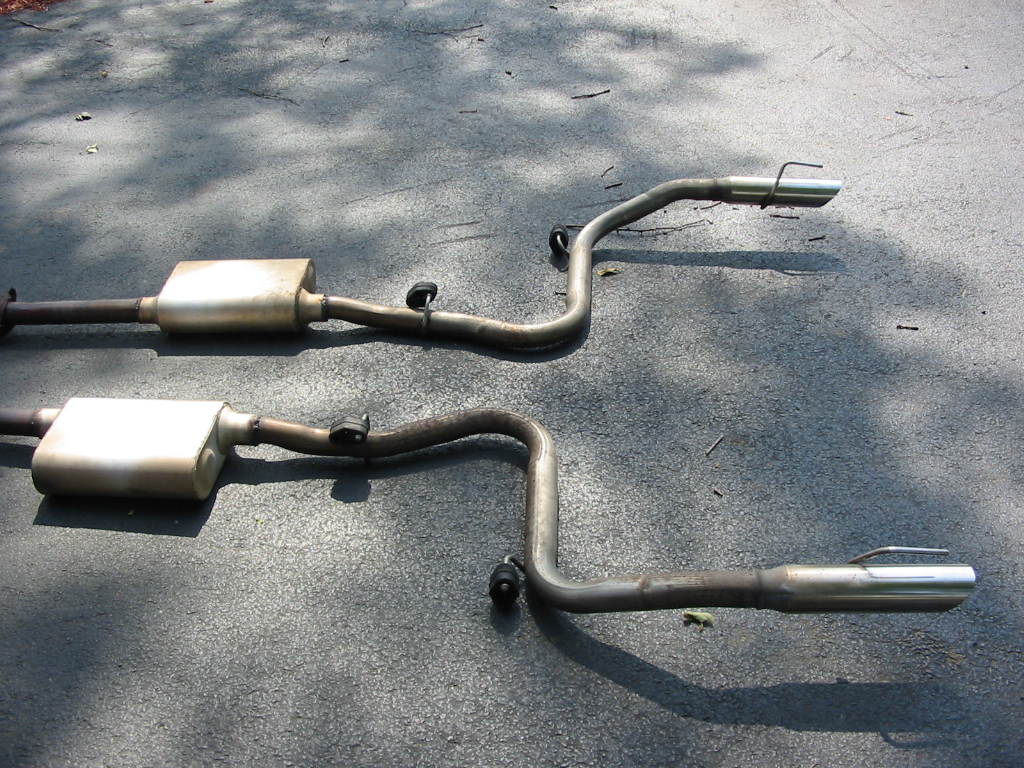
| IRS specific exhaust | |
 |
 |